Skip to content
 I’m Amanda from Kinwin in China. I help brands and retailers turn ideas into safe, beautiful plush toys that ship on time. Below is my complete, factory-level guide—written in simple English—so your team can move from concept to mass production with clear specs, clean compliance, and predictable timelines.
What are the essential stages in planning and conceptualizing a custom plush toy design?
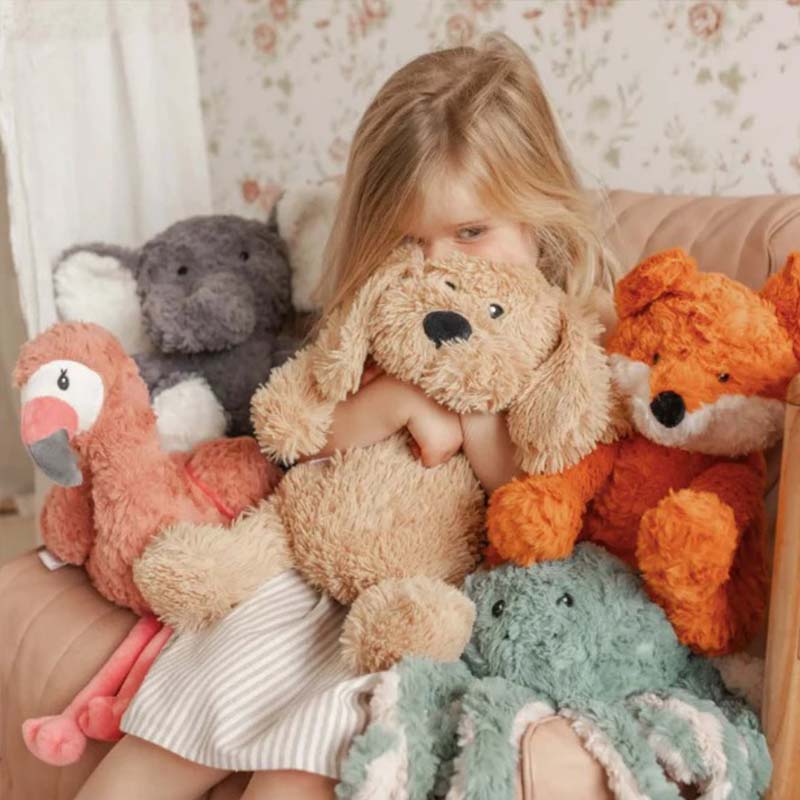
Every successful plush starts with a clear brief. I map the concept in three layers: story, silhouette, and safety. The story answers who is this for and what emotion it should spark (cute, calm, bold, funny). The silhouette defines overall shape, scale, and balance so the toy sits well and photographs well. Safety locks the age grade from day one: 0+ requires embroidery-only faces and no hard parts; 3+ allows safety eyes/noses with tensile and small-parts tests; 14+ collectible can include couture trims with clear labeling.
In the concept phase I also write SKU boundaries: size ladder (mini/standard/jumbo), color family (2–3 core colors), and accessory rules (soft only for kids). We decide if the plush is cuddle-first, décor-first, or collectible, because that choice drives materials, facial treatment, and packaging later. Finally, I set a test plan tied to the intended market: EN71 for EU/UK, ASTM F963 + CPSIA for the U.S., and any retailer RSL or OEKO-TEX expectations.
Table 1 — Concept Stage Gate (Pass/Fail)
| Gate | What I check | Pass signal |
|---|---|---|
| Audience & use | Age grade, play vs décor vs collectible | One sentence purpose |
| Silhouette | Proportion, sit stability, hand-fit | Front/side/3⁄4 sketches agreed |
| Safety | Trim rules by age grade | 0+ embroidery or 3+ qualified trims |
| Line logic | Size ladder, color family | 2–3 core colors approved |
| Test plan | Markets and standards | EN71 / ASTM F963 / CPSIA checklist set |
How do material selection, color matching, and fabric sourcing impact final texture and safety compliance?
Material choices define touch, look, and risk. For faces and high-touch areas, I favor short-pile minky or velboa (≈2–3 mm). They are silky, crisp for embroidery, and wash well. For bodies, we can use velboa for clean lines or faux fur (6–8+ mm) for fluff. When we use faux fur, I add trim masks around the muzzle and eyes so expressions stay sharp. For fillings, hollow poly fiber gives cloud-soft squeeze; blends with solid fiber help shape noses and edges. Weighted bases use PP/TPE pellets in double inner pouches to prevent leaks.
Color must be lot-controlled. I match with LAB values or physical swatches, not only screenshots. If you claim rPET shell or fill, keep lot-level certificates and align hangtags to real content. In compliance, the fabric decision changes testing: new dye lots, new trims, or new suppliers require re-testing. My rule: “no silent swaps.” If any upstream component changes, update the file and test what moved.
Table 2 — Fabric & Color Sourcing (Spec Hints)
| Area | Preferred choices | Why it matters | Compliance note |
|---|---|---|---|
| Face panel | Minky/velboa, 2–3 mm, 240–260 GSM | Silky touch, crisp embroidery | Flammability & colorfastness |
| Body | Velboa or faux fur (trimmed muzzle) | Clean look vs fluffy drama | Trim zones reduce fuzz near eyes |
| Fill | Hollow fiber (cloud), optional blend | Shape + rebound | Stuffing integrity tests |
| Weight | Double-pouched pellets | Stable sit, safe seams | Leakage validation |
| Color | LAB-matched, lot-locked | Photo accuracy, reorders | Re-test on dye-lot change |
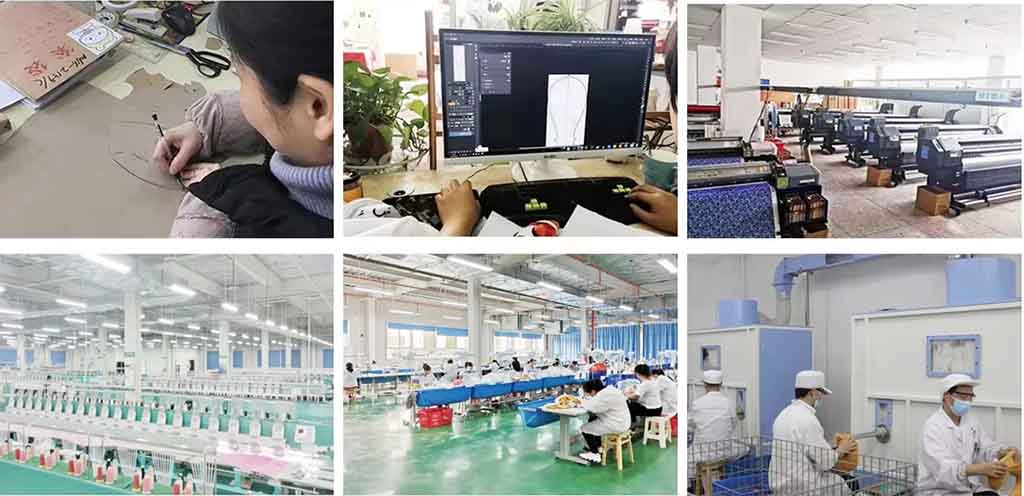
What digital design and prototyping processes (sketching, 3D modeling, pattern drafting) ensure accurate sampling?
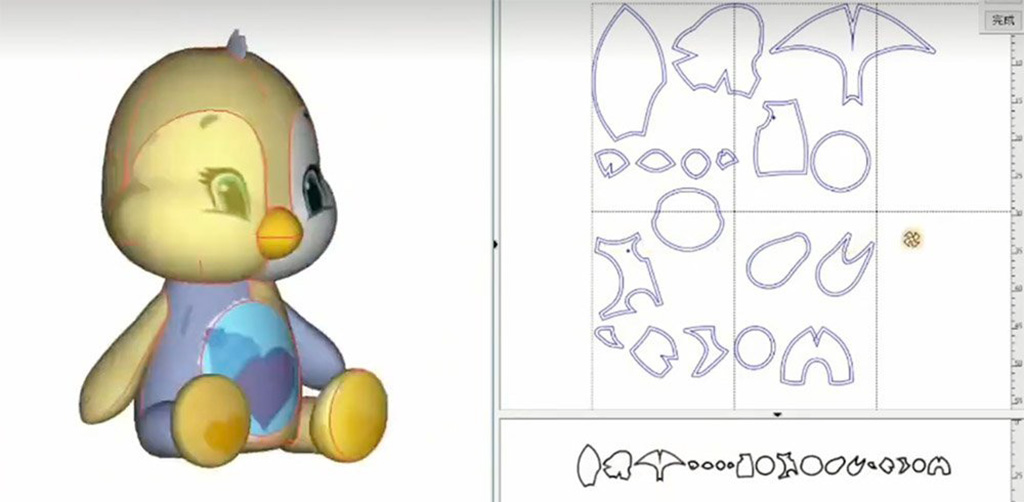
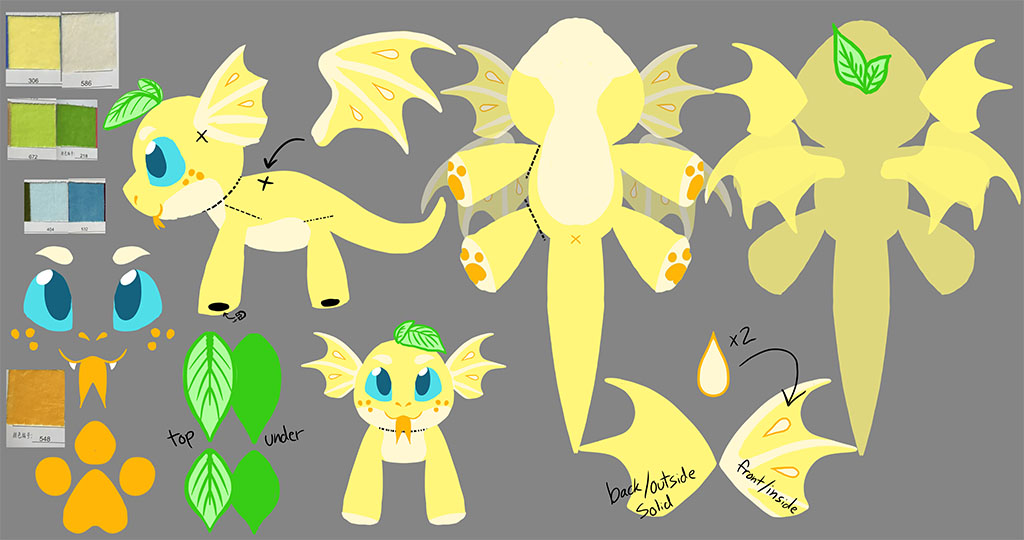
I start with clean orthographic sketches (front, side, 3⁄4) and a size callout. Then we make a rough 3D (digital or foam) to check volume and sit-stability. For complex shapes, a low-poly 3D helps the pattern team foresee undercuts and panel joins. We convert the approved silhouette into pattern pieces with seam allowances and grain direction for pile. The face is plotted on a flat mask so embroidery lands exactly where it should after stuffing.
Before the first sew, we build a paper or muslin mockup to confirm proportion. This is where many projects win or lose time. A 30-minute paper check can save two weeks of resampling. I also plan SPI (stitches per inch) targets and baffle locations for large bodies so fill cannot migrate.
Table 3 — Digital-to-Pattern Workflow
| Step | Output | What we verify |
|---|---|---|
| Orthographic sketch | Front/side/3⁄4 with size | Proportion, face placement |
| Rough 3D / foam | Volume test | Sit stability, undercuts |
| Pattern drafting | Panels with seam allowance | Grain direction for pile, ease |
| Face mask | Embroidery map | Eye/nose/mouth positions |
| Paper/muslin mock | Quick sew | Edge tension, silhouette read |
How is the first prototype (sample or mock-up) reviewed, tested, and refined for structure, proportion, and expression?

Soft Sample #1 focuses on silhouette. I ignore color at first and judge balance, face area, limb thickness, and seating. We mark where cheeks need more fullness, where the head leans, and where seams pull. Then Soft Sample #2 locks expression and handfeel: correct fabric, correct embroidery density, fill grams per panel, and any weighted base. I run basic pull tests on seams, test a gentle wash for short-pile shells, and confirm brush-after-wash behavior on faux fur.
I also measure repeatability: can we place eyes precisely on five units? If not, we add notches or print guides behind the face panel. For safety trims (3+), I do small-parts and tensile pre-checks before sending to a lab. Only after these pass do we cut the PPS (Pre-Production Sample) with real labels, care tags, and packaging.
Table 4 — Sample Review Checklist (S1 → S2 → PPS)
| Item | Soft Sample #1 | Soft Sample #2 | PPS |
|---|---|---|---|
| Silhouette & sit | ✓ Main shape | ✓ Fine balance | Locked |
| Face clarity | Rough placement | ✓ Embroidery density & trim masks | Locked |
| Fill & weight | Rough grams | ✓ Panel grams; double-pouch check | Locked |
| Seams & SPI | Trial SPI | ✓ Pull test pass | Locked |
| Wash/brush | N/A | ✓ Validate method | On label |
| Labels/pack | N/A | N/A | ✓ Full set |
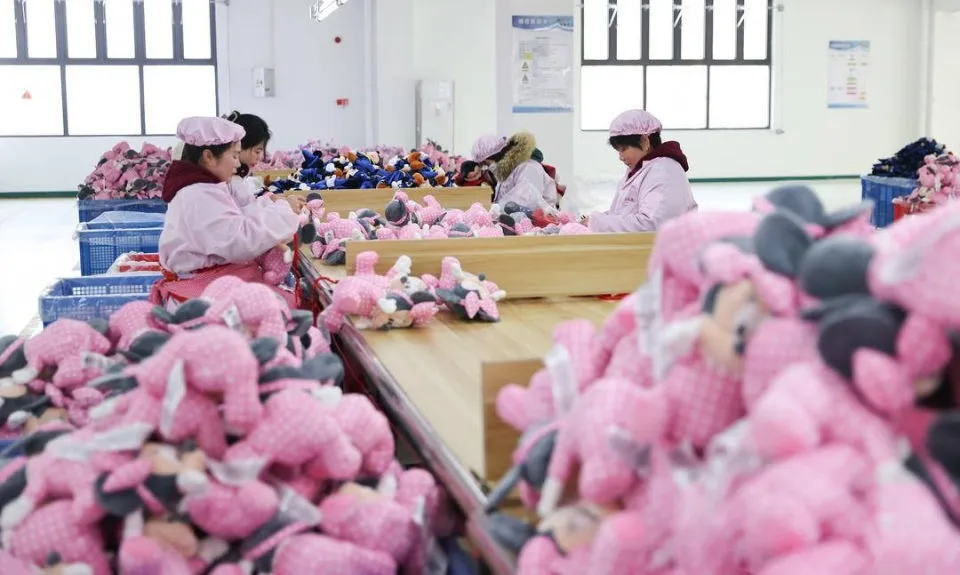
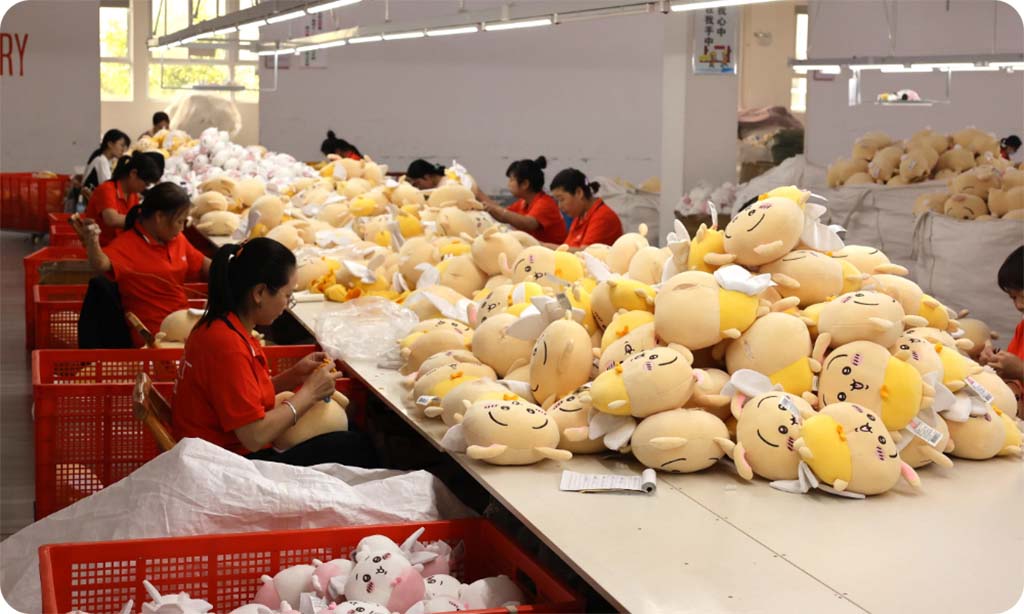
What production workflows—from material cutting and stitching to stuffing, embroidery, and QC—define manufacturing precision?
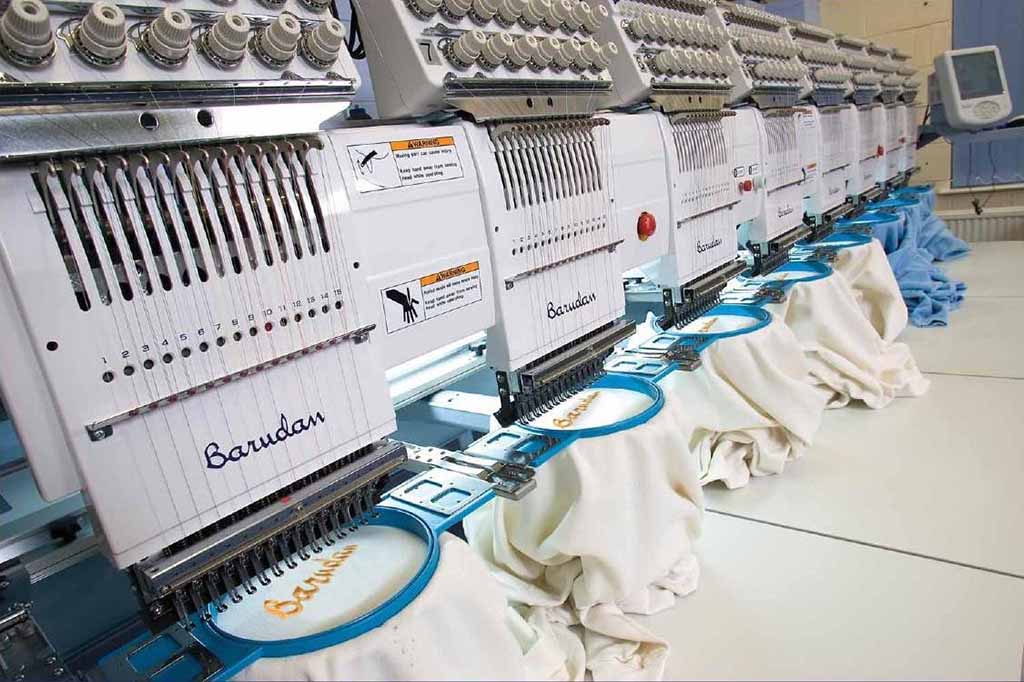
Mass production is discipline. We begin with incoming QC (fabric width, GSM, color, pile direction, trim quantities). Cutting follows marker plans that respect pile direction so panels align. Eye/face embroidery runs on flat panels to keep placement precise. Stitching uses overlock + lockstitch with bar-tacks at stress points. We strictly follow SPI targets to avoid edge ridges. Stuffing follows a fill map with grams per panel; big bodies use baffles to prevent lumping. Weighted bases are sealed in inner pouches and then sewn into the shell.
In-line QC checks critical points: facial symmetry, seam pull, pellet leakage, and lint on velboa. Final Random Inspection (FRI) follows an AQL plan (e.g., General II, Major 2.5 / Minor 4.0). Parallel to production, we send lot-tied samples to accredited labs for EN71/ASTM/CPSIA. If a lot or vendor changes, we retest the affected component.
Table 5 — Production Flow & Controls
| Stage | What happens | Control point |
|---|---|---|
| Incoming | Fabric/trim check | GSM, color, pile direction, counts |
| Cutting | Marker + grain alignment | Pile direction marks |
| Embroidery | Face on flats | Position jig, thread density |
| Sewing | Overlock + lockstitch | SPI + bar-tacks map |
| Stuffing | By panel grams | Baffles, cheek shaping |
| Weighting | Double-pouch pellets | Leakage test |
| In-line QC | 100% visual + pulls | Face symmetry, seam strength |
| FRI | AQL Major/Minor | Cartonization, labeling |
| Lab tests | EN71/ASTM/CPSIA | Lot-tied reports |
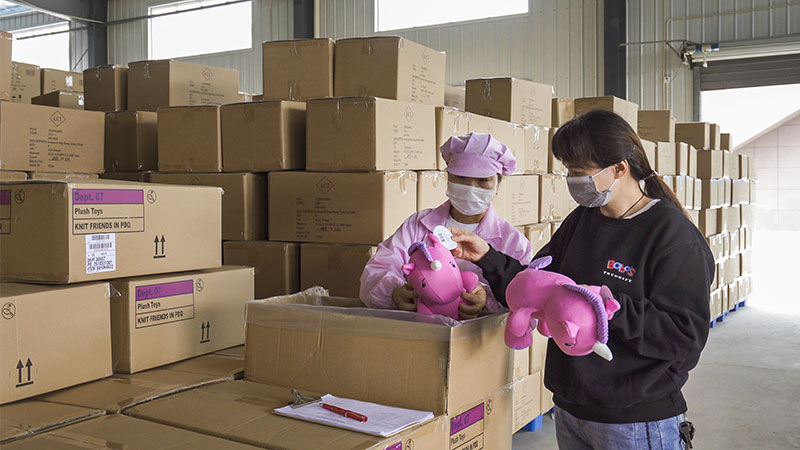
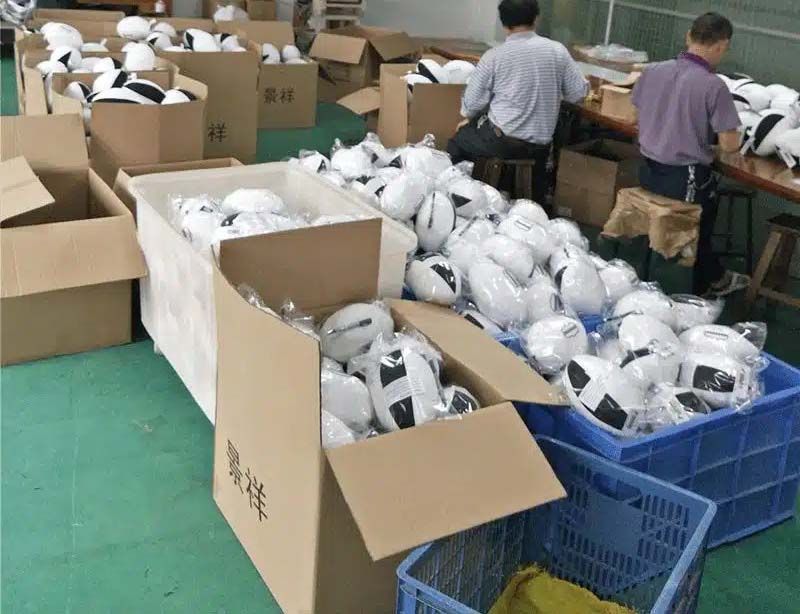
How do packaging, labeling, and logistics planning complete the full custom plush toy development cycle?
Packaging does two jobs: protect the pile and tell the story. For kid SKUs, I prefer polybag + insert or belly band with clear care icons (gentle machine for short pile; surface/brush for faux fur). For décor/collectible SKUs, a gift-ready box increases AOV and protects faces. Labeling must match age grade and market laws: CE/UKCA + DoC for EU/UK; ASTM F963 + CPSIA CPC and tracking label for the U.S. If scented sachets are used, follow IFRA and make them removable with ingredients listed.
Logistics planning starts early. Plush is volume-driven, so carton dimensions and ECT/BCT matter. For short-pile cushions, consider soft compression with a recovery note; for faux fur or collector faces, avoid compression. Choose Incoterms (FOB/CIF/DDP) based on your channel, and include HS code 9503 planning for duty and tariff discussions. Document everything: packing list, test reports, CPC/DoC, tracking-label map, and a quick care card to reduce returns.
Table 6 — Packout & Logistics Snapshot
| Area | Best practice | Why it matters |
|---|---|---|
| Packaging | Polybag + insert (kids); gift box (décor/collector) | Protection + AOV lift |
| Labels | Age mark; care symbols; tracking info | Legal access; fewer returns |
| Docs | CPC/DoC; EN71/ASTM/CPSIA reports | Retailer onboarding |
| Cartons | Right-size; ECT/BCT set | Freight and shelf safety |
| Incoterms | FOB/CIF/DDP by channel | Cost and risk clarity |
| Compression | Short-pile only; test recovery | Protects handfeel and face |
Quick RFQ Templates (copy-ready)
0+ Cuddle Bunny
- Shell: minky 240 GSM; pile 2.5–3.0 mm; warp-knit backing
- Face: embroidery only; SPI per spec
- Fill: hollow fiber; no pellets
- Tests: EN71-1/2/3, ASTM F963, CPSIA; tracking label
- AQL: General II, Major 2.5 / Minor 4.0
3+ Fox with Weighted Base
- Shell: velboa 220 GSM; pile 2.0–2.5 mm
- Weight: PP pellets 120 g, double-pouched; leakage test
- Face: embroidery + qualified safety eyes
- Tests: EN71-1/2/3; ASTM F963; CPSIA
- Packaging: polybag + insert; care icons
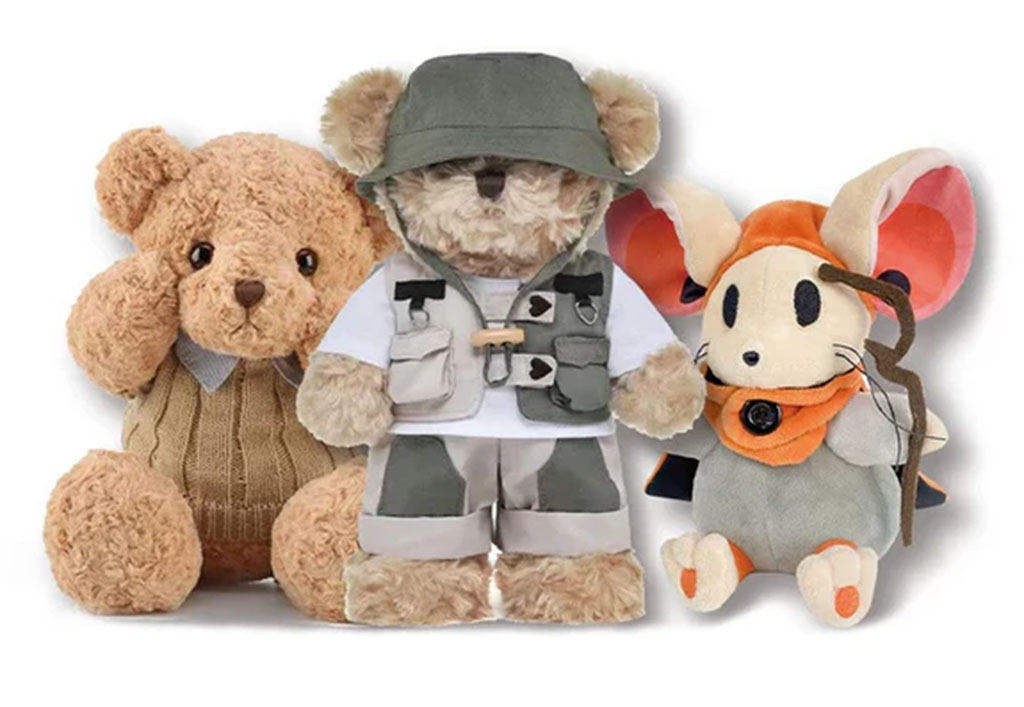
Décor Wildlife Cub (Collector)
- Body: faux fur 6–8 mm; velboa face insert; trim mask
- Fill: hollow + solid blend for muzzle shape
- Packaging: gift box with edition card
- Age: 14+ collectible; boutique care
Conclusion
A great custom plush is planned, tested, and repeatable. Start with a tight brief, pick fabrics that fit the age grade and story, and sample in two smart passes to lock silhouette and expression. Use numeric specs—GSM, pile height, SPI, panel-fill grams—and keep safety trims and double-pouched weights honest. With clean packaging, lot-tied compliance, and thoughtful logistics, you’ll ship plush that looks premium on camera and feels right in hand. If you want a factory team to turn this plan into a sealed PPS and on-time mass, email [email protected] or visit kinwintoys.com—my team at Kinwin is ready.