Your OEM/ODM Plush Toy Supplier from China

How to make a stuffed doll: Detailed Guide

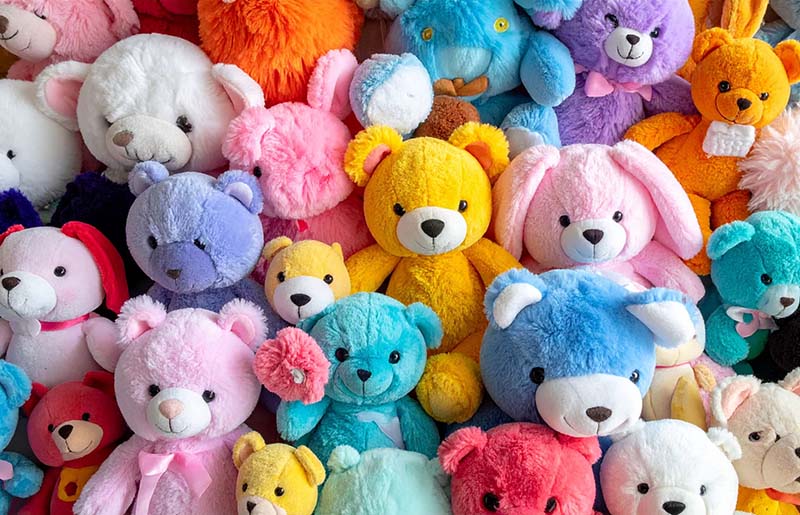
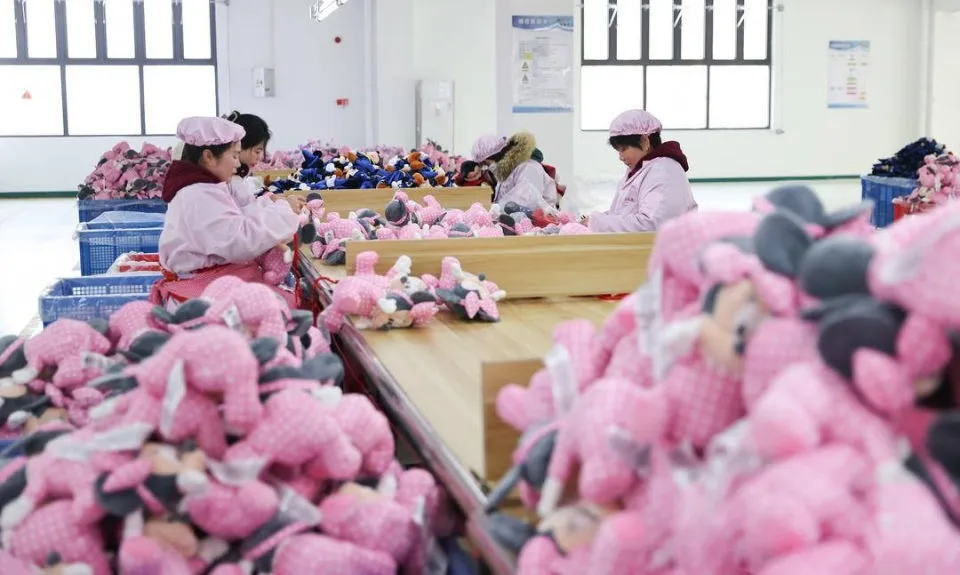
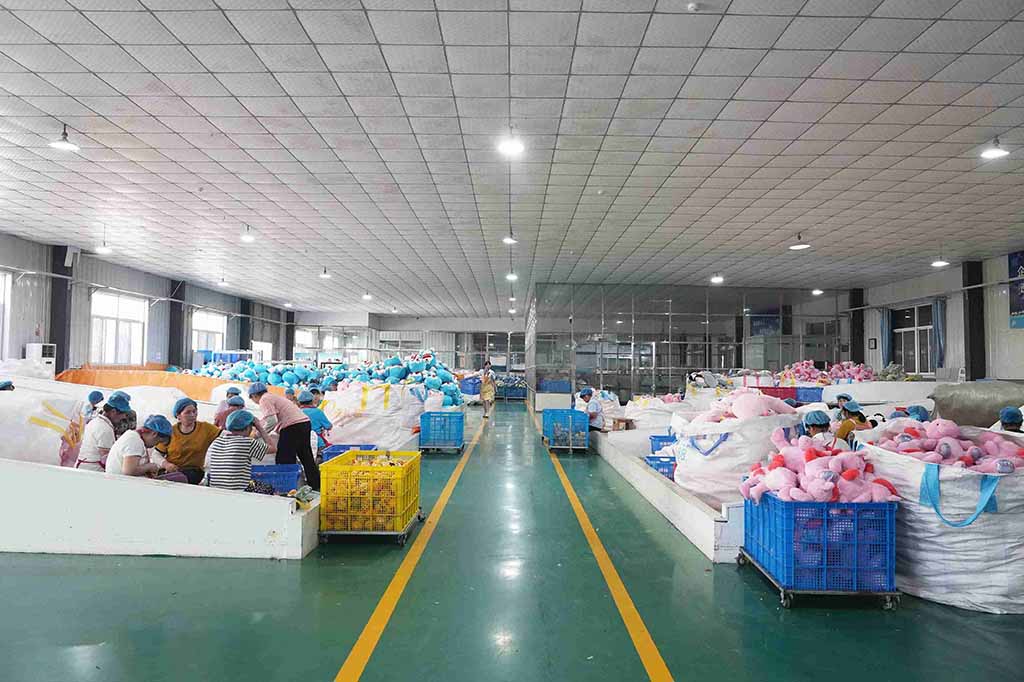
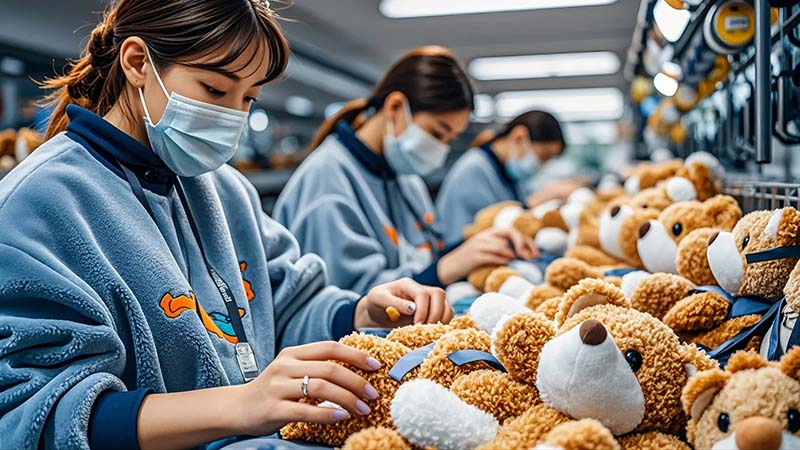
I make plush dolls for global brands every day at Kinwin. This is my complete, practical process—from the first sketch to a safe, retail-ready doll. I’ll keep the language simple, the steps clear, and the tips actionable so you can use this at the sewing table or in a factory SOP.

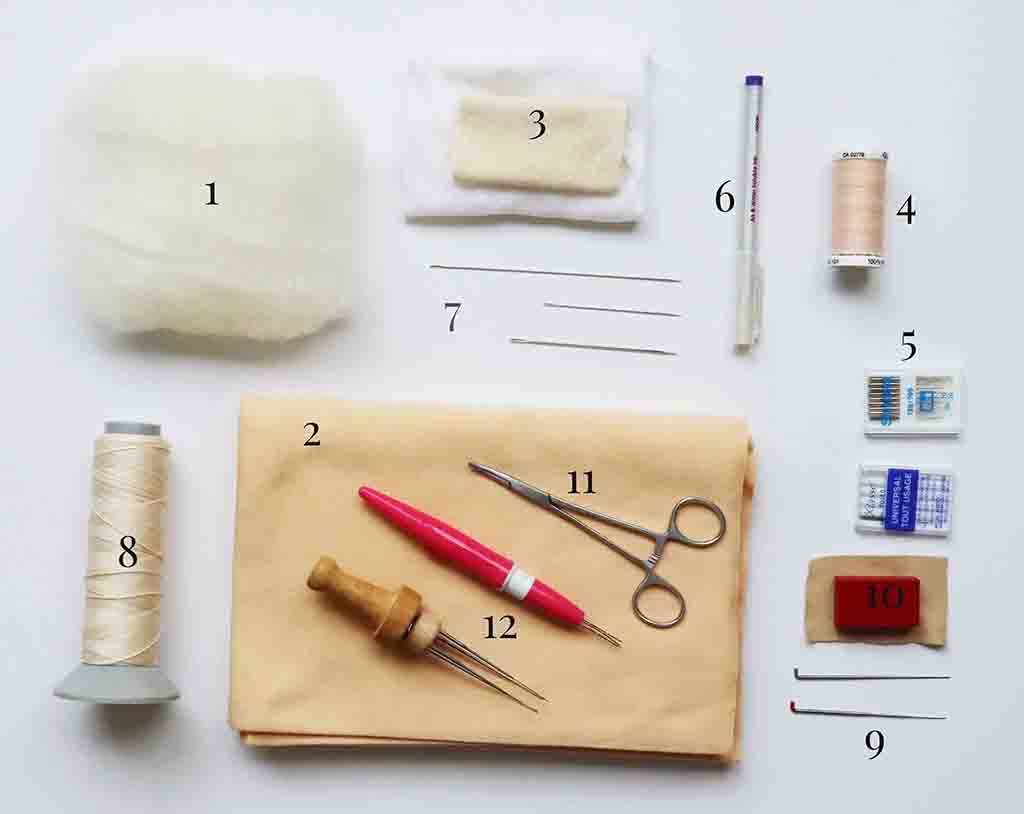
What materials and tools are essential for making a stuffed doll?

Essential materials and tools for making a stuffed doll, including fabric, stuffing, needles, scissors, and thread.

Materials checklist

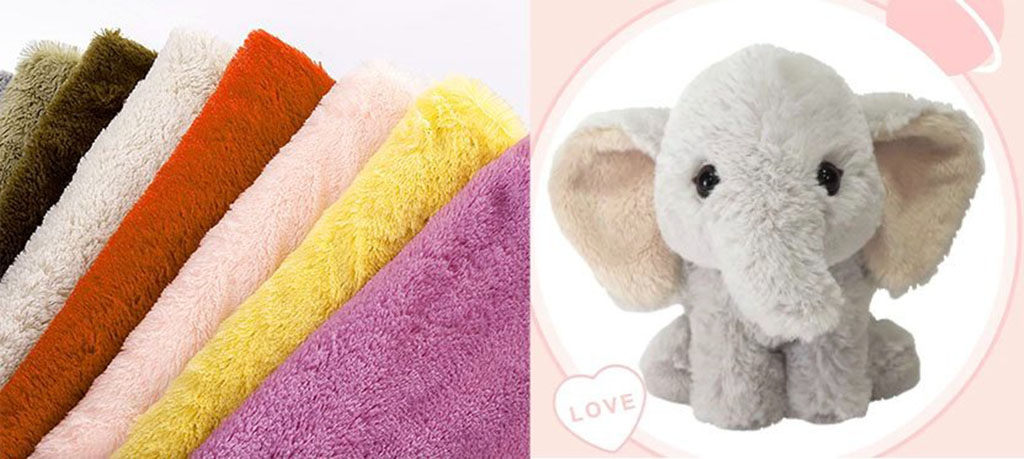
  • Fabrics (choose by feel + use)
    • Minky / microplush (1–3 mm pile): ultra-soft face and tummy.
    • Velboa (short pile): smooth, durable body.
    • Fleece: cozy seasonal lines.
    • Cotton jersey/twill (for clothes, accents).
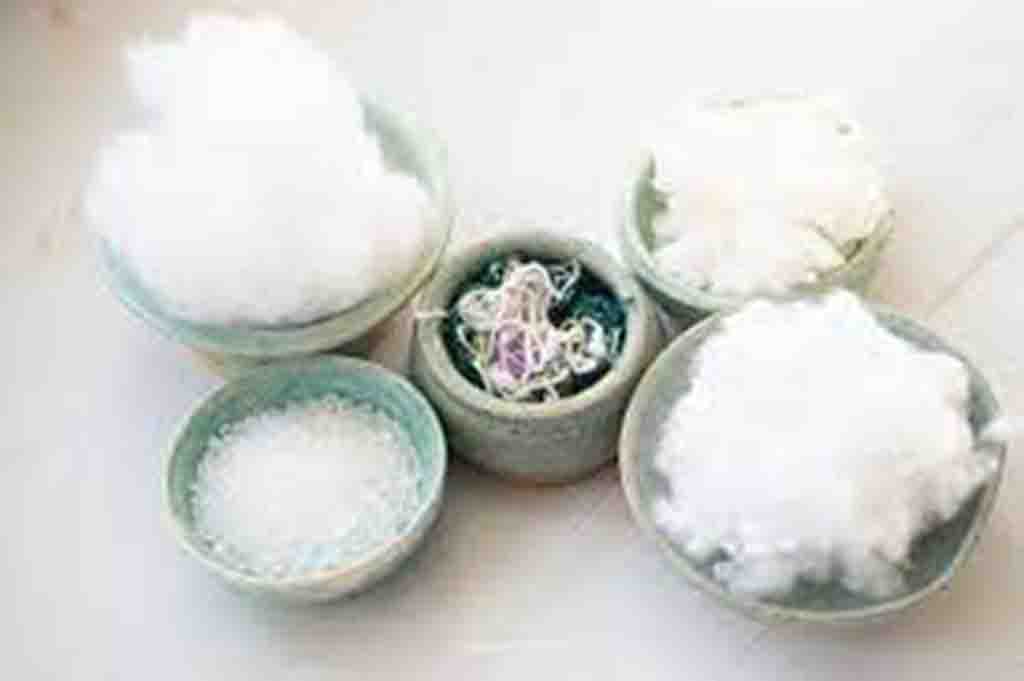
  • Stuffing
    • Polyester fiberfill (cluster or hollow): standard, washable.
    • rPET fiberfill: recycled option.
    • Optional: small poly pellets for balance (3+ years only, inside inner pouch).
  • Threads
    • 100% polyester, Tex 27–40; colorfast.
  • Interfacing / stabilizer
    • Lightweight fusible for facial embroidery zones.
  • Notions
    • Embroidery thread (poly or rayon), felt patches, bias tape for inside seam reinforcement, hook-and-loop or snaps for clothing.
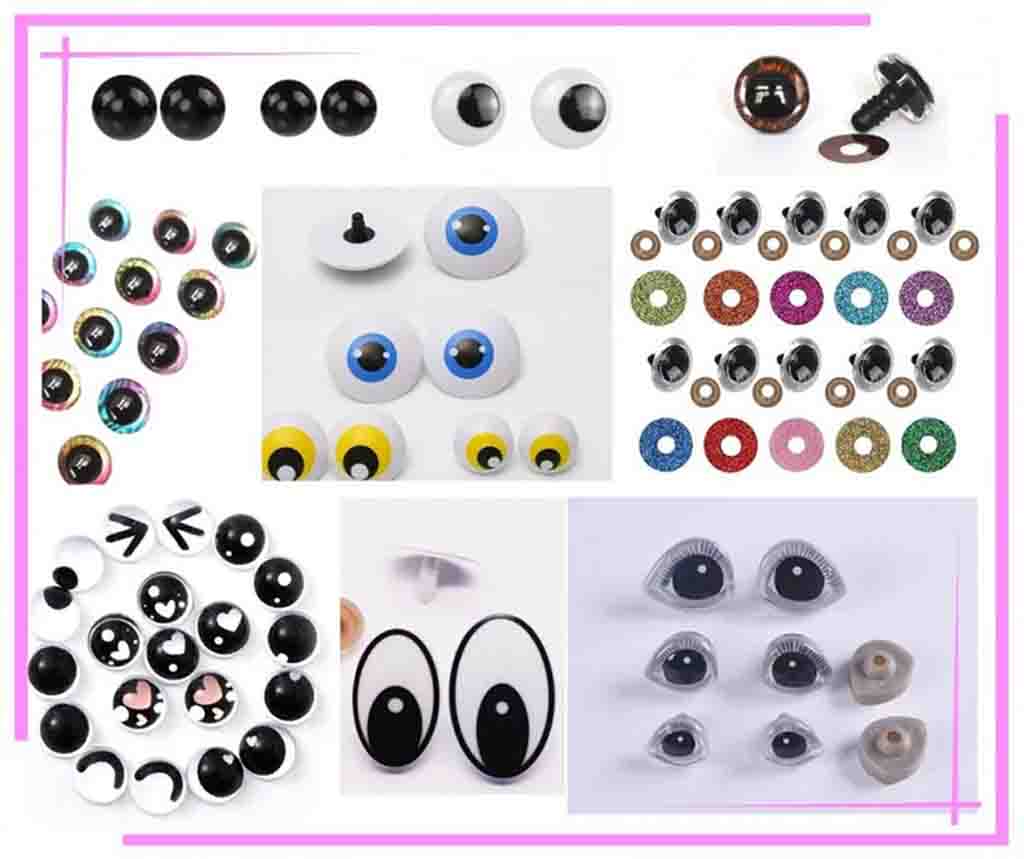
    • Safety eyes/nose with locking washers (ages 3+). For 0–36 months, use embroidered features only.
  • Labels & trims
    • Brand label, care label, hangtag loop.
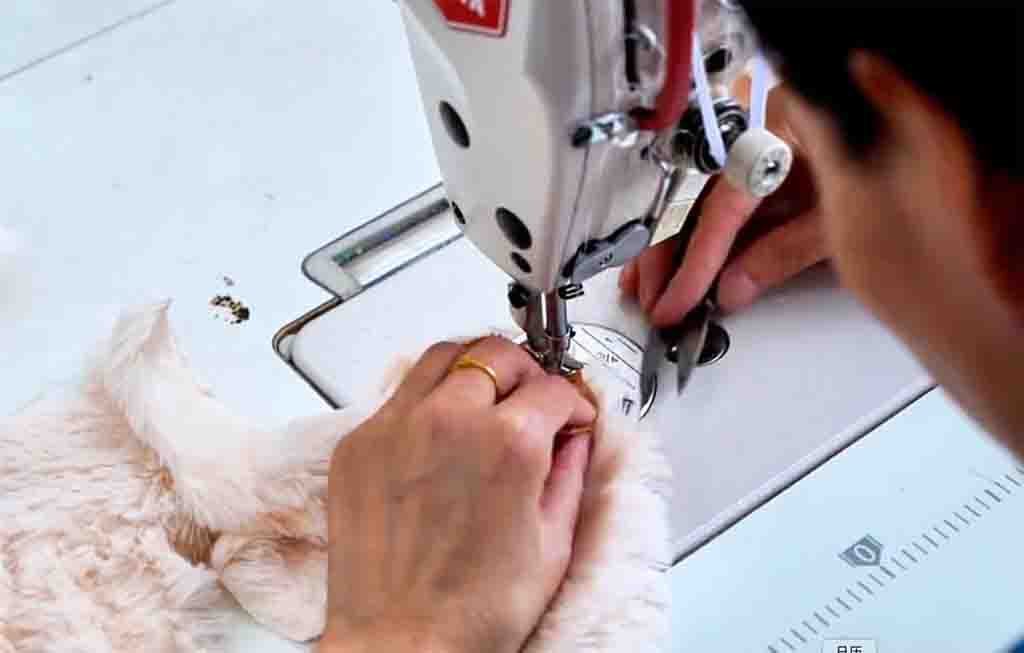
Tool kit

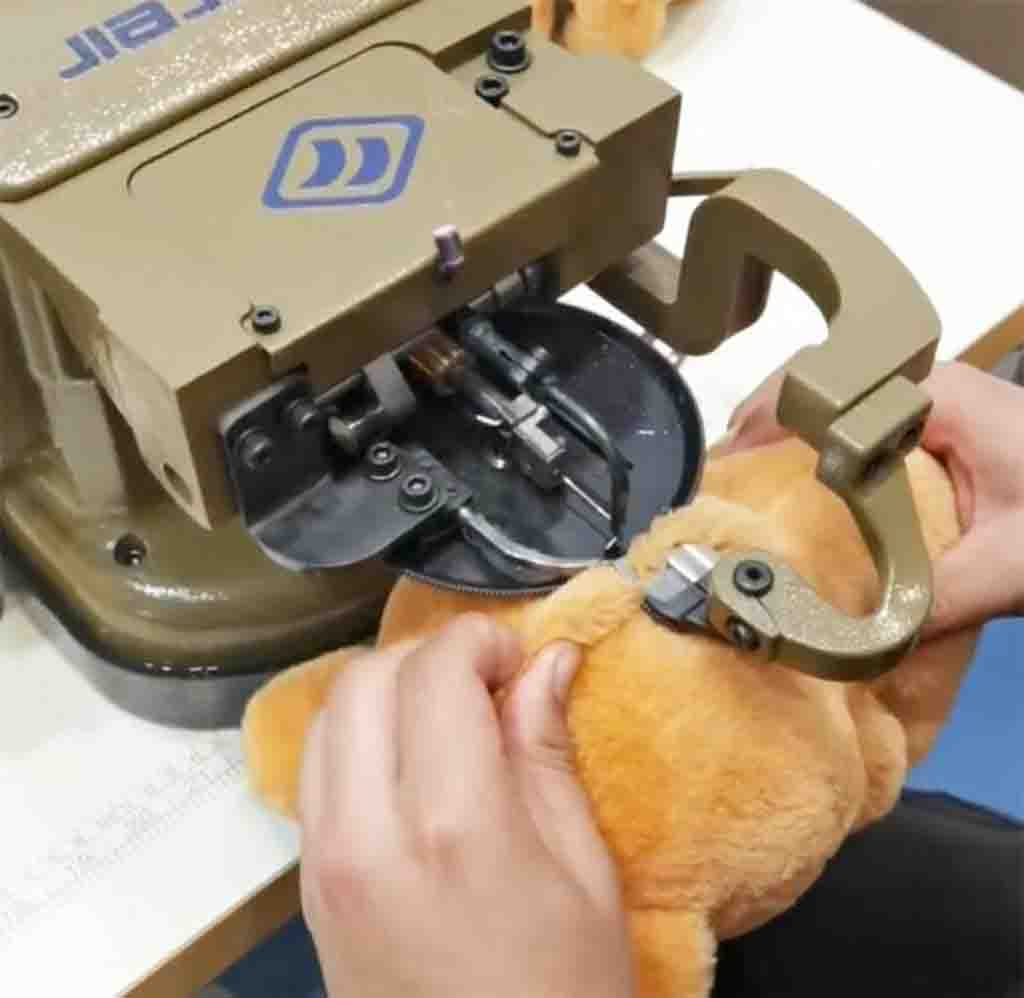
  • Sewing machine with straight + zigzag (2.5–3.0 mm stitch length).
  • Embroidery machine (or hand embroidery needles).
  • Micro-serger (optional) for internal seam finishing.
  • Fabric shears/rotary cutter, small snips.
  • Ballpoint/Universal needles 80/12 (knits) or 90/14 (thicker plush).
  • Point turner/chopstick, stuffing wand.
  • Clips or fine pins (clips are safer for pile fabrics).
  • Heat-erasable pen, ruler, French curve.
  • Steam iron with press cloth.
ItemSpec/TipWhy it matters
ThreadPoly Tex 30 ±Strong, low stretch
Needle80/12–90/14Prevents skipped stitches
Stitch2.5–3.0 mmDurable seam, easy curves
InterfacingLight fusibleCrisp embroidery, no tunneling

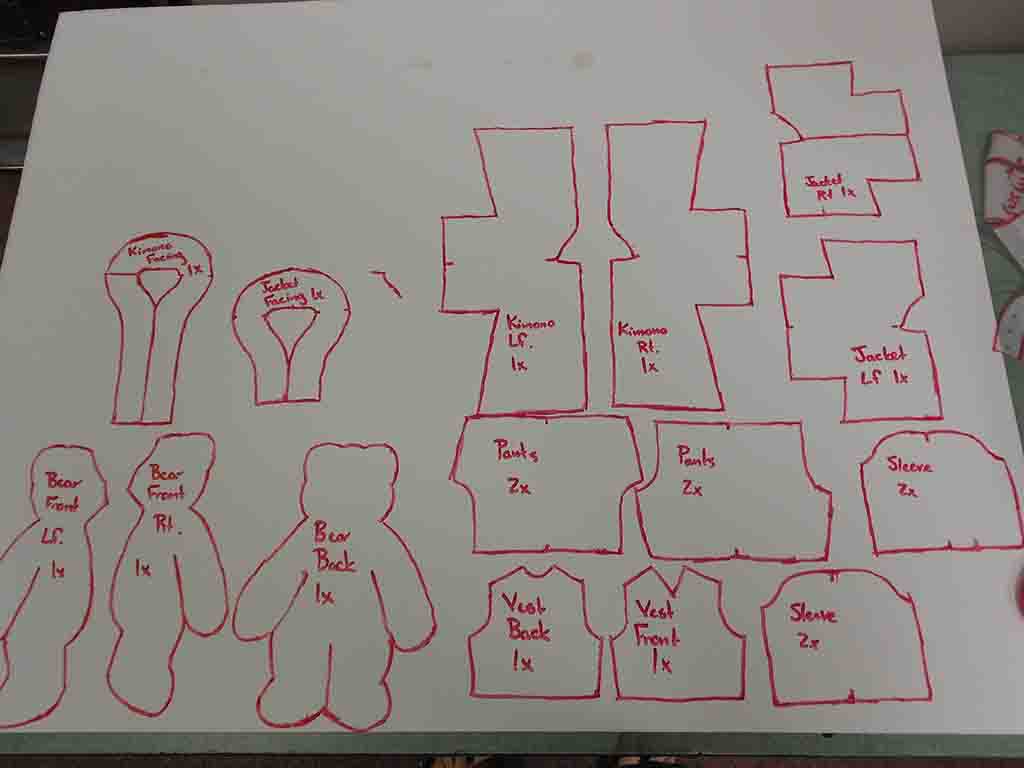
How do you design and cut fabric patterns for a plush doll?

Red-outlined sewing patterns for plush doll and bear clothes including kimono, jacket, pants, vest, and sleeves.

Plan the character

  • Proportions: big head (60–65%) = cute; longer limbs = playful.
  • Breakdown: front/back head, muzzle/cheeks, ears, front/back body, arms, legs, feet, clothing panels.

Draft the pattern

  1. Sketch front and side. Mark center lines, grain/pile direction arrows.
  2. Add seam allowance 7–10 mm (¼–⅜”) all around.
  3. Build notches at match points (neck/shoulder, armhole, ear base).
  4. Create separate embroidery mask (face window) if using applique.

Fabric layout & cutting

  • Place all pieces with pile running downward on the finished doll.
  • Mirror pairs (ears, arms, legs).
  • Use pattern weights + rotary cutter for clean edges on plush.
  • Transfer marks with heat-erasable pen on the wrong side.

Pro tip: On curves that will be turned, add a tiny extra 1–2 mm of seam allowance; you can trim after sewing for smoother edges.

Pattern stepCommon mistakeFix
Pile directionRandom napArrow on every piece
NotchesMissingAdd at 4 key points/part
Seam allowanceInconsistentTrace once with spacer

What sewing techniques ensure durability and safety in stuffed dolls?

Close-up of hands using a sewing machine to stitch soft plush fabric for toy making.

Core seam recipe (factory-proven)

  • Inner seam: straight stitch 2.6–2.8 mm.
  • Edge secure: narrow zigzag or serge to reduce fray.
  • Backtack at start/end and triple-stitch at stress zones (neck, underarm, crotch, base of ears).
  • Curves: sew slowly; clip convex curves, notch concave curves.

Safety-first details

  • Face: embroidery or applique; avoid glue.
  • Eyes/Nose: use locking safety parts only for 3+; always back with a small washer + interfacing.
  • Pellets/weights: keep in a sewn inner pouch (tight stitch, zigzag edges).
  • Seam security: no open seam >15 mm without reinforcement.

Closures

  • Final close with ladder stitch (invisible). Use poly thread and take small, even bites.
  • For clothing: snaps or stitched ties; avoid small buttons for under-3s.
AreaStitch/MethodWhy
Neck/arm joinsTriple stitch + zigzag edgeHighest load points
Face zoneInterfacing + satin/bean stitchCrisp, safe features
Final closeLadder stitchClean finish + strong

How do you choose and insert the right type of stuffing?

Different types of plush toy stuffing materials displayed in small bowls including fiberfill, foam, and beads.

Choosing the fill

  • Polyester fiberfill (cluster/hollow): soft, springy, machine-washable—default choice.
  • rPET fiberfill: eco story, similar handfeel.
  • Cotton: natural, but compacts faster.
  • Memory foam crumbs: structure for big heads; use in blend.
  • Poly pellets / glass beads: weight and tactile feedback; 3+ only, always bagged.

Insertion technique (no lumps)

  1. Pre-fluff fiberfill; break into walnut-size tufts.
  2. Start with extremities (toes, hands, ears) using a stuffing wand.
  3. Fill head, shaping cheeks and chin first.
  4. Pack torso: firmer core, softer outer layer for hug feel.
  5. Balance left/right to keep symmetry.
  6. Test squeeze: doll should rebound without hard spots.
GoalWhat to doAvoid
Smooth limbsSmall tufts + wandBig wads = ridges
Stable headBlend foam crumbs + fiberfillOver-soft head flop
Weighted feelPellets in inner pouchLoose pellets in body

What steps are involved in assembling and shaping the doll’s body?

Worker using sewing machine to stitch closed a plush teddy bear during toy manufacturing.

Build order I use

  1. Face first: embroider/applique features on flat head panels.
  2. Ears & muzzle: sew, turn, lightly stuff if needed; baste to head.
  3. Head: sew front to back, leave neck opening; stuff and shape.
  4. Arms/legs: sew, turn, stuff to 70–80% so joints aren’t bulky.
  5. Body: sew front/back, leave lower back or side opening.
  6. Join: insert limbs at notches; sew with triple stitch around arm/leg scyes.
  7. Attach head to body: sew neck seam; add internal bias tape for reinforcement if fabric is stretchy.
  8. Final stuffing: adjust torso density; ladder-stitch close.

Sculpting with stitches (optional)

  • Cheek tacks: tiny internal stitches to shape smile lines.
  • Knee/elbow definition: shallow topstitch lines after stuffing.
StageCheckpoint
Head shapeSymmetrical cheeks, centered nose
Limb balanceEqual length/firmness
Neck joinNo puckers; reinforced

How can facial features and accessories be added for customization?

Assorted plastic safety eyes in different colors, shapes, and sizes used for plush toy customization.

Faces that sell the doll

  • Embroidery: satin stitch eyes, bean stitch mouth; stabilize back.
  • Applique: felt or plush patches for cheeks/muzzle; satin edge.
  • Safety parts (3+): install before head assembly; always add washers.

Expression tips

  • Eyes placed one eye-width apart feel friendly.
  • Smile arc slightly upward builds warmth.
  • Pastel cheek circles add charm without cost.

Accessories

  • Clothing: simple dress, hoodie, or removable scarf.
  • Props: mini backpack, soft book, blanket.
  • Labels/branding: woven label on side seam; embroidered logo on foot.
Custom elementEffortImpact
Embroidered cheeksLowHigh cuteness
Removable scarfLowSeasonal refresh
Hoodie outfitMediumGiftable value
Monogram nameMediumPersonalization

What finishing touches improve quality and professional appearance?

Assorted plush animals displayed on desk with yellow boxes and stationery in background.
  • Steam + brush: light steam with press cloth, then brush pile to lift nap.
  • Edge grooming: trim stray threads, lint-roll, de-fur seams.
  • Symmetry check: measure ear height, eye spacing, limb length.
  • Care label: “Surface clean” or “Gentle machine wash 30 °C” (match your tests).
  • Packaging: breathable polybag with warning, or box with tissue; carded hangtag with barcode.

Quick QA checklist (use every time)

  • Seams tight; no gaps or loose threads.
  • Features centered; expression matches sample.
  • Stuffing smooth; doll sits/stands as intended.
  • Labels present; trims secure; no small loose parts.
Finish stepToolResult
Nap restoreSoft brushEven, premium look
Shape setLight steamSmooth curves
Thread trimMicro snipsClean edges

Are there safety standards to follow when making stuffed dolls for children?

Sleeping newborn beside soft pink teddy bear with checkered ribbon bow.

Yes. If you sell in regulated markets, your doll must meet applicable toy standards. Plan for compliance before you cut fabric.

Core standards to consider

  • EN71 (EU): mechanical/physical tests, flammability, migration of certain elements.
  • ASTM F963 (US): mechanical hazards, flammability, heavy metals.
  • CPSIA (US): total lead content, phthalates for child products.
  • ISO 8124 (Intl.): similar scope for global markets.

Design-for-safety rules of thumb

  • Under 3 years: no small detachable parts; embroidered features only.
  • Seam strength: reinforce high-stress areas; no accessible stuffing.
  • Pellets/weights: double containment (inner pouch + outer seam).
  • Materials: use tested fabrics, threads, and fillings; keep batch records.
  • Labels: age grading, care, fiber content where required.
Safety areaWhat you doOutcome
FeaturesEmbroider or lock-washers (3+)No choking hazard
SeamsTriple stitch key zonesPass pull tests
FillersHypoallergenic, testedClean, safe interior
DocsKeep COAs/test reportsSmooth retailer onboarding

Example bill of materials (BOM) template

ComponentSpecQtyNotes
Body fabricVelboa, 1.5 mm, Pantone…0.25 mPile ↓
Face fabricShort-pile minky, off-white0.1 mStabilize
FiberfillPoly (cluster), 7D120 gBody/head
ThreadPoly Tex 30, color-matched1 cone
EyesEmbroidered0–36 m compliant
Label setBrand + care1 setCPSIA info
PackagingBreathable polybag + tag1Warning text

Sample production timeline (small batch)

WeekMilestone
1Sketch → pattern → first sample
2Face embroidery test + fit fixes
3PP (pre-production) sample sign-off
4–6Bulk cut/sew/stuff; in-line QC
7Final QC, packing, ship prep

Conclusion

A great stuffed doll comes from clear patterns, strong seams, smart stuffing, and safe features. Start with the face, respect pile direction, reinforce every stress point, and finish with a clean ladder stitch and a gentle steam. Test your materials, document results, and you’ll have a doll that looks premium, hugs beautifully, and passes compliance with confidence.

At Kinwin, I can turn your concept into a certified retail product—OEM & ODM, sample to mass production—tested to EN71, ASTM, CPSIA, ISO.

📧 [email protected]
🌐 kinwintoys.com

Email:  [email protected]

Hi, I'm Amanda, hope you like this blog post.

With more than 17 years of experience in OEM/ODM/Custom Plush Toy, I’d love to share with you the valuable knowledge related to Plush Toy products from a top-tier Chinese supplier’s perspective.

Contact us

Here, developing your OEM/ODM private label Plush Toy collection is no longer a challenge—it’s an excellent opportunity to bring your creative vision to life.

Recent Post

Table of Contents

Ask For A Quick Quote

We will contact you within 24 Hours, please pay attention to the email with the suffix“@kinwinco.com”

For all inquiries, please feel free to reach out at:

(+86)13631795102

Ask For A Quick Quote

We will contact you within 24 Hours, please pay attention to the email with the suffix“@kinwinco.com”

Ask For A Quick Quote

We will contact you within 24 Hours, please pay attention to the email with the suffix“@kinwinco.com”

For all inquiries, please feel free to reach out at:
email:[email protected]  phone numbe:  0086 13631795102