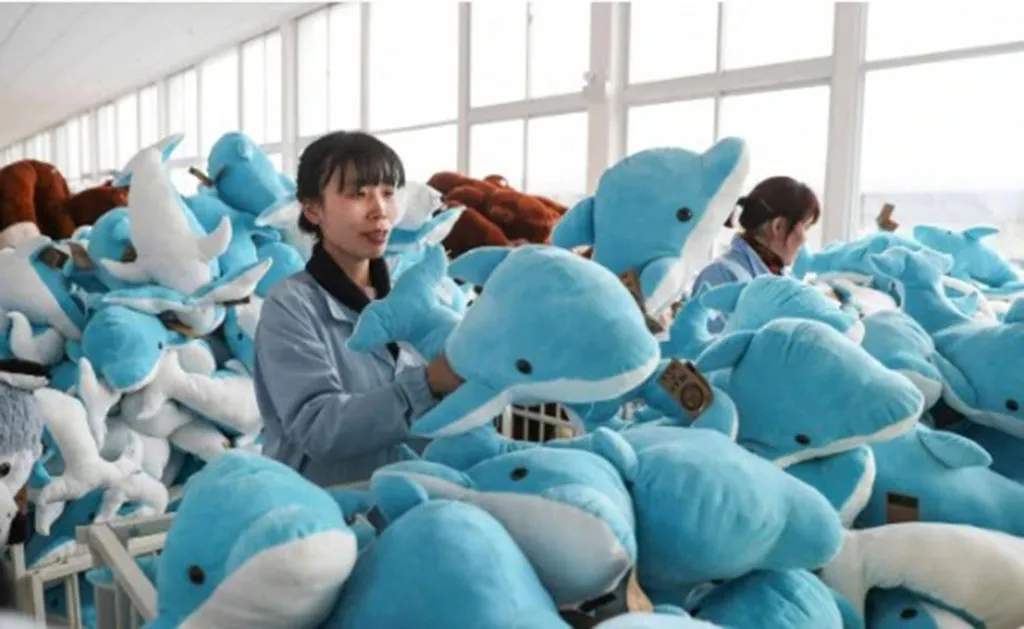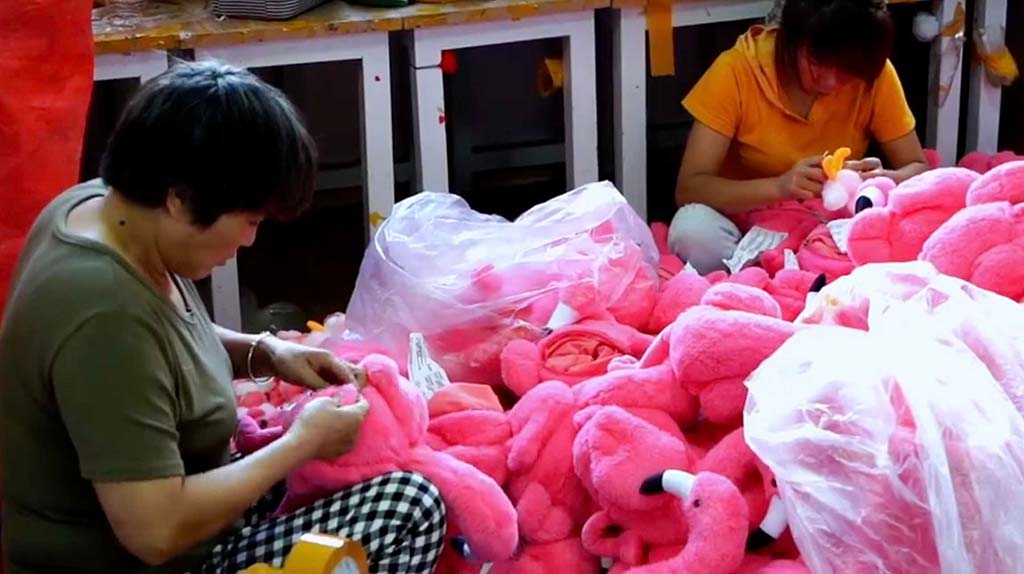
When someone asks me, “What is the easiest stuffed animal to make?”, I always say: choose a simple silhouette, a friendly fabric, and a forgiving stuffing plan. Ease is not only about the pattern; it’s the harmony between shape, fabric, seam strategy, and finishing steps. As Amanda from Kinwin, I’ll break down the factors that truly reduce difficulty, show beginner-friendly shapes, recommend fabrics that sew cleanly, explain stuffing tricks that keep silhouettes cute, highlight tiny design decisions that save time, and share how factories streamline “easy” models for smooth mass production. Each section includes a practical table you can paste into RFQs and SOPs.
What factors determine how easy a stuffed animal is to make?
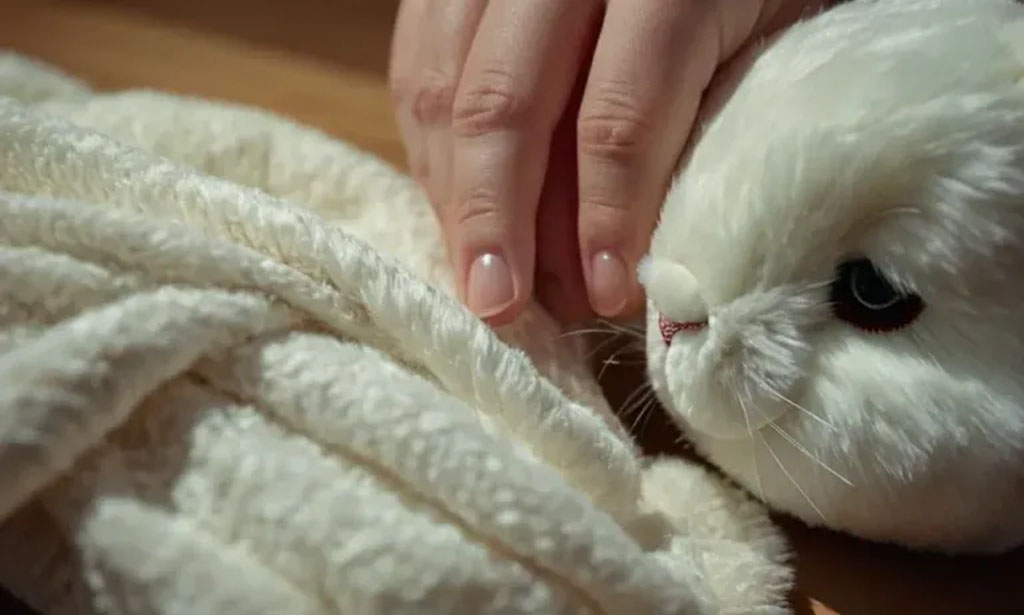
“Easy” means you can cut, sew, turn, stuff, close, and groom with minimal risk of distortion. The main drivers are: panel count, curve complexity, seam access, fabric behavior, and tolerance to over- or under-stuffing. A project becomes easy when the silhouette is stable (fewer darts, broad curves), the seam path is short, and there’s a generous opening for turning and filling. Add a fabric that doesn’t fray, forgives minor stitch wobble, and photographs well, and you have a beginner-friendly winner.
From a factory lens, ease also means repeatability: consistent face placement, quick seam closing (ladder stitch), and predictable stuffing grams. If an amateur (or a new operator) can hit the target shape 9 times out of 10, that pattern is truly easy.
Table 1 — What makes a plush pattern “easy” (priority checklist)
| Factor | Why It Affects Ease | Good Practice | Red Flag |
|---|---|---|---|
| Panel count | Fewer panels = fewer joints to align | 2–6 body panels for small toys | Many tiny pieces or acute corners |
| Curve geometry | Broad curves turn and stuff smoothly | Avoid sharp V’s near openings | Tight S-curves, slender ankles |
| Seam access | Bigger opening = easier turn & fill | 6–10 cm opening on small plush | Short/hidden opening on tight curve |
| Fabric behavior | Stable, non-fray saves time | Short plush/velboa, microfleece | Slippery satin; hairy faux fur for beginners |
| Face method | Embroidery avoids small parts | Pre-placed embroidery or patches | Button eyes / hard trims (0–3 yrs) |
| Stuffing tolerance | Shape holds even with small errors | Rounded bodies; low center mass | Tall, thin shapes that collapse |
Which simple shapes and patterns work best for beginners?
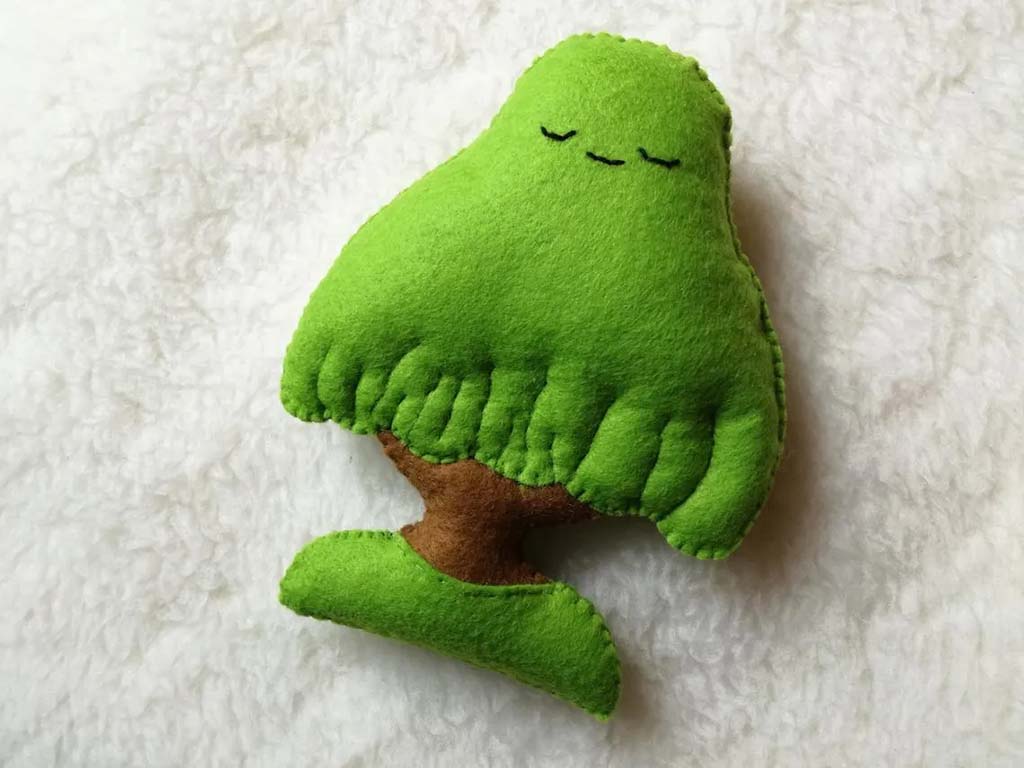
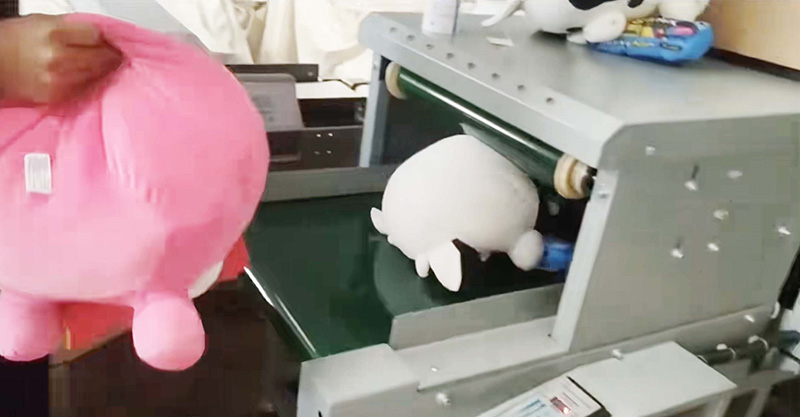
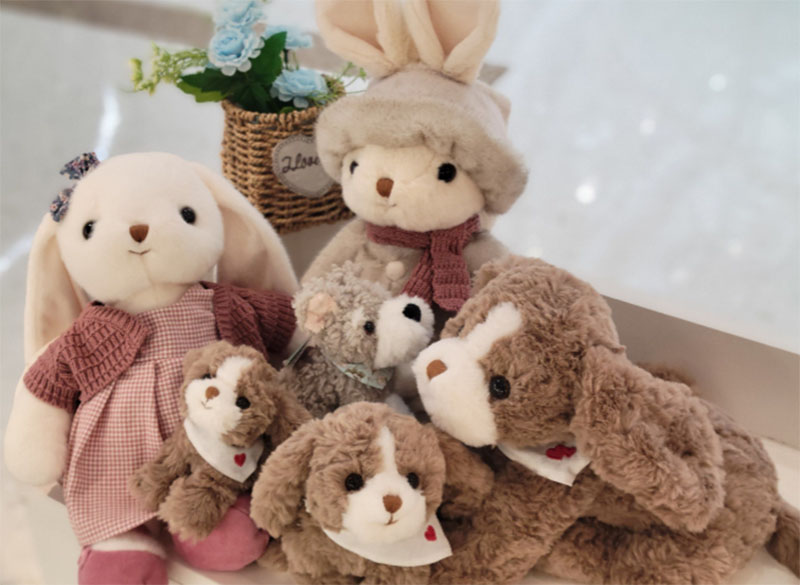
Choose rounded, continuous silhouettes: blobs, beans, pears, moons, chubby bears, simple bunnies with one-piece ears, seals, or whales with flat fins. These shapes hide small stitching variations, sit upright with little coaxing, and look cute without complex darts. A classic “bean bear” with front + back body, separate muzzle, and two ears is a great first pattern. A seal/whale shape is even simpler: broad body, flat tail, and two small fins. The key is avoiding thin wrists/ankles and long necks that twist after stuffing.
Keep facial features embroidered (eyes, nose, smile) so placement is consistent. If you add a muzzle, make it oval with wide seam allowance and a soft curve; this gives depth without tricky corners. Ears should be single-seam pancakes—turn, topstitch if desired, attach with a straight line.
Table 2 — Beginner-friendly shapes (fast pick guide)
| Shape | Panels | Why It’s Easy | Quick Tips |
|---|---|---|---|
| Bean/Blob | 2–4 | Broad curves, no skinny parts | Place opening on a flat belly area |
| Seal/Whale | 2–4 + fins | Stable base, cute profile | Keep fins flat; seam on body midline |
| Chubby Bear | 4–6 + ears + muzzle | Iconic; hides small errors | Short limbs; oval muzzle |
| Bunny (simple) | 4–6 + ears | Ears are easy single panels | Avoid long thin necks |
| Cat (round) | 4–6 + ears | Minimal darts, friendly face | Slightly heavier base for sit-pose |
| Chick/Penguin | 4–6 + wings | Oval body = easy to stuff | Flat wings; embroidered face |
What fabrics are most suitable for easy sewing and shaping?
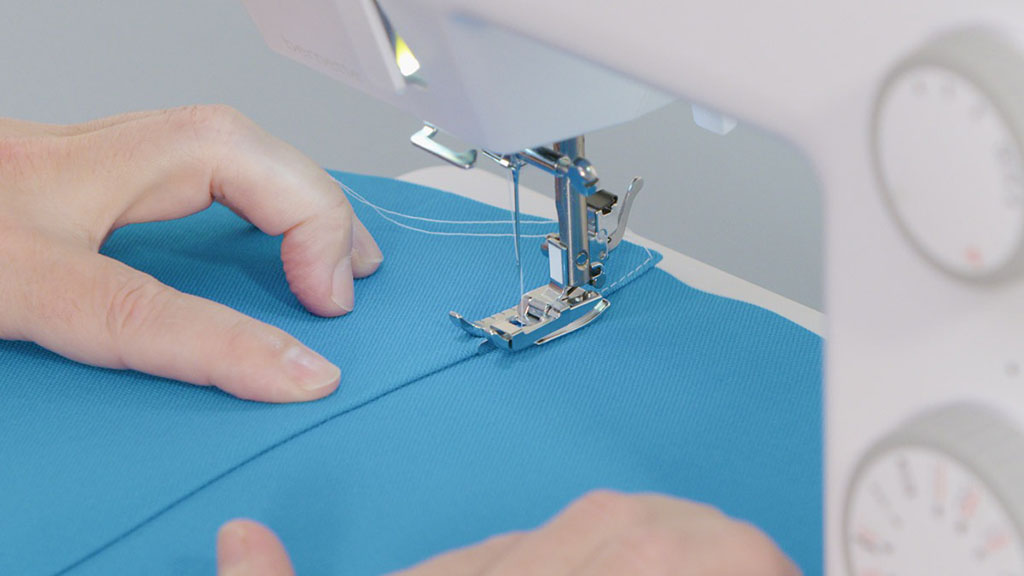
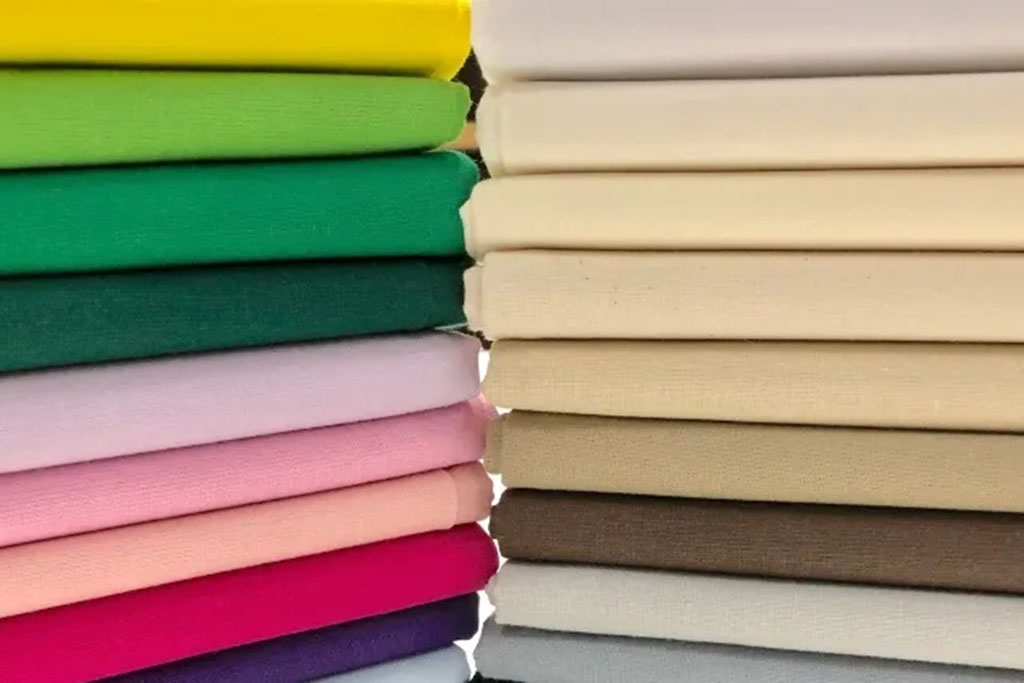
For easy projects, use short plush (velboa 1.5–2.5 mm) or microfleece. Both are stable, non-fray, and mask tiny stitch lines. They turn smoothly and accept embroidery without puckering when backed properly. Minky (3–5 mm) is wonderfully soft, but its pile adds bulk on tight curves—still manageable with a wider seam allowance (0.5–0.7 cm) and careful clipping. Avoid long-pile faux fur at the start: it sheds, hides seam lines during sewing, and needs post-sew grooming.
For faces, short plush gives camera-clean edges. For bodies, microfleece is light and forgiving in warm markets; minky gives premium cuddle if you can manage seam bulk. Always test the darkest color first for colorfastness and run a small wash-bag trial to confirm care labels.
Table 3 — Fabric choice for “easy make” plushies
| Fabric | Why It’s Easy | Best Use | Sewing Note | Care Note |
|---|---|---|---|---|
| Velboa / Short Plush (1.5–2.5 mm) | Stable, low lint, crisp embroidery | Faces, small animals | Thin batting under face for smoothness | Gentle wash; quick dry |
| Microfleece | Non-fray, flat seams | Lightweight bodies, pajamas | Simple to turn/close | Anti-pilling grade preferred |
| Minky (3–5 mm) | Premium soft; hides minor lumps | Bodies if seam bulk managed | 0.5–0.7 cm seam allowance on curves | Air-dry; brush lightly if needed |
| Cotton Knit (jersey) | Soft, but can stretch | Outfits or simple minis | Stabilize with interfacing if needed | Pre-shrink |
| Faux Fur (6–25 mm) | Looks amazing but tricky | Advanced projects, trims | Trim seam allowances; groom after sewing | Usually surface clean only |
How does stuffing technique affect the final plush appearance?
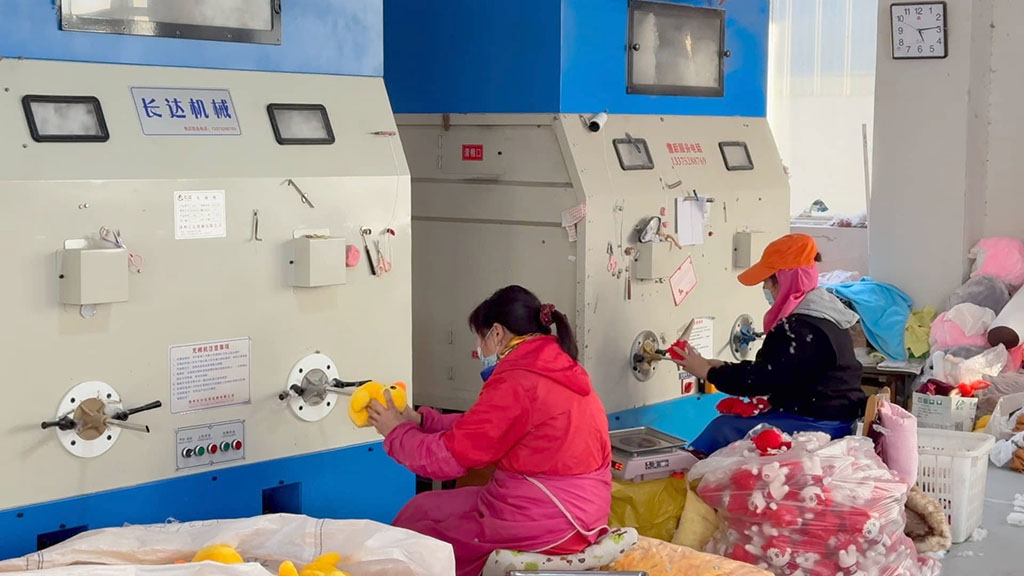
Stuffing is where “easy” patterns stay easy—or fall apart. The simplest method is layered stuffing: small tufts first, starting at extremities and moving toward the opening. Keep lighter density at cheeks and top of the head so the face doesn’t turn hard, and slightly heavier fill low in the belly/base so the plush sits upright. For tiny projects, a chopstick or ball-end tool helps reach corners without tearing seams. If the toy slumps, add a mini pearl-cotton core in the belly (inside a fabric pouch) for posture, then surround with PP cotton.
Close with a ladder stitch in a straight section of the seam—preferably the belly—so you can pull the thread to disappear the closing line. A light steam or hand-brush lifts the nap, masking micro wrinkles.
Table 4 — Stuffing plan for consistent, cute silhouettes
| Step | Goal | Technique | Result |
|---|---|---|---|
| Fill extremities | Avoid empty tips | Small tufts; tool assist | Smooth ears/fins/paws |
| Shape the face | Keep softness, no hard lumps | Light density + batting under face | Gentle cheeks; clear embroidery |
| Build the belly/base | Sit stability | Medium–heavy density | Upright posture, no slump |
| Core (optional) | Extra posture without stiffness | Tiny pearl-cotton pouch centered low | Round, grounded feel |
| Close seam | Invisible finish | Ladder stitch on straight area | Clean belly line |
| Final grooming | Even nap; photo-ready | Light steam/brush with nap | Fresh, premium look |
What small design details simplify production and finishing?
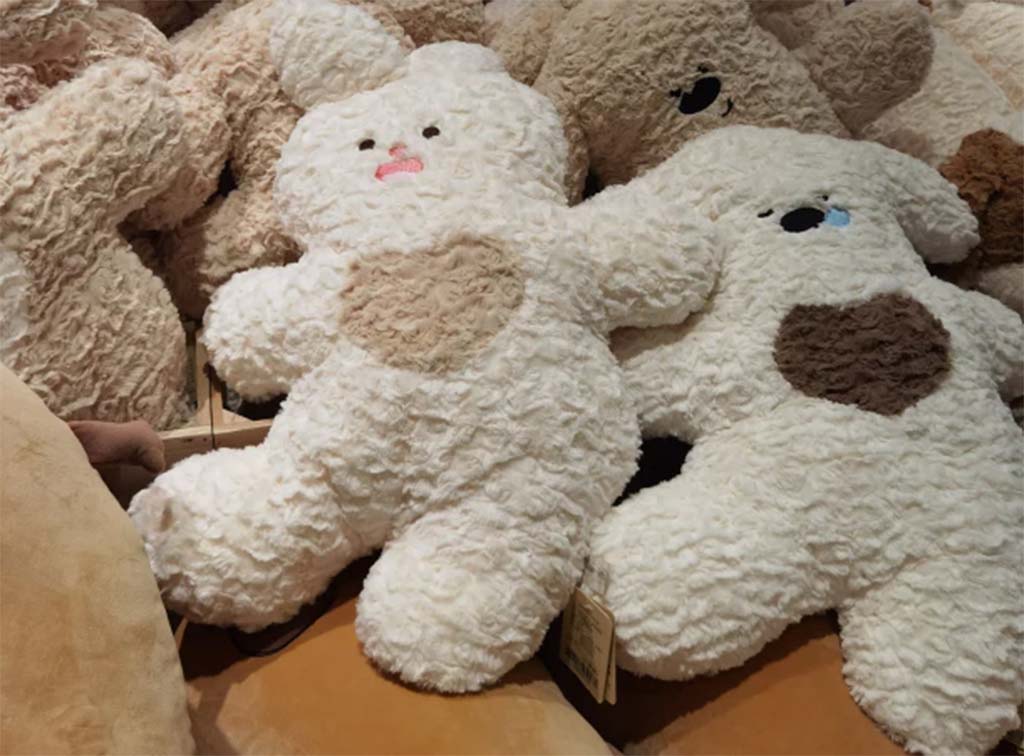
Tiny decisions remove big headaches. Keep ears as single-seam pancakes. Choose oval muzzles over pointy shapes. Place the turning opening on a straight belly area, not a tight curve. Pre-place face embroidery using a printed placement guide or lightly marked notches so expressions stay symmetrical. Add a thin batting layer behind the face fabric for smooth stitching. If you use applique patches, keep edges rounded and topstitch with a short, tidy length.
Limit trims for beginner models: embroidered eyes and noses are safer, faster, and export-friendly. Where labeling is required, print care icons on a soft woven label; avoid hard tags on baby-leaning SKUs.
Table 5 — Micro-choices that make plush builds easier
| Detail | Easy Option | Why It Helps | What to Avoid |
|---|---|---|---|
| Ears | Single-seam pancake | Fast sew/turn; crisp shape | Multi-piece ears with points |
| Muzzle | Oval panel | Depth without corners | Sharp triangles |
| Opening | Belly (straight run) | Easy ladder stitch | Curved neckline openings |
| Face placement | Embroidery with guide | Symmetry; speed | Hand-placing buttons |
| Edge style | Rounded corners | Turns clean, no poking | Square corners, spikes |
| Trims | Embroidered features | Safety + export compliance | Hard eyes for 0–3 yrs |
How do manufacturers streamline easy-to-make plush toy models?
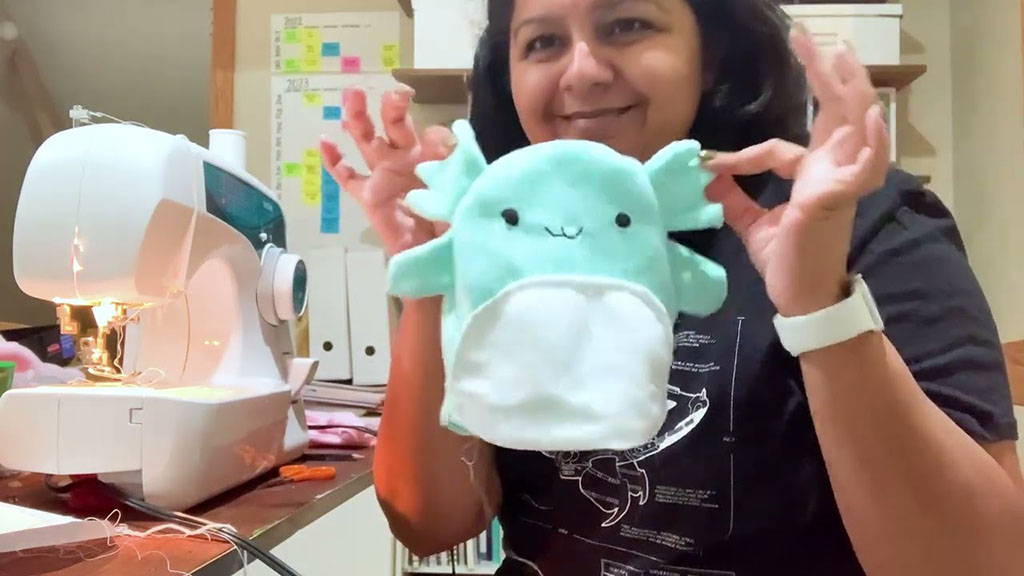
In a factory, “easy” means fast sampling, low variation, stable yield. We standardize a fabric map (short plush face; minky or microfleece body), a density map (grams per part), and a face placement template (stitch counts + coordinates). Cutting markers include nap arrows and notches for quick alignment. Operators get a one-page SOP with photos: seam order, stitch lengths, opening location, and ladder-stitch example. QC uses a visual board with golden sample photos—front, side, 45°, and top—so silhouette checks are objective.
For scalable SKUs, we build a size ladder (e.g., 18/25/31/36 cm) from one master pattern, adjusting grams proportionally. If a retailer wants a weighted variant, we add a sealed liner (segmented, tacked to seams) rather than changing the whole fill system. This keeps approvals consistent while expanding the line.
Table 6 — Factory streamlining toolkit (ready to copy)
| Tool | Purpose | What It Includes | Benefit |
|---|---|---|---|
| Fabric map | Consistency of feel | Face/body fabrics, nap arrows | Same hand-feel across lots |
| Density map | Shape repeatability | Grams per zone (cheeks, belly, limbs) | Identical silhouettes per size |
| Face template | Expression accuracy | Embroidery counts, X/Y placement | Symmetry without rework |
| One-page SOP | Operator clarity | Seam order, stitch length, opening | Faster training; fewer errors |
| Visual QC board | Objective inspection | Photos (front, side, 45°, top) | Quick pass/fail at line speed |
| Size ladder | Efficient range build | 18/25/31/36 cm ratios | Easy price tiers and reorders |
Conclusion
The easiest stuffed animal to make is one with broad curves, stable fabric, simple face embroidery, and a forgiving stuffing plan. When you pair a beginner-friendly shape with short plush or microfleece, place the opening on a straight belly line, and finish with a clean ladder stitch, your plush looks cute, sits well, and photographs beautifully—without wrestling the pattern.
At Kinwin, we help global buyers build these easy-make models into scalable assortments: a core set of simple shapes, a clear fabric/density map, and a size ladder that keeps silhouettes consistent from sample to container. If you want beginner-friendly SKUs that still feel premium in hand, we’re ready to engineer and produce them with you.
Contact [email protected] or visit kinwintoys.com to start your easy-to-make plush line.