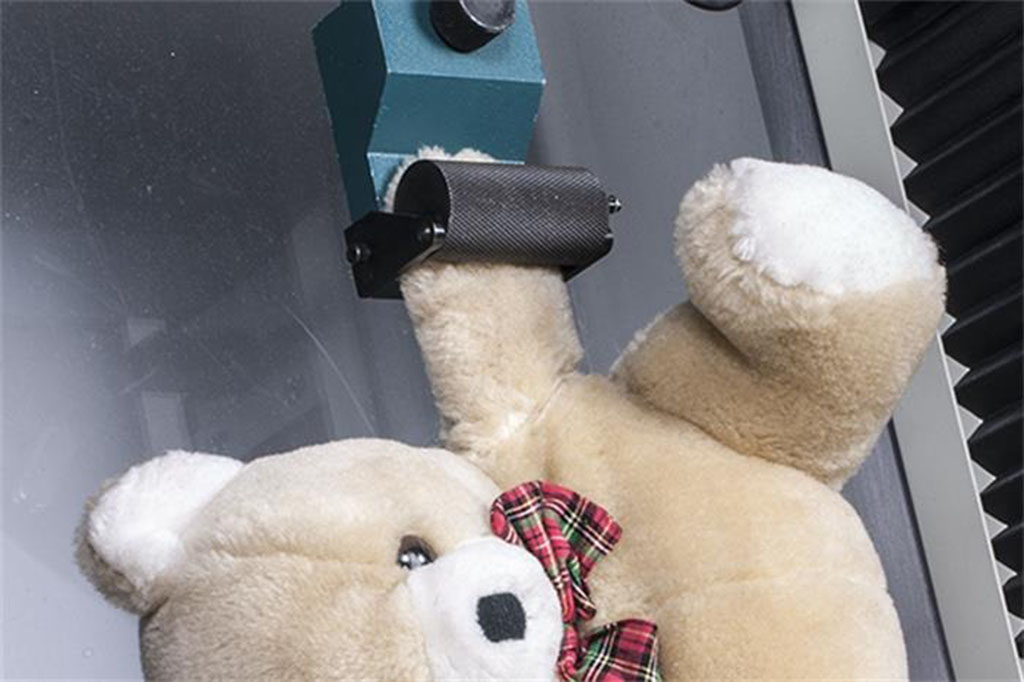
I’m Amanda from Kinwin in China. I help brands, retailers, and promotional teams turn ideas into safe, camera-ready plush that pass audits and ship on time. The fastest way to get there is not guesswork—it’s a clear, repeatable system. In this guide, I walk you through each step in plain English: planning and concept work, sketching and tech packs, materials and color matching, prototyping and refinement, factory production (cutting, sewing, stuffing, embroidery, finishing, QC), and finally packaging, labeling, inspection, and logistics. My goal is simple: help you avoid rework, protect margin, and deliver a plush your customers want to hug—and buy—again.
What are the key planning and concept development stages before production begins?
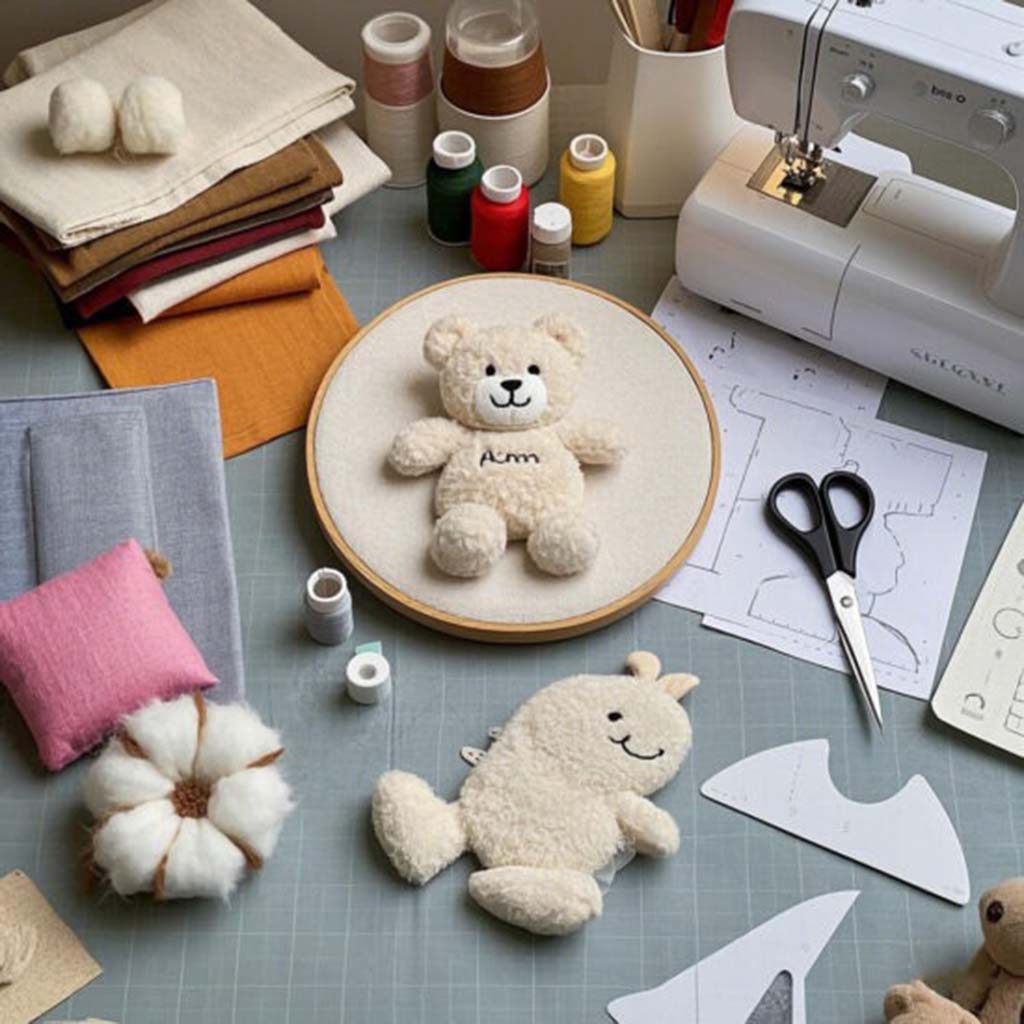
Before any fabric is cut, we need a one-page brief that fixes four points: audience, age grade, use case, and markets. Audience tells me who will hold the plush (baby, child, adult collector, décor buyer). Age grade (0+, 3+, 14+) sets rules for trims and testing. Use case guides handfeel and silhouette: cuddle-first needs soft, round shapes; décor-first needs sit-stable forms; collector needs edition tags and sharp features. Markets define the compliance path (EU/UK EN71, U.S. ASTM F963/CPSIA) and any retailer RSL or OEKO-TEX asks.
Next we define line logic—sizes, color family, and variant plan. I prefer a size ladder (mini/standard/jumbo) and a core palette (2–3 colors that repeat across SKUs). The palette reduces dye-lot risk and speeds reorders. We also set a photography target now (texture macro, scale-in-hand, seated stability), because the camera will tell us if a muzzle needs more volume or if a face reads off-center.
Finally, we map a timeline: S1 (silhouette sample) → S2 (final materials + face clarity) → PPS (labels + packout) → pilot run → mass production → FRI (Final Random Inspection). Each gate is binary—pass or fix—so no ambiguity creeps forward.
Table 1 — Concept Gate Checklist (Pass/Fail)
| Gate | What I fix | Why it matters |
|---|---|---|
| Audience & age | 0+ / 3+ / 14+ and who will use it | Sets trims, testing, and tone |
| Use case | Cuddle / décor / collectible | Guides silhouette and weight |
| Markets | EU/UK EN71; U.S. ASTM/CPSIA | Locks compliance matrix early |
| Line logic | Sizes, core palette, variants | Faster sampling and reorders |
| Photo goals | Macro, scale-in-hand, seated | Honest PDPs, fewer returns |
| Timeline | S1 → S2 → PPS → pilot → mass → FRI | Predictable delivery |
How do sketching, tech packs, and 3D modeling translate creative ideas into manufacturable plush designs?
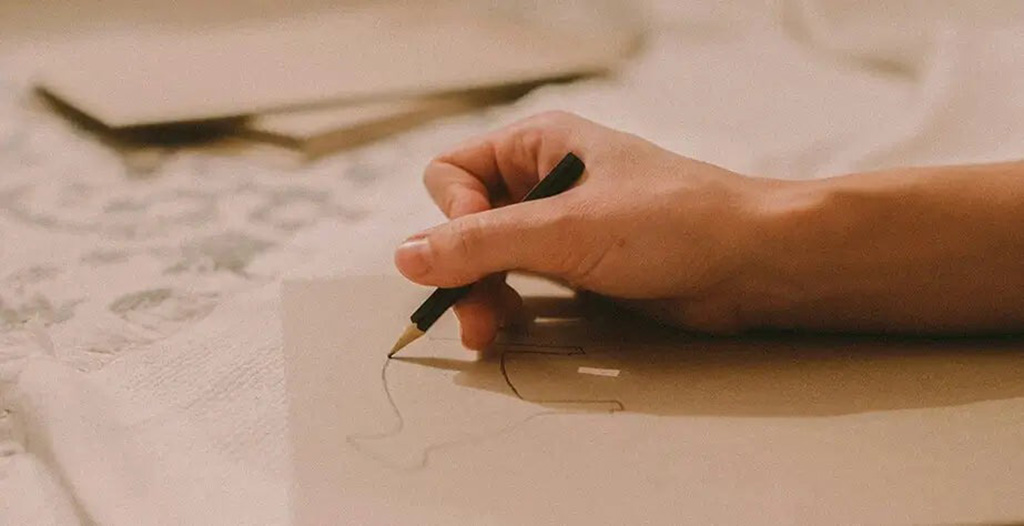
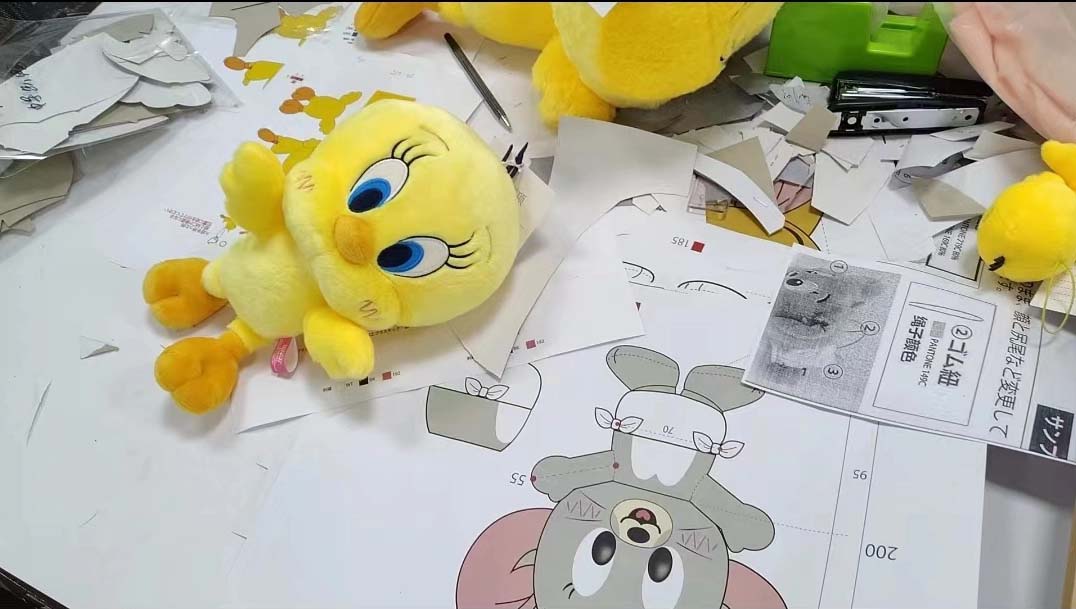
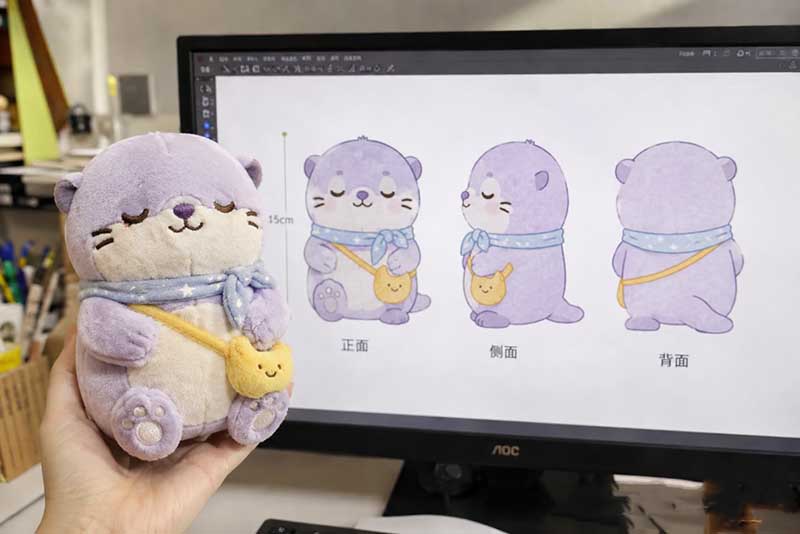
Good drawings save weeks. I start with orthographic sketches: front, side, and ¾ view with clear proportions and target size. I plot a face mask—a flat map of eye, nose, and mouth positions—so embroidery lands in the right place after stuffing. These sketches flow into a tech pack with panels, seam allowances, grain direction for pile, SPI (stitches per inch), bar-tack locations, fill ports, baffles (for big bodies), and a preliminary fill map (grams per panel). The tech pack also lists materials by number: GSM, pile height, backing type, thread count for embroidery, and any weighted base grams.
For complex shapes, I use a rough 3D model (digital or quick foam). It exposes undercuts, sharp curves, and seating balance. If the head leans, we add volume to the base or move the center of mass. If cheeks flatten, we add baffles or adjust the fill map. When the 3D volume feels right, we cut a paper or muslin mock-up to confirm tension on curves and ear positions. Only then do we authorize Soft Sample #1.
Table 2 — Design Docs and What They Prevent
| Document | What it contains | What it prevents |
|---|---|---|
| Orthographic sketch | 3 views, size, face area | Guesswork on proportion |
| Face mask | Embroidery map | Misplaced eyes/mouth after stuffing |
| Tech pack | Panels, grain, SPI, bar-tacks, baffles | Puckering, weak seams, lumping |
| Fill map | Grams per panel | Uneven squeeze, collapsed cheeks |
| Rough 3D / foam | Volume and balance | Head tilt, poor sit-stability |
| Paper/muslin mock | Quick sew check | Surprise tension at curves |
What role do material sourcing and color matching play in achieving desired softness, safety, and aesthetics?
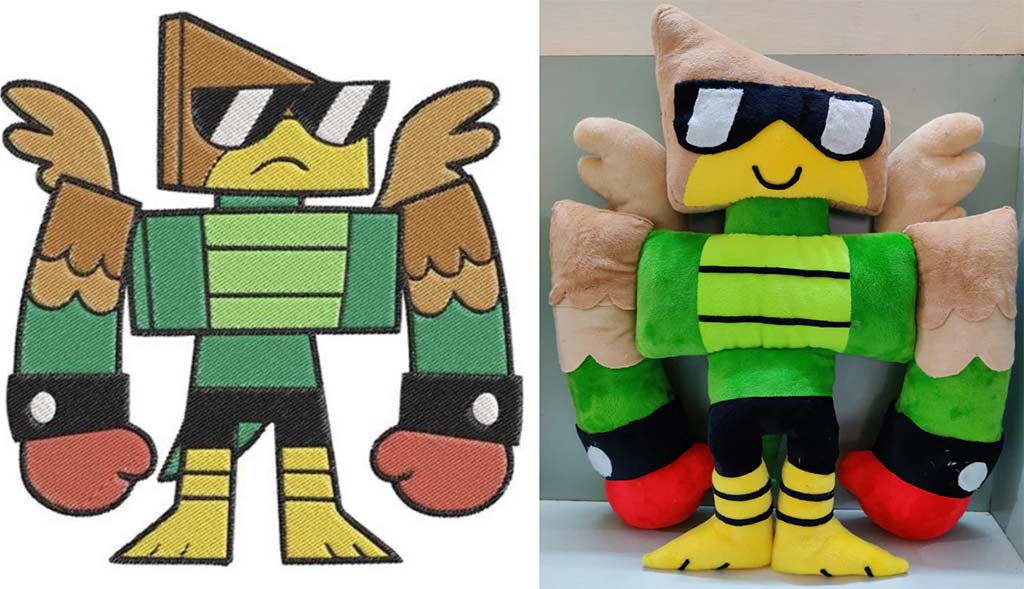
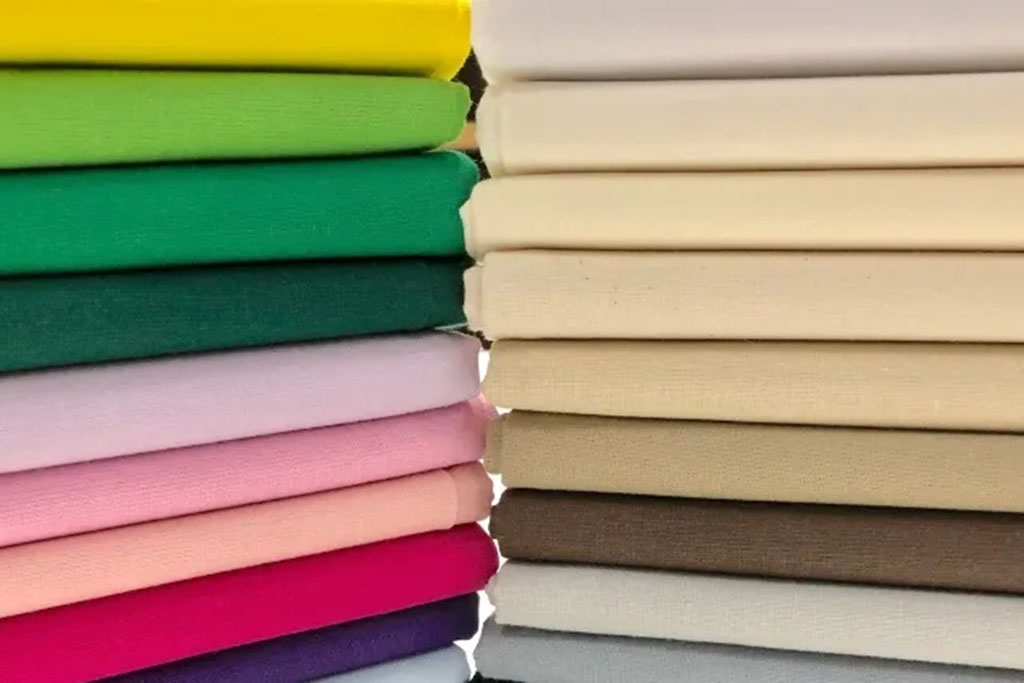
Materials decide handfeel, durability, wash care, and photo clarity. For faces, I use short-pile minky or velboa (≈2–3 mm). They feel silky, embroider cleanly, and show expressions well on camera. For bodies, velboa looks neat and low-lint; faux fur (6–12 mm) adds fluff and “wow.” When using faux fur, I mark trim masks around the muzzle and eyes so features stay sharp. For fill, hollow polyester fiber gives cloud-soft squeeze; a blend with solid fiber shapes cheeks and edges. If we add weight, we use PP/TPE pellets in double inner pouches to prevent leaks and shifting.
Color matching must be lot-controlled. I match with LAB values or physical swatches, not phone screens. For multi-SKU lines, I lock a core palette so trims and dye lots repeat cleanly. If you claim rPET shell or fill, keep lot-level certificates and match hangtags to the true content. Compliance follows materials: a new dye lot or new trim vendor triggers re-testing for the affected scope. My rule is simple: no silent swaps.
Table 3 — Material & Color Decisions (Spec Hints)
| Area | Preferred choice | Why | Compliance note |
|---|---|---|---|
| Face shell | Minky/velboa, 2–3 mm, 240–260 GSM | Silky, clean embroidery | Favorable flammability |
| Body shell | Velboa or faux fur (trimmed muzzle) | Modern neat vs. fluffy wow | Brush-after-dry care note |
| Fill | Hollow poly / blend | Soft squeeze, shape control | Stuffing integrity tests |
| Weighted base | Double-pouched pellets | Safety + stable sit | Leakage validation |
| Colors | LAB-matched core palette | Consistent reorders, clean PDPs | Re-test on dye-lot change |
| rPET claims | Lot-tied certs only | Trust and retailer acceptance | Align hangtag copy to real % |
How is the prototype or pre-production sample created, reviewed, and refined for accuracy and appeal?
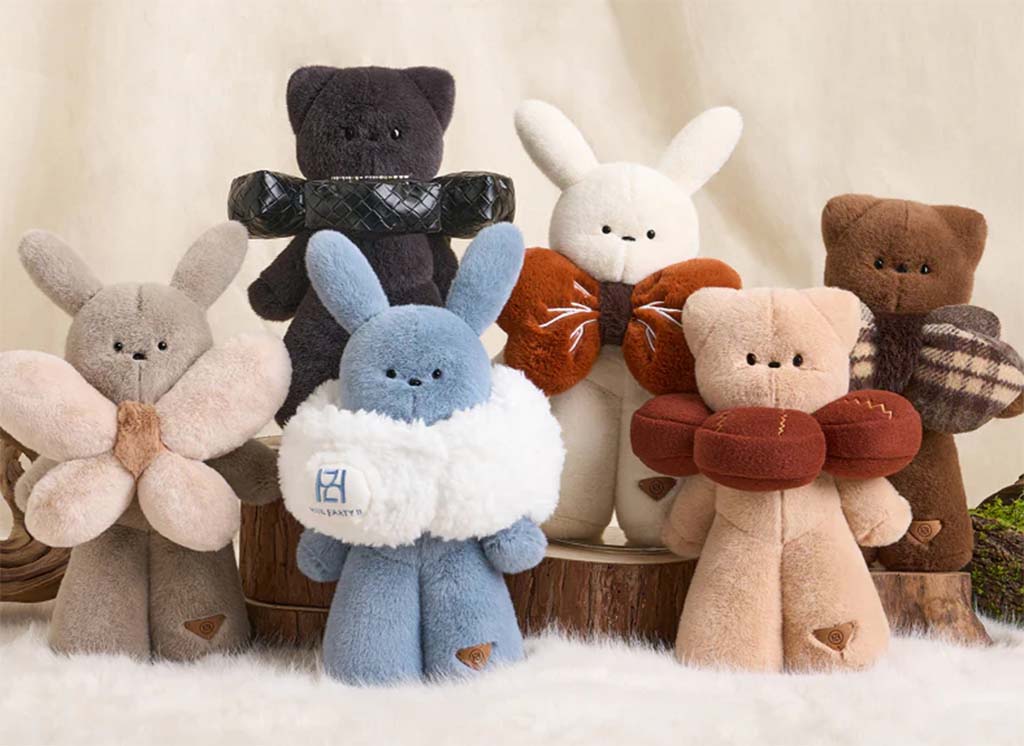
Soft Sample #1 (S1) proves the silhouette. I judge sit-stability, head-to-body ratio, limb thickness, and how the face reads at a distance. I do not chase colors here; I chase form. We mark where cheeks need volume, where seams pull, and where the head tilts. Soft Sample #2 (S2) adds final fabrics, embroidery density, trim masks, and the full fill map (grams per panel). If weighted, S2 uses the double-pouched pellet system. We do quick pull tests on seams and trims, a gentle wash on short-pile shells, and we confirm brush-after-wash behavior on faux fur.
When S2 is approved, we build the PPS (Pre-Production Sample) with exact labels, care icons, tracking labels (U.S.), CE/UKCA marks (EU/UK), and final packaging. The PPS is the golden sample: production must match it. Any change after PPS (fabric, trim, vendor) triggers an update to the tech file and, if relevant, re-testing. This is how we stop small drifts from becoming big defects.
Table 4 — Sample Review Flow (S1 → S2 → PPS)
| Focus | S1 (Silhouette) | S2 (Materials & Face) | PPS (Gold) |
|---|---|---|---|
| Shape & sit | ✓ | ✓ refine | Locked |
| Face clarity | Rough placement | ✓ density & trim mask | Locked |
| Fill & weight | Rough grams | ✓ panel grams; double-pouch check | Locked |
| Seams & SPI | Trial | ✓ pull test pass | Locked |
| Wash/brush | N/A | ✓ validate | On label |
| Labels/pack | N/A | N/A | ✓ full set |
What are the main factory production steps—cutting, sewing, stuffing, embroidery, finishing, and quality control?
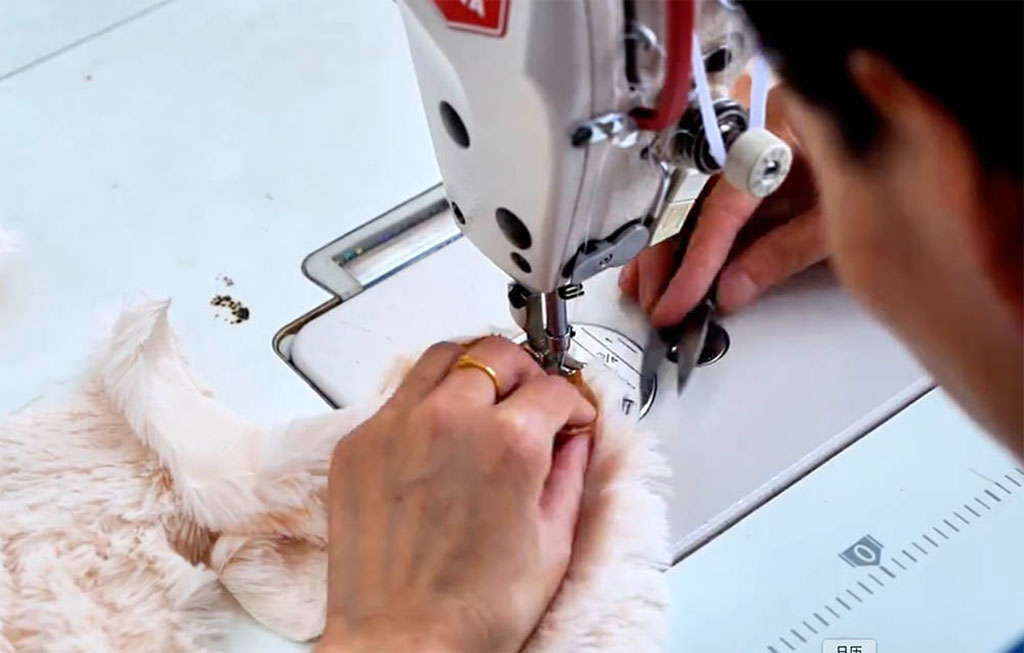
Production is a discipline of repetition. We start with incoming checks (fabric width, GSM, color, pile direction, trim counts). Cutting follows marker plans aligned with pile direction so pieces brush the same way. Embroidery runs on flat panels to keep face placement precise. Sewing uses overlock + lockstitch with SPI tailored to curves and bar-tacks at stress points (arms, neck, tail). We leave controlled fill ports. Stuffing follows the fill map: grams per panel, shaping cheeks and muzzle, adding baffles in big bodies to stop migration. Weighted bases are sealed in inner pouches first, then locked in the shell.
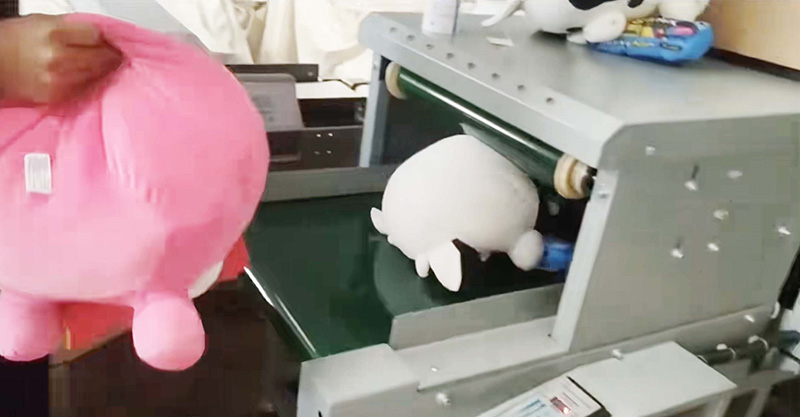
In-line QC checks symmetry, seam strength, pellet containment, and lint on velboa. Supervisors pull units hourly to catch drift early. After finishing and basic grooming (trim fly threads, brush faux fur), goods move to packing and FRI. Throughout production, lot-tied lab samples go out for EN71/ASTM/CPSIA scopes.
Table 5 — Production Flow & Controls
| Stage | What happens | Control point |
|---|---|---|
| Incoming | Fabric/trim verification | GSM, color, pile direction, counts |
| Cutting | Markers follow grain/pile | Yield + consistency |
| Embroidery | Face on flat panels | Position jigs; thread density |
| Sewing | Overlock + lockstitch | SPI tables; bar-tack map |
| Stuffing | By panel grams | Baffles; cheek shaping |
| Weighting | Double-pouch pellets | Leakage test |
| Finishing | Grooming & thread trim | Clean visuals |
| In-line QC | Hourly pulls | Symmetry, seam pulls, lint |
| FRI | AQL per plan | Shipment consistency |
How do packaging, labeling, inspection, and logistics complete the custom plush toy manufacturing cycle?
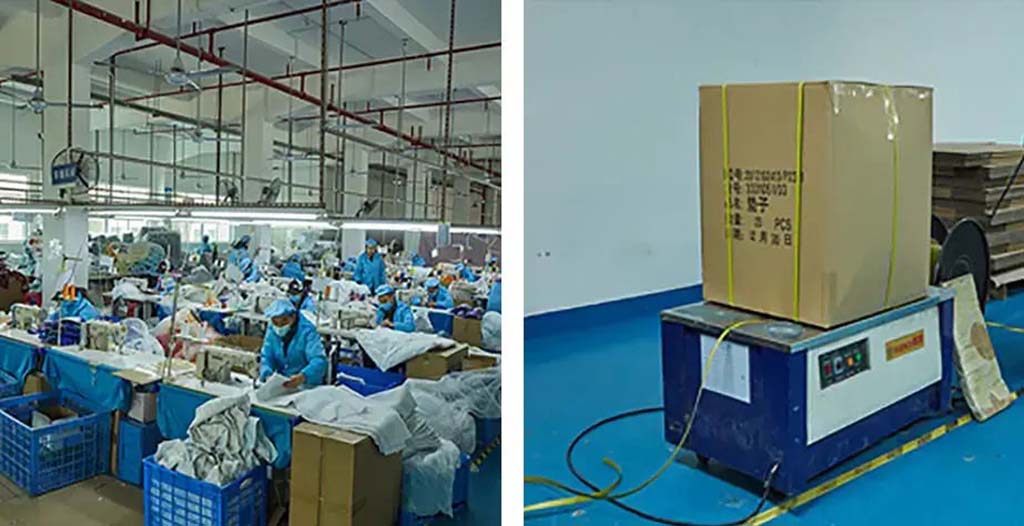
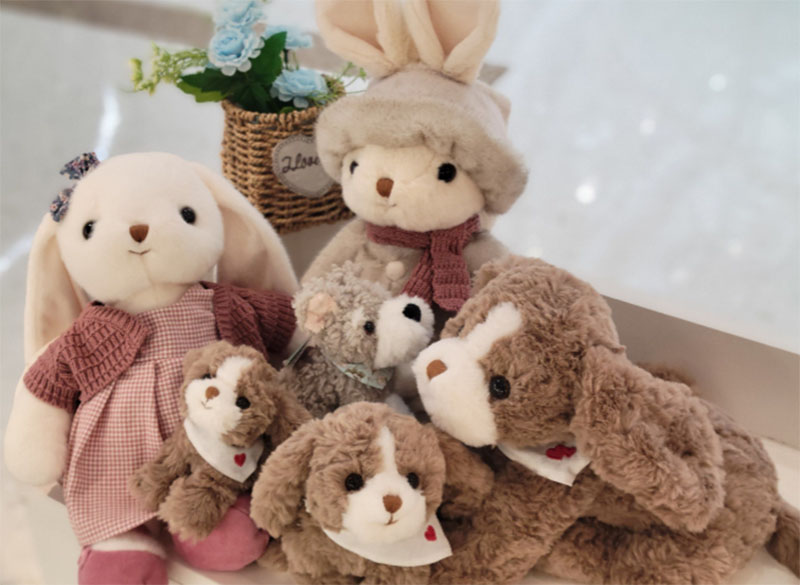
Packaging protects the plush and tells the story. For kids’ SKUs, a polybag + insert is clean and efficient; add clear care icons: gentle machine for short pile, surface clean + brush for faux fur. For décor or collector lines, a gift-ready box lifts AOV and protects faces in transit. Labeling must match the tested configuration: age mark, tracking label (U.S.), CE/UKCA (EU/UK), and CPC/DoC. If you claim rPET or OEKO-TEX, put proof in the file and keep claims precise.
Logistics lock the margin. Plush is volumetric, so we right-size cartons and verify ECT/BCT. Some short-pile cushions allow soft compression with recovery notes; faux fur and sculpted faces usually do not. Many buyers require ISTA-style drop tests on master cartons. Choose Incoterms (FOB/CIF/DDP) that fit your team: FOB gives control; DDP gives simplicity. The shipment leaves with a clean document pack: invoice, packing list, test reports, CPC/DoC, label proofs, and the PPS photo set. This keeps customs and DC intake smooth.
Table 6 — Ship-Ready Essentials
| Area | Best practice | Why it matters |
|---|---|---|
| Packout | Polybag + insert (kids); gift box (collector) | Protection + AOV lift |
| Labels & docs | Age mark, care, tracking, CE/UKCA, CPC/DoC | Legal access; fewer holds |
| Cartons | Right-size; ECT/BCT set | Freight and stack safety |
| Drop tests | ISTA method if required | Survives handling |
| Compression | Short-pile only; test recovery | Protects face & handfeel |
| Incoterms | FOB/CIF/DDP by channel | Clear cost and risk split |
| HS code | 9503 planning | Accurate duties/tariffs |
Conclusion
A great custom plush does not happen by chance. It comes from a clear brief, honest materials, tight patterns, measured stuffing, and lot-tied compliance—all wrapped in packaging and documents that match real use. When each gate is binary and every spec is numeric, you get plush that feels soft, looks premium on camera, and passes tests the first time. If you want a factory partner to run this system from brief to PPS to on-time mass, email [email protected] or visit kinwintoys.com. At Kinwin, my team will help you build a plush line that customers love to hold—and retailers love to stock.