Skip to content
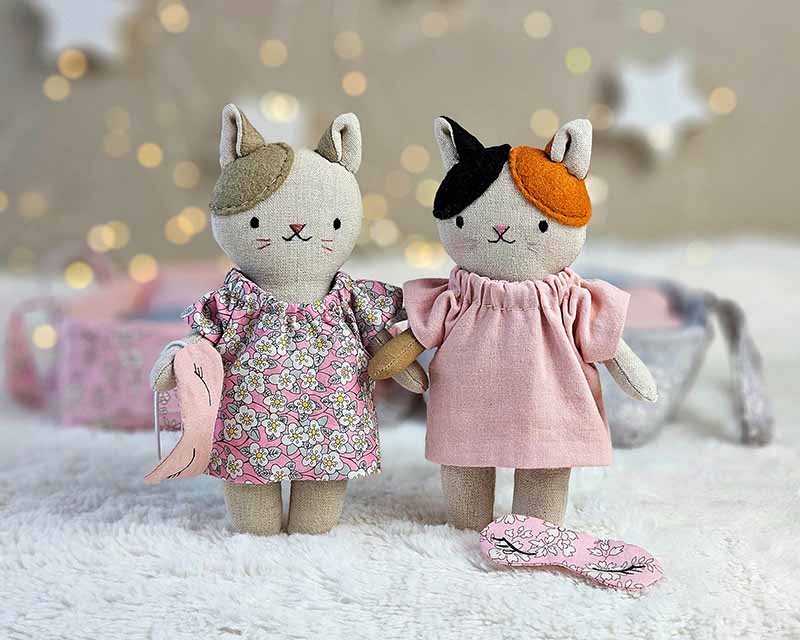
 When you dress a stuffed animal, you change it from “just a toy” into a little character. Clothes can show personality, support play themes, and even add brand value if you sell plush as a product line. The nice part is: once you understand the logic, miniature garments are fun and not as hard as they look.
To make clothes for a stuffed animal, you need basic fabrics and trims, simple tools, and a pattern that matches the plush body shape. Clean seams, safe closures, and small adjustments for style (shirts, dresses, pants, jackets) turn plain fabric into outfits that fit well and last.
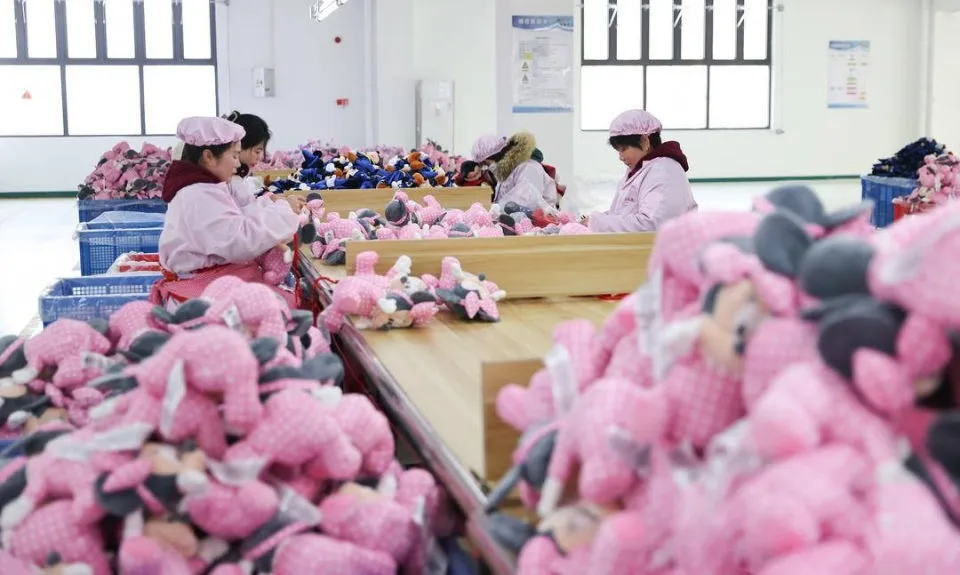
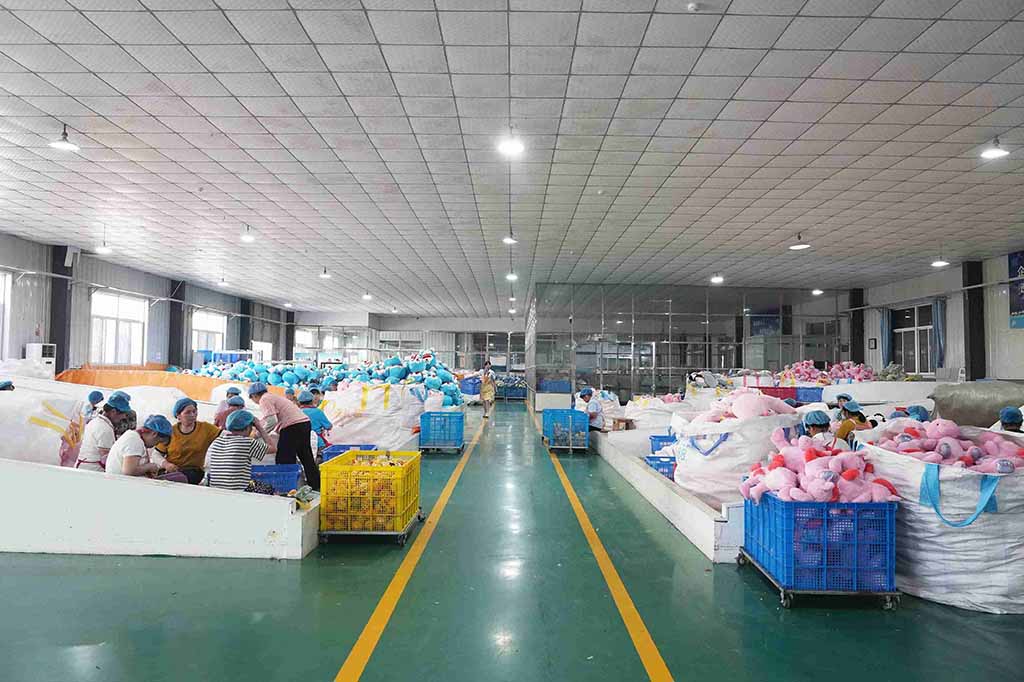
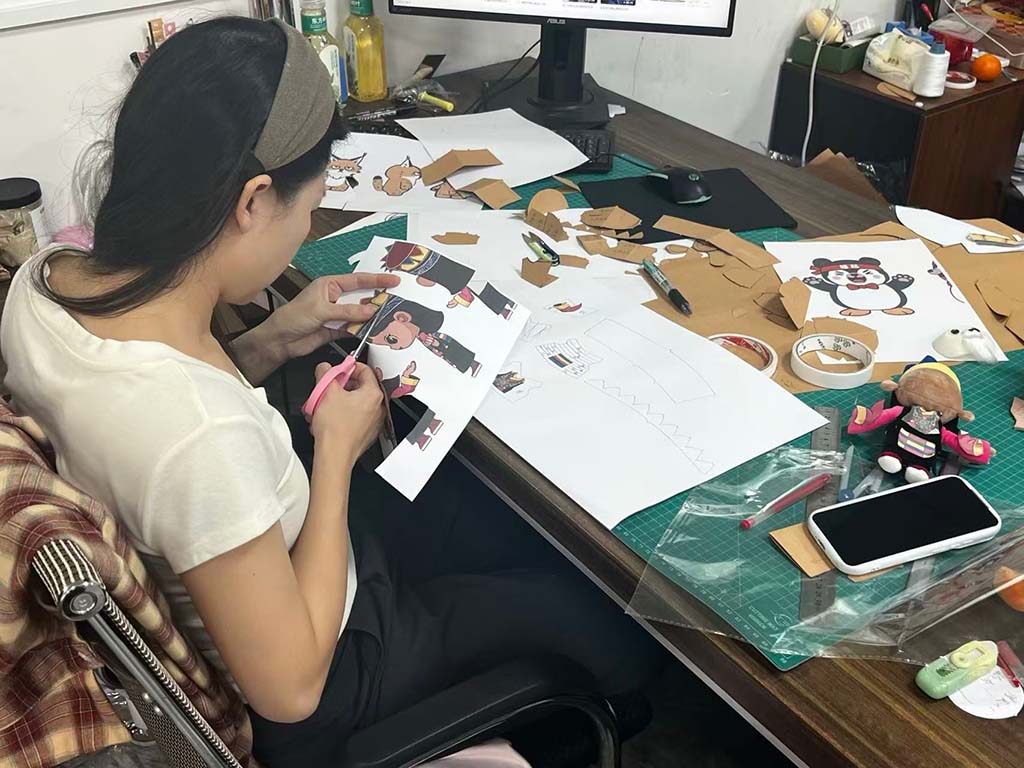
In this guide, I’ll share how I think about stuffed animal clothing from a manufacturer’s angle, but in simple language so you can use it in your home studio, small workshop, or developing brand.
What materials and tools are needed to make stuffed animal clothes?
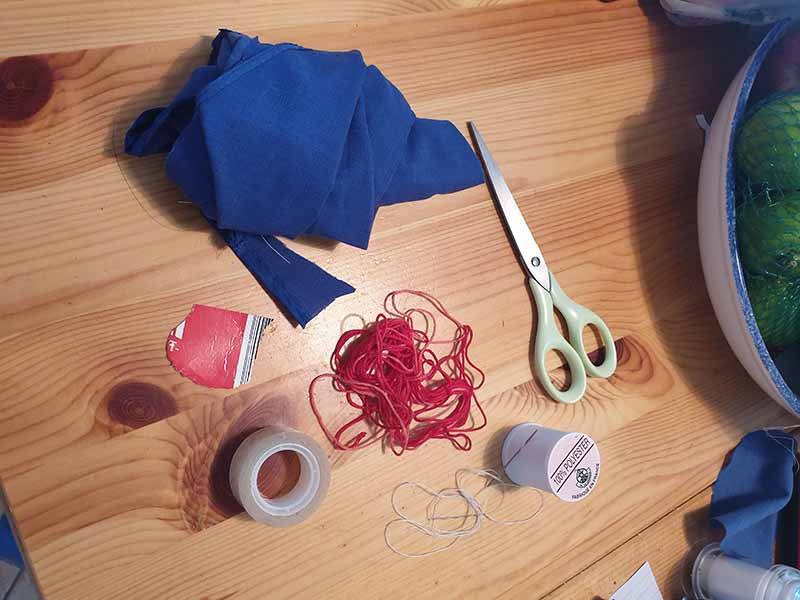
Stuffed animal clothes are small, but they still follow normal garment rules. Your materials must be soft, safe, and easy to sew at a miniature scale. Heavy fabrics or sharp trims quickly make the outfit uncomfortable or unsafe for kids.
For most projects, light to medium-weight woven cotton, cotton blends, or soft knits work best. For jackets, skirts, or special outfits, you can add felt, fleece, or light denim. The key is to avoid very thick or very stiff fabrics, because they create bulky seams and are hard to turn in small areas.
Recommended materials and tools
| Category | Recommended Options | Why They Work for Plush Clothing |
|---|---|---|
| Main fabrics | Cotton, cotton blends, lightweight denim, fleece, knits | Soft, flexible, easy to sew at small scale |
| Lining/structure | Thin cotton, light interfacing, felt | Adds shape without too much bulk |
| Closures | Velcro (soft type), plastic snaps, elastic, ties | Safer and easier than tiny metal zippers |
| Trims | Ribbons, small flat buttons (decorative), lace | Adds style; must be sewn on securely |
| Thread | Polyester sewing thread | Strong, low-stretch, colorfast |
| Marking tools | Fabric chalk, water-erasable pen | For pattern outlines and adjustment marks |
| Cutting tools | Fabric scissors, small snips | Clean cutting for small pattern pieces |
| Sewing tools | Hand needles, pins/clips, sewing machine (optional) | For neat, controlled seams |
| Measuring tools | Measuring tape, ruler | To measure plush body and pattern |
If you are making clothes for very young children’s toys, choose non-shedding fabrics, avoid heavy beads, and make sure nothing can be easily bitten off or swallowed.
How do you draft patterns that fit different plush body shapes?
Plush bodies are rarely standard. Some have big heads and small bodies, some are very round, some have long limbs. There is no single “size chart” for stuffed animals. That is why drafting patterns starts with measuring the actual toy and translating that into simple shapes.
You do not need advanced fashion skills. You mainly need three things:
- Honest measurements of the plush.
- A decision about ease (how tight or loose you want the clothing).
- Simple blocks (basic shapes) that you can reuse and modify.
Key measurements to take
| Body Area | What to Measure | How It Affects Clothing |
|---|---|---|
| Chest / tummy | Full circumference around widest part | Main width for shirts, dresses, and jackets |
| Neck (if needed) | Around the neck base | For collars, hood openings, scarf size |
| Body length | From neck to bottom of torso | Shirt, dress, or jacket length |
| Shoulder width | Across the top where “shoulders” would be | Helps position sleeves |
| Arm length | From shoulder to paw | Sleeve length |
| Leg length | From hip or body bottom to paw | Pants, shorts, or skirt placement |
| Head circumference | Around widest part of head | Hoods, hats, or neck opening for pull-over tops |
Simple pattern drafting steps
- Wrap and trace
- Wrap the torso with a strip of paper.
- Mark side seams, center front, and center back.
- Remove and flatten the paper; this gives a rough body block.
- Add ease
- Add a little extra width so clothes can slide on and off.
- For non-stretch fabrics, add more ease; for stretchy knits, less.
- Plan openings
- Decide if the garment will close at the back, front, or shoulder.
- Draw overlap for Velcro or snap plackets.
- Draft separate pieces
- From the body block, draw shapes for front and back.
- Add armhole curves if you will attach sleeves.
- Add seam allowances
- Add 5–7 mm all around.
- Mark grain direction (especially for woven fabrics).
- Test with scrap fabric
- Sew a quick mock-up and test on the plush.
- Adjust where too tight, too loose, or misaligned.
Pattern tips for different body shapes
| Plush Shape | Pattern Approach |
|---|---|
| Very round body | Use simple A-line tunic or dress shapes; add more ease |
| Long, slim body | Use straighter body blocks; consider side seams |
| Big head, small body | Plan larger neck/shoulder openings or back closure |
| Short arms / legs | Shorter sleeves and pant legs; avoid tight cuffs |
Once you have a base pattern that fits, you can reuse it for many styles.
What sewing techniques create clean, durable miniature garments?
Miniature clothing magnifies every mistake. A seam that looks “okay” on a big T-shirt can look rough on a tiny plush shirt. Good techniques keep edges neat and seams strong without adding too much bulk.
The main rules are: small seam allowances, short stitch length, and careful pressing or finger-pressing. If you have a sewing machine, use it for long seams; if not, hand sewing still works well with backstitch and small, even stitches.
Core sewing techniques for plush clothes
| Technique | Where to Use It | Why It Helps |
|---|---|---|
| Straight stitch | Side seams, shoulder seams, sleeve seams | Basic strong construction |
| Backstitch (hand) | Closures, small joins, stress points | Very strong in small areas |
| Topstitching | Necklines, hems, edges of plackets | Adds strength and a clean, finished look |
| Zigzag / overcast | Finishing raw edges (if fabric frays) | Reduces fraying on woven fabrics |
| Narrow hem | Sleeve edges, bottom hems | Keeps hems light and neat |
| Binding or facing | Necklines, armholes (for sleeveless styles) | Clean edges without thick seams |
Practical sewing tips
- Use shorter stitch length on a machine for small pieces (for example 2–2.5 mm).
- Trim seam allowances after sewing if they feel bulky, especially around curves.
- For tight corners, sew slowly and pivot with the needle down.
- Press seams gently with a small iron or finger press while still warm.
Even small clothing can look “factory-level” if you slow down on edges and hems.
How do you add closures, trims, and accessories securely and safely?
Closures and trims are where many stuffed animal outfits become unsafe—tiny metal snaps, loose buttons, or heavy charms can be pulled off by children. So we need to think like toy makers, not only like fashion designers.
For most plush clothing, Velcro, plastic snaps, elastic, and securely sewn ribbons work best. Tiny zippers and metal hardware are usually better for collector markets, not young children.
Common closure options
| Closure Type | Best Use | Safety Notes |
|---|---|---|
| Velcro (soft type) | Back opening of shirts, dresses, jackets | Easy for kids; avoid scratchy edges |
| Plastic snaps | Front or back plackets, shoulder seams | More secure than metal if properly installed |
| Elastic | Waistbands, cuffs, necklines | Comfortable and flexible |
| Ties / ribbons | Decorative bows, waist ties | Must be short and firmly stitched |
Trims and accessories
- Buttons:
- For young children’s toys, use buttons only as decoration and stitch them very securely.
- For baby products, it is often safer to avoid buttons or use embroidered “button” shapes.
- Ribbons and lace:
- Sew along the full length, not just at ends, so they cannot be pulled off easily.
- Pockets and small decorations:
- Keep them simple and flat.
- Avoid loose beads or sequins on items for children.
Safety-focused attachment habits
| Area | Good Practice |
|---|---|
| Velcro | Round off corners; stitch fully around all sides |
| Snaps | Test by pulling; reinforce area with extra stitching |
| Ribbons | Stitch both ends and, if possible, along the length |
| Decorative parts | Tug gently after sewing; if they move, add more stitches |
Whenever you are not sure, think: Could a child pull this off with their teeth or fingers? If yes, change the design or strengthen the stitching.
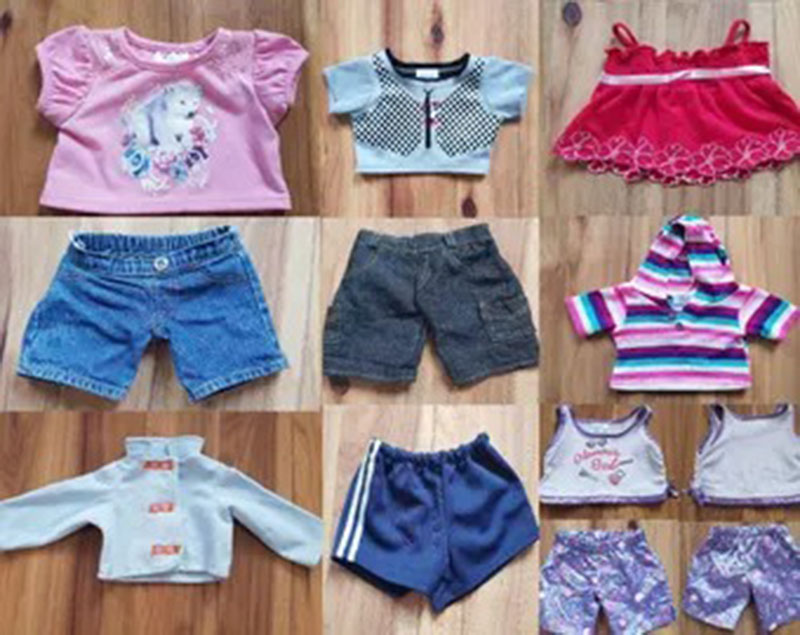
How do you adjust patterns for various styles like shirts, dresses, or pants?
Once you have a basic body block, you can create many styles without starting from zero each time. The trick is to think in small changes: length, width, neckline shape, sleeve type, and hem shape.
Shirts and tops
Start from your basic body block.
- T-shirt style:
- Add short sleeves.
- Keep hem straight.
- Use knit fabric or add back opening for woven fabrics.
- Sweater or hoodie:
- Lengthen the body block.
- Use fleece or thicker knit.
- Add a hood or collar piece and cuffs with elastic or rib knit.
Dresses
Also start from the body block.
- Simple A-line dress:
- From chest downward, flare side seams outwards.
- Extend length to desired hem.
- Gathered skirt dress:
- Keep bodice shorter.
- Add a separate skirt rectangle, gathered and sewn to the bodice.
Pants and shorts
Use leg and hip measurements from the plush.
- Draw a simple pant leg shape (front and back or one-piece with side seam).
- Add elastic at the waist for easy dressing.
- Shorten for shorts, lengthen for full pants.
Style adjustment quick guide
| Garment Type | Main Changes from Body Block |
|---|---|
| Shirt | Add sleeves, adjust length, add back opening |
| Dress | Extend and/or flare lower part, add skirt |
| Jacket | Add front opening, collar or hood, extra ease |
| Pants | Use hip and leg measurements, add elastic waist |
Because stuffed animals do not complain about comfort, it is easy to forget fit. Always test new styles on the actual plush and adjust patterns until clothes go on easily but do not look oversized.
How do you finish and quality-check clothing to ensure a proper fit on the plush?
Finishing and quality checks make the difference between “cute experiment” and reliable outfit that can be dressed and undressed many times. From a factory view, the same logic applies whether you make 1 set or 10,000 sets.
Finishing steps
- Trim threads and clean edges
- Remove all loose thread tails.
- Check that raw edges are finished (zigzag, overlock, or pinked).
- Press or shape seams
- Lightly press seams and hems to lie flat.
- If fabric is sensitive to heat, finger-press instead.
- Check closures
- Open and close Velcro or snaps several times.
- Tug gently to make sure they stay attached.
- Try the garment on the plush
- Put the clothes on and take them off a few times.
- Check if any seams strain or if the plush body distorts.
Fit and quality checklist
| Check Area | What to Look For | How to Adjust |
|---|---|---|
| Overall fit | Clothes slide on easily but are not baggy | Add or remove ease in body block |
| Neck and arms | Openings wide enough, no forced stretching | Widen openings or increase back/front overlap |
| Lengths | Hems where you want them (not covering eyes or feet) | Adjust length on pattern |
| Closures | Close smoothly, no broken stitches | Reinforce closure areas, use stronger stitching |
| Trims and details | No loose parts, no sharp edges | Tighten stitching, remove unsafe decorations |
If you plan to scale up, keep one “standard outfit” as your reference sample. Future pieces should match this sample in size, look, and sewing quality.
Conclusion
Making clothes for stuffed animals is a mix of fun and engineering: you measure the plush body, create small but thoughtful patterns, sew clean seams, choose safe closures, adjust styles for different looks, and then test fit again and again. When you follow this process, your plush outfits feel more like real garments, not random scraps of fabric.
At Kinwin, we apply the same logic for OEM and ODM projects where plush toys need coordinated clothing—seasonal outfits, character uniforms, or branded apparel lines. If you want to develop stuffed animals with matching clothes that are cute, safe, and ready for global markets, you’re very welcome to contact me at [email protected] or visit kinwintoys.com to explore how our factory can support your ideas.