A small hole in a favorite stuffed animal can feel like a big crisis—especially if the toy is a child’s bedtime partner or a long-kept comfort friend. The good news: most holes are repairable with simple tools and calm, careful steps.
When you sew a stuffed animal hole correctly, you protect both the toy and the memories tied to it. By using the right tools, preparing the area, choosing strong hand stitches, managing the stuffing, and reinforcing the seam, you can restore shape, safety, and softness without sending the plush to the trash. This guide walks you through each step in simple, practical language.
With a bit of patience, you can turn a ripped seam into a clean, almost invisible repair—and keep that plush in use for many more hugs.
What tools and materials are needed to sew a stuffed animal hole?
Before you take a single stitch, you need a small repair kit. When the right tools are ready, you can focus on neat work instead of fighting with blunt needles or weak thread. Good preparation also reduces the risk of making the hole bigger or twisting the fabric.
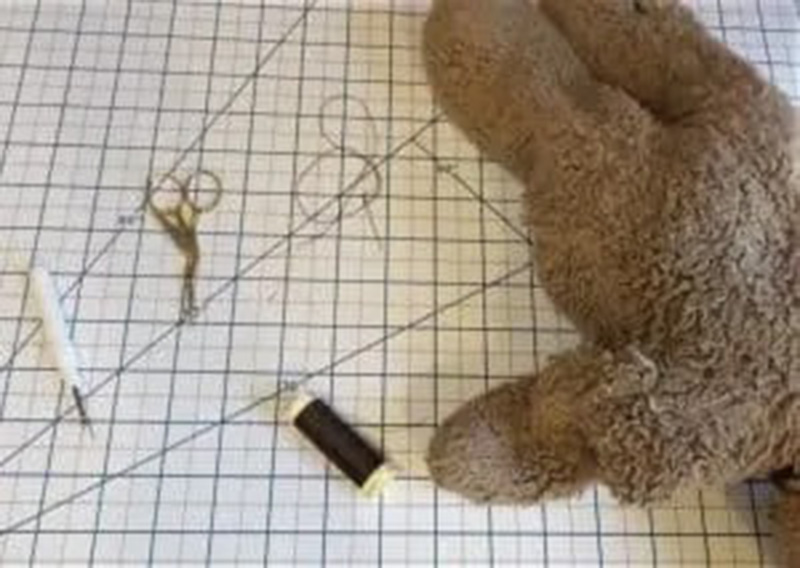
To sew a stuffed animal hole, you usually need a hand-sewing needle, strong polyester thread that matches the fabric, small sharp scissors, straight pins or clips, and a simple tool like a chopstick to control stuffing. Optional but helpful items include a thimble, fabric patch, and a fine fabric marker. With this compact kit, you can handle most common plush repairs at home.
Handy repair-kit essentials
In my factory work, even large teams rely on a compact set of tools for sample repairs. You can build a lighter version at home.
Core tools
- Hand-sewing needles – a small, sharp needle for standard plush, a slightly longer one for deeper areas.
- Polyester thread – stronger and more durable than basic cotton; choose a color close to the toy.
- Small scissors – for trimming thread ends and any loose fibers.
- Pins or clips – to hold edges in place while you stitch.
- Stuffing tool – a chopstick, blunt knitting needle, or back of a pen to move stuffing around.
Helpful extras
- Thimble – saves your fingers when pushing through thick seams.
- Fabric patch or small piece of felt – for reinforcing thin or worn areas behind the hole.
- Fine fabric marker or chalk – to mark where you want the seam to run.
Tools and materials overview
| Item | Purpose in Repair | Notes for Best Results |
|---|---|---|
| Hand-sewing needles | Create new stitches along the hole | Use sharp, good-quality needles |
| Polyester thread | Holds the repair seam | Match color to plush; avoid weak or old thread |
| Small scissors | Trim loose threads and cut thread tails | Keep tips sharp and dedicated to fabric |
| Pins or clips | Hold fabric edges together while sewing | Prevents slipping, especially on slippery plush |
| Stuffing tool | Push or pull stuffing inside the toy | Choose a blunt tool to avoid making new holes |
| Fabric patch / felt | Reinforce thin or damaged areas from inside | Use similar weight to original fabric |
| Thimble (optional) | Protect fingers during tight stitching | Handy with dense seams or thick fabrics |
With this small kit ready, you’re prepared to open, adjust, and close the damaged area in a controlled way.
How do you prepare the damaged area for clean stitching?
Jumping straight into sewing can trap fibers, make the hole bigger, or lock in lumps of stuffing. Preparation is what turns a messy tear into a repair that looks almost like the original seam. You want clean edges, controlled stuffing, and a clear path for your needle.
To prepare a stuffed animal hole, first gently remove loose threads and any tangled fibers, then control the stuffing so it doesn’t spill out. If the fabric around the hole is stretched or thin, reinforce it with a small patch from the inside. Once the edges are neat, you can bring them close together with pins or your fingers, ready for careful stitching.
Step-by-step preparation
1. Inspect the damage
Look closely at the hole. Ask yourself:
- Is it a seam split where stitches have broken, but fabric is fine?
- Is it a fabric tear where the plush itself has ripped?
- Is there any stain, moisture, or hardened stuffing around the area?
Seam splits are easier: you mostly just re-sew along the original path. Fabric tears may need extra reinforcement.
2. Tidy loose threads
- Trim long, hanging threads with your small scissors.
- Leave short thread ends near the seam; they can help guide the original line.
- Avoid pulling threads hard, as this can widen the hole.
3. Manage stuffing
- Gently push loose stuffing back inside using your fingers or a blunt tool.
- If stuffing is dirty or clumped near the hole, remove a little and set it aside or discard it.
- Try to clear a small “work space” so your needle doesn’t keep grabbing stuffing fibers.
4. Reinforce weak fabric (if needed)
If the plush fabric is thin, stretched, or starting to fray:
- Cut a small piece of matching-weight fabric or felt.
- Insert it behind the hole from the inside if you can reach.
- Hold or lightly stitch this patch in place so it supports the damaged zone.
5. Align the edges
- Bring the edges of the hole together so they touch but do not overlap.
- Use pins or clips to hold them if the toy is large enough.
- Check that fur or pile is not trapped in the line where you will sew.
Preparation checklist
| Preparation Step | What You Do | Why It Helps |
|---|---|---|
| Inspect tear | Identify seam split vs. fabric tear | Guides how much reinforcement you need |
| Trim loose threads | Remove long, messy ends | Prevents tangling and wider damage |
| Control stuffing | Push fill back inside and clear sewing channel | Keeps stitches neat and reduces snagging |
| Add inner patch (if needed) | Place small fabric behind thin areas | Strengthens weak fabric to hold stitches |
| Align edges | Bring fabric edges together without overlap | Prepares a clean, flat surface for stitching |
Once the area is tidy and controlled, you can sew with confidence instead of fighting against chaos.
Which hand-sewing techniques create a strong, discreet repair?
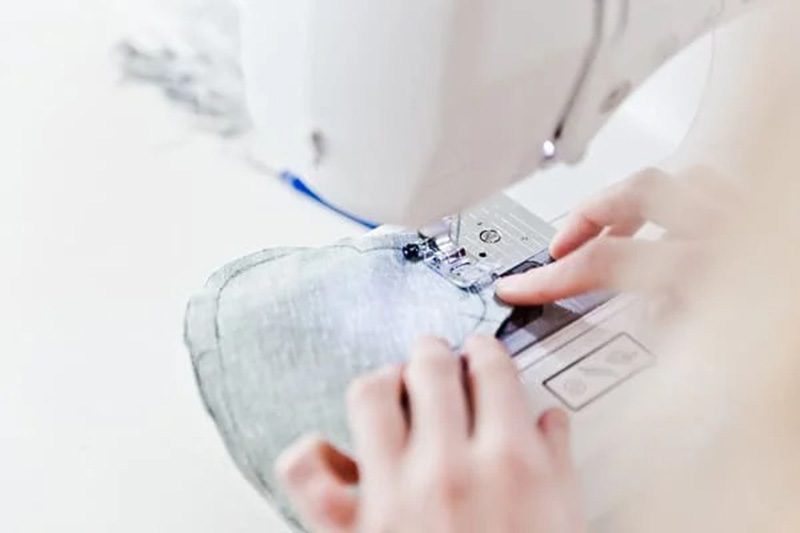
The best repair on a stuffed animal is strong enough to last and subtle enough to blend in. Two classic hand stitches are perfect for this: a firm seam inside the toy (if you can access it) and an invisible-style stitch on the outer surface. For small holes, the ladder stitch (also called invisible stitch) is the star.
To sew a stuffed animal hole neatly, most people use a ladder stitch along the outer edges of the opening. This stitch weaves between the folded fabric edges, then tightens to pull them together, leaving almost no visible seam. For added strength in deeper tears, you can combine ladder stitch on the surface with short backstitches inside, making the repair both discreet and durable.
Key hand-sewing stitches for plush repairs
Ladder (invisible) stitch
- Best choice for closing a small hole or final opening.
- Steps in simple words:
- Fold raw edges inside the toy so only smooth outer fabric shows.
- Insert the threaded needle from inside, hiding the knot.
- Take a small horizontal stitch on one folded edge.
- Cross to the opposite edge and take another small horizontal stitch.
- Repeat along the seam, forming a “ladder” of thread.
- Gently pull to close the gap; the stitches disappear into the fabric.
Backstitch (for deeper internal seams)
- Strong, flexible stitch used inside the toy, when you can open a larger area.
- Each stitch goes forward on the surface but back into the previous hole underneath, creating a continuous, tight line.
- Very good for seam splits along the original seam line.
Whip stitch (for quick or hidden repairs)
- Simple looping stitch around the edges.
- Not as invisible, but useful for internal patches or hidden areas.
Choosing the right stitch
| Stitch Type | Where to Use It | Strength & Look |
|---|---|---|
| Ladder (invisible) | Final closure on visible outer surface | High; nearly invisible if done carefully |
| Backstitch | Rebuilding original seam from inside | Very strong; slight visibility if on outer layer |
| Whip stitch | Fixing internal patches or hidden openings | Moderate; visible loops, best kept inside |
For most small holes where the stuffing is still mostly inside, a careful ladder stitch with matched thread will give you a clean, professional-looking repair.
How do you manage stuffing to restore the toy’s original shape?
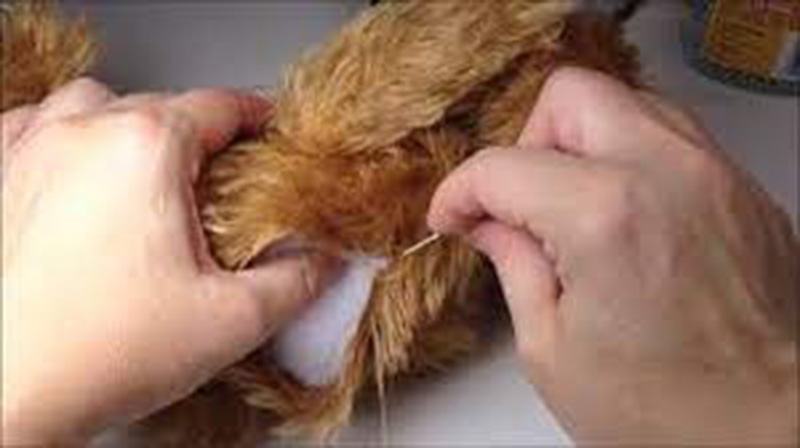
Even if you sew perfectly, a stuffed animal can look “off” if the stuffing is wrong. Too much fill and the toy becomes hard and warped; too little and it collapses or wrinkles around the repair. Managing stuffing is about balance and smooth transitions.
Before closing a stuffed animal hole, take a moment to adjust the stuffing: remove clumps near the tear, add small amounts where the shape has flattened, and smooth everything with your fingers from the outside. Aim for the same firmness and curves the toy had originally. Only when the shape looks and feels right should you complete your ladder stitch and secure the seam.
Practical stuffing management
1. Evaluate the area
- Gently squeeze the area around the hole.
- Compare it with a similar part of the toy (for example, the other side of the body or the other leg).
- Note if this area feels too full, too thin, or lumpy.
2. Remove excess stuffing (if needed)
- If the area is overstuffed, use your fingers or a tweezer to remove a small portion through the hole.
- Work slowly; you can always take more out, but you cannot put the same piece back exactly the same way.
3. Add fresh stuffing
- If the area feels flat or empty, add a little clean fiberfill.
- Use small tufts instead of large clumps; push them gently into place with a stuffing tool.
- Fill corners (like edges of limbs or cheeks) first, then the center.
4. Shape from the outside
- With the hole still open, gently massage the area.
- Use small circular motions to distribute stuffing evenly.
- Make sure there are no hard lumps right under the seam line.
5. Check symmetry
- Place the toy on a flat surface or hold it up at eye level.
- Compare both sides: do they match in height, width, and fullness?
- Adjust stuffing until the repaired side looks “natural,” not obviously fixed.
Stuffing adjustments and their effect
| Stuffing Situation | What You Should Do | Desired Result |
|---|---|---|
| Area feels too hard | Remove a small amount of stuffing | Softer, more huggable texture |
| Area feels too flat | Add small tufts of fiberfill | Restored volume and smoother surface |
| Lumpy near the seam | Redistribute stuffing with fingers from outside | Even feel; no hard points under repair seam |
| Toy leans to one side | Shift stuffing from heavy side to light side | Better balance and posture |
| Uneven limbs | Compare and adjust each limb separately | Matching thickness and length on both sides |
Only after you are happy with the shape should you complete the final stitches to close the opening.
How do you reinforce the repaired seam for long-term durability?
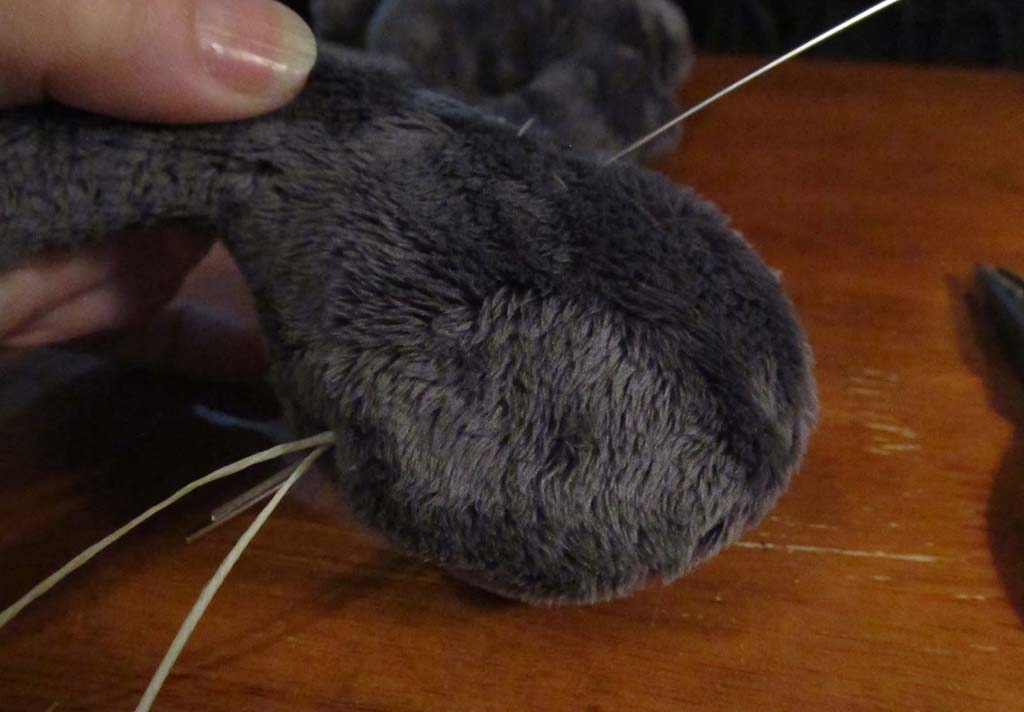
A stuffed animal hole often appears in high-stress areas: side seams, underarms, bottom, neck, or joints. If you sew a repair without reinforcement, the seam can split again in the same spot. Reinforcement doesn’t always mean something visible; it usually means extra strength hidden inside.
To reinforce a repaired seam, you can use a combination of strong thread, shorter stitches, and, when needed, a small inner patch of fabric. Sewing slightly beyond the edges of the original hole spreads stress across a larger area. For toys that get heavy daily use, a second line of stitching inside or an internal patch can greatly reduce the chance of another tear.
Simple reinforcement strategies
1. Extend your repair beyond the hole
- Do not only stitch the exact open section.
- Start your repair a little before the beginning of the tear and finish a little after it.
- This way, tension from movement spreads over a longer seam.
2. Use tighter, smaller stitches
- Keep stitches short and consistent, especially in stress zones.
- Shorter stitches distribute pressure more evenly than long ones.
3. Add an internal patch (for fabric tears)
- For torn fabric (not seam splits), place a small fabric or felt patch inside.
- Sew the patch to the surrounding fabric with small whip stitches or backstitches.
- Then close the outer hole with ladder stitches over this stronger base.
4. Double up critical areas
- In zones like the bottom or under the arm, consider:
- A first line of structural stitches inside.
- A second, more decorative or invisible line outside.
Reinforcement options compared
| Reinforcement Method | Where to Use It | Benefit for Long-Term Durability |
|---|---|---|
| Extended seam length | Any seam split or hole along a seam | Spreads stress beyond original damage zone |
| Shorter stitch length | All repaired seams, especially in stress points | Creates stronger, more dense seam structure |
| Internal fabric patch | Fabric tears, thin or worn areas | Supports new stitches and prevents fabric ripping |
| Double stitching | Bottom, joints, underarms, neck areas | Adds extra security in heavy-use zones |
| Stronger thread choice | For larger toys or heavy use | Reduces breakage over time |
These invisible reinforcements help your repair survive real life: play, hugs, washes, and daily carrying.
When should complex plush repairs be handled by professionals?
Some stuffed animals are not just toys; they are deeply emotional objects or high-value collectibles. When damage is major—large tears, missing parts, heavy wear, or internal damage—home repair might not be enough or might risk making things worse. In those cases, a professional repair service can be the safer choice.
Complex stuffed animal repairs, such as large fabric tears, severe wear on old or delicate plush, damage near eyes or electronics, and repairs on valuable collectibles, are often better handled by professional restorers. These specialists have access to more fabrics, replacement parts, and advanced techniques, and they can rebuild structure and appearance without risking further damage to cherished or high-value pieces.
Signs you should consider a professional
- The stuffed animal is very old, fragile, or sun-faded.
- Large areas of fabric are worn thin, not just a single hole.
- A limb, ear, or the head has come off completely.
- The toy has sentimental or monetary value you do not want to risk.
- There are built-in electronics or music boxes near the damaged area.
- You feel nervous or unsure each time you pick up your needle.
What professionals can offer
- Color-matched fabric replacements and specialized plush materials.
- Skill in rebuilding shapes, not just closing holes.
- Experience with washing, stain removal, and odor treatment for old plush.
- Access to safety-compliant materials if the toy will still be used by children.
- Detailed handwork, including eye replacement, nose repair, and full re-stuffing.
When to repair at home vs. seek help
| Situation | Home Repair Reasonable? | Professional Repair Recommended? |
|---|---|---|
| Small seam split, stuffing intact | Yes, with basic sewing skills | Not usually necessary |
| Single small hole on body | Yes, if fabric is strong | Only if toy is extremely valuable |
| Large tear, very thin fabric | Risky at home | Yes, to avoid worsening damage |
| Old heirloom or childhood plush | Home repair only if you feel very confident | Yes, especially for full restoration |
| Damaged electronics or sound box | Usually not; risk of shock or further breakage | Yes, or leave electronics unused |
| Complex pattern damage (ears/limbs missing) | Difficult at home without pattern skills | Yes, for accurate shape and balance |
If a plush is extremely precious—to a child or to you—it can be worth the cost and time to involve a specialist rather than risking an experiment.
Conclusion
A small hole in a stuffed animal does not have to be the end of the toy’s life. With simple tools, patient preparation, careful stitches, smart stuffing control, and a bit of reinforcement, you can repair many plush toys at home and keep them safe, soft, and loved. When damage is complex or the toy is especially valuable, professional repair is there as a backup option.
At Kinwin, we focus on designing and manufacturing plush toys that are durable and repair-friendly from the start—so brands, retailers, and families can enjoy longer product life and less waste. If you are planning a new plush line and want toys that stay strong even after years of play and repairs, you’re very welcome to contact me at [email protected] or visit kinwintoys.com to see how our factory can support your success with high-quality, thoughtfully constructed plush.