When a stuffed animal rips, it can feel like a small disaster—especially if the toy is a child’s favorite or a special gift. The good news is that most holes can be repaired at home with simple tools and careful stitching. When you repair the plush properly, it can continue to bring comfort for many years.
As a plush toy manufacturer in China, I often explain to buyers and parents how to fix small damages so their customers don’t have to throw away a loved toy. In this detailed guide, I’ll walk you through tools, preparation, stitching methods, stuffing control, safety, and even how professionals handle very delicate repairs. I’ll keep the language simple, so you can follow every step with confidence.
What tools and materials are needed to repair a stuffed animal hole?

Good repair starts with the right tools and materials. You do not need a full factory, but it helps to use tools that give you control and strength.
For most repairs, I recommend:
- Sharp small scissors – to trim loose threads and cut thread cleanly.
- Hand-sewing needles – thin but strong, with a small eye.
- Matching thread – same or close color as the plush fabric.
- Pins or clips – to hold the opening in position.
- Extra stuffing – clean polyester fiberfill if some has been lost.
- Tweezers or a small stick – to move stuffing around inside.
- Fabric patch (optional) – for larger or weak areas.
If the toy is for a baby or small child, always choose strong polyester thread and avoid anything that could break easily.
Tools and materials overview
| Item | Purpose in Repair | Tips for Best Results |
|---|---|---|
| Small sharp scissors | Trim fraying fabric and old threads | Use only for fabric/thread to keep blades sharp |
| Hand-sewing needles | Stitch the opening closed | Choose a fine needle that passes through plush easily |
| Thread (polyester) | Forms the new seam | Match color to fabric; double the thread for strength |
| Pins or clips | Hold edges together while sewing | Place perpendicular to seam for easy removal |
| Extra stuffing | Replace lost fiber, restore shape | Use clean, soft polyester fiberfill |
| Tweezers / chopstick | Adjust stuffing deep inside the toy | Helps avoid overstuffing one area |
| Fabric patch (optional) | Reinforce weak or worn zones | Choose soft, similar fabric to avoid rough spots |
Having these ready before you start keeps the repair calm and controlled, instead of rushed or messy.
How do you prepare the damaged area for clean stitching?
Preparation is the secret to a neat repair. If you stitch on a messy edge, the fabric may continue to tear, and the seam will look uneven. Preparing the area is a bit like setting up a small surgery: you clean, inspect, and stabilize.
Here’s a simple preparation process:
- Clean the toy if needed
- If the plush is dirty or sticky, follow the care label (surface clean or gentle wash) and let it dry completely before repair.
- Trim loose threads and fuzz
- Use small scissors to cut away long threads and loose fibers around the hole. Do not cut into the good fabric.
- Check the edges of the hole
- Gently open the area between your fingers.
- If the backing fabric (the knit under the pile) is torn beyond the visible hole, plan to sew slightly deeper into the solid area.
- Decide if a patch is needed
- If the fabric is thin, worn, or fraying a lot, prepare a small internal patch to give extra support.
- Align the opening
- Pin or clip the edges of the hole so the two sides meet smoothly.
- Try to match the pile direction and any printed or embroidered details.
Preparation checklist
| Step | What You Do | Why It Matters |
|---|---|---|
| Surface cleaning | Wipe or wash toy if dirty | Prevents locking dirt into the new seam |
| Trimming loose threads | Cut away frayed threads around the hole | Gives a clean base for new stitches |
| Inspecting backing | Check inner knit or base fabric | Helps choose how deep to sew for strength |
| Patch decision | Decide if thin areas need inner support | Prevents new tears near the repair |
| Aligning fabric edges | Pin or hold edges in natural position | Reduces twisting, keeps face or pattern aligned |
Taking a few extra minutes here can make the difference between a repair that looks obvious and one that is almost invisible.
Which stitching techniques create a strong and nearly invisible repair?
Two of the best hand stitches for repairing plush toys are:
- Ladder stitch (invisible stitch)
- Backstitch or small whipstitch
Each has its own job. For most outer seams, especially on a visible area like the tummy or side of the face, I prefer the ladder stitch because it hides the thread inside the seam.
Ladder stitch (invisible closure)
- Ideal for closing a straight or slightly curved opening.
- Works well on seams where the original stitches broke.
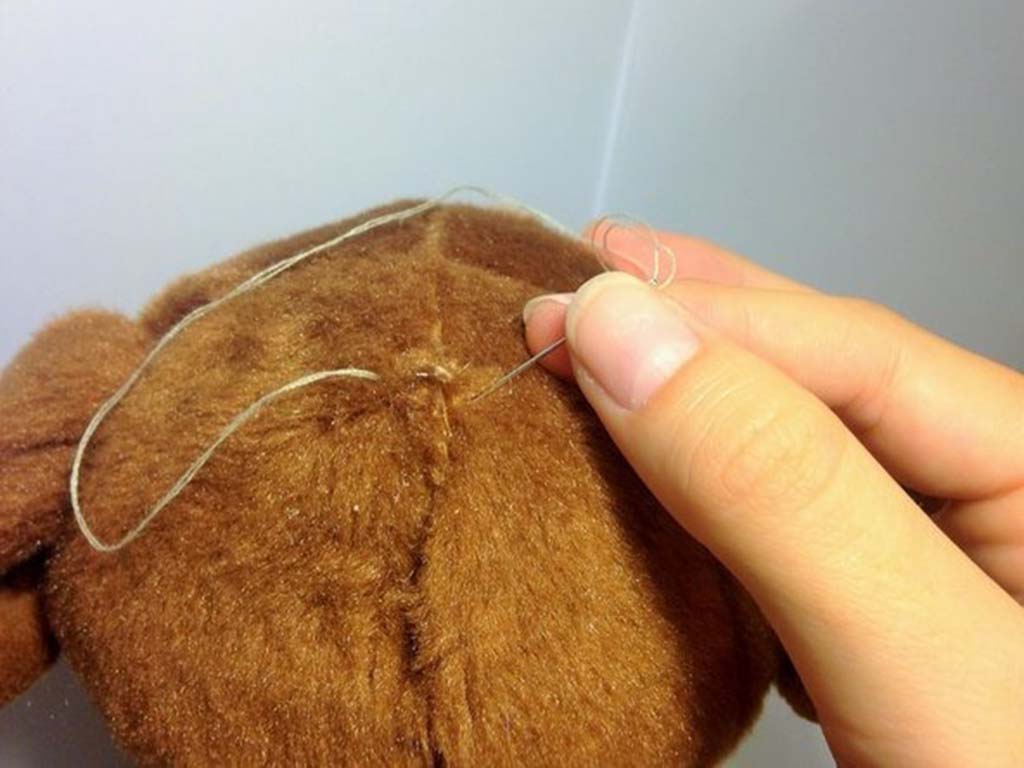
Basic steps:
- Thread your needle and tie a small knot.
- Hide the knot inside the toy near one end of the opening.
- Take a small horizontal stitch on one side of the opening.
- Cross to the other side and take a small horizontal stitch.
- Repeat back and forth, forming “rungs” like a ladder.
- Pull gently after every few stitches—the edges will close together.
When you finish, tie a small knot, bury it inside the toy, and cut the thread close to the surface.
Backstitch / small whipstitch
- Better for hidden inner seams or when you need extra strength.
- Backstitch creates a continuous strong line of thread.
- Whipstitch wraps the thread around the edge repeatedly.
If the area will face strong pulling (for example near a joint), you can use a row of small backstitches just inside the edge, then finish with a light ladder stitch closer to the surface for appearance.
Stitch comparison
| Stitch Type | Appearance from Outside | Strength Level | Best Used For |
|---|---|---|---|
| Ladder stitch | Almost invisible when done well | Strong if stitches are close | Final closing of openings on body, head, or limbs |
| Backstitch (small) | Slightly visible, but neat | Very strong | Internal seams, high-stress areas under fur |
| Whipstitch (small) | Visible “wrap” around edge | Moderate–strong | Quick fixes on hidden areas or under clothing/accessories |
| Combination method | Backstitch inside + ladder stitch at surface | Very strong + neat | Reinforcing a weak seam plus clean outer finish |
Choose the technique based on where the hole is and how visible the area will be when the toy is on a bed, shelf, or in a child’s arms.
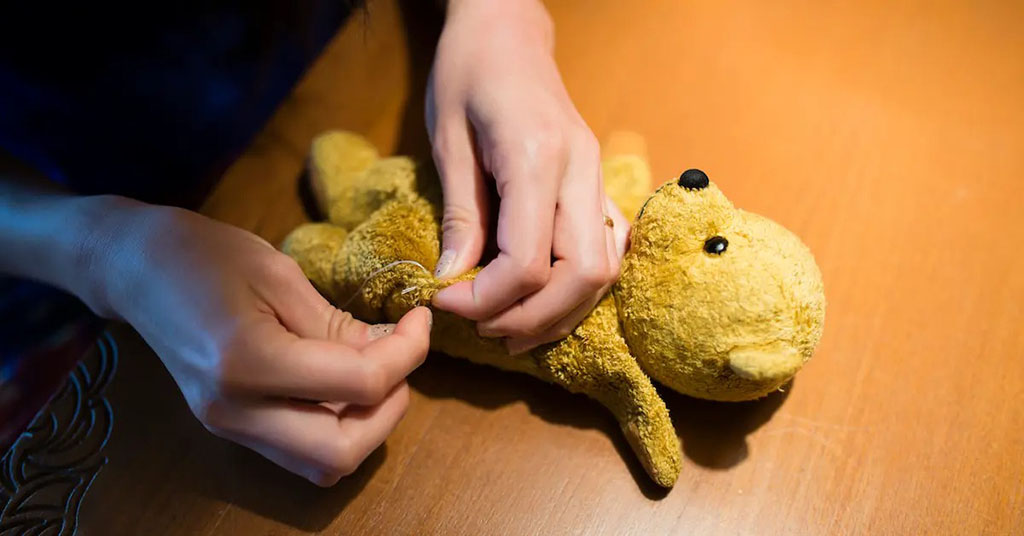
How do you manage stuffing to restore the toy’s original shape?
Stuffing control is just as important as stitching. If you sew the hole shut without adjusting the stuffing, the toy may end up with a lump, flat spot, or strange dent.
A simple approach:
- Check stuffing before sewing
- Gently squeeze around the hole.
- If too much stuffing is pushing out, remove a little and put it aside.
- If the area feels hollow or saggy, add a small amount of clean fiberfill.
- Use small pieces of stuffing
- Tear the fiberfill into small tufts rather than one big chunk.
- Small tufts blend better and create a smooth surface.
- Shape with your fingers and a stick
- Use your fingers outside the fabric to feel for lumps.
- Push or pull stuffing into place with a small stick, chopstick, or stuffing tool.
- Check from multiple angles
- Look at the toy from the front, side, and top.
- Try to match the original shape as closely as possible.
Stuffing control guidelines
| Step / Tip | What You Do | Result on Toy Shape |
|---|---|---|
| Evaluate fullness | Check if area is overfilled or too empty | Avoids stiff or hollow spots |
| Use small stuffing tufts | Tear stuffing into smaller pieces | Creates smoother, more natural curves |
| Adjust in layers | Place stuffing gradually and test often | Better control over final silhouette |
| Shape from outside | Massage toy gently while adding stuffing | Helps distribute fiber evenly |
| Final check before sewing | Confirm symmetry with other side of toy | Keeps face and body balanced and appealing |
Take your time here—especially with sentimental toys. A few extra minutes working the stuffing will help the toy feel “like itself” again.
What methods ensure the repaired seam remains durable and safe?
A repaired seam must be strong enough to handle hugs, play, and washing (if the toy is washable). It must also remain safe for the age group using the toy.
Here are some methods professionals use to keep repairs durable:
- Double thread for higher strength
- Thread your needle with the thread doubled and knot the two ends together.
- This effectively makes each stitch twice as strong.
- Small, tight stitches
- Keep stitches close together (short spacing).
- This spreads stress over many points instead of a few.
- Secure starting and ending knots
- Always start with a hidden knot inside the fabric.
- End with a double knot, then bury the knot under the surface by passing the needle into the toy and out a few centimeters away before cutting the thread.
- Reinforce from inside if needed
- For areas under heavy stress, add a short line of backstitch behind your main ladder stitch.
- Or sew a small patch inside the toy, then close the outer seam.
- Age-appropriate evaluation
- For baby or toddler toys, be extra careful
- Check that there are no loose threads or gaps where stuffing can escape.
Durability and safety methods
| Method | How It Helps | When to Use |
|---|---|---|
| Double thread | Increases seam strength without bulky stitches | All repairs, especially on high-stress areas |
| Small, close stitches | Spreads tension, reduces chance of seam opening | Any visible closure or structural seam |
| Hidden knots & burying ends | Prevents knots from slipping or being pulled out | Always, but especially for children’s toys |
| Internal reinforcement | Adds extra support to weak fabric or old seams | Older toys, worn areas, large holes |
| Post-repair inspection | Confirms no gaps, loose threads, or sharp points | Before giving toy back to a child or customer |
After finishing, gently pull the seam area in different directions. If it feels solid and does not open or “crack” between stitches, the repair is likely strong enough for regular use.
How do professionals handle complex or delicate plush repairs?
Some stuffed animals are more than toys—they can be heirlooms, childhood companions, or special gifts tied to memories. When a plush is very old, very worn, or extremely valuable (financially or emotionally), many people choose to work with professional repair services or specialized manufacturers.
From my experience, professional repairs often involve:
- Detailed assessment
- Checking fabric age, fading, thinning, and previous repairs.
- Discussing with the owner how much change is acceptable (for example, replacing fabric vs. preserving original material).
- Fabric sourcing and matching
- Finding plush, felt, or fabric that is as close as possible in color, pile length, and texture.
- Sometimes using fabric from hidden areas (inside seams) to patch visible zones.
- Advanced techniques
- Partial panel replacement where a whole segment (like part of the leg) is remade.
- Underlay patches where new fabric supports old fabric from behind but stays almost invisible.
- Rebuilding internal stuffing structure and joints.
- Emotional care
- Keeping original face embroidery or features whenever possible.
- Taking extra care not to change the “personality” of the toy.
Professional repair approaches
| Professional Step | What It Involves | Why It’s Used |
|---|---|---|
| Condition assessment | Study of fabric, seams, stuffing, and past repairs | Helps choose gentle, safe methods |
| Fabric matching | Sourcing or custom-dyeing similar plush or felt | Maintains original look as closely as possible |
| Panel or patch rebuilding | Replacing or supporting damaged zones | Extends life of very worn or torn toys |
| Internal structure repair | Re-stuffing, adding inner linings or supports | Restores original shape and stability |
| Face and feature preservation | Carefully repairing eyes, nose, mouth | Keeps emotional identity of the plush |
| Owner communication | Agreeing on options (minimal vs. more visible repair) | Respects emotional value and expectations |
If you are working with a very precious plush and feel unsure, it can be wise to seek a professional repair service—especially for vintage toys or heavily damaged areas.
Conclusion
Sewing a hole in a stuffed animal does not have to be scary. With the right tools, clean preparation, careful stitching, and smart stuffing control, you can give a beloved toy a new life. Strong, neat repairs keep plush toys safe, extend their lifespan, and protect the memories attached to them.
In our factory work at Kinwin, we build toys so they stay strong as long as possible—but I also know that life happens. Being able to fix a seam or patch a worn area is a useful skill for parents, brand owners, and retailers who care about the emotional value of plush toys. If you are developing your own plush line and want to design products that are easier to maintain and repair, you are very welcome to contact me at [email protected] or visit kinwintoys.com to explore how our OEM & ODM services can support your brand.