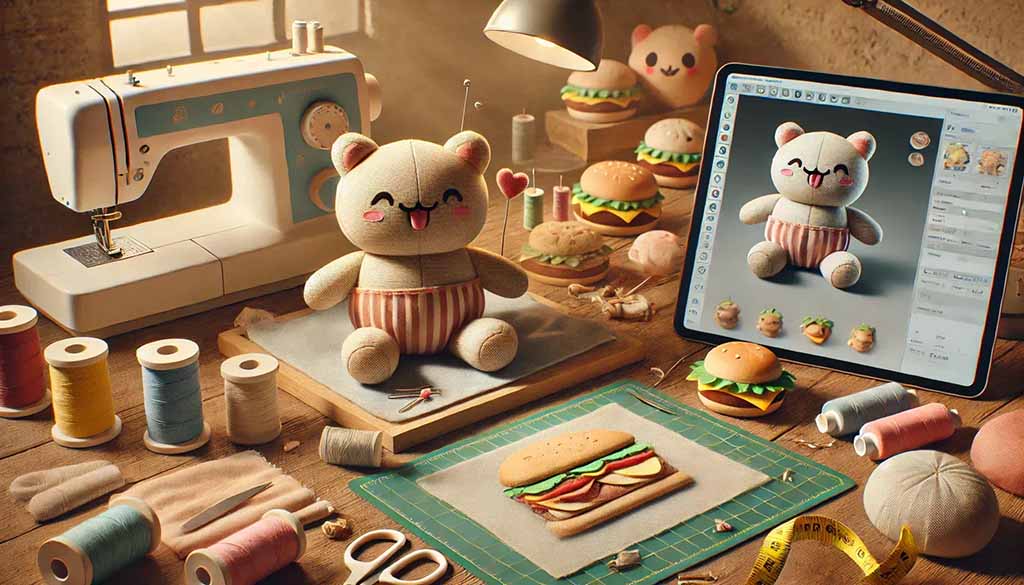
Making your own stuffed toy is one of the best ways to test a character idea, understand how plush construction really works, and communicate more clearly with a factory later. Even a simple handmade sample can help you see proportions, softness, and structure in a way that drawings cannot.
When you follow a clear process—right materials, simple but accurate patterns, tidy sewing, controlled stuffing, safe details, and basic quality checks—you can create a stuffed toy that looks professional, not just “DIY.” In this guide, I’ll walk you through the process step by step, from both a home-craft and factory point of view, so you can enjoy the creative part and also prepare for future mass production if you need it.
What materials and tools are required to make your own stuffed toy?
Before you start cutting and sewing, it helps to gather everything you need in one place. Good materials and basic tools will make your work smoother and your toy stronger. You do not need expensive equipment; you just need safe fabric, clean filling, and reliable sewing tools.
For most beginner projects, soft fabrics like minky, velboa, or fleece work well. Polyester fiberfill is the easiest stuffing. A domestic sewing machine is helpful, but you can also sew small toys by hand if you use strong thread and sharp needles.
Here is a simple checklist you can follow:
| Item Type | Recommended Options for Beginners | Why It Helps |
|---|---|---|
| Main fabric | Minky, velboa, anti-pill fleece | Soft, forgiving, easy to sew and cuddle |
| Lining (optional) | Thin cotton or polyester | Supports thin areas like neck or base |
| Stuffing | Polyester fiberfill | Light, washable, easy to control by hand |
| Thread | Polyester all-purpose thread | Strong and less likely to break than cotton |
| Needles | Universal machine needles + sharp hand needles | Smooth stitching for both machine and hand sewing |
| Marking tools | Fabric pen, chalk pencil | Lets you trace patterns without permanent marks |
| Scissors | Fabric scissors + small thread snips | Clean cuts in fabric and tidy trimming of threads |
| Notions (optional) | Velcro, zippers, ribbons, safety eyes, buttons | For closures and accessories (use safely) |
When you work with a factory later, many of these items are the same—only scaled up or industrial. Understanding them now helps you ask more precise questions about fabric weight, pile length, and filling types when you source custom toys for your brand.
How do you design and draft patterns for accurate shaping?
Your pattern is the “blueprint” of the stuffed toy. If the pattern is wrong, the toy will look strange no matter how beautiful the fabric is. If the pattern is simple and clear, you can achieve a clean, appealing shape even with basic skills.
The goal is not to create a complex pattern on your first try. The goal is to create a pattern that supports the look you want: realistic, cute, or super-stylized. You start from a sketch, decide how many panels your toy needs, then add seam allowance and test it with cheap fabric before cutting into your final material.
You can follow this simple pattern workflow:
| Step | What You Do | Tips for Better Results |
|---|---|---|
| 1. Gather references | Collect 2–3 pictures or sketches of your toy idea | Look at silhouette, head–body ratio, limb length |
| 2. Rough sketch | Draw front and side views on paper | Keep shapes basic; focus on outline, not tiny details |
| 3. Choose style | Decide realistic, semi-realistic, or chibi | Bigger head and smaller body = cuter look |
| 4. Break into pieces | Mark where seams will run (sides, back, belly) | Avoid very tiny pattern pieces at the beginning |
| 5. Add seam allowance | Add 0.5–1 cm around each piece | Keep allowance consistent on all pieces |
| 6. Make a test toy | Cut from scrap fabric, sew, and stuff | Draw notes directly on the sample for corrections |
A few extra tips from our factory pattern team:
- Fold your paper when drawing so left and right sides stay symmetrical.
- Write “head front,” “body side,” “ear,” etc., on each piece so you don’t get lost.
- Expect the first stuffed sample to look a little off. This is normal. Adjust curves and lengths based on what you see, not only what you imagined on paper.
This “test and correct” mindset is the same process we use for commercial plush development—just with more people and machines involved.
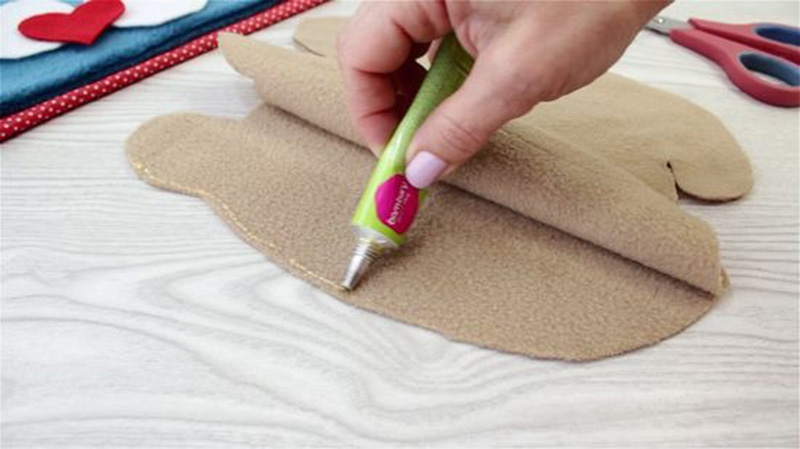
What sewing and assembly techniques ensure durability and clean seams?
Once your pattern is ready, sewing and assembly decide how strong and tidy your stuffed toy will feel. You want seams that hold during play, curves that look smooth, and an assembly order that does not make you confused halfway.
For most projects, a basic straight stitch is enough for machine sewing, and a backstitch works well for small hand-sewn areas. Reinforcing high-stress points—like the base of arms, legs, and ears—helps you avoid open seams after a few weeks of use.
Here’s a simple guide to seam choices and where to use them:
| Seam / Technique | Where to Use It | Why It Matters |
|---|---|---|
| Straight stitch (machine) | Main body seams, head, limbs | Strong, neat, and easy to control |
| Backstitch (hand) | Small parts, repairs, no machine | Very strong hand seam for curves and tight spots |
| Zigzag or overcast | Raw edges on fray-prone fabrics | Reduces fraying inside the toy |
| Ladder stitch (hand) | Final closing point after stuffing | Nearly invisible from the outside |
| Reinforcement stitch | Start/end of seams, joint areas | Stops seams from splitting under stress |
A simple assembly order that works for many stuffed toys:
- Prepare details first
- Sew ears, tails, small fins, or wings.
- Add embroidery or appliqué to flat pieces before assembling.
- Sew and shape the head
- Join head panels as your pattern shows.
- Attach ears and any extra pieces like muzzles.
- Sew the body
- Join body panels and leave an opening for stuffing (often on the back or base).
- Insert tail or other parts into these seams if needed.
- Sew limbs
- Sew arms and legs, turn them right side out, and lightly stuff if you want firmer limbs.
- Attach limbs and head
- Sew limbs into the body seam (machine) or hand sew them on.
- Attach head to body firmly, using tight hand stitches if they are separate pieces.
Working in this order avoids constant turning and opening of parts and helps keep your seams clean. It also mirrors the logic a factory uses, so when you later brief a manufacturer, your instructions will feel very familiar to them.
How is stuffing applied to achieve balanced softness and structure?
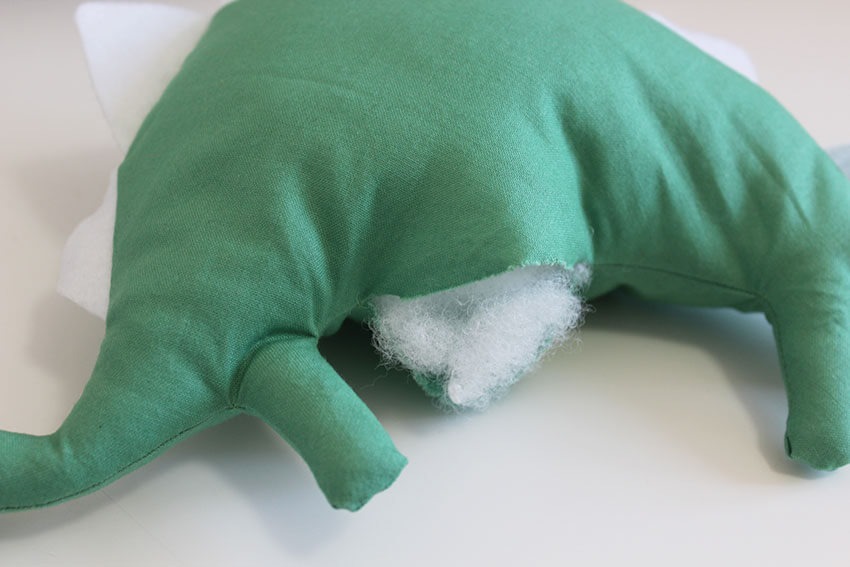
Stuffing is what gives your toy its body, softness, and posture. The same pattern can look “cheap” or “premium” depending on how filling is placed. The goal is balanced softness: a toy that feels huggable, but not floppy or lumpy.
The best way to control stuffing is to work slowly, add small amounts, and think in zones. Different parts of the toy need different densities: the head usually needs more, the body needs medium softness, and the base may need extra support so the toy can sit or stand properly.
Use this quick filling map as a guide:
| Toy Zone | Target Feel | Stuffing Approach |
|---|---|---|
| Head | Full and smooth, but not rock hard | Add small tufts; shape cheeks and top carefully |
| Face / muzzle | Defined but soft | Avoid big lumps; press from outside to smooth |
| Body / torso | Medium soft, no big hollow spots | Add a little, squeeze from both sides, add more |
| Limbs | Enough firmness to hold shape | Push stuffing to hands/feet first, then up |
| Base / bottom | Stable sitting or standing | Slightly firmer; small pellet bag optional if safe |
Practical tips from our production line:
- Tear the fiberfill into small pieces instead of rolling one big ball. This helps avoid bumps.
- After stuffing, roll the toy gently between your hands to even out the filling.
- Check symmetry constantly—compare left and right arms, legs, or cheeks by feel and by eye.
- If you want a weighted feel, sew pellets into a small inner bag and place that deep inside the body so they cannot leak.
If an area looks wrong, you can always open a small part of the seam again, adjust stuffing, and close it with a ladder stitch. In factories, we also adjust stuffing several times while perfecting a new sample, so don’t be afraid to make changes.
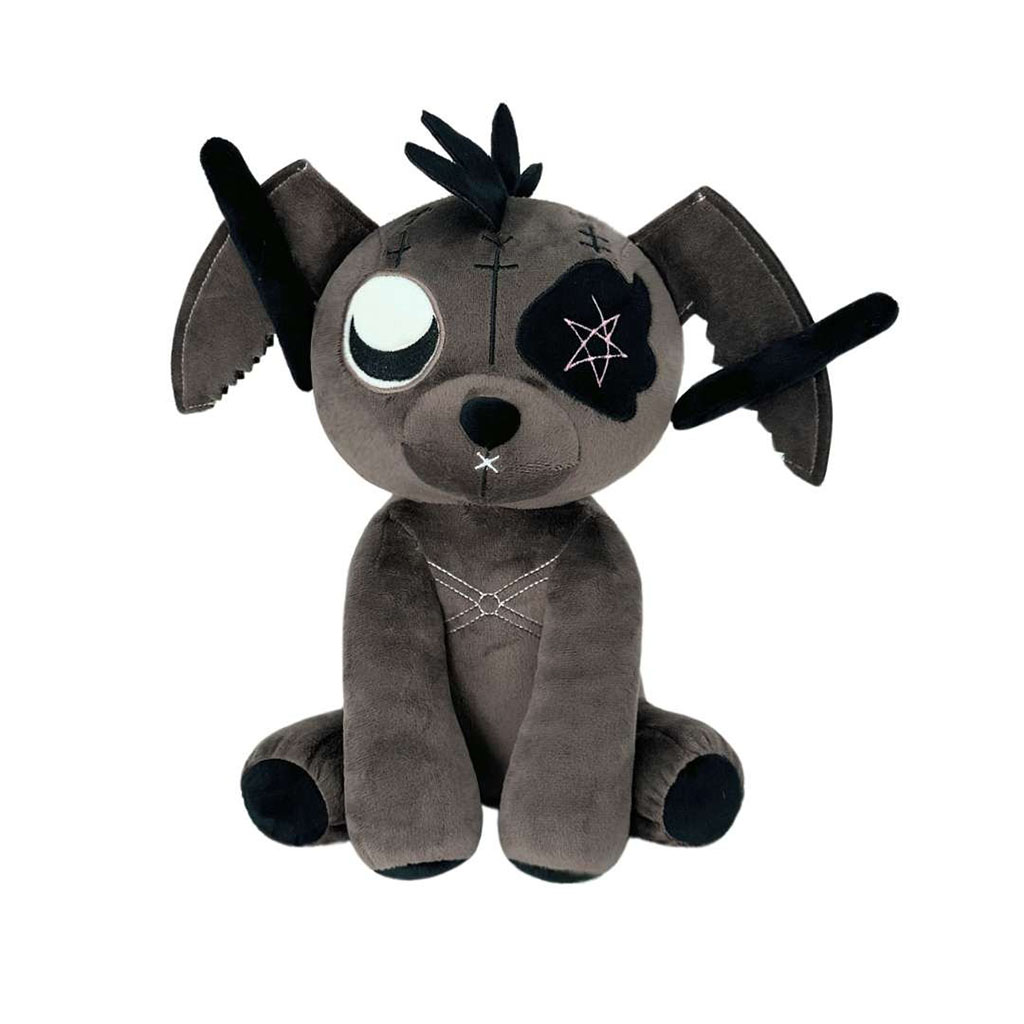
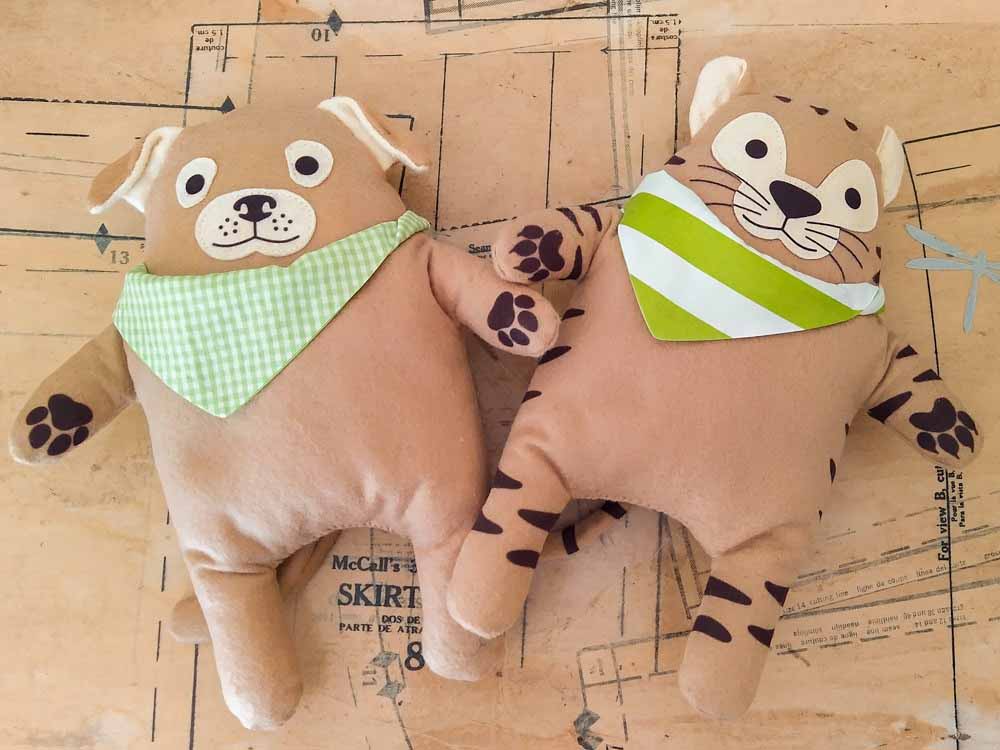
How do you add facial details, trims, and accessories safely?
The face and accessories give your stuffed toy personality. A one-centimeter change in eye placement can turn “sleepy” into “surprised.” At the same time, these details must be safe, especially if children may play with the toy.
For the safest option, especially for babies and toddlers, use embroidered or felt facial features sewn firmly to the fabric. If you choose plastic safety eyes or noses, install them correctly and understand they are better for older children and adults. Trims such as ribbons, scarves, or clothes should also be attached securely or made clearly removable for older users.
Here is a quick overview of common options:
| Feature / Trim | Technique | Best For | Safety Considerations |
|---|---|---|---|
| Eyes (soft) | Embroidery or felt appliqué | All ages, especially babies and toddlers | No hard parts; very secure when sewn well |
| Eyes (plastic) | Safety eyes with washers | Older children, teens, adults | Must be installed before stuffing; not for under-3s |
| Nose and mouth | Embroidery or small felt pieces | Most stuffed toys | Keep stitches tight; hide thread ends inside |
| Clothing / trims | Sewn-on scarves, bows, simple outfits | All ages if firmly attached | Avoid tiny beads or loose decorative parts |
| Removable accessories | Hats, bags, detachable outfits | Older children and collectors | Make pieces large enough, avoid choking hazards |
Helpful placement tips:
- Mark eye and nose positions on the flat pattern first, then test on your stuffed sample.
- Step back and look at the toy from a distance; you see balance and expression more clearly.
- When adding trims, think about washing: can they go into a laundry bag, or do you prefer surface cleaning only?
At Kinwin, we always add faces and most trims in the flat stage (before full assembly). You can copy this habit at home; it’s much easier to embroider or appliqué on a flat piece of fabric than on a stuffed toy.
What finishing and quality checks ensure a polished, professional-looking toy?
Finishing is your last chance to turn a “nice project” into a toy that looks ready for retail photos or factory sampling. Small actions—cutting loose threads, smoothing the fabric, checking seams and symmetry—make a big difference to how other people see your work.
You don’t need complicated equipment to finish well. You just need a few minutes of focused checking and a simple checklist. Think of it as your own mini quality-control system, just like a factory but on a small scale.
You can use this finishing checklist for every stuffed toy you make:
| Check Area | What You Do | Pass Condition |
|---|---|---|
| Threads | Trim all loose threads inside and outside | No long threads hanging or caught in seams |
| Seams | Gently pull along seams, especially at joints | No open gaps, no cracking sounds |
| Stuffing | Squeeze head, body, and limbs | No hard lumps or obvious empty zones |
| Symmetry | Compare left and right sides | Eyes, ears, arms, and legs align visually |
| Surface | Smooth or brush fabric with your hand or soft brush | Fur lies in one direction, no big wrinkles |
| Accessories | Pull lightly on trims and clothing | Everything stays secure or removes as planned |
For extra safety, especially if a child will use the toy:
- Shake the toy and see if anything loosens.
- Tug gently on ears, limbs, and tail to check attachment strength.
- If you used any fabric paint or dye, rub a damp white cloth on the area to check for color transfer.
This mindset—“check like a parent, not only like a maker”—is exactly how we think on the production floor at Kinwin. When you build this habit into your handmade work, you’ll be ready to talk with factories using the same quality language they use every day.
Conclusion
Making your own stuffed toy is a powerful way to test ideas, learn how plush construction really works, and prepare for future professional production. At Kinwin, we help global buyers turn these early concepts into safe, scalable stuffed toys that keep their softness, shape, and charm from sample to mass order. Contact us at [email protected] or visit kinwintoys.com to discuss your next stuffed toy project and see how our factory team can support your long-term growth.