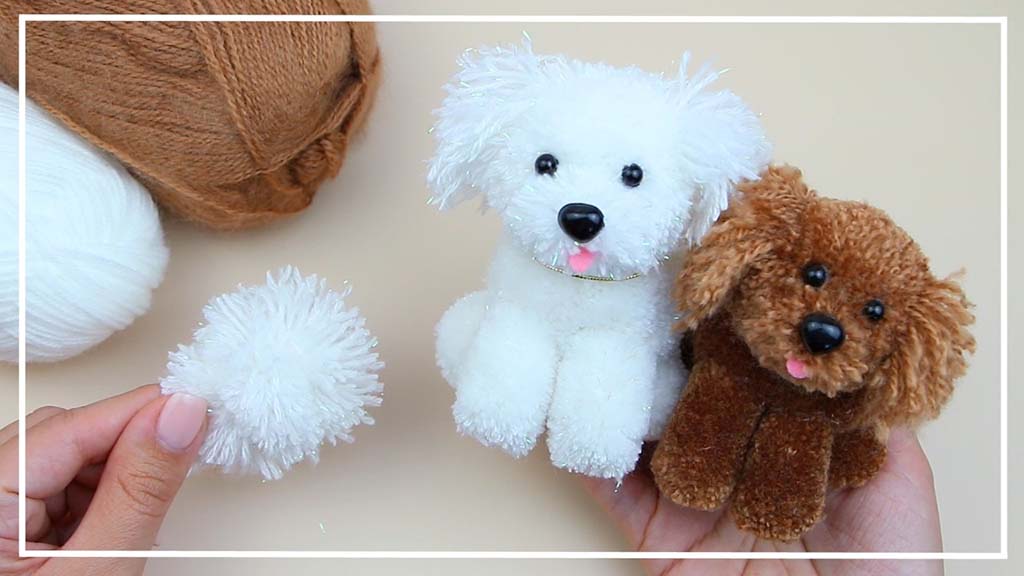
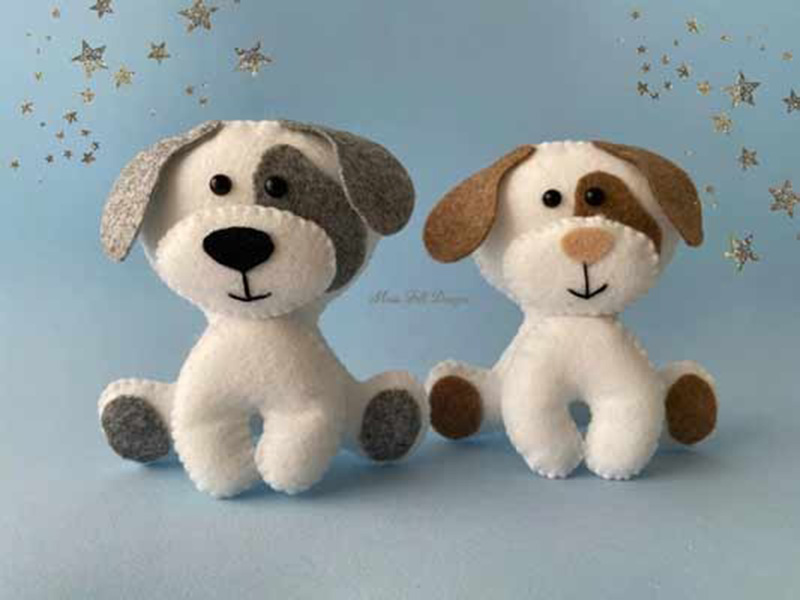
A stuffed animal dog can be many things at once—a best friend for a child, a mascot for a brand, or a cozy decor piece for the sofa or bed. When the pattern, materials, and finishing are handled well, the dog looks alive and feels good in the hands.
In this guide, I’ll walk you through how I think about making a stuffed animal dog from a factory point of view: from materials and pattern design to sewing, stuffing, and final checks. My goal is to help you speak the same language as your manufacturer and turn your dog concept into a reliable, market-ready product.
What materials and tools are essential to make a stuffed animal dog?
Materials set the base quality level for your stuffed dog. If the fabric feels rough, the stuffing collapses, or seams are weak, no amount of cute design will save the product. So we always start from the “recipe”: outer fabric, filling, thread, and any extra components.
For most dog plush projects, I recommend soft synthetic fabrics like minky, short plush, or velboa on the outside, polyester fiberfill inside, and strong polyester thread. For some designs, we also add pellets for weight, felt or printed fabric for markings, and safety eyes or full embroidery for facial details.
Here is a simple materials and tools overview:
| Component / Tool | Common Options | Role in Stuffed Dog | Notes from manufacturing view |
|---|---|---|---|
| Outer fabric | Minky, short plush, velboa, faux fur | Dog “fur” and surface feel | Shorter pile for clean shape, longer for fluffy |
| Lining (optional) | Thin woven fabric, stabilizer | Adds strength under thin or stretchy areas | Useful for larger dogs or thin fabrics |
| Inner filling | Polyester fiberfill (PP cotton), foam pieces | Creates volume, softness, and resilience | Quality of fiberfill affects long-term shape |
| Extra weight (opt.) | Plastic pellets, pouch with beads | Helps dog sit or feel more “grounded” | Always use inner pouches, not loose pellets |
| Thread | Polyester sewing thread, embroidery thread | Seams and surface details | Strong, colorfast thread is essential |
| Detail materials | Felt, printed fabric, safety eyes/nose | Eyes, nose, spots, clothing, accessories | Choose age-appropriate solutions |
| Tools | Scissors, pins, needles, pattern paper, markers | Cutting, pinning, tracing, sewing | In factory: add cutting machines, industrial sew |
| Machines | Lockstitch, overlock, embroidery machine | Clean seams and precise details | Supports consistency for larger orders |
Choosing the right fabric for your dog concept
Think about your dog’s personality and target buyer:
- Cute cartoon puppy → soft minky or short plush with bright, even color.
- Realistic adult dog → faux fur or longer pile plush in natural colors.
- Minimalist or stylized dog → very short pile or even smooth knit for a clean, modern look.
Also consider climate and use scene. In warmer markets, lighter fabrics and medium stuffing feel more comfortable. In cooler markets, thicker fabrics and fuller stuffing can support a cozy image.
Stuffing and weight as part of the design
Many buyers only think about the outside, but the inside matters just as much. High-quality fiberfill keeps your dog plush from getting flat in a few months. Pellets in a small pouch can help the dog sit upright or feel more “serious” on a desk or shelf.
When I develop a dog plush with a client, we almost always test at least two stuffing densities. A small change here can dramatically change the perceived value and comfort.
How do you design patterns that capture realistic or stylized canine shapes?
Pattern design is where your dog gets its “bone structure.” A good pattern will make the dog look balanced, whether your style is realistic or stylized. A weak pattern will give you strange proportions, twisted legs, or a dog that cannot sit or stand correctly.
To capture canine shapes, we start with references (photos, sketches, or 3D art), choose a pose (sitting, standing, lying), and then break the body into simple shapes. These shapes become flat pattern pieces for head, muzzle, ears, body, legs, and tail. We then prototype, review, and adjust until the plush looks good from every angle.
You can compare pattern approaches like this:
| Style Type | Key Proportions | Pattern Focus | Common Use Case |
|---|---|---|---|
| Cute / chibi dog | Large head, short legs, round body | Emphasis on big face, simplified limbs | Kids’ toys, kawaii-style products |
| Stylized cartoon dog | Exaggerated features (ears, muzzle, tail) | Clear silhouette, clean lines | Brand mascots, character IP |
| Semi-realistic dog | Closer to real anatomy, but softened | More panels for body and head shaping | Gift and decor plush |
| Realistic breed dog | Breed-specific proportions and details | Complex patterns, careful muzzle and body | Collectors, pet-themed lines |
| Lying vs sitting pose | Body stretched or folded | Belly curve and leg bend patterns | Bed cushions vs shelf display |
Steps from idea to pattern
- Collect reference images or drawings from front, side, and back.
- Decide the pose: sitting is usually easiest; standing requires more support.
- Mark main measurements: head height, body length, leg length, tail length.
- Break into segments: head, muzzle, ears, body, legs, tail.
- Draft flat panels with seam allowance and notches for alignment.
We then sew a first sample from simple fabric to test shape and balance. This is rarely perfect, and that is okay. The point is to spot where the dog looks too long, too narrow, or off-model, and then adjust.
Balancing brand style and realism
You do not need to copy real anatomy exactly. For many brands, a hybrid approach works best:
- Use realistic reference for leg position and body curves.
- Use stylized choices for head size and eyes to increase cuteness.
In my experience, a slightly larger head and slightly shorter legs generally perform better in children’s and gift markets, even for “realistic” breeds.
What sewing and assembly techniques form the dog’s body, head, limbs, and tail?
Once the pattern is ready, sewing and assembly bring the dog to life. A clear assembly order helps keep seams straight, expressions consistent, and production efficient.
We normally sew small parts first (ears, tail, muzzle), then assemble the head, then body, then legs, and finally join everything together. Curved seams, like head and muzzle curves, need slower, more careful stitching to keep shapes clean.
Here is a typical assembly flow:
| Assembly Step | Parts Involved | Main Actions | Tips for Consistency |
|---|---|---|---|
| 1. Small parts | Ears, tail, small patches or markings | Sew, turn right side out, press if needed | Clip curves and corners to reduce bulk |
| 2. Head base | Head panels, muzzle panel, ear insertion | Join panels, insert ears and muzzle pieces | Align notches; sew curves slowly |
| 3. Body structure | Body front/back, belly panel | Sew body panels, leave stuffing opening | Mark leg and tail positions clearly |
| 4. Legs | Front and back leg panels | Sew legs, turn, partially stuff if desired | Keep left and right legs equal |
| 5. Tail assembly | Tail panels | Sew and stuff lightly | Position angle based on character style |
| 6. Final joining | Attach head, legs, and tail to body | Reinforce seams at high-stress joints | Check symmetry as you attach |
Controlling curves and complex areas
Dog heads often have multiple curves: forehead, cheeks, muzzle. To keep them smooth:
- Use shorter stitch length on tight curves.
- Make small cuts into seam allowance on inward curves (without cutting the thread) so the fabric can spread when turned.
- Turn the head right side out and inspect shape before moving on to stuffing.
For the body, we consider how the dog will stand or sit. A slightly flat base helps a sitting dog stay stable. For lying dogs, the body and legs must be smooth so the toy lies flat without awkward bumps.
Strength at joints
Attach legs and head with enough seam overlap or specific joint patterns. Children often lift plush dogs by the legs, ears, or tail. So reinforcement here is not optional; it is part of basic quality.
In mass production, each sewing operator follows a standard operation sheet that describes stitch type, length, seam allowance, and reinforcement points. This is how we keep hundreds of dogs looking the same.
How do you add facial details, ears, and markings with accuracy and safety?
The face is where buyers decide in one second if they like your stuffed dog. Ears and markings are what turn “a dog” into “this specific dog.” Both aesthetics and safety matter, especially for younger users.
Details can be added with embroidery, felt appliqué, printing, or safety parts. For babies and toddlers, we prefer fully embroidered faces. For older children and adults, safety eyes and noses can add shine and dimension.
You can see the main options this way:
| Detail Element | Common Techniques | Advantages | Best For |
|---|---|---|---|
| Eyes | Embroidery, safety eyes, printed patches | Embroidery: safest; safety eyes: more 3D | Babies (embroidery), kids/adults (either) |
| Nose | Embroidery, felt, safety nose | Embroidery soft; safety noses look realistic | All ages, depending on design and tests |
| Mouth and eyebrows | Embroidered lines, simple printed shapes | Clear expression with minimal bulk | Any target group |
| Ears | One- or two-layer fabric, sometimes wired | Define breed (floppy, upright, folded) | All dog styles |
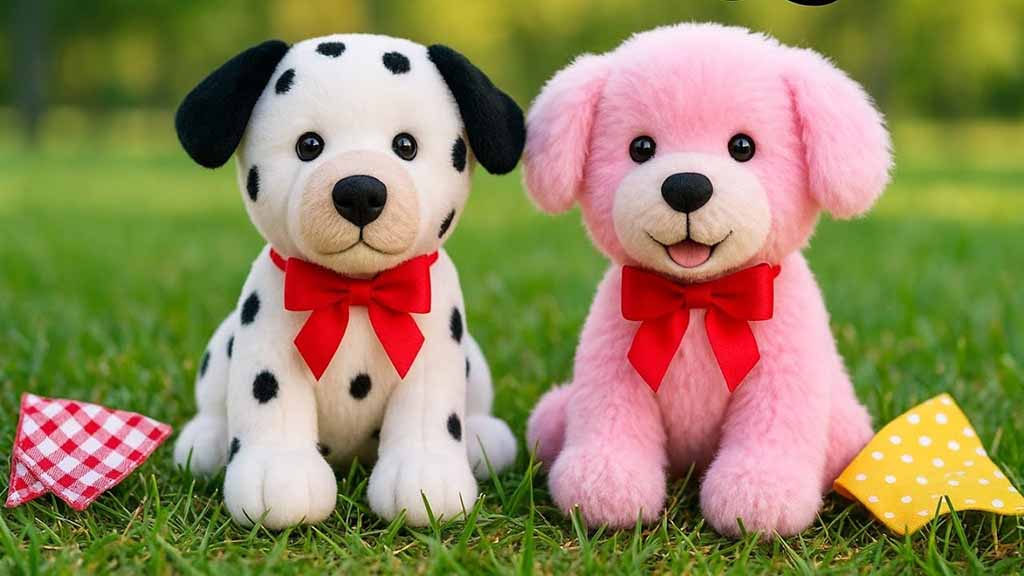
| Body markings | Color-block fabric, felt, or print | Spots, patches, collars, clothing | Breed identity and character personality |
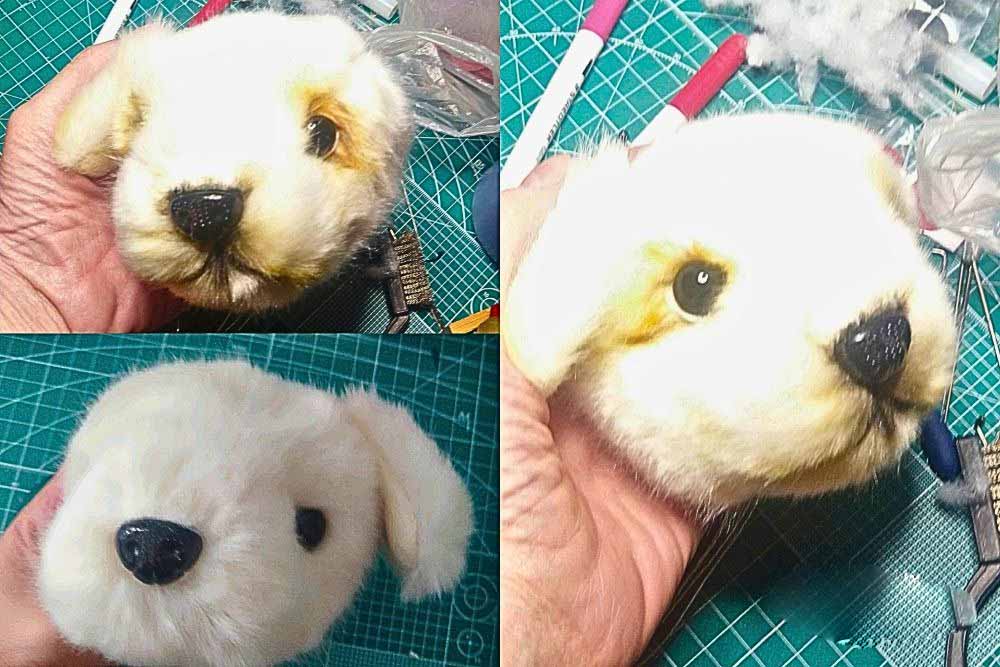
Placing facial features correctly
During design and sampling, we mark eye and nose positions on the head pattern. When the head is sewn, we transfer those marks to the fabric with chalk or light pen.
Small changes in position make a big difference:
- Eyes slightly higher → more “baby-like” and friendly.
- Eyes closer together → more stylized, sometimes more mischievous.
- Nose slightly larger → more cartoon energy; slightly smaller → more subtle look.
I like to test a few variations using temporary stickers or light chalk before final embroidery. This helps us and the buyer choose the most appealing expression.
Safety considerations for details
For children under three, most brands avoid hard plastic parts and small accessories. In this case:
- Use embroidered eyes, noses, and mouths.
- Sew on any collars or clothing firmly, without loose parts.
- Avoid buttons, beads, and metal charms.
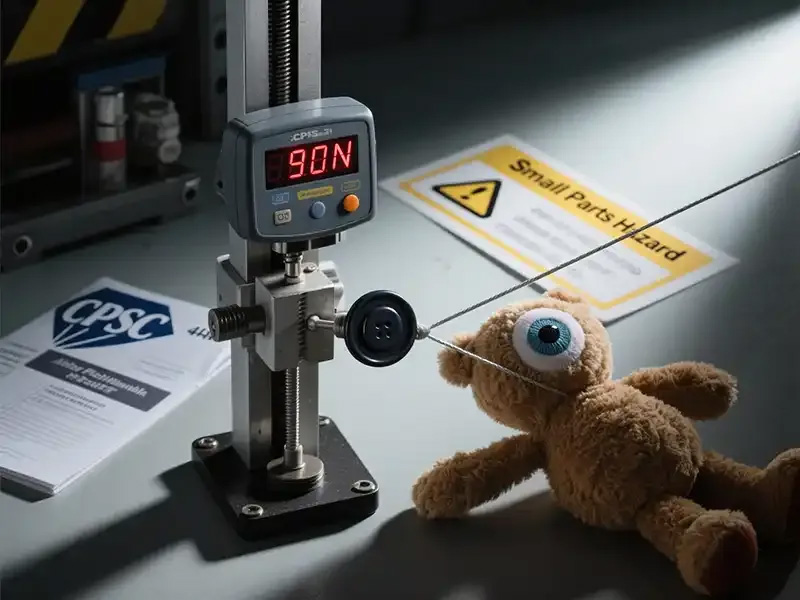
For older users and collectors, we have more freedom. However, even then, all parts must pass pull tests and meet safety standards in your target markets (such as EN71 or ASTM F963).
How is stuffing applied to achieve balanced softness and stable structure?
Stuffing is where the stuffed dog gains its final shape and personality. Even with the best pattern and sewing, poor stuffing can make the toy look uneven, unstable, or cheap. Good stuffing must balance softness, structure, and weight distribution.
We usually stuff in stages: limbs and tail first, then head, then body. Each area gets a slightly different stuffing level. The head is often firmer than the body to protect the face shape; the belly is softer for hugging; the base may be firmer or slightly weighted to help the dog stand or sit.
Here is a simple stuffing guide by zone:
| Dog Plush Zone | Stuffing Level | Purpose | Notes |
|---|---|---|---|
| Head and muzzle | Medium–firm | Keep facial features and silhouette clean | Avoid overstuffing that stretches embroidery |
| Ears | Low, or none | Soft flop or light structure | Sometimes a thin layer is enough |
| Body / torso | Medium | Comfort for hugging and stable overall shape | Slightly softer than head |
| Front legs | Low–medium | Flexible enough to move, not too floppy | Keep both sides equal |
| Back legs / base | Medium–firm (sitting) | Support sitting pose and balance | Can add small weighted pouch for stability |
| Tail | Low–medium | Defined shape but still soft | Very heavy tails can stress seams |
Stuffing technique
- Tear fiberfill into smaller tufts, not big lumps.
- Use a stick or stuffing tool to push filling into narrow parts.
- Work from the far end of each part toward the opening.
- Frequently check shape from front, side, and back while stuffing.
For production, we often set target weights for stuffed parts or finished toys. This helps every dog feel similar from one unit to the next.
Using weighted inserts
If you want the dog to sit more solidly or feel more “grounded,” we may insert a small pellet pouch in the base or belly. This pouch is always sewn from strong fabric and fully closed before going inside. Then we stuff fiberfill around it so the surface remains soft.
Weighted areas are especially useful for desk mascots, therapy-style dogs, or display pieces that should not topple easily.
What finishing and quality checks ensure a polished, durable stuffed dog?
Finishing is the last step, but it is what customers notice first. Clean seams, consistent faces, no loose threads, and a stable pose all give the impression of a high-quality stuffed dog.
In the factory, we perform visual, tactile, and basic stress checks on each batch. For B2B buyers, we also compare production pieces with the approved “golden sample” to keep everything aligned with the agreed look and feel.
You can use this checklist as a reference:
| Checkpoint | What to Inspect or Test | Desired Result |
|---|---|---|
| Overall silhouette | Look from front, side, and back | Dog looks balanced, no strange bulges |
| Face alignment | Check eyes, nose, mouth symmetry | Expression is consistent and centered |
| Seam quality | Inspect under arms, around neck, base seams | No gaps, no visible stuffing, neat stitching |
| Ears, legs, tail joints | Gently pull and flex | Joints feel solid; no tearing or looseness |
| Stuffing consistency | Squeeze body, head, and limbs | No hard lumps, no very empty areas |
| Surface cleanliness | Look for marks, lint, or loose threads | Plush looks clean and ready for photos |
| Label and branding | Check care label and hangtag (if any) | Correct positions, clear printing, secure |
Safety and compliance checks
For export markets, serious projects also include lab testing for:
- Mechanical safety (seam strength, small parts).
- Flammability (for certain regions and uses).
- Chemical safety (heavy metals, harmful substances).
The exact tests depend on your target markets, but if your dog plush is for children, EN71 (Europe) and ASTM F963 / CPSIA (USA) are common reference points. A reliable manufacturer will help you design and produce with these standards in mind from the start.
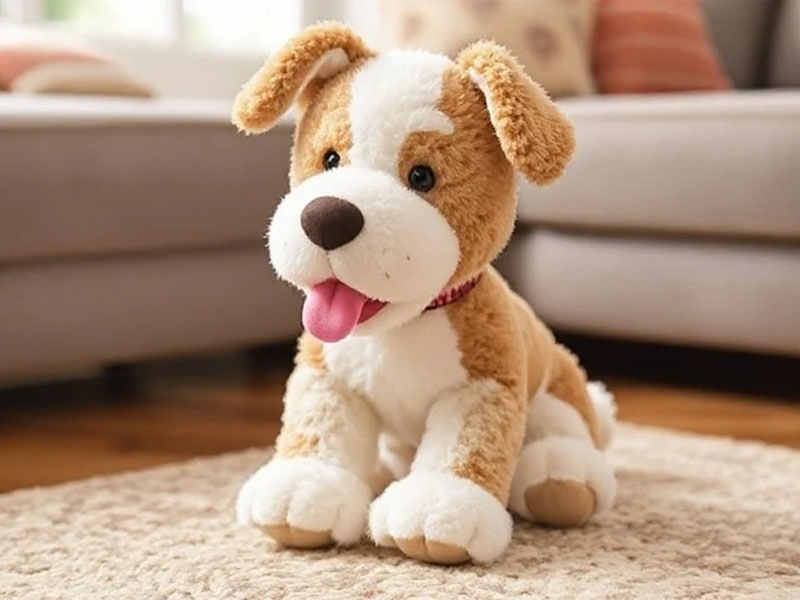
Presenting a polished stuffed dog to the market
Once the dog passes finishing and quality checks, it is ready for:
- Product photography and marketing content.
- Packaging design (simple hangtag, box, or bag).
- Larger production runs for your sales channels.
Small details—like a straight label, a final brush of the fur, or a neatly tied ribbon—make a real difference in how your stuffed animal dog feels in the buyer’s hand.
At Kinwin, we keep a golden sample for each dog design and train our QC team to compare every shipment to that sample. This helps protect your brand image and keeps your repeat orders consistent over time.
Conclusion
Making a stuffed animal dog is a combination of art and engineering. You choose materials that feel good, design patterns that capture the right shape, sew and assemble with strength and precision, place facial details safely, stuff for balance and comfort, and finish with careful quality checks. When every step is handled well, your dog plush will look charming on the shelf, hold up in real daily use, and pass the safety expectations of global markets.
At Kinwin, my team works with buyers who want to turn dog characters—cute puppies, realistic breeds, or brand mascots—into reliable, export-ready plush. If you are planning a new stuffed dog line or want to improve an existing design, you are very welcome to contact me at [email protected] or visit kinwintoys.com so we can develop patterns, materials, and production plans that fit your market and budget.