Making plushies looks simple from the outside, but behind every cute, soft toy there is a clear process: materials, pattern, sewing, stuffing, details, and quality checks. When these steps are well controlled, your plushies feel professional and are much easier to scale from handmade pieces to factory production.
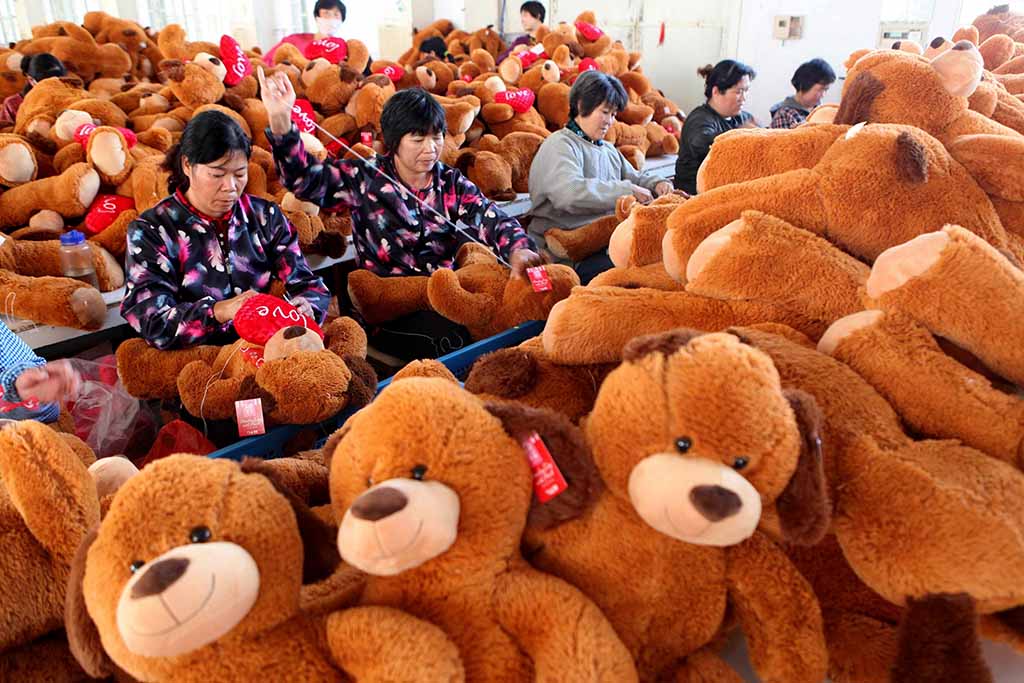
I’m Amanda from Kinwin, a plush toy manufacturer in China. In our factory, we take plushies from first sketch to mass production for brands, retailers, and e-commerce sellers around the world. In this guide, I’ll walk you through how to make plushies in a way that is practical for both DIY makers and B2B buyers who want to understand the process inside a professional factory.
What materials and tools are essential for making plushies?
The quality of a plushie starts with the materials and tools you choose. Even with a beautiful design, low-quality fabric or weak thread will cause problems later. Good choices here make sewing easier, seams cleaner, and the final plush more durable and safe.
For most plushies, you need three core material groups: outer fabric, inner stuffing, and details like eyes, noses, and accessories. Alongside these, you need basic tools for cutting, marking, sewing, and turning parts inside out.
When you treat materials like a “starter kit” and pick them with intention, you avoid many production issues: stretching, pilling, broken seams, or failed safety tests.
| Material / Tool Group | Typical Options | Why It Matters for Plushies |
|---|---|---|
| Outer fabrics | Minky, short plush/velboa, fleece, cotton blends | Controls softness, look, and ease of sewing |
| Stuffing & fillings | Polyester fiberfill, recycled fiberfill, pellets | Decides weight, squishiness, and long-term shape |
| Face & detail materials | Embroidery thread, safety eyes/noses, felt appliqué | Adds character and expression; also touches safety |
| Sewing tools | Fabric scissors, pins/clips, needles, sewing machine | Affects accuracy and speed of construction |
| Marking & measuring tools | Fabric pen, chalk, rulers, tape measure | Helps keep pieces symmetrical and patterns consistent |
| Turning & closing tools | Stuffing sticks, chopsticks, turning tools, hand needles | Helps reach corners and close openings neatly |
| Safety & QC tools | Seam ripper, small scale, lint roller, basic test rig | Supports rework, weight control, and clean finish |
Choosing outer fabrics
For most plushies, you will use:
- Minky / super soft plush – Ideal for baby and comfort plushies; very soft, with a short, dense pile.
- Short plush / velboa – Smooth, low pile, good for clear shapes, embroidery, and printed details.
- Fleece – Cozy and forgiving, easy to sew, good for beginner patterns.
- Cotton or cotton blends – Best for more “minimalist” or décor plushies with a natural look.
If you are planning to sell to children, fabrics must be colorfast and tested for harmful substances when you move into professional production.
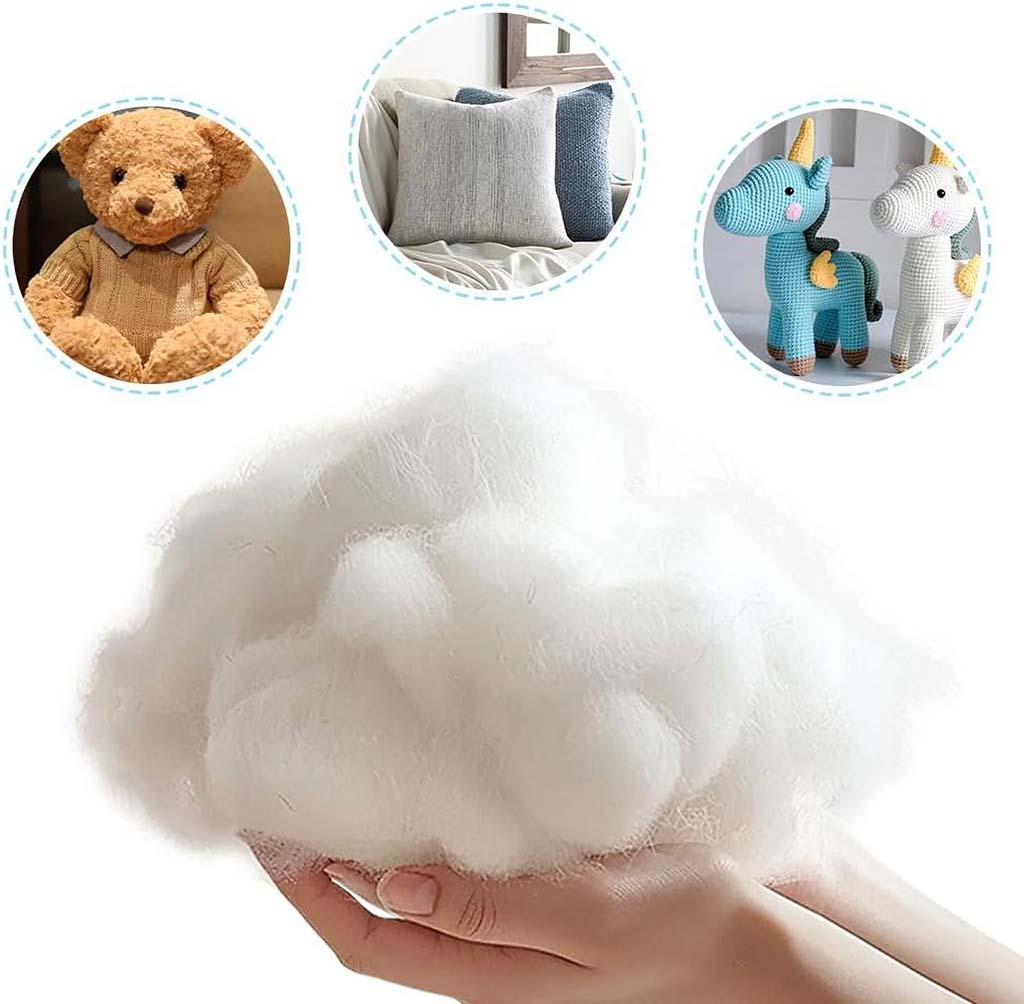
Selecting stuffing and fillings
Standard stuffing is polyester fiberfill (polyfill). For higher-end plushies, finer fibers feel softer and bounce back better. You can also add:
- Plastic pellets (in inner pouches) to give weight to bottoms or paws
- Recycled fiberfill if you want an eco story
- Foam pieces for support in cushions or special shapes
The key is consistency: if stuffing density changes from piece to piece, the customer will feel it immediately.
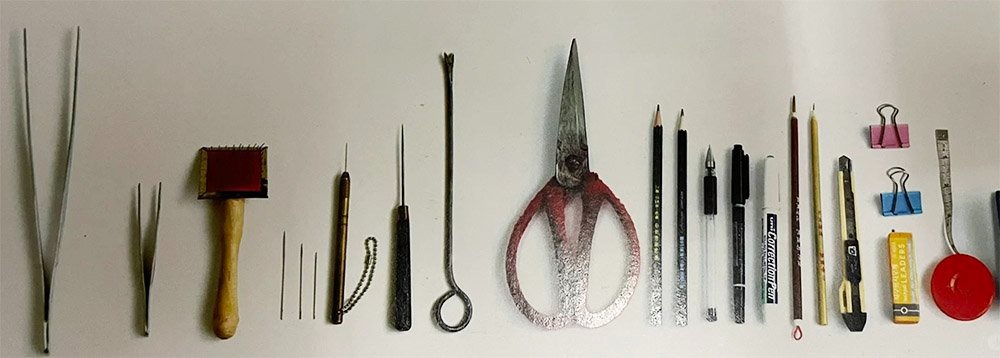
Tools for clean, efficient work
For small handmade batches, basic tools are fine. In factories, we use larger cutting tables, industrial machines, and stuffing machines, but the logic is the same. You need:
- Sharp fabric scissors or rotary cutter – clean edges, less fraying
- Pins or clips – hold seams without shifting
- Sewing machine with straight and zigzag stitches
- Hand sewing needles for closing openings and attaching details
- Stuffing sticks / chopsticks – to push stuffing into corners
When your materials and tools are prepared and organized, the rest of the process becomes smoother and more repeatable.
How do you develop patterns and prototypes for accurate plush shapes?

A plushie’s personality is defined by its pattern. Even with the best fabric, a bad pattern will make the toy look flat, twisted, or unbalanced. Good pattern development and prototyping give you clean, stable shapes and make later sewing much easier.
For handmade makers, this means sketching, converting shapes into pattern pieces, and testing with sample fabric. For factories, my team often starts from client artwork or 3D models, then builds digital or paper patterns and creates sample plushies for approval.
| Step in Development | What You Do | Why It’s Important |
|---|---|---|
| Concept / artwork | Sketch character front, side, and back views | Provides clear target for shape and proportions |
| Pattern drafting | Break design into 2D pieces (head, body, limbs) | Converts concept into sewable shapes |
| Seam allowance planning | Add 0.5–1 cm (or as needed) around each piece | Ensures seams are strong and pieces fit together |
| Sample cutting | Cut pieces in test fabric (often cheaper material) | Allows quick correction without wasting final fabric |
| First prototype sewing | Sew test pieces and assemble basic plush | Reveals shape issues and proportion problems |
| Revision & refinement | Adjust pattern curves, lengths, and widths | Fine-tunes expression, balance, and overall “cuteness” |
From drawing to pattern
Start with a simple drawing of your plushie: front, side, and maybe back view. Mark approximate head-to-body ratio, limb length, and feature positions. Then ask:
- Where are the natural seams?
- Which parts can be mirrored?
- Which curves need separate pattern pieces (e.g., cheeks, muzzle, ears)?
For beginners, it’s easier to start with simple silhouettes (round heads, basic bodies) and then add small changes.
Testing with prototypes
The first prototype should be treated like a draft. Use a mid-quality fabric that is similar in stretch to your final fabric. Sew loosely at first, then stuff and look at:
- Front symmetry
- Side profile (is the head too flat? Is the belly too small?)
- Stability (can it sit or stand as planned?)
Take photos and mark areas to adjust. In our factory, we often do 1–3 rounds of samples with clients until the shape, size, and expression feel correct.
When you are happy with the prototype, store your patterns well and label them clearly (version, size, and any special instructions). This is the base for future sizes and variations.
What sewing and assembly techniques ensure clean, durable construction?
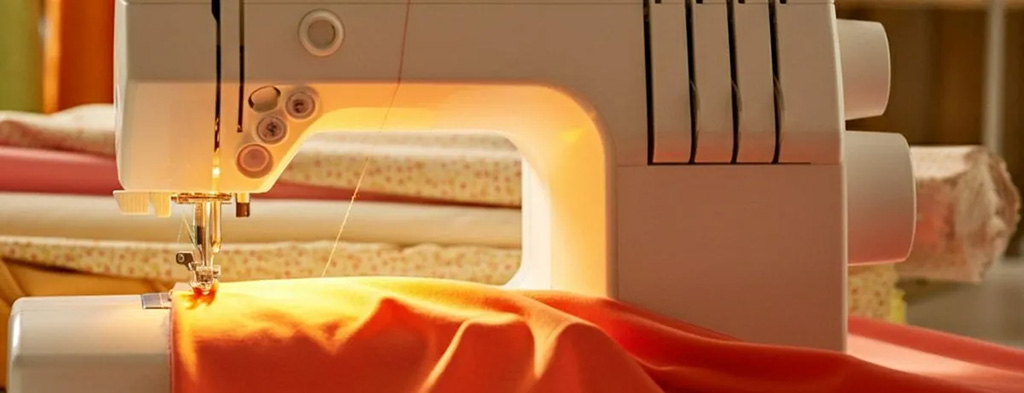
Once you have a solid pattern, the next challenge is sewing. Clean seams and strong construction make a plushie look professional and keep it safe in real use.
Good sewing technique is a mix of correct stitch length, correct seam allowance, and understanding where to add extra reinforcement.
| Sewing / Assembly Area | Recommended Practice | Benefit for the Finished Plushie |
|---|---|---|
| Stitch type & length | Straight stitch; shorter length on curves | Smooth curves without gaps; strong seams |
| Seam allowance | 0.5–1 cm depending on fabric and size | Prevents seams from splitting and fabric from fraying |
| Edge finishing (if needed) | Zigzag or overlock on high-stress fabrics | Reduces fraying and increases seam durability |
| Curves & corners | Clip curves and notch corners after sewing | Helps pieces turn smoothly with less bulk |
| Order of assembly | Sew small details first, then larger body joins | Keeps complex areas neat and easier to handle |
| Reinforcement points | Double-stitch neck joins, limb bases, openings | Prevents tearing in areas where kids pull or hug tightly |
Planning sewing order
A simple, effective sewing order often looks like this:
- Sew small parts first: ears, tails, small details.
- Assemble face details on the front head panel (embroidery, appliqué).
- Sew head pieces together, leaving an opening if needed.
- Sew limbs and body panels, leaving stuffing openings.
- Attach limbs to body (depends on design: inset seams, topstitch, or jointing).
- Turn everything right-side out, then move to stuffing and final closing.
By following a planned order, you avoid sewing yourself into corners or trying to attach details when the toy is already bulky.
Achieving clean curves and edges
For a plushie to look appealing, curves must be smooth and edges clean. A few tips:
- Use shorter stitch length on tight curves.
- After sewing, clip the seam allowance along curved areas (small snips, not through the stitching).
- For inner corners, cut a small notch to reduce bulk.
- Press seams lightly (with a cloth barrier for synthetic fabrics) if needed to reduce wrinkles.
These small actions make a big difference in how professional the plushie looks.
How is stuffing density controlled to achieve the desired softness and form?
Stuffing is like the “heart” of the plushie. It decides how soft, heavy, and stable the toy feels. Too much stuffing and the plush becomes hard and stiff. Too little and it looks flat and cheap. The best plushies find a balance that matches their purpose.
For comfort and hugging, you want medium-soft stuffing that feels squishy but still holds shape. For decor pieces or mascots that must stand or sit on shelves, you may want firmer stuffing in certain areas and extra weight in the base.
| Plushie Type / Purpose | Recommended Stuffing Density | Additional Fill Options | Resulting Feel & Look |
|---|---|---|---|
| Baby comfort plush | Medium-soft, even distribution | None or very minimal pellets | Very soft, easy to hug, no hard lumps |
| Standard character plush | Medium density with slightly firmer core | Small pouch of pellets in base (optional) | Good shape, still cuddly |
| Decor / mascot plush | Firmer body, firmer head | Pellets in base, foam elements (optional) | Stable posture, clear silhouette |
| Weighted or sensory plush | Medium fiberfill + controlled pellet weight | Multiple inner weight bags | Heavier, calming, deeper pressure |
| Cushions & pillows | Soft to medium-soft with wide area distribution | Foam chips (optional) | Comfortable support, less “toy-like” look |
Step-by-step stuffing control
- Prepare stuffing
- Fluff the fiberfill by hand so it is not compacted.
- If using pellets, keep them in inner cloth bags to avoid leaks.
- Start with corners and small parts
- Stuff ears, arms, and legs first, using a stick or chopstick.
- Avoid over-stuffing small parts; they should be firm, not rock-hard.
- Fill the core areas
- Add stuffing gradually to the head and body, pushing it into all corners.
- Check from outside: look for hollows, bumps, or uneven areas.
- Check symmetry
- Compare left and right sides: are limbs equally full? Is the face balanced?
- Adjust before closing the opening.
- Test the “hug feel”
- Squeeze the plush gently. Does it bounce back? Does it feel comfortable?
- If yes, you’re close to the right density. If no, add or remove stuffing.
In a factory, we also monitor weight ranges. Each plush model often has a target weight with a small tolerance. This helps keep density consistent across thousands of pieces.
How are facial details and accessories safely added to plushies?
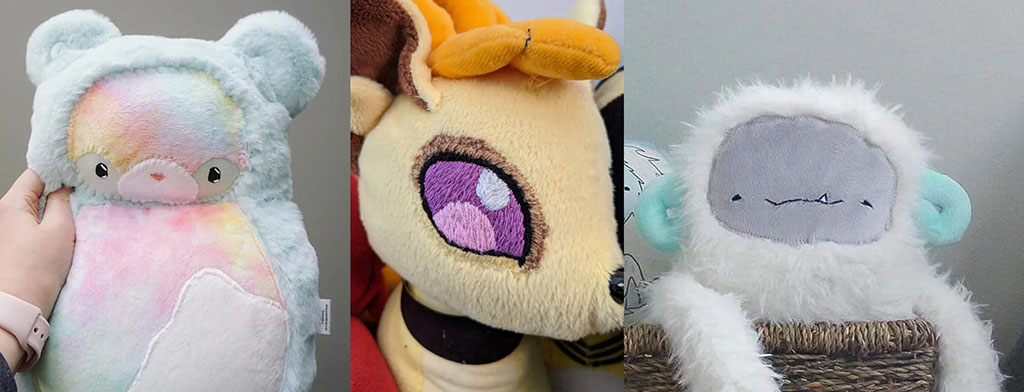
Facial details and accessories turn a basic stuffed shape into a real character. They are also critical for safety. Poorly attached eyes, noses, or add-ons can become hazards, especially for young children.
You can add facial details in three main ways: embroidery, appliqué, or hard components (such as safety eyes). Each method has its own look and safety profile.
| Detail Type | Typical Use | Main Advantages | Main Safety Points |
|---|---|---|---|
| Embroidered eyes & nose | Baby plush, under-3 toys, soft aesthetics | No hard parts, very safe when stitched well | Requires correct backing and strong thread |
| Felt / fabric appliqué | Eyes, cheeks, noses, patches | Soft, colourful, flexible shapes | Must be well-stitched all around, no loose edges |
| Plastic safety eyes/noses | Toys for 3+ years and adults | Shiny, 3D effect, fast to apply in volume | Must use tested, locking backs, age-graded |
| Print details | Eyes/mouth on flat surfaces | Very neat, repeatable, good for simple faces | Needs quality print and safe inks |
| Accessories (clothes, bags, ribbons) | Extra play value and style | Adds personality and market differentiation | Must be age-appropriate and securely attached |
Best practices for facial details
- For babies and toddlers, choose embroidery or completely soft appliqué. Avoid plastic eyes, hard noses, buttons, and small loose parts.
- Use backing fabric or stabilizer behind embroidered areas on stretchy plush so the stitches do not distort.
- Keep designs simple and clear. Tiny or very complex features are harder to sew accurately and to inspect.
Safe accessories
Accessories can increase play value and make your plush stand out, but they must be designed carefully:
- Use wide, sewn-on ribbons instead of thin strings or cords.
- Attach clothes so they do not fall off easily (unless clearly labelled and designed as removable fashion for older ages).
- Avoid sharp or metal components that can rust or scratch.
In factory production, we also run pull tests on eyes, noses, buttons, and bows to make sure they do not detach at defined forces, following EN71/ASTM requirements.
For DIY makers selling on Etsy or similar platforms, it is wise to follow the same principles: if you are selling to or for children, build your plush to toy safety levels, not just decoration levels.
What quality checks ensure a professionally finished plushie?
The last step is quality control. Even a beautiful design can feel amateur if threads are loose, faces are crooked, or stuffing is uneven. Simple quality checks help every plushie leave your workshop or factory in a professional state.
In our factory, we use a multi-stage QC process (materials, in-process, final inspection). For smaller batches, you can use a simplified checklist to review each piece before packaging.
| Quality Check Area | What to Look For | Why It Matters |
|---|---|---|
| Overall appearance | Clean, symmetrical, no visible dirt or marks | First impression for customer |
| Shape & balance | Sits or stands as intended, no leaning or twisting | Affects usability and display |
| Fabric condition | No holes, snags, excessive pilling | Long-term durability and perceived quality |
| Seams & stitching | No open seams, no skipped stitches, no loose threads | Prevents stuffing leaks and failures in use |
| Stuffing distribution | No obvious lumps or hollow spots | Comfort and visual quality |
| Facial accuracy | Eyes level, features aligned, expression consistent | Consistent brand image and customer satisfaction |
| Detail attachment | Eyes, noses, accessories secure and aligned | Safety, especially for children |
| Labels and tags | Correct branding, safety labels, wash instructions | Legal compliance and better customer guidance |
Simple QC workflow for small makers
- Visual check
- Look at the plush from front, side, and back.
- Compare with your pattern or master sample.
- Functional check
- Gently pull ears, limbs, and accessories.
- Squeeze and shake to see if anything feels loose.
- Cleanliness check
- Use a lint roller to remove loose fibers or dust.
- Spot clean any small marks.
- Final finishing
- Trim remaining threads.
- Attach hangtags or labels properly.
For mass production, we use AQL sampling to check a defined number of pieces per batch, plus needle detection and documented inspection reports. Even if you are not at that scale yet, building strong habits around QC will make it easier to grow later.
Conclusion
Making plushies is a step-by-step process: from the right fabrics and patterns to thoughtful sewing, careful stuffing, safe details, and clear quality checks. When each step is under control, your plushies feel soft, safe, and reliable—whether you are making a small handmade line or preparing for factory-level production. At Kinwin, we help global buyers turn sketches and ideas into accurate patterns, clean samples, and test-ready plushies that pass EN71, ASTM, and other major standards. If you are planning a new plushie project or want to upgrade your current products, you are welcome to contact me at [email protected] or visit kinwintoys.com so we can explore how our factory can support your next collection.