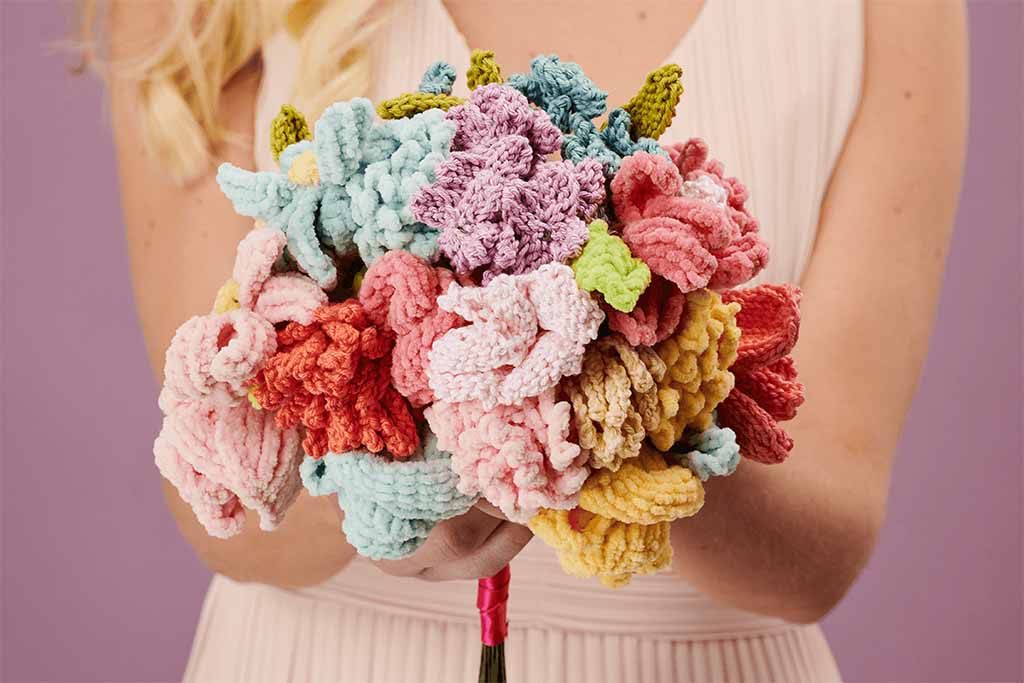
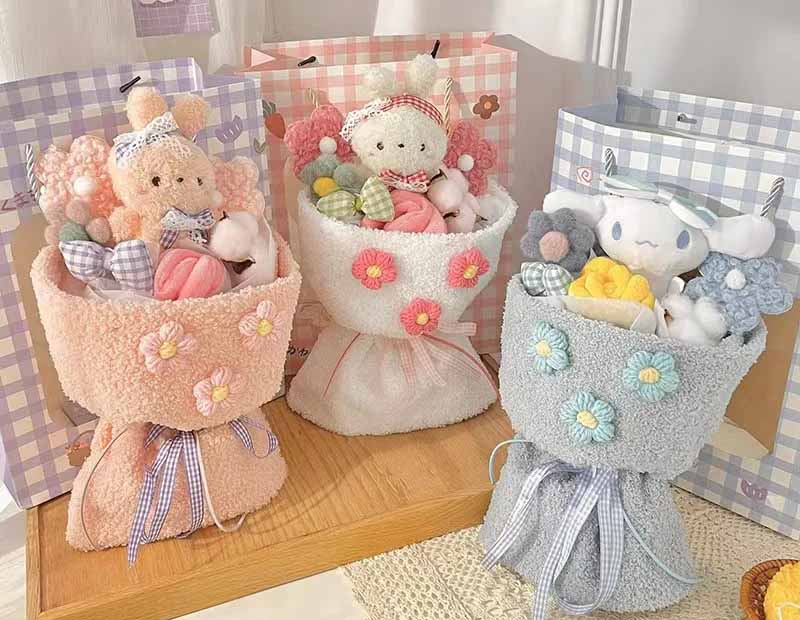
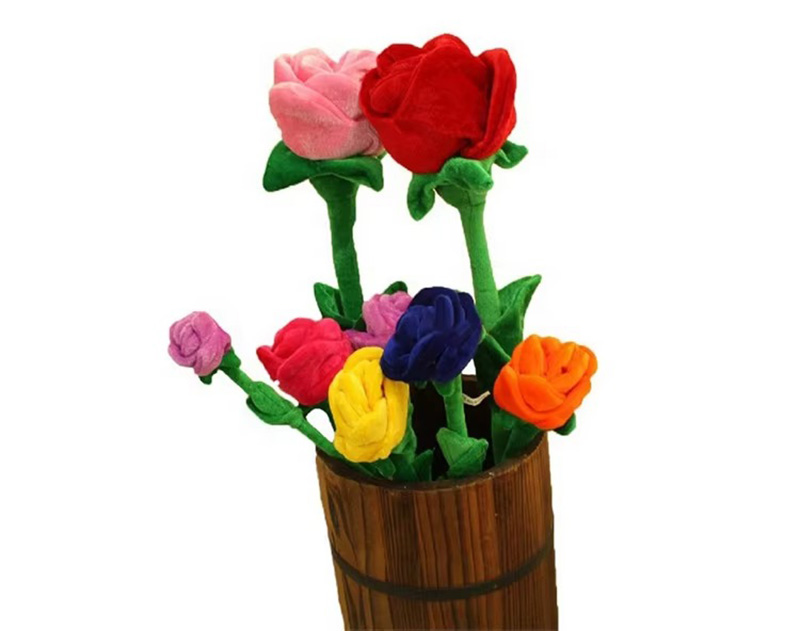
Plush bouquets are one of the easiest ways to turn “just a plush toy” into a high-value, emotional gift. They work for birthdays, Valentine’s Day, graduation, baby showers, corporate gifts, and online surprise boxes.
When you follow a clear process—from choosing plush, to building stems, arranging, wrapping, and packaging—you get a bouquet that looks stable, premium, and easy to ship. In this guide, I’ll walk you through the steps I use when helping buyers develop plush bouquet products with our factory team.
How do you choose and prep plush toys for arranging?
A beautiful plush bouquet starts with the right plush toys. If the sizes, colors, or styles fight with each other, no wrapping can fix the problem. When your base selection is clean and consistent, arranging becomes much easier and faster.
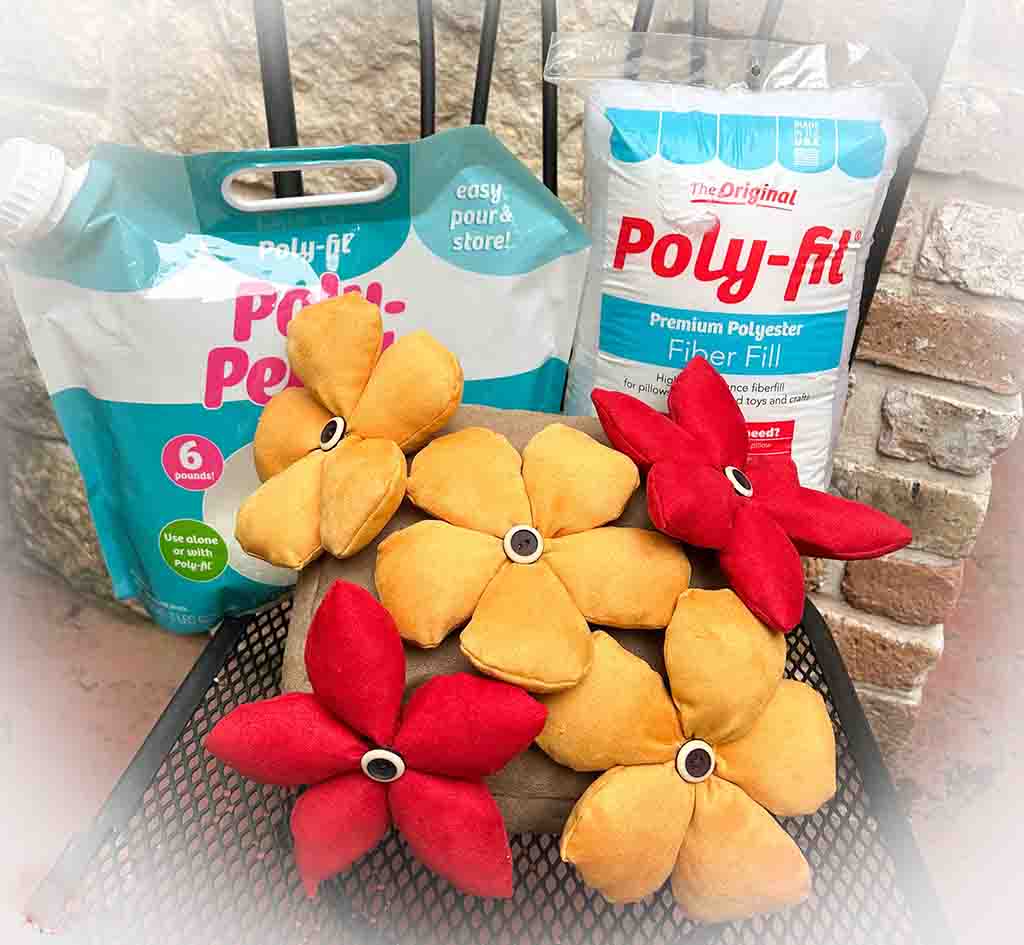
When you choose plush for bouquets, focus on: size, weight, theme, color palette, safety details, and how well they sit or stand. Before arranging, check each plush for defects, clean up tags, and prepare any attachment points you will use in the bouquet.
You can use this simple selection framework:
| Factor | What to Look For | Why It Matters |
|---|---|---|
| Size | Similar height and body width | Keeps bouquet top line neat and balanced |
| Weight | Light to medium, not too heavy | Prevents stems from bending or tilting |
| Style / theme | Matching animals, characters, or expressions | Creates a clear and easy-to-read concept |
| Color palette | 2–3 main colors that work well together | Gives a premium, intentional look |
| Safety details | Secure eyes, strong seams, no loose parts | Reduces risk for kids and gift recipients |
| Cleanliness | No dust, stains, or strong smells | Essential for a “new gift” feeling |
Choosing size and quantity for each bouquet
For most B2B projects, I recommend:
- Mini plush (8–12 cm): Ideal for multi-plush bouquets (5–9 pieces).
- Small plush (15–20 cm): Good for 3–5 piece bouquets or “hero” center pieces.
The number of plush toys affects both visual impact and target price. A bouquet with 3 larger plush can sit at a higher price point than one with 7 minis, depending on brand positioning and wrapping quality.
Prepping plush before arranging
Before you start building:
- Inspect each plush: face symmetry, seams, labels.
- Trim loose threads and neaten any fur or pile.
- Decide if tags should stay visible (for brand value) or be hidden.
- If possible, use plush that have built-in loops on the back or head, or sew a small fabric loop now. This makes later attachment much cleaner and safer.
When we design plush at Kinwin specifically for bouquets, we often add a small hidden loop on the back during production. It saves a lot of time in assembly and helps keep the bouquet neat.
What methods create stable stems and secure plush attachment?
Inside every good plush bouquet is a strong “skeleton.” Without stable stems and secure attachment, plush will rotate, sag, or fall out during shipping. This is where many DIY bouquets fail and where professional process really shows its value.
To build stems, you can use wooden sticks, bamboo skewers, or strong floral wire. To secure plush, you can use elastic bands, cable ties, sewn loops, or careful low-temperature glue—always making sure the connection is hidden and not painful to look at.
Here’s a quick comparison of stem and attachment options:
| Component Type | Options | Pros | Points to Watch |
|---|---|---|---|
| Stems | Wooden sticks, bamboo skewers, floral wire | Strong and light, easy to cut to length | Avoid rough splinters; cover with tape |
| Stem covering | Floral tape, paper tape, ribbon | Smooth finish, unified color | Wrap tightly so tape doesn’t unwrap |
| Main attachment | Elastic bands, cable ties, sewn loops, glue | Elastic / tie: removable; glue: fast | Hide under plush or wrapping |
| Extra support | Foam base, cardboard cone, bouquet holder | Extra stability for larger bouquets | Choose size that matches stem volume |
Basic stem-building flow
- Attach stem to plush using your chosen method (more on that in the next section).
- Cover the stem with floral tape so it looks clean and doesn’t snag wrapping.
- Adjust lengths so front plush are slightly shorter and back plush slightly taller.
- Bundle stems at two or three points with tape or ties to form the main bouquet core.
For simple bouquets, one tight binding point near the bottom might be enough. For larger, heavy bouquets, you might bind stems at both center and base for more stability.
Matching method to target customer
- Kids / family gifts: prefer softer methods (elastic, sewn loops) and hidden hardware.
- Corporate or adult gifts: cable ties and internal glue are usually acceptable as long as they are hidden and clean.
If you want the plush toys to be removable and reusable, avoid gluing directly onto the plush. Use loops, bands, or ribbons instead, so the recipient can remove the toy without damage.
How do you arrange plush toys for balanced, aesthetic composition?
Arrangement is where your bouquet “speaks” to the customer. Even with great plush and strong stems, a random arrangement can look cheap, while a carefully planned layout can instantly feel premium.
When arranging plush, think about:
- Shape (cone, fan, or semi-circle).
- Levels (front lower, back higher).
- Focal point (main plush in center or off-center).
- Odd numbers (3, 5, 7, 9 often look better than even).
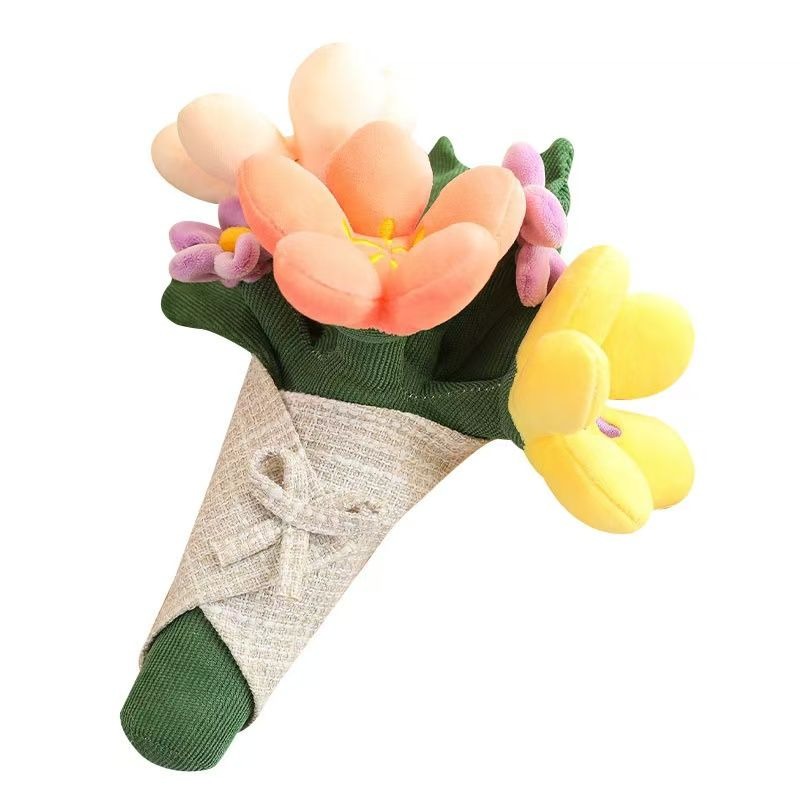
You can use these common arrangement styles:
| Arrangement Style | Description | Visual Effect | Best For |
|---|---|---|---|
| Triangular | One top plush, two or more in lower row | Classic bouquet, strong center focus | Romantic gifts, main “hero” character |
| Round / dome | Plush positioned in a circular cluster | Full, rich, “flower ball” effect | Premium, dense-looking bouquets |
| Fan / front-facing | Plush arranged in a curved row facing forward | Very photo-friendly, flat back | Shop displays, e-commerce product photos |
| Layered rows | Plush in two or three stepped rows | Structured and organized look | Larger bouquets, graduation or event themes |
Steps to build a balanced arrangement
- Start with the center plush (or main character). Place it slightly higher than others.
- Add side plush to form a triangle or soft arc, checking balance left and right.
- Check front view constantly; this is what the customer and camera will see.
- Rotate bouquet slowly to make sure there are no big gaps between plush.
- Adjust stem heights by trimming or bending slightly until the top line feels smooth.
If you are new to this, take quick photos from different angles as you go. Sometimes the camera shows imbalance more clearly than your eyes.
Planning arrangement with price point in mind
- Budget bouquets: fewer plush, more visible wrapping and fillers.
- Mid-range: 3–5 plush with simple but layered wrapping.
- Premium: 7+ plush, multi-layer wrapping, coordinated ribbons, and possibly extra elements like small artificial flowers or LED lights.
Discuss your target retail price with your factory or workshop team, then choose a standard arrangement template that can be repeated again and again. This helps keep your cost and time under control.
What wrapping and decorative elements elevate bouquet presentation?
Wrapping and decoration turn your plush bundle into a gift. They frame the plush toys, hide construction elements, and carry your brand style. Good wrapping does three things at once: protects, supports, and decorates.
To elevate presentation, you can mix 2–3 types of paper, add a strong ribbon, and use fillers carefully. The goal is to complement the plush, not overpower it.
Here is a simple table of common decorative choices:
| Element | Options | Role in Design | Tips for Use |
|---|---|---|---|
| Wrapping paper | Kraft paper, matte paper, tissue, non-woven | Base structure and color background | Combine neutral base with accent color |
| Outer accent | Metallic paper, mesh, translucent sheets | Adds depth and “wow” factor | Use sparingly to avoid looking too busy |
| Ribbons | Satin, grosgrain, organza, printed brand ribbon | Finishes the bouquet and sets style | Wider ribbons feel more premium |
| Fillers | Tissue ruffles, artificial flowers, greenery | Fills gaps, softens transitions | Keep lower than plush so faces stay visible |
| Tags / cards | Message cards, brand tags, QR cards | Communicate emotions and brand identity | Place where visible but not blocking plush |
Basic wrapping structure
- Inner wrap: Simple paper to hide stems and base.
- Main wrap: The main color and texture that defines style. Fold into cone or fan shapes.
- Accent wrap: Optional layer with contrasting or textured material for a more advanced look.
- Ribbon tie: Secures the bottom and visually “finishes” the bouquet.
Keep the bottom tight so stems do not move. At the top, allow enough space for plush to “breathe” and be clearly visible.
Matching wrapping to theme and audience
- Romantic / Valentine: blush, red, cream, gold accents.
- Graduation: school colors, black + one bright tone.
- Baby shower: soft blues, pinks, creams, or gentle neutrals.
- Brand / corporate: company colors, logo ribbon, simple clean lines.
When I help buyers plan new bouquet lines, we often start with 2–3 main color stories and then design plush + wrapping sets for each story. This makes it easy to scale later and keep the whole range visually consistent.
How do you finish, secure, and package a polished plush bouquet?
Finishing and packaging are the last steps, but they strongly influence your customer’s first impression. A slightly tilted plush, messy tape, or crushed wrapping can ruin an otherwise good design.
Finishing means tightening the structure, trimming extra materials, cleaning the surface, and testing stability. Packaging means protecting the bouquet while still showing enough of it to feel attractive in stores or in online unboxing.
Here is a practical finishing checklist:
| Checkpoint | How to Check | What You Want to See |
|---|---|---|
| Overall shape | Look from front, side, top | Symmetrical, no obvious gaps or leaning |
| Plush alignment | Check each plush face | Faces upright, not hidden or twisted |
| Stem stability | Gently shake and tilt bouquet | Plush stay in position, no wobbling |
| Wrapping neatness | Inspect paper edges and folds | No tears, clean corners, no exposed tape |
| Ribbon and knots | Pull lightly on ribbon and bow | Secure, centered, no slipping |
| Cleanliness | Check for dust, glue strings, fingerprints | All surfaces clean and photo-ready |
Packaging options for different channels
Depending on your sales channel and budget, you can use:
- Clear OPP bags with small air holes – simple, cost-effective, shows the bouquet fully.
- Semi-rigid boxes with front windows – higher protection and more premium feel.
- Full boxes with printed images – better for long shipping routes, protects shape.
For e-commerce, it’s important that the bouquet can survive movement and compression. This may mean:
- Extra tissue or bubble wrap around the bouquet.
- Instructions for the customer to “fluff” the wrapping and plush after opening.
- Testing a few sample shipments to see how much the bouquet moves in transit.
Internal standards for repeatable quality
If you plan to sell plush bouquets regularly, it helps to create a simple internal SOP (standard operating procedure):
- Standard plush size and count per bouquet model.
- Standard stem length and binding points.
- Standard wrapping paper layout and ribbon type.
- Standard QC checklist before packaging.
At Kinwin, when we support brands on plush bouquet projects, we document this process so their team, or our team, can reproduce the same look for every batch. This keeps your quality stable and your customer experience consistent.
Conclusion
A professional plush bouquet is not just a random bundle of toys and paper. It comes from clear choices at each step: selecting cohesive plush, creating strong stems and attachments, arranging for balance, wrapping with purpose, and finishing with strict quality checks. When you control this process, your bouquets look premium, travel safely, and become memorable gifts that carry your brand story.
At Kinwin, my team helps global buyers design plush ranges that work perfectly in bouquet form, and we support OEM/ODM solutions that match your price level and safety needs. If you are planning to launch plush bouquets or upgrade your existing designs, you are very welcome to contact me at [email protected] or visit kinwintoys.com so we can plan your next bouquet collection together.