A “stuffed animal zoo” is a fun way to turn plush chaos into something tidy, playful, and easy to manage. Instead of plush toys piling up on the floor or hiding in boxes, they get a clear “home” that kids can see and reach.
When the structure is designed well, it becomes more than storage. It becomes a mini display wall, a photo backdrop, and a safe way to keep plush toys clean and organized. In this guide, I’ll walk you through how I would plan a stuffed animal zoo from a manufacturer’s and organizer’s point of view—step by step.
What materials and tools are needed to build a stuffed animal zoo?
A good stuffed animal zoo does not need complicated materials, but it does need a clear plan. The structure must be strong enough to hold many plush toys, smooth enough to avoid damage, and simple enough that you (and your kids or staff) can assemble it without special skills.
Most home or retail “plush zoos” use a frame + flexible containment system. The frame can be wood or metal, and the “bars” are often elastic cords, rope, or fabric panels. For smaller spaces, you can use modular shelves or cubes plus soft bins. The best choice depends on how many plush toys you have and how much floor space you want to use.
Here is a simple materials map to help you plan:
| Category | Example Materials / Tools | Main Purpose | Notes from my factory mindset |
|---|---|---|---|
| Frame structure | Wooden boards, dowels, metal tubes, shelf units | Create the outer “cage” or wall | Choose smooth, sturdy materials |
| Containment | Bungee cords, elastic rope, fabric panels, nets | Hold plush in place while staying flexible | Soft and gentle on plush surface |
| Fasteners | Screws, brackets, corner braces, eye hooks, zip ties | Join frame and cords | Metal parts should be smooth, no sharp edges |
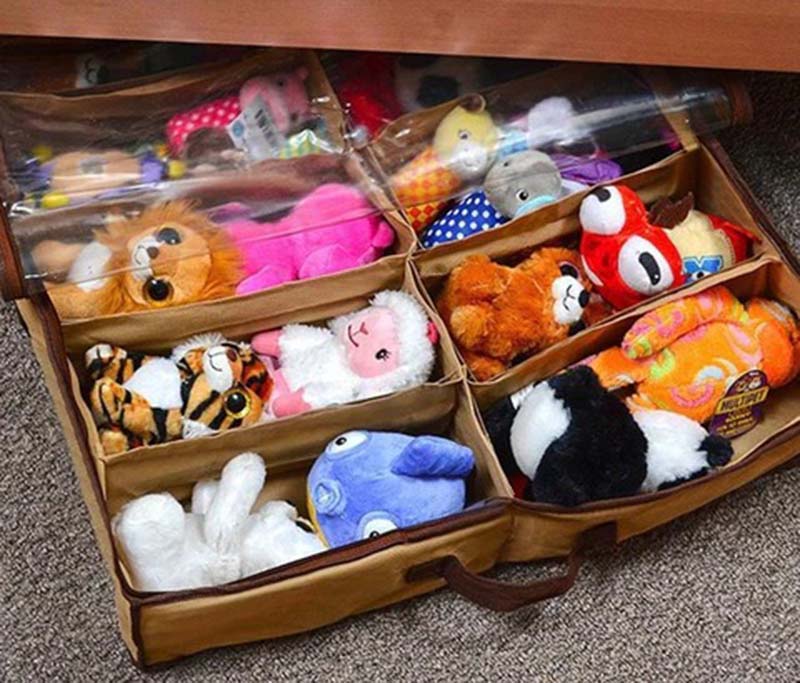
| Storage add-ons | Fabric bins, baskets, cubes, hanging pockets | Extra zones for small or heavy plush | Useful for bottom tier or side sections |
| Decorative parts | Letter boards, stickers, labels, small signs | Add “zoo” theme and sorting guidance | Helps kids and shoppers know where toys go |
| Tools | Screwdriver, drill, measuring tape, level, scissors | Assembly and adjustment | For home setups, hand tools are usually enough |
If you think like a plush brand or retailer, this zoo becomes part of your display strategy. You can match colors and materials to your overall style, or use neutral structures and let the plush provide most of the color.
How do you design and size the structure for different plush collections?
Before you buy any wood or cords, you need to know how many plush toys you want to house and how big they are. A zoo for twenty small 15 cm animals is very different from a zoo for fifty large 40 cm plushies.
Design starts with three questions:
- Who will use the zoo (kids at home, shoppers, staff)?
- Where will it stand (corner, wall, between furniture, in a store aisle)?
- What mix of plush sizes will live there (mini, small, large, jumbo)?
Once you answer these, you can decide height, width, depth, and the number of “levels” or rows.
Here’s a quick sizing framework:
| Collection Type | Typical Plush Sizes | Suggested Zoo Size & Layout | Practical Tips |
|---|---|---|---|
| Small home collection | 20–40 pieces (10–25 cm) | Narrow frame: ~60–80 cm wide, 120–150 cm high | 3–4 horizontal “levels” of cords or fabric |
| Large home / playroom | 50–100+ mixed sizes | Wider frame: 100–150 cm wide, 150–180 cm high | Combine vertical cords + lower bins for big plush |
| Kids’ bedroom corner | Mostly medium plush (20–35 cm) | Corner or wall unit: 70–100 cm each side | Keep top level reachable for the smallest child |
| Retail display wall | Mixed SKUs and sizes | Modular panels, 150–200 cm high, variable width | Allow easy front access for shoppers and restocking |
| Nursery / preschool room | Small, soft plush only | Lower unit: max 120 cm high | Avoid high stacking; keep everything within eye level |
Designing for access and safety
For children’s rooms, I always suggest designing the zoo so the child can see and reach most plush toys without climbing. High sections can hold backup toys, seasonal items, or decorations that adults handle.
For stores, think in eye levels:
- Kids: lower-middle section.
- Parents: mid-upper section.
- Top: hero pieces or signage.
Use cardboard or paper to mock the size on a wall before building. This lets you feel how much space the zoo will take and how crowded or empty it will look.
What construction methods—wood, rope, or fabric—create sturdy containment?
There is no single “correct” way to build a stuffed animal zoo. Different methods work for different spaces, budgets, and styles. The goal is always the same: contain plush securely without damaging them, while still making it fun to see and grab each toy.
Most popular methods fall into three categories:
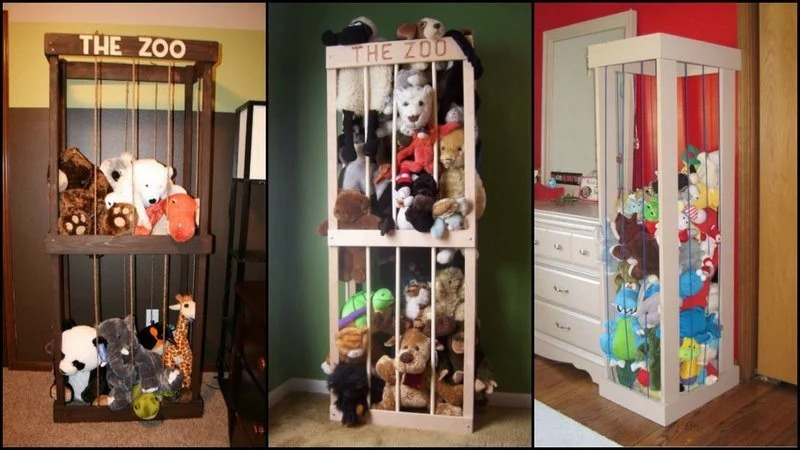
- Wood frame + bungee cords (classic stuffed animal zoo style)
- Fabric-based solutions (pockets, hammocks, hanging organizers)
- Hybrid or modular systems (shelves, cubes, nets combined)
Here’s a comparison to help you choose:
| Method Type | How It Works | Strengths | Things to Watch |
|---|---|---|---|
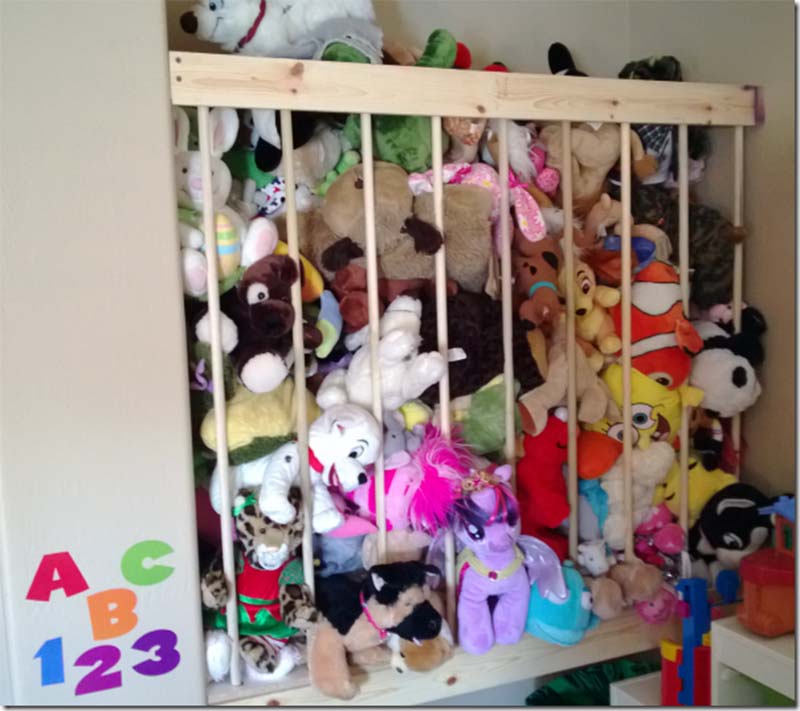
| Wood + bungee cord “zoo” | Frame with vertical elastic cords as “bars” | Very visual, great for medium/large plush | Ensure cords are not too tight or too loose |
| Wood + rope / soft cord | Frame with fixed ropes and gaps | Rustic look, strong | Use soft rope to avoid marks on plush |
| Fabric hammocks / nets | Corner or wall hammocks for plush piles | Easy to install, soft | Can become messy if overfilled |
| Hanging fabric pockets | Over-door or wall organizers with pockets | Good for small plush | Depth must be enough so plush do not fall out |
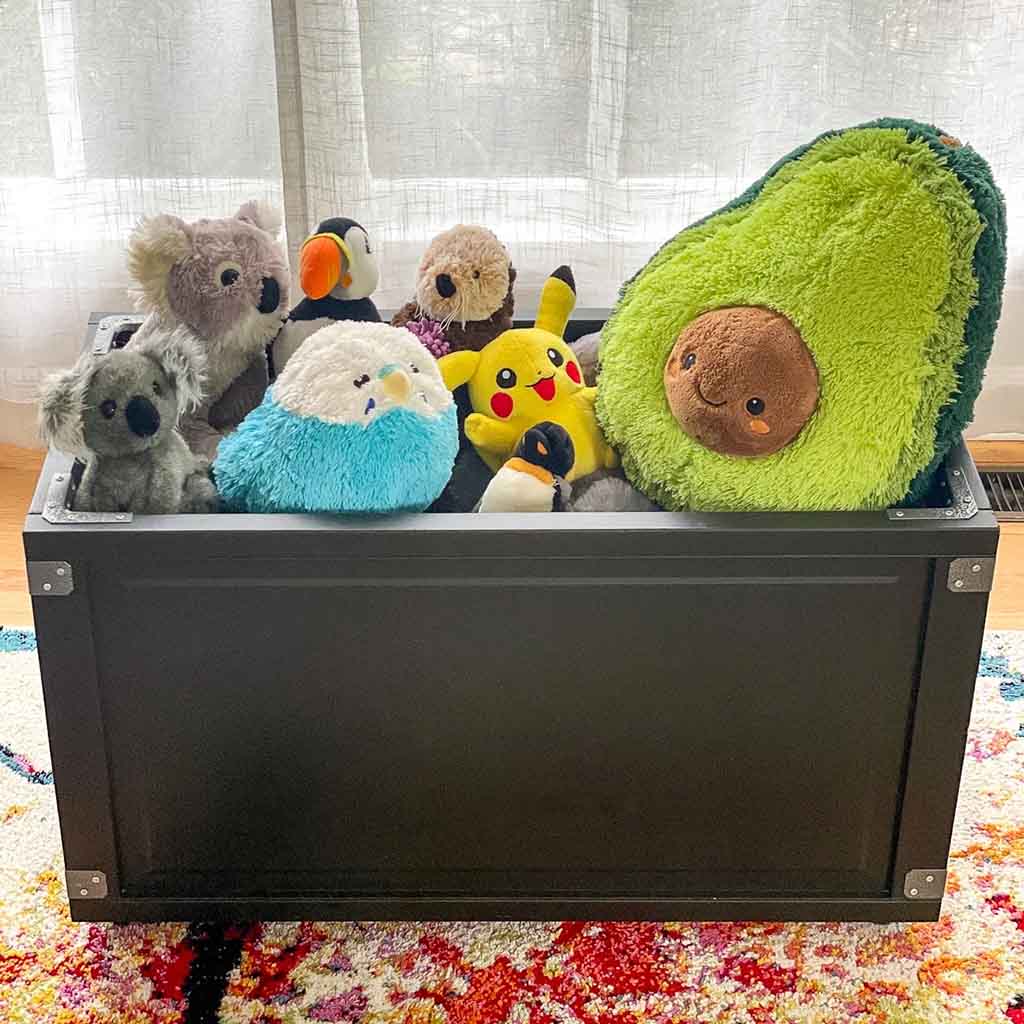
| Shelves + bins | Rack or cube shelves with labeled bins | Very tidy, flexible | Less “zoo” feeling, more standard storage |
| Hybrid display “zoo wall” | Frame with mix of cords, shelves, and baskets | Best for big collections | Needs more planning but looks impressive |
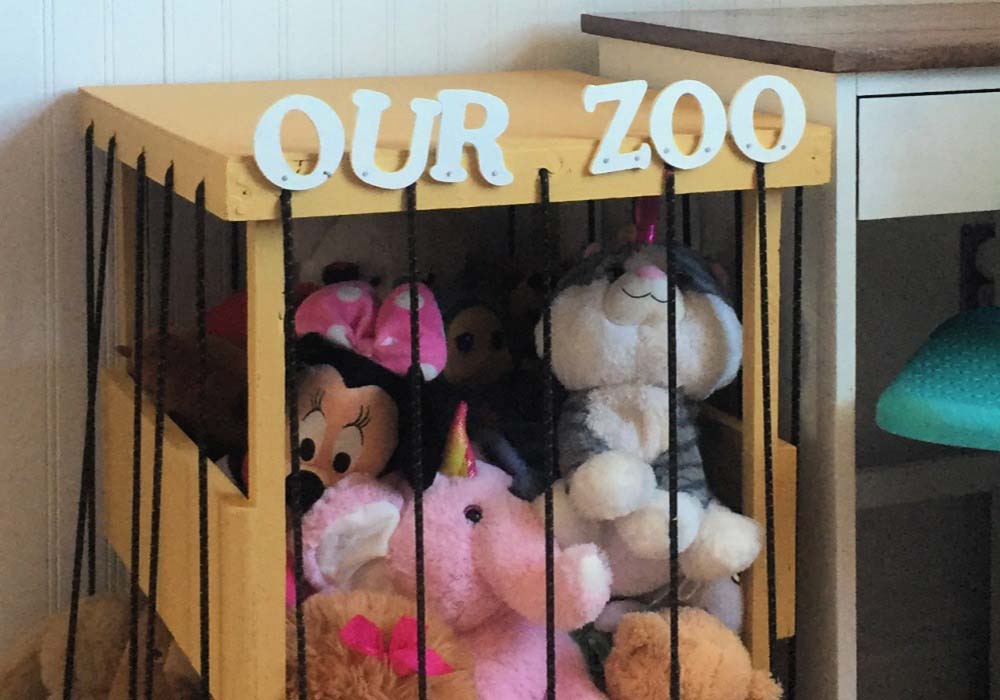
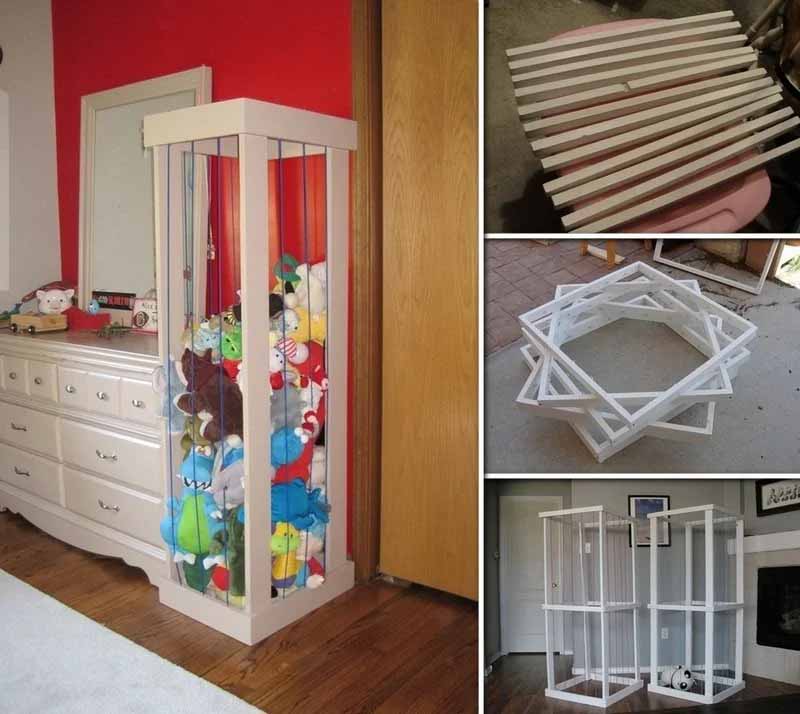
Building a classic bungee-cord zoo
For the very popular stand-up “zoo”:
- Build a rectangular frame with four corner posts and top/bottom boards.
- Screw small eye hooks along the top and bottom boards.
- Thread bungee cords or elastic rope vertically between top and bottom hooks.
- Space cords so plush can be squeezed in and out without falling through.
The elastic acts like soft cage bars. Children can push plush animals through the gaps and pull them back out. The key is to keep everything smooth and rounded so nothing scratches plush or skin.
If you use this method in a retail environment, you can add small shelves or platforms inside for special SKUs, then fill the rest with standard plush.
How do you organize and categorize plush toys within the zoo layout?
A stuffed animal zoo is not just physical structure. It is also a system for sorting plush in a way that feels logical and fun. Good organization makes it easy for kids to put toys back and for staff to restock or refresh displays.
You can categorize by:
- Size (mini, medium, large)
- Animal type or theme (jungle, farm, sea, fantasy)
- Brand or collection (your own lines, licensed characters)
- Frequency of use (everyday favorites vs. display pieces)
- Age group or safety level (safe for toddlers vs. older kids)
Here’s a guide to help you decide what works for your situation:
| Organization Style | How to Arrange in the Zoo | Best For | Extra Tips |
|---|---|---|---|
| By size | Small at top or in pockets, large at bottom | Home collections, mixed-age kids | Helps prevent big plush crushing smaller ones |
| By theme / animal type | Each “section” for a habitat (jungle, farm, etc.) | Playrooms, preschools, themed retail displays | Easy to turn into learning games |
| By character / brand | Each group for a specific series or IP | Retail shops, fan collectors | Supports cross-selling and brand storytelling |
| By use frequency | Favorites at middle level, rare ones higher/lower | Homes where kids have clear favorites | Reduces daily mess and climbing |
| By age / safety | Toddler-safe plush in easiest reach zones | Families with multiple ages, childcare | Keeps small parts out of toddler range |
Creating clear “zones” inside the zoo
Even in a simple frame, you can make visual zones:
- Use colored ribbon or tape to mark different sections.
- Hang small signs like “Farm Friends,” “Sea Friends,” “Big Hugs,” or “New Arrivals.”
- In retail, use shelf talkers or small price labels to mark each family.
For kids at home, turn organizing into a game:
- “Can all the jungle animals go back to their habitat?”
- “Can we put all the tiny friends in the top pocket?”
When the zoo feels playful, it is easier for children to develop tidy habits instead of seeing cleanup as a boring job.
What decorative elements enhance the zoo’s visual appeal and functionality?
A stuffed animal zoo is already cute, but a few simple decorative choices can turn it into a real feature corner in a room or store. Decoration should support two goals at the same time:
- Make the zoo look attractive and “on brand.”
- Make it easier to use and understand.
You do not need expensive décor. Most of the charm will still come from the plush toys themselves. Think of decorations as a frame that highlights them.
Here are some effective elements to consider:
| Decorative Element | How It Helps | Practical Ideas |
|---|---|---|
| Top sign / header | Clearly shows “This is the Zoo” | Wooden sign, board with your logo, painted letters |
| Color theme | Makes the zoo feel intentional and stylish | Match frame color to room or brand palette |
| Back panel / backdrop | Hides wall and enhances photos | Simple colored board, fabric, or printed panel |
| Labels and icons | Guide kids and shoppers where to put plush | Small animal icons, simple category words |
| Floor mat or rug | Defines the zoo zone on the floor | Soft mat with paw prints or simple texture |
| Lighting (retail) | Highlights plush and makes colors pop | Soft LED strips or spotlights above the zoo |
Designing for both home and B2B use
For a home zoo:
- Use warm, soft colors and simple animal icons.
- Avoid very bright, overstimulating combinations in bedrooms.
- Let your child help choose the theme (jungle, space, rainbow, etc.).
For retail or showroom use:
- Match frame and backdrop colors to your brand.
- Use logo elements and seasonal signage (holiday, Valentine’s, graduation).
- Plan one or two “hero zones” at eye level where your best plush lines or new launches stand out.
As a factory, we see again and again that good display design increases perceived value. The same plush toy can look budget or premium depending on how you present it. A well-designed stuffed animal zoo becomes an inexpensive but powerful tool to lift the entire collection.
How do you maintain, clean, and safely store plush toys in the zoo?
A stuffed animal zoo looks great on day one. The real test is how it looks after six months of daily play or heavy store traffic. With simple routines, you can keep both the structure and the plush looking clean and inviting.
Maintenance covers three areas:
- Cleaning plush toys (dust, stains, smells)
- Checking the structure (loose screws, cords, sharp edges)
- Managing rotation and storage (seasonal lines, backup stock)
Here is a basic care schedule you can adapt:
| Task Category | Suggested Frequency | What to Do |
|---|---|---|
| Light dusting | Weekly | Gently shake plush, wipe frame and cords |
| Visual safety check | Weekly | Look for loose screws, cracked hooks, frayed cords |
| Deeper plush cleaning | Monthly or as needed | Follow care labels: surface wipe or machine wash |
| Structural tightening | Every 1–3 months | Tighten screws, replace overstretched cords |
| Rotation / refresh | Monthly or seasonally | Move older plush to back, bring new ones forward |
| Full inspection | Before big events / seasons | Check everything before promotions or holidays |
Cleaning plush without harming the zoo
For light dust, often it is enough to:
- Use a lint roller or soft brush on plush surfaces.
- Quickly vacuum around the zoo and the floor mat.
For deeper cleaning:
- Check each plush label for washing instructions.
- Remove and wash those that are machine-safe; spot clean others.
- Make sure plush are fully dry before putting them back to avoid mold or smell.
If your zoo uses fabric backdrops or hammocks, wash or replace them regularly. In stores, this is especially important because customers judge cleanliness very quickly.
Long-term safety and storage habits
Over time, gravity and daily use will slowly pull on cords, screws, and fabrics. Regular checks protect both kids and products:
- Replace any overstretched cords before they snap.
- Sand or cover any small rough spots on the frame.
- In humid climates, keep an eye on wood parts to prevent warping.
For backup plush stock (especially in retail), avoid over-stuffing the zoo. Keep extra units in closed boxes or bags, and use the zoo as a curated display, not a full warehouse. This keeps the front view fresh and reduces dust on unsold items.
Conclusion
A stuffed animal zoo is a simple idea with big benefits: it turns scattered plush into a clear, playful system that looks good and is easy to maintain. When the frame is well-sized, the containment is soft and sturdy, and the layout is thoughtfully organized, your plush collection becomes easier to enjoy, store, and present—whether you are a parent, a small shop, or a growing plush brand.
At Kinwin, my team focuses mainly on manufacturing plush toys, but we also think a lot about how our clients will display and store those toys in real spaces. If you are planning new plush lines and want them to work well in “zoo-style” displays or store fixtures, you are very welcome to contact me at [email protected] or visit kinwintoys.com so we can design products and assortments that are easy to show, sell, and keep tidy.