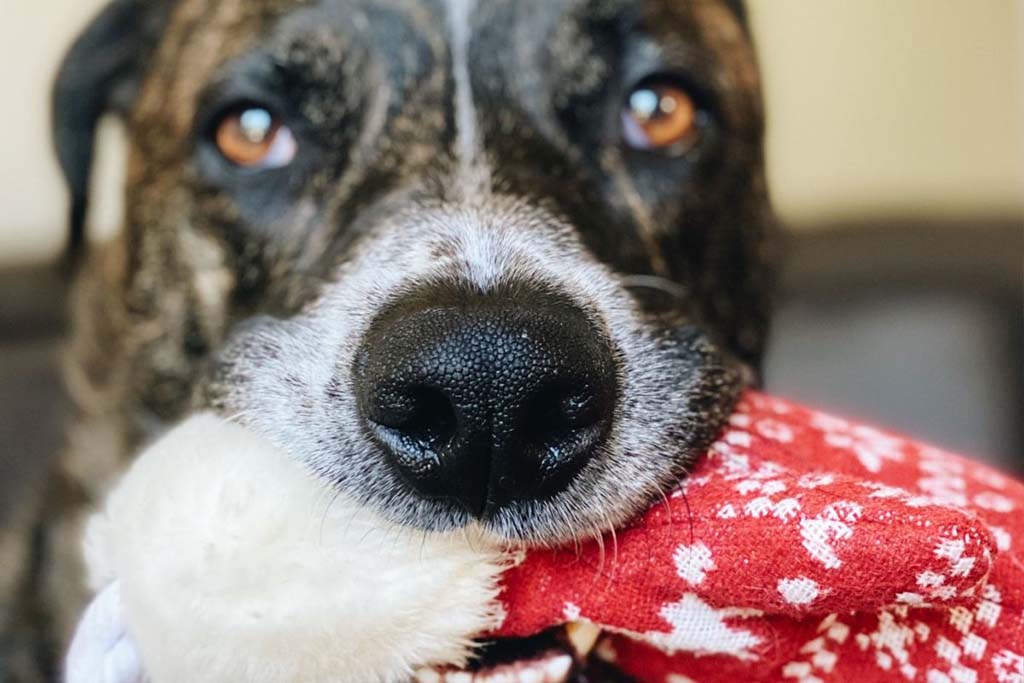
Turning a dog design into a plush is one of the most enjoyable projects in plush manufacturing. A well-made dog plush can become a child’s daily companion, a brand mascot, or a collectible item for fans and pet owners.
To make a dog plush, you choose suitable fabrics and stuffing, design a pattern that matches the dog’s proportions, cut and sew panels in a clear order, add facial details and markings, then apply controlled stuffing and final quality checks. When each step is handled well, your dog plush looks cute, sits or stands correctly, and is ready for safe, repeatable production.
What materials and tools are needed to make a dog plush?
Materials and tools decide the first impression of your dog plush. The feel of the fur, the softness of the body, and the strength of the seams all come from the choices you make here. When your base materials are strong, later steps become easier and more predictable.
For most dog plush projects, you need a soft outer fabric (short plush, minky, or faux fur), polyester fiberfill, strong polyester sewing thread, and safe details like embroidered eyes or safety eyes. You also need basic tools such as scissors, pins, needles, pattern paper, and a sewing machine if possible.
Here is a simple material and tool map you can use as a checklist:
| Category | Item / Material | Function | Notes for dog plush projects |
|---|---|---|---|
| Outer fabric | Short plush, minky, velboa, faux fur | Dog “fur” and body surface | Choose pile length by style (cartoon vs realistic) |
| Inner filling | Polyester fiberfill (PP cotton) | Soft volume and shape support | Use certified stuffing for export markets |
| Structure (opt.) | Foam sheet, stabilizer, inner pouch | Support for muzzle, belly, or standing legs | Helpful for long legs or slim breeds |
| Thread | Polyester sewing thread, embroidery thread | Seams and facial details | Strong, colorfast, matches main fabric color |
| Details | Safety eyes, noses, felt, labels | Features, markings, branding | Embroidery or safety parts for younger age groups |
| Tools | Scissors, pins, needles, seam ripper | Cutting, pinning, sewing, corrections | Sharp blades for clean cutting |
| Machine | Sewing machine, overlock machine | Faster and cleaner seams | Very helpful for production or multiple samples |
Choosing the right fabric for your dog style
Short plush or minky is ideal for cute, cartoon-style dogs. Faux fur or longer pile fabric works better for more realistic breeds like huskies or golden retrievers, but it is harder to cut and sew. For small and medium sizes, shorter pile is usually easier to manage and gives a clean look.
Color also matters. Natural browns, creams, whites, and grays work for realistic dogs. Pastels or bright colors create more playful, fantasy-style dog characters.
Stuffing and thread for long-term use
High-quality polyester fiberfill keeps the body soft but full. Cheap stuffing can become lumpy or flat, which makes your dog plush look tired after a short time. Strong polyester thread protects seams when children pull ears, tails, and legs.
When your material base is solid, your dog plush is much more likely to pass tests, survive shipping, and keep good shape in customers’ homes.
How do you design patterns that reflect accurate canine proportions?
Pattern design is the “skeleton” of your dog plush. Even the best fabric cannot fix a poor pattern. When you get the proportions right, the dog looks natural and expressive, whether you choose a realistic or cartoon style.
To design dog plush patterns, you start with reference images or sketches, define the body type and pose (sitting, standing, lying), then break the form into simple 2D panels for head, body, legs, ears, and tail. You adjust head-to-body ratio, leg length, and muzzle shape until the sample looks balanced from all angles.
You can use this table to think about dog types and their pattern needs:
| Dog Style Type | Key Proportion Features | Pattern Focus | Typical Use Case |
|---|---|---|---|
| Cute / chibi dog | Large head, short legs, round body | Big face panels, simple short legs | Kids’ toys, kawaii collections |
| Medium cartoon dog | Balanced head and body, visible muzzle | Clear head–body split, moderate limb length | Gift and retail plush |
| Realistic dog | Closer to real anatomy, longer muzzle/legs | More panels for shaping, detailed head pattern | Collectibles, pet-themed ranges |
| Sitting pose | Bent back legs, stable base | Strong base pattern, bent leg shapes | Bed and shelf display |
| Standing pose | Straight legs, balanced center of gravity | Leg angle and belly curve for stability | Mascots, display plush |
From sketch and reference to pattern
Start by choosing the pose. A sitting dog is easier and more stable than a standing one. Look at real dog photos or simple drawings from the side and front. Mark the size of the head, length of the body, and height of the legs.
Then, divide the design into main blocks:
- Head (often made of 2–4 panels)
- Muzzle (sometimes a separate piece)
- Ears (one or two-piece patterns)
- Body (front and back, or more panels for realistic shapes)
- Legs (front legs, back legs), tail
Add seam allowance around each piece, usually 0.5–1 cm. Mark notches where important joins happen, such as ear positions or leg positions. This makes sewing easier and keeps all pieces aligned.
Testing and refining proportions
Make a test sample using simple fabric like plain cotton. Stuff it lightly and check:
- Does the head look too big or small for the body?
- Do the legs look too short, too long, or too thin?
- Is the muzzle length suitable for the breed or style you want?
Mark what you want to change directly on the test plush, then update the paper pattern. After one or two rounds of revision, you will have a stable pattern that can be used for real fabric and future production.
What sewing and assembly techniques shape the dog’s body, head, limbs, and tail?
Once the pattern is ready, sewing and assembly give your dog plush its 3D form. Clean seams and a logical assembly order help you achieve a consistent shape and reduce defects.
To shape the dog’s body, head, limbs, and tail, you usually sew small parts first (ears, tail, muzzle), then assemble the head and body, and finally attach the legs. Seams are sewn from the inside, with key areas reinforced. Curved seams around the head and muzzle need careful, slow sewing to keep lines smooth.
Here is a simple assembly flow you can follow:
| Step Order | Main Parts Involved | Key Actions | Tips for consistency |
|---|---|---|---|
| 1. Small parts | Ears, tail, muzzle, small patches | Sew, turn right side out | Clip curves to reduce bulk |
| 2. Head panels | Head sides, top, back, muzzle piece | Sew head panels, insert ears and muzzle | Align notches, sew slowly around curves |
| 3. Body panels | Body front, back, belly | Sew body, leave stuffing opening | Mark leg and tail positions clearly |
| 4. Leg panels | Front and back leg pieces | Sew legs, turn and partially stuff | Keep pair legs same length and width |
| 5. Assembly | Attach head to body, legs, tail | Sew joins securely, reinforce stress points | Check symmetry as you go |
Controlling curves and seams
Dog heads and muzzles often have complex curves. To keep them clean:
- Use shorter stitch length around tight curves.
- Clip small “V” notches in seam allowance on inward curves (without cutting into the seam) so the fabric turns smoothly.
- Turn the head right side out and check shape before moving on.
For the body, think about how the dog will sit or stand. A slightly flatter base helps sitting dogs stay stable. Standing dogs may need careful leg angle and internal reinforcement.
Attaching legs and tail
Legs should be sewn or attached in a way that supports the final pose:
- For sitting dogs, back legs are usually bent and partly built into the body pattern.
- For standing dogs, legs are straight and need good alignment so the toy does not lean.
Tails can be floppy or firm. A floppy tail can be a simple, lightly stuffed tube. A firm tail may need extra stuffing or an inner support piece (always fully covered and safe).
Strong stitching at these joints is important because children often pull on tails and legs.
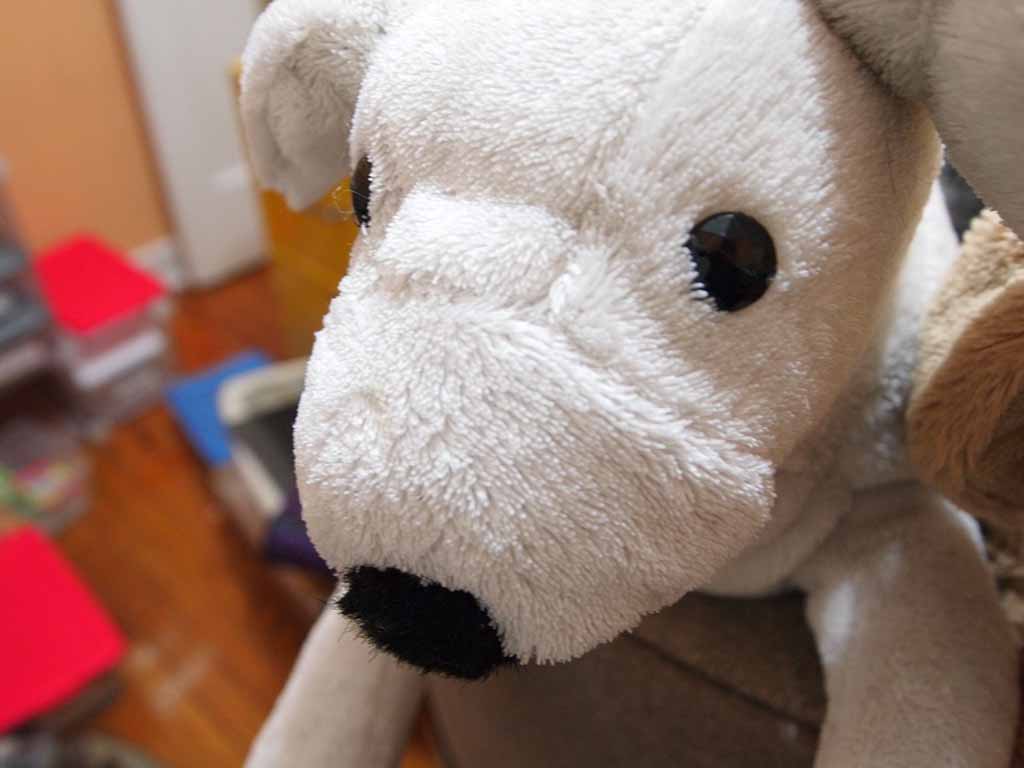
How do you add facial details, ears, and markings with precision?

The face is where most buyers decide if they like the dog plush or not. Ears and markings also play a big role in breed identity and personality. Small changes in eye spacing, nose size, or ear angle can turn a plush from “cute” to “awkward.”
To add facial details with precision, you plan eye, nose, and mouth positions on the pattern, then transfer those marks to the assembled head. You choose safe methods such as embroidery, felt appliqué, or safety parts, and you place ears and colored markings according to the breed or style you want to show.
This table gives a quick overview of common detail methods:
| Detail Type | Method | Look and Feel | Best For |
|---|---|---|---|
| Eyes | Embroidered or safety eyes | Embroidery: flat and soft; safety eyes: shiny | Younger kids (embroidery) / older kids and adults (safety eyes) |
| Nose | Embroidered, felt, or safety nose | Soft or glossy focal point | All dog styles, depends on age target |
| Mouth | Embroidery line or simple shape | Gentle, friendly expression | Cute and approachable characters |
| Ears | One- or two-layer fabric | Floppy, upright, or half-down | Different breeds and personality types |
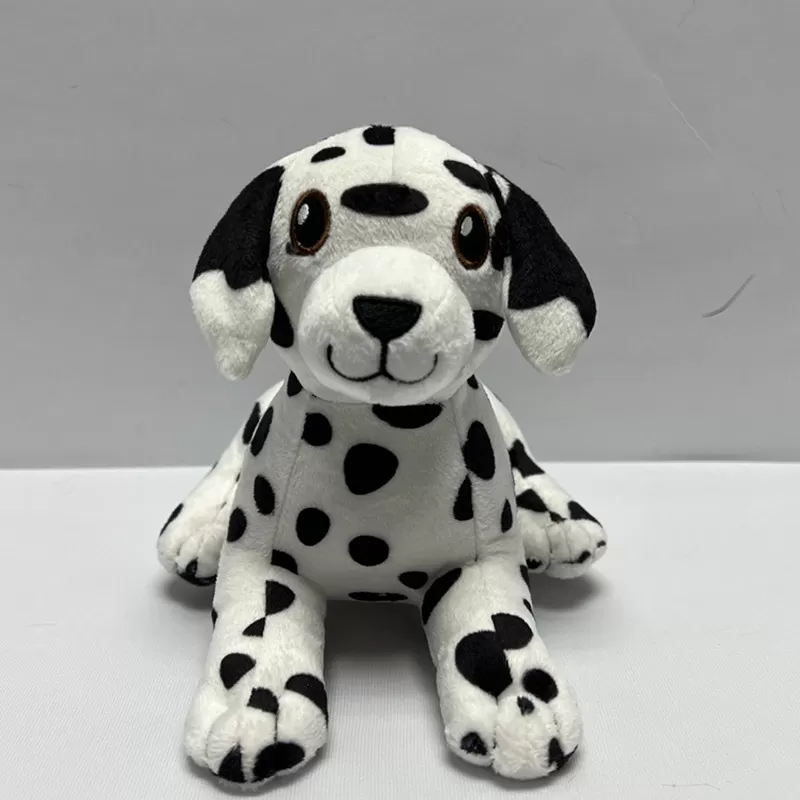
| Markings | Appliqué, printed panels, felt | Spots, patches, eyebrows, masks | Breed patterns (Dalmatian, Husky, etc.) |
Planning the face layout
Before attaching anything, mark key points on the head:
- Center line from nose to top of head
- Horizontal line where eyes will sit
- Nose position and width
Place eyes equal distance from the center line. Move them slightly up for a “baby” look, or slightly down for a more serious look. Test positions with pins or small stickers first before you commit to embroidery or safety parts.
Ears and markings for breed identity
Ears communicate a lot about breed and mood:
- Long, floppy ears for beagles or spaniels
- Pointed ears for huskies or German shepherds
- Half-flop ears for many mixed-style cartoon dogs
Markings such as spots around one eye, patches on the back, or a colored tail tip help shoppers recognize specific breeds or feel a connection to their own pets. You can use different fabric colors, felt appliqués, or printed pieces to create these effects.
When you keep the face calm, friendly, and balanced, your dog plush becomes easier to love at first sight.
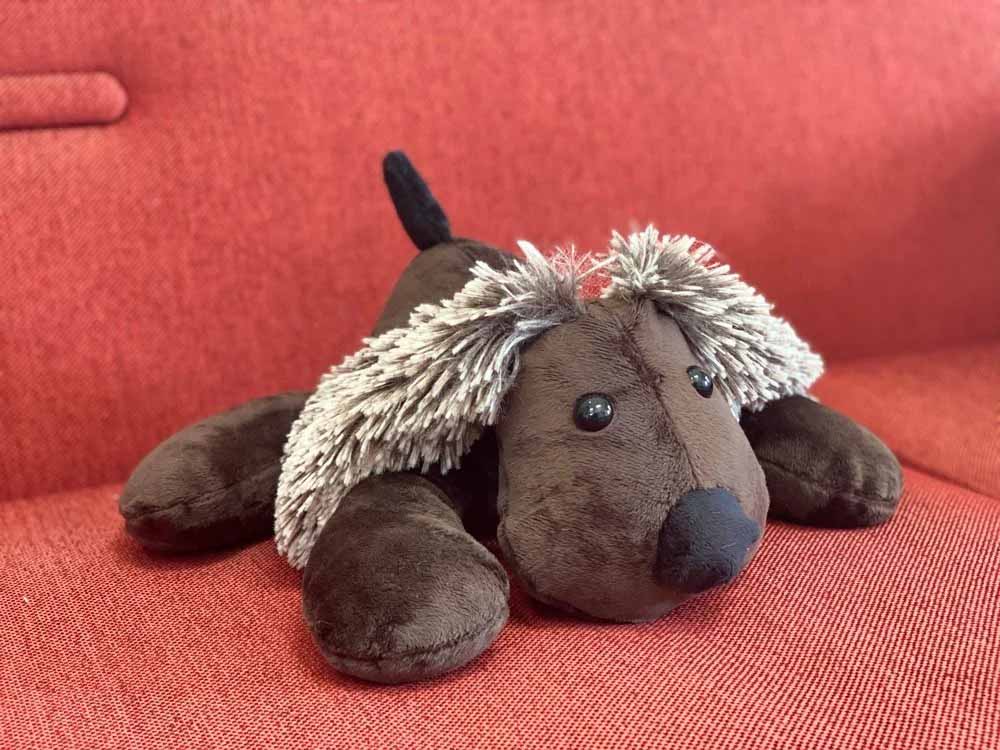
How is stuffing applied to achieve balanced softness and realistic form?
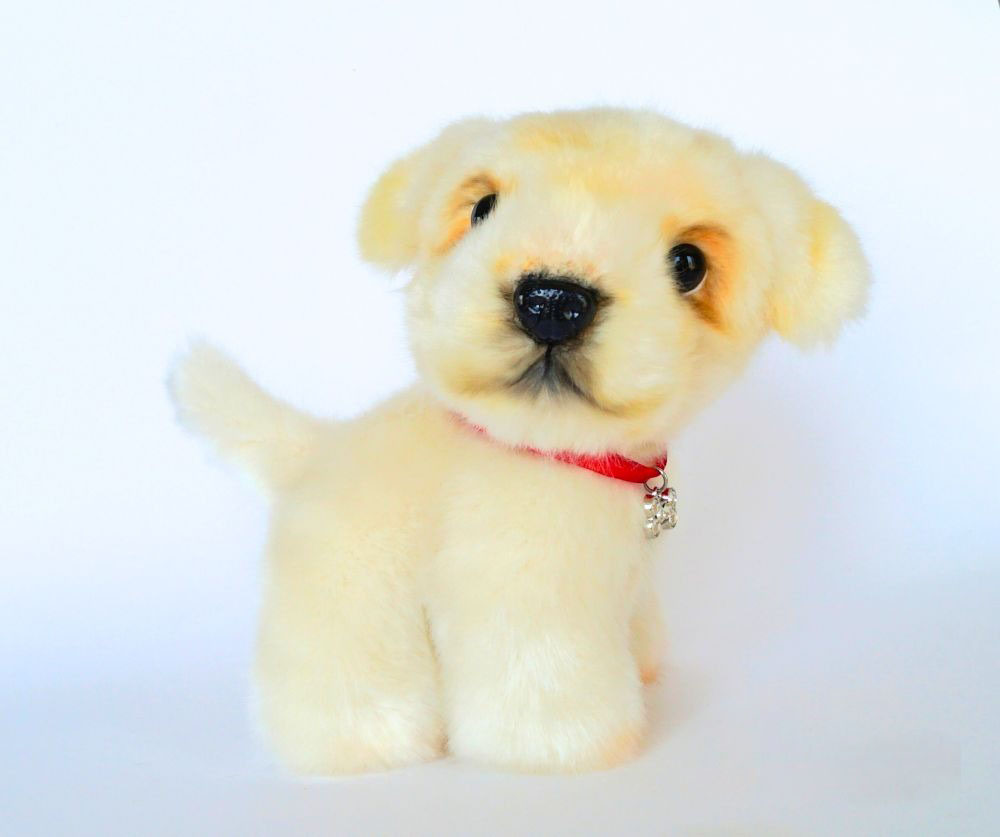
Stuffing is what gives your dog plush its weight, softness, and body language. A well-stuffed dog can sit or stand properly and feels soft yet full in the hands. Poor stuffing can leave empty patches, hard lumps, or an unstable pose.
To stuff a dog plush, you usually fill the legs and tail first, then the head, and finally the body. You adjust stuffing density by area: a slightly firmer head to keep facial shape, softer body for hugging, and enough filling in the base or paws to support sitting or standing.
Here is a simple stuffing guide by zone:
| Dog Plush Zone | Recommended Stuffing Level | Main Goal | Notes for better results |
|---|---|---|---|
| Head and muzzle | Medium–firm | Keep facial features clear and stable | Avoid overstuffing, which stretches the fabric |
| Body / torso | Medium | Comfortable hugging and stable volume | Slightly softer than head for better feel |
| Front legs | Low–medium | Flexible but not floppy | Equal stuffing in both legs for symmetry |
| Back legs | Medium (for sitting pose) | Support sitting position and base | May need more stuffing at bottom for stability |
| Tail | Low–medium | Light movement, clear shape | Can be softer if you want a floppy tail |
Stuffing technique step by step
- Turn all parts right side out.
- Begin with legs and tail. Use small pieces of fiberfill and a stick to push stuffing into corners.
- Fill the head next, focusing on cheeks, top, and muzzle. Massage from outside to get even distribution.
- Attach head and legs to the body if not already attached.
- Stuff the body through the main opening. Adjust fullness by checking the side view and making sure the dog does not lean too much forward or backward.
Always add stuffing gradually and check the shape from front, side, and back. Squeeze gently to feel for hollow spots or hard lumps. Remove or add small pieces until the dog looks and feels balanced.
Special considerations for standing and large dogs
Standing poses may need extra structure. Options include:
- Slightly firmer stuffing in legs
- Inner fabric “bridge” between legs to keep distance and angle
- Separate stuffing compartments to prevent shifting
Very large dog plush toys can benefit from controlled stuffing weights per size, which a factory can standardize for you. This keeps every piece in a batch consistent.
What finishing and quality checks ensure a durable, polished dog plush?
Finishing and quality checks are the last filter before your dog plush meets customers. They decide if the toy looks clean, sits well, and meets safety and brand standards.
Finishing includes trimming loose threads, smoothing fabric, brushing faux fur if needed, and checking that the dog sits or stands correctly. Quality control includes seam checks, attachment strength tests for ears and tail, and reviewing facial symmetry and markings.
You can use a simple checklist like this to guide your final review:
| Checkpoint | How to Test or Inspect | Pass Criteria |
|---|---|---|
| Seams and joins | Visual check and light pull on seams | No gaps, no visible stuffing, no popped stitches |
| Pose and balance | Place dog on a flat surface | Sits or stands without falling or leaning badly |
| Facial alignment | Look at face from front and slight angles | Eyes level, nose centered, markings balanced |
| Ears and tail strength | Gently tug ears and tail | No looseness or tearing at joints |
| Surface and cleanliness | Inspect fabric and fur | No stains, glue marks, or fabric damage |
| Labels and safety info | Check care and brand labels | Correct position, readable, securely attached |
Safety and compliance considerations
If your dog plush is for children, especially under three years old, you should:
- Prefer embroidered eyes and noses or certified safety parts
- Avoid small, detachable accessories
- Ensure seams are strong and fabric is non-shedding
A professional factory can guide you through EN71, ASTM, and other standards. At Kinwin, for example, we choose materials and constructions that support these tests from the very beginning, so you do not have to redesign later.
Presenting a market-ready dog plush
Once your dog plush passes finishing and quality checks, it is ready for photos, sales samples, and mass production. Clean pattern work, solid construction, and safe details all combine to create a product that feels trustworthy in buyers’ hands and attractive in your catalog or online store.
Conclusion
A successful dog plush comes from many small, careful decisions: material selection, accurate patterns, clean assembly, precise facial details, balanced stuffing, and serious quality checks. When you manage each step well, your dog plush feels soft, looks expressive, and stands up to real use in children’s lives and on store shelves. At Kinwin, my team helps global buyers turn dog concepts—whether cute cartoon puppies or realistic breeds—into CE- and ASTM-compliant plush that match each brand’s style and price targets.
If you are planning a new dog plush line or want to upgrade an existing design with better proportions, softness, and durability, we are ready to support you from pattern development to full OEM/ODM production. You are welcome to contact me at [email protected] or visit kinwintoys.com to explore how our factory can help your dog plush collection grow with confidence.