Skip to content
 Embroidery is one of the most effective ways to add detail, character, and branding to stuffed animals. From simple facial expressions to complex company logos, embroidery ensures designs are durable, safe, and visually appealing.
Adding embroidery to plush toys requires more than just stitching a pattern. It involves careful design planning, precise digitizing, proper fabric preparation, advanced embroidery machinery, and detailed finishing work. Each step matters, because errors in embroidery cannot be easily undone on plush fabrics.
Let’s walk through the entire embroidery process for stuffed animals and explore how each stage ensures consistent quality for global buyers.
1. Design and Digitizing
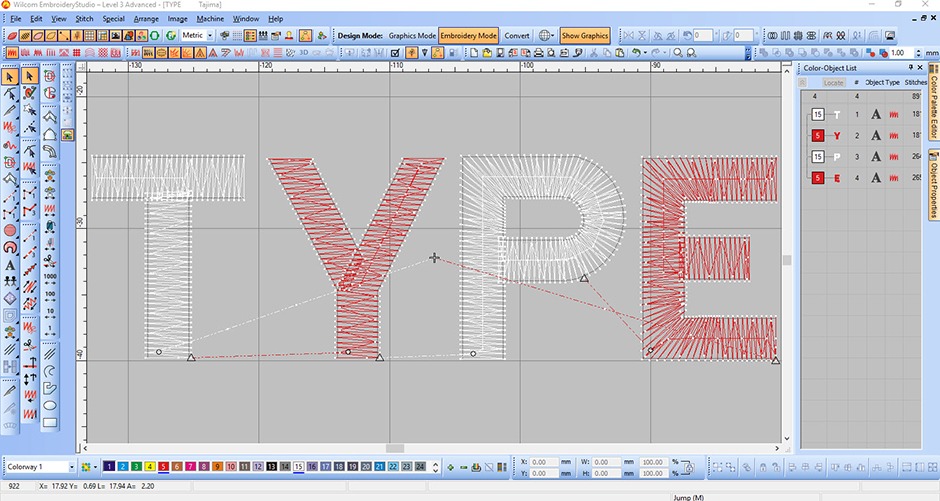
Before production begins, every embroidery design must be created and converted into a digital format. Designers start by sketching or preparing artwork that matches the toy’s concept—whether it’s a facial feature, decorative pattern, or company logo. This artwork is then converted into a stitch file using digitizing software.
Digitizing is a technical process where each stitch type, direction, and density is carefully planned. A line might require satin stitches for smoothness, while a filled area may need tatami stitches for even coverage. Digitizing also adjusts for plush fabric behavior: pile direction, stretch, and thickness must be accounted for so that details do not sink into the fabric.
This stage ensures that embroidery machines can execute designs precisely, even at high volumes. Poor digitizing leads to broken threads, uneven textures, or distorted shapes. For example, if a teddy bear’s eyes are digitized incorrectly, they may look unbalanced or fade into the fabric pile.
By investing in expert digitizing, manufacturers guarantee embroidery that is sharp, durable, and visually consistent across thousands of units. For buyers, requesting a digitized sample proof is the best way to confirm accuracy before bulk production.
| Step | Purpose |
| Artwork Design | Defines the visual concept |
| Digitizing File | Converts design into machine format |
| Stitch Planning | Ensures proper density and direction |
| Adjustments | Compensates for plush fabric behavior |
2. Material Preparation
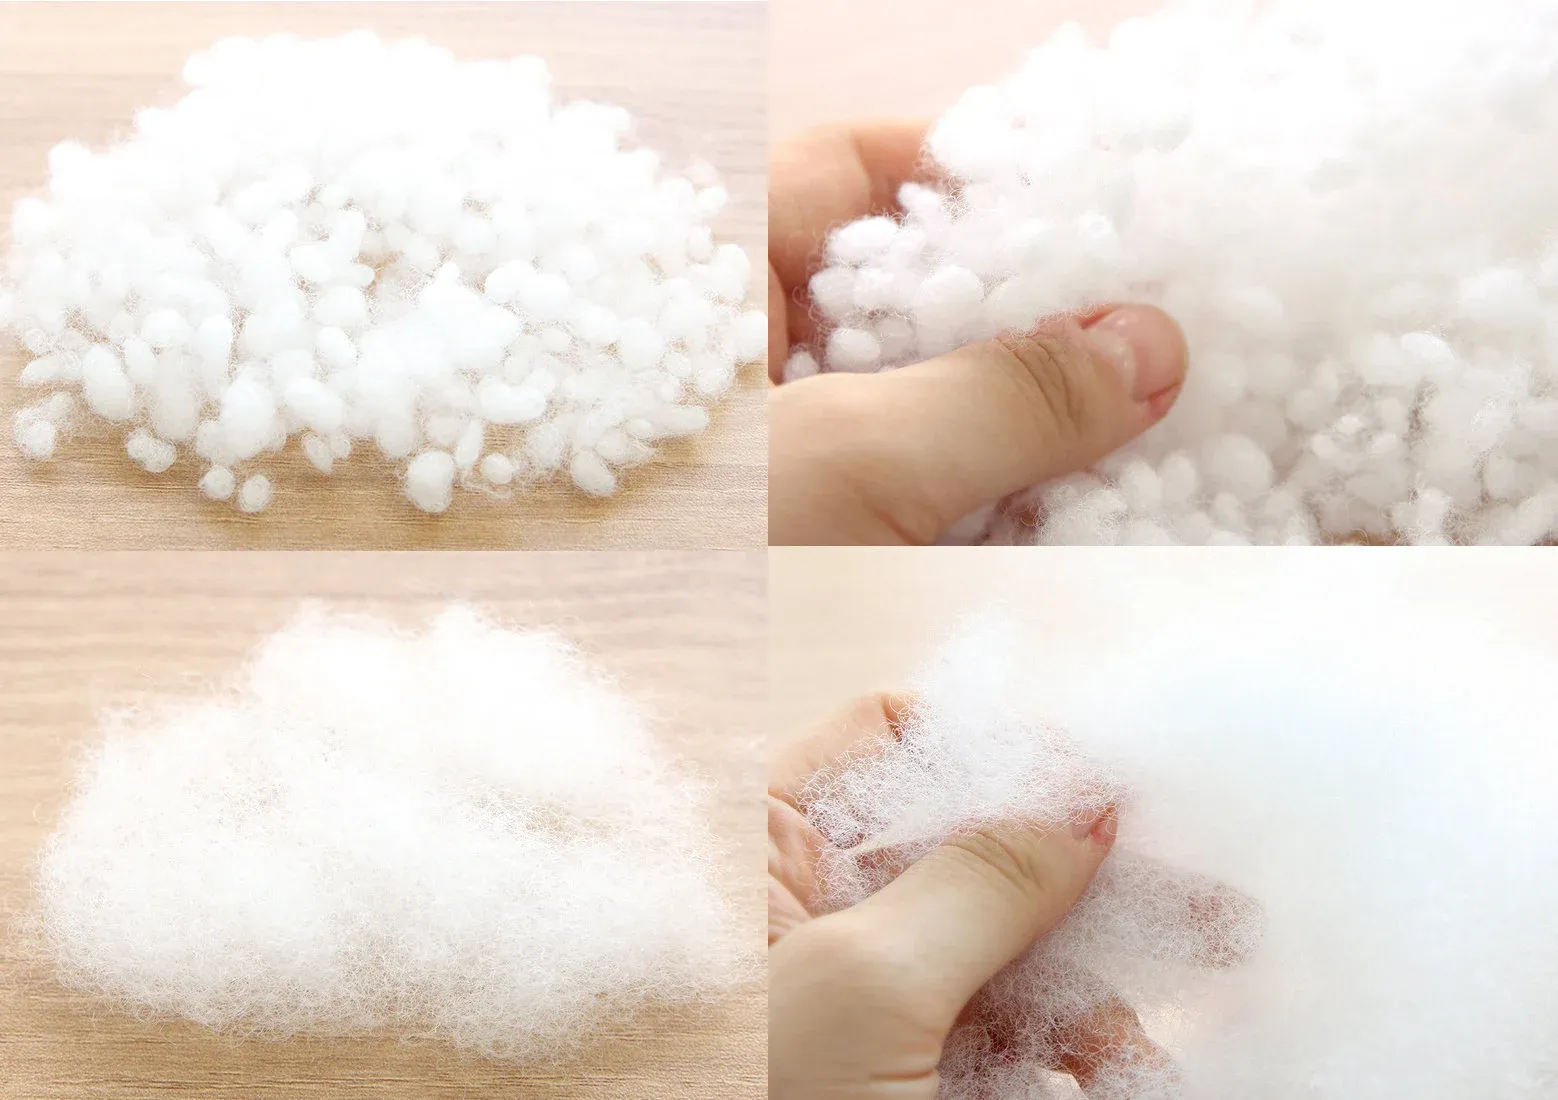
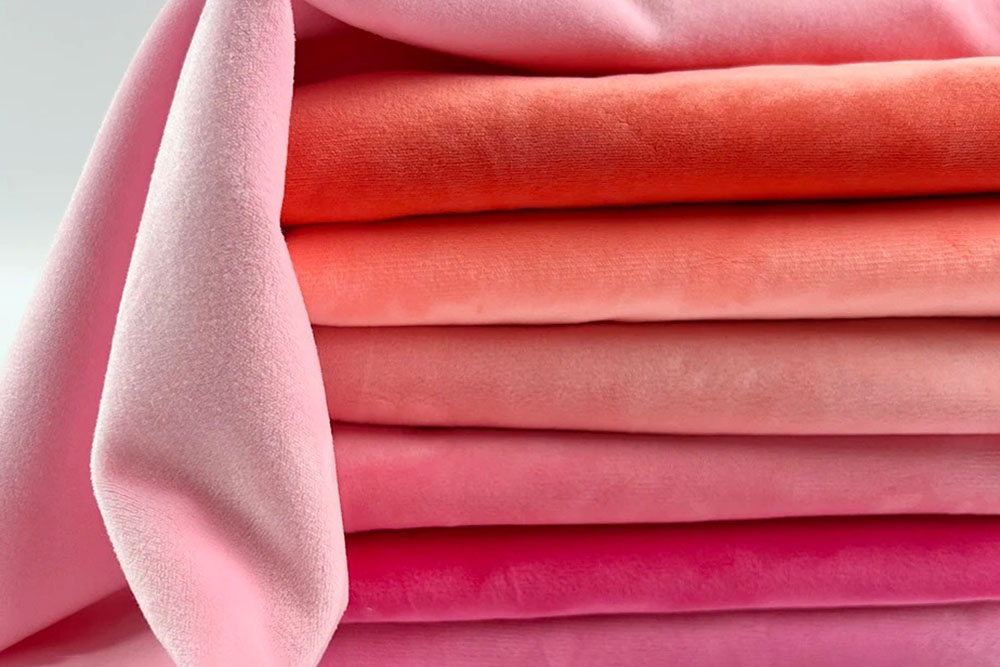
Before embroidery starts, preparing the fabric and materials is a critical step. Plush toy fabrics such as velboa, minky, and fleece must be inspected carefully. Thickness, stretch, and pile direction all influence how embroidery will look once finished. If the pile is too long, the design may sink into the surface. To prevent this, stabilizers are applied to provide a firm base for stitching.
Factories often use cut-away stabilizers for stronger fabrics or tear-away stabilizers for lighter options. Another key step is hooping, where the fabric is placed tightly in an embroidery hoop. Correct hooping keeps the fabric stable during stitching. Without it, embroidery can shift, stretch, or pucker, wasting both fabric and time.
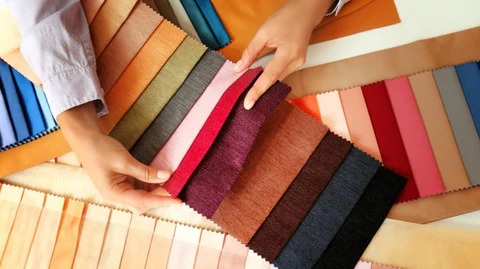
Thread selection also plays a major role. Polyester embroidery thread is the industry standard for stuffed animals because it is durable, colorfast, and resistant to frequent washing. For toys intended for babies, softer yarns or threads may be used to ensure safety. Matching thread colors to small details such as eyes, noses, or logos ensures consistency and professional finishing.
Good preparation reduces production defects, strengthens durability, and guarantees that embroidery looks sharp and reliable in every batch. Buyers should confirm whether their supplier follows these steps, since they directly affect product quality.
| Step | Purpose |
| Fabric Inspection | Check thickness, stretch, pile height |
| Stabilizers | Prevent distortion and loose stitches |
| Hooping | Keep fabric tight and aligned |
| Thread Choice | Ensure strength, safety, and color |
3. Automated Embroidery Process
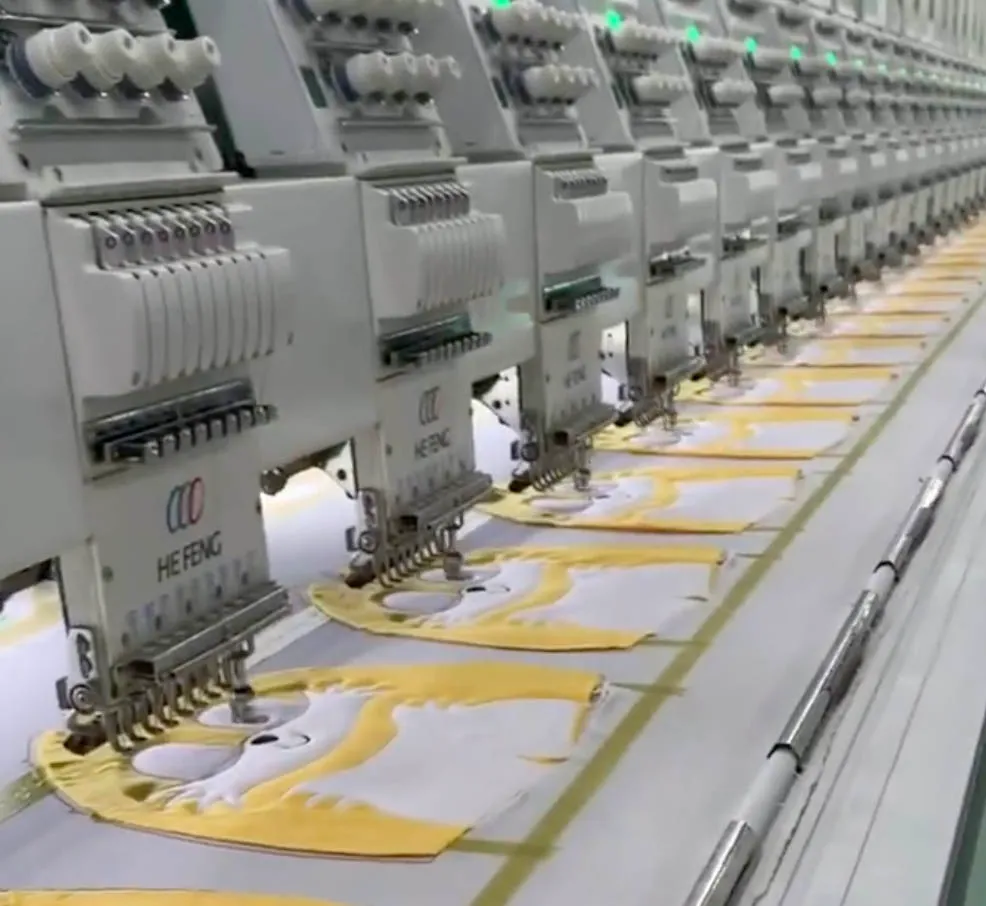
Once the design and fabric are prepared, production moves to automated embroidery machines. These machines use digitized files to stitch patterns with high precision, even on complex toy shapes. Multi-head embroidery machines are common in toy factories, as they allow many toys to be embroidered at once, ensuring efficiency and consistency.
During embroidery, needles and threads follow the stitch map created during digitizing. Operators monitor thread tension, needle performance, and color changes to avoid mistakes. Automatic thread cutters and color-change functions reduce downtime, while sensors detect thread breaks and stop the machine immediately to prevent flawed products.
For plush toys, controlling speed and density is essential. High stitch density may look sharp but can make fabrics stiff or even cause tearing. Lower density preserves softness but may lack clarity if not planned correctly. For example, embroidering a company logo on short-pile velboa requires tighter density than embroidering a child’s smiling face on long-pile faux fur.
The success of automated embroidery depends on well-trained operators and precise machine calibration. Properly maintained machines deliver smooth stitching, minimal waste, and repeatable quality in large production runs.
| Factor | Importance |
| Multi-head Machines | Increase efficiency and consistency |
| Tension Control | Prevents distortion or loose stitches |
| Stitch Density | Balances clarity with fabric softness |
| Machine Monitoring | Ensures continuous quality control |
4. Post-Processing and Finishing
After embroidery is complete, toys go through detailed post-processing to achieve a polished appearance. Excess threads are trimmed, stabilizers are carefully removed, and fabric surfaces are brushed to lift piles that may have been pressed down during stitching. This ensures embroidery details remain sharp and clearly visible.
Heat pressing or steam finishing may be applied to flatten uneven stitches and enhance durability. For plush fabrics with long pile, a special trimming technique is used around the embroidery to create a clean border. This avoids the “sunken” effect where designs disappear into the fluff.
Quality control is also performed at this stage. Inspectors check for skipped stitches, uneven density, or thread color mismatches. Any toy with noticeable flaws is reworked or rejected to maintain brand standards. For safety-focused buyers, post-processing also confirms that no sharp threads or loose pieces remain that could harm children.
Finishing ensures that embroidery not only looks attractive but also withstands handling, washing, and long-term use. For global buyers, this step demonstrates a factory’s commitment to detail and safety compliance.
| Step | Purpose |
| Thread Trimming | Removes loose or excess threads |
| Stabilizer Removal | Prevents stiffness or rough backing |
| Surface Brushing | Restores fabric softness and clarity |
| QC Inspection | Confirms safety and consistency |
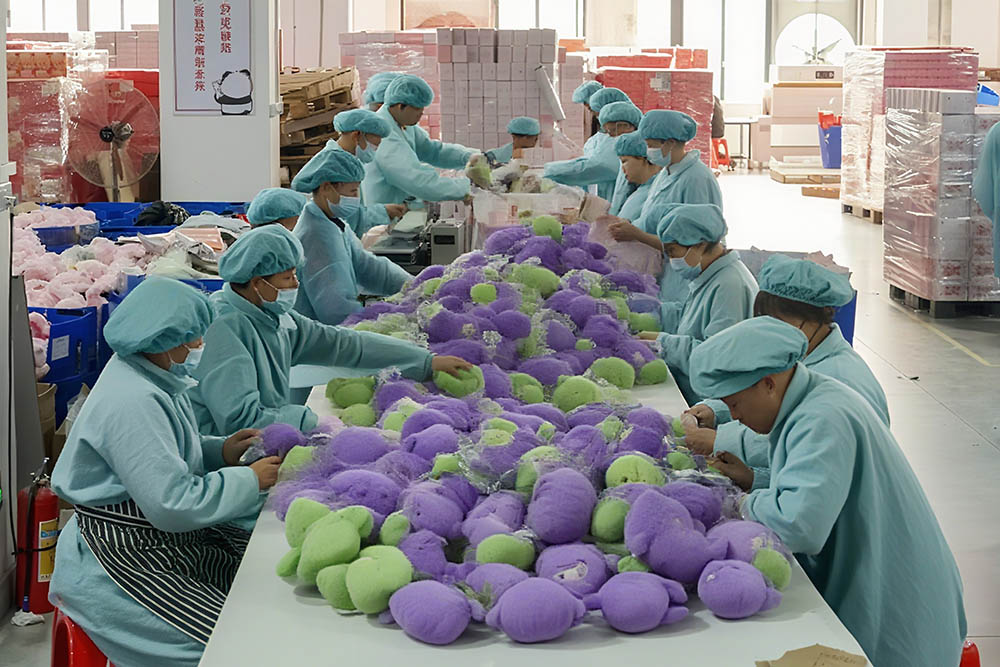
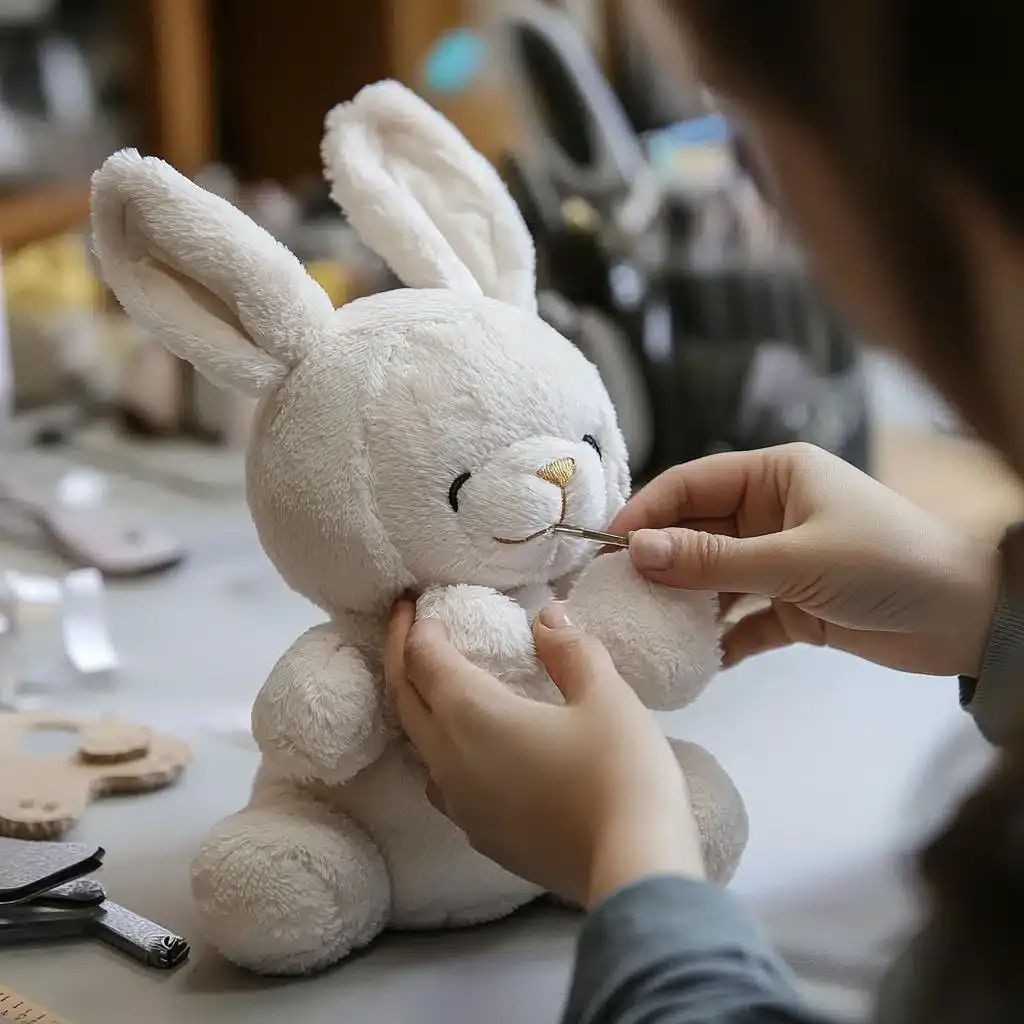
5. Assembly and Sewing
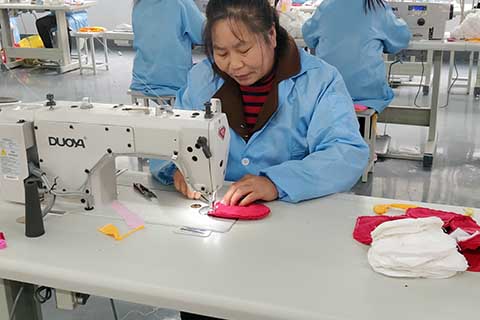
The final step is integrating embroidered parts into the stuffed toy’s full body. Depending on the design, embroidery may be applied before or after major sewing operations. For example, facial features are often embroidered on fabric panels before assembly, while logos or decorative patches may be added once the toy is partially sewn.
Sewing teams carefully align embroidered panels with other fabric pieces to ensure symmetry. If an eye or nose is slightly misaligned, the entire toy may look unbalanced. Reinforced stitching is applied to secure embroidery sections, especially in high-stress areas like faces or torsos.
Once panels are assembled, toys are stuffed, closed, and shaped. Final inspection checks that embroidery remains properly aligned, colors match the approved sample, and no seams are pulling at the design. This stage combines craftsmanship with technical precision, ensuring toys are safe, attractive, and ready for the market.
| Stage | Focus |
| Panel Alignment | Ensures symmetry and visual balance |
| Reinforced Sewing | Prevents seams from stressing designs |
| Final Shaping | Maintains natural look and durability |
| QC Confirmation | Guarantees safety and compliance |
Embroidering stuffed animals requires planning, technical expertise, and strict quality control to achieve results that are safe, durable, and visually appealing. At Kinwin, we support global buyers with advanced embroidery capabilities, ensuring every plush toy reflects brand identity while meeting international safety standards.
Ready to bring your designs to life with professional embroidery? Contact us at Kinwin or email [email protected] to start your custom project today.