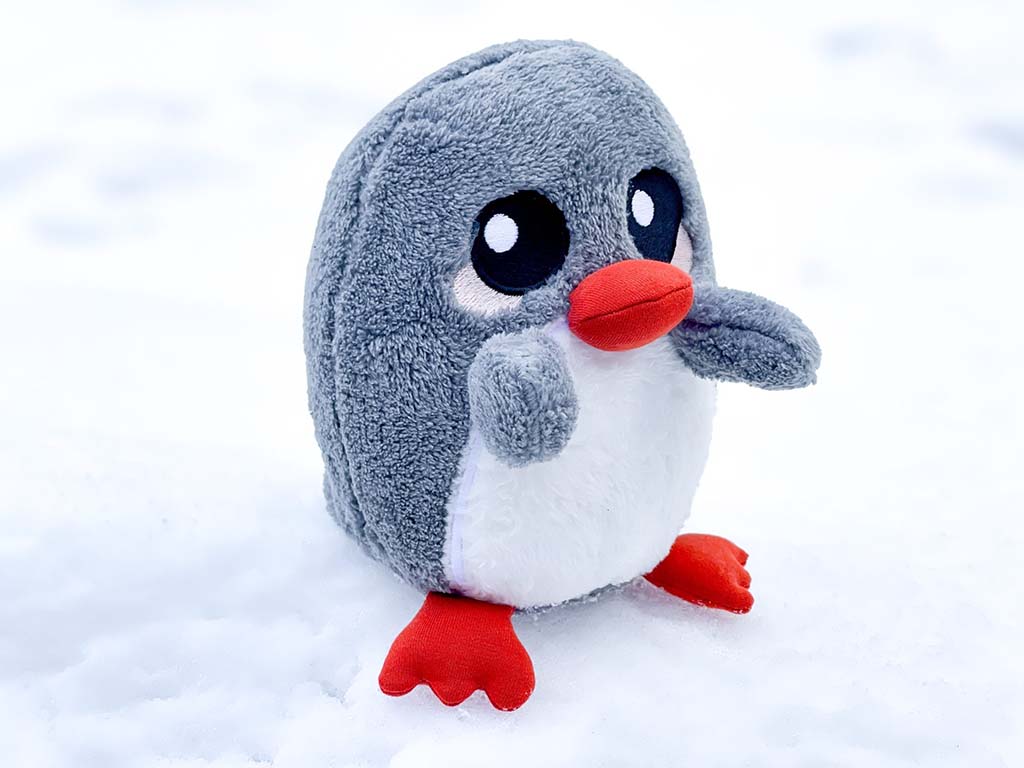
Embroidered details can turn an ordinary stuffed animal into something personal, premium, and full of character. Even small stitches can change how a plush feels in the hand and how it represents your brand.
To embroider on a stuffed animal, you need the right needles, threads, and stabilizers; a prepared and flattened work area on the plush; suitable stitches such as backstitch, satin stitch, and split stitch; and secure thread finishes that hold up to daily hugging and washing. For brands, machine embroidery and good digitizing are key to scale this process safely and consistently.
In this guide, I’ll explain how I think about plush embroidery from two angles: small-batch, hand-led work and large-scale factory production. My goal is to help you add clean, durable embroidery to your stuffed animals, whether you are a DIY maker, a growing brand, or a buyer working with an OEM/ODM factory like ours at Kinwin.
What tools and materials are required to embroider on a stuffed animal?
Before any stitch touches the plush, you need a small but complete toolkit. Embroidery on plush has two challenges: the pile (hair) of the fabric and the curved, stuffed surface. The right tools help you control both.
For hand embroidery, you need sharp but not oversized needles, strong embroidery thread, and some form of stabilizer behind the fabric. For machine embroidery, you also need a hoop and a digitized file, but the basic idea is the same: keep the plush surface flat and supported while you stitch.
In practice, you need embroidery needles, polyester embroidery thread, stabilizer (tear-away or cut-away), small scissors, and tools to hold and flatten the plush area, such as clips or a small hoop. For machine embroidery you add an embroidery machine, proper hoops, and digitized patterns; for hand embroidery, a few basic stitch types are enough.
Basic tools and materials overview
| Item Type | Recommended Options | Why It Helps on Plush |
|---|---|---|
| Needles | Embroidery / crewel needles (various sizes) | Sharp tips and larger eyes for thicker thread |
| Thread | Polyester embroidery thread or strong cotton | Colorfast, durable, smooth stitching |
| Stabilizer | Tear-away or cut-away stabilizer, felt backing | Supports stitches and stops them sinking into pile |
| Marking tools | Water-erasable pen, tailor’s chalk | Helps place designs accurately |
| Small tools | Embroidery scissors, seam ripper, clips | Clean cuts and easy corrections |
| Hoops (optional) | Small embroidery hoop or clamp | Holds flat areas on unstuffed pieces or partial plush |
| Machine (optional) | Embroidery machine + hoops + digitized file | For consistent logos, names, and large production runs |
For B2B orders, we almost always use polyester embroidery thread because it has better strength and colorfastness in washing than most standard cotton threads.
How do you prepare the plush surface for stable, clean embroidery?
If you try to embroider directly on a fully stuffed, fluffy toy with no preparation, you will quickly see problems: the needle catches in the pile, stitches sink into the fur, lines become crooked, and it’s hard to keep your design centered. Preparation solves most of this.
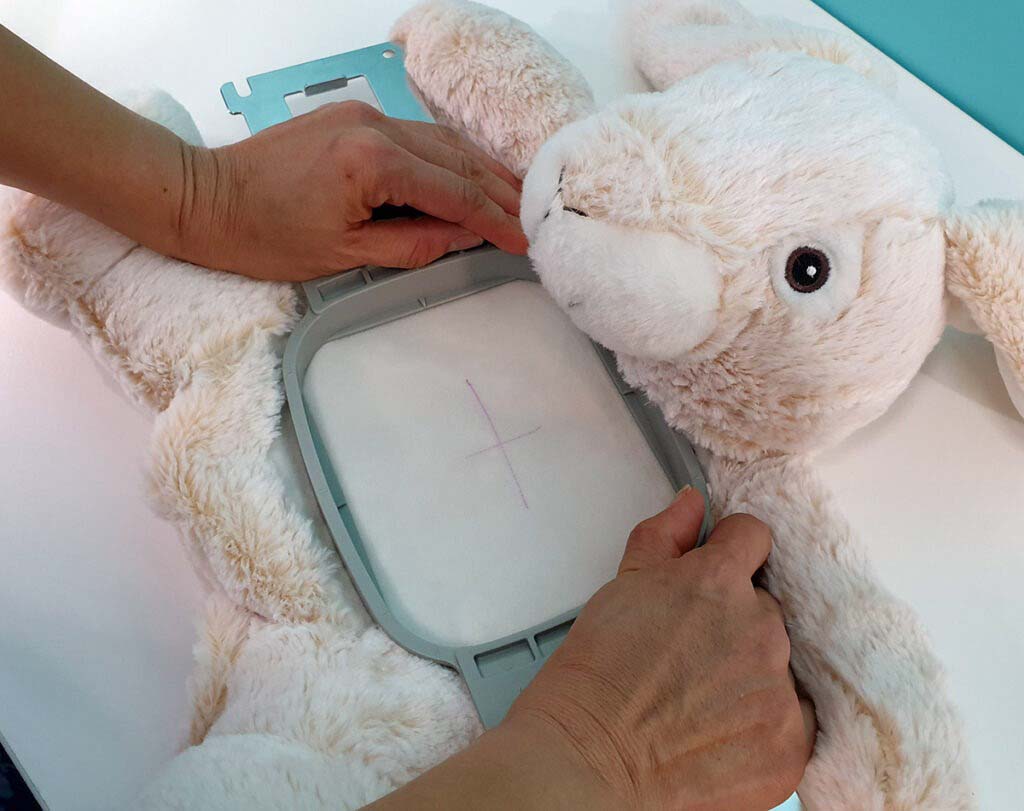
For home or small-batch work, you can mark the design area, flatten the plush fibers, and add stabilizer behind the fabric. If you are embroidering before assembly, you can work on flat fabric panels, which is much easier. If you are embroidering finished toys, you need to open a small seam or work carefully on the surface.
To prepare the plush, brush or smooth the pile in one direction, lightly mark your design, place stabilizer behind the area, and, if possible, hoop or clamp the fabric. On finished stuffed animals, you may gently open a seam or press the area down with your hand or clips to create a firmer base before stitching.
Preparation methods
| Situation | Recommended Preparation Steps | Notes |
|---|---|---|
| Before toy assembly (best case) | Embroider on flat fabric, with stabilizer and small hoop | Easiest way; used by factories for faces and logos |
| On finished plush, small area | Smooth fur, mark design, add stabilizer inside, hold by hand | Good for names or small motifs |
| On thick / long-pile plush | Trim pile slightly, use topper (water-soluble film) and stabilizer | Stops stitches from sinking into long fibers |
| On very soft / stretchy fabric | Use firmer stabilizer and shorter stitch lengths | Prevents distortion while stitching |
Simple preparation steps for finished plush
- Identify a flat, reachable area (like the tummy or back).
- Brush or smooth the fur in one direction.
- Mark design with a water-erasable pen.
- Slide a small piece of stabilizer inside, behind the target area.
- Hold the area firmly in your non-stitching hand or use clips.
This extra 5–10 minutes makes a huge difference in how neat your embroidery looks.
What stitching techniques work best for detailed plush embroidery?
Not all stitches behave well on plush. Some get lost in the pile; others look rough on curves. For most stuffed animals, we rely on a small group of simple, strong, and smooth stitches that show clearly on a textured surface.
For hand embroidery, backstitch, split stitch, running stitch, and satin stitch cover 80–90% of needs. For machine embroidery, we use digitized satin and fill stitches with underlay to lift thread above the pile.
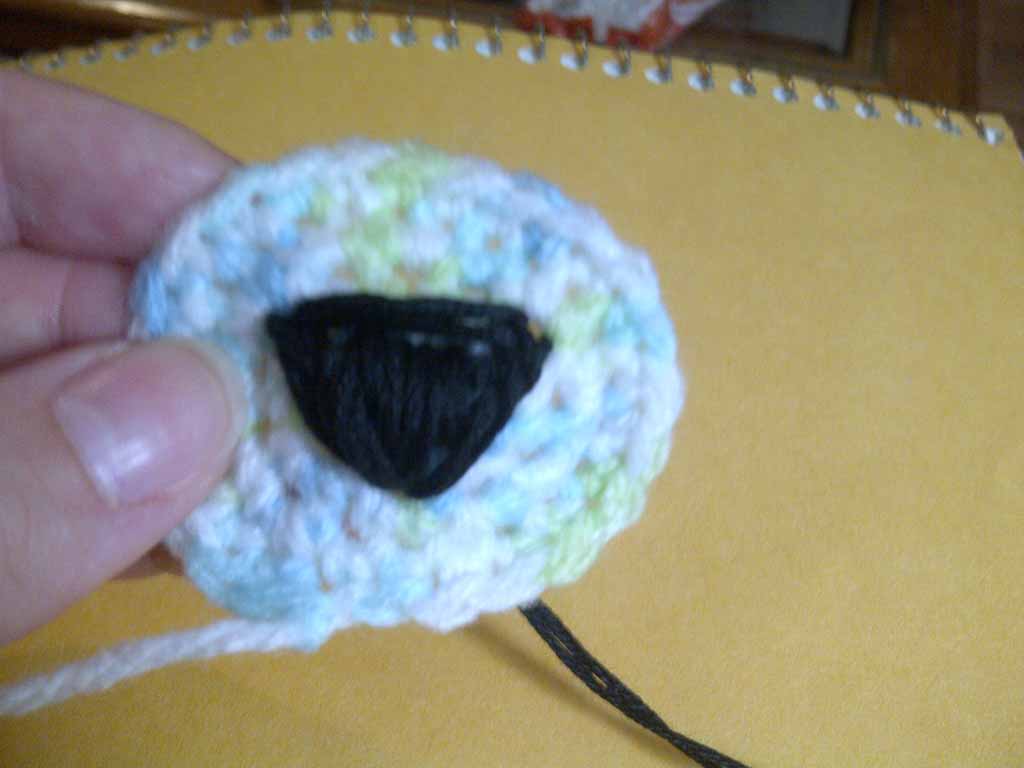
On plush, backstitch and split stitch are ideal for outlines and small text, while satin stitch works best for solid shapes like eyes, noses, and small logos. Running stitch can be used as a guide or for very subtle lines. For machine embroidery, well-planned satin and fill blocks with proper underlay give clean, raised details that read clearly even on fluffy fabrics.
Recommended stitch types for plush
| Stitch Type | Best Use on Plush | Why It Works |
|---|---|---|
| Backstitch | Outlines, simple text, small details | Strong, continuous line; good control on curves |
| Split stitch | Outlines, rounded shapes | Slightly textured line that hides in pile nicely |
| Running stitch | Light guidelines, fine details | Subtle, but needs good tension to stay visible |
| Satin stitch | Eyes, noses, small logos, filled areas | Smooth, solid coverage that stands above the pile |
| French knots | Tiny dots (freckles, highlights) | Add texture but must be well secured |
Hand-embroidery tips on plush
- Use shorter stitches on curves for smoother lines.
- Keep thread tension firm but not tight, so the plush does not pucker.
- On long-pile areas, consider trimming the pile slightly inside the design area.
- Work with 2–3 strands of embroidery floss (or full-thickness machine thread) depending on design size.
Even simple stitches can look very high-end on plush when the design is clear and the stitch length is consistent.
How do you secure threads and reinforce stitches for durability?
A stuffed animal is not a flat wall hanging. It is hugged, dragged, washed, and sometimes chewed. This means every embroidery line must be secured from both sides and designed to handle movement and friction.
For hand embroidery, this starts with good thread length (not too long), neat anchoring, and minimal long floats on the back. For machine embroidery, this means proper underlay, dense enough stitches, and the right pull compensation so designs do not distort during stitching.
To secure threads, start and end each line with small backstitches or knots tucked into the plush pile, avoid long thread floats on the back, and, if possible, cover the back of the embroidery with a soft backing. In production, we use tight underlay, controlled densities, and standardized tension settings to keep stitches stable under daily use and washing.
Securing stitches by hand
| Step | How to Do It | Why It Matters |
|---|---|---|
| Start of line | Anchor with 2–3 tiny backstitches in same spot | Prevents the line from pulling out |
| End of line | Tie a small knot, then weave tail through stitches | Spreads stress and hides the knot |
| Back of work | Avoid long floating threads across open areas | Reduces risk of snagging and pulling |
| Coverage | Use enough passes for solid areas (e.g. satin) | Prevents gaps and loose-looking coverage |
| Protection (optional) | Cover back with soft fabric or patch | Adds comfort and reduces friction on stitches |
Durability habits
- Do not use very long thread lengths; they tangle and weaken.
- For items meant for children, keep embroidery areas smooth and free of sharp knots.
- Test by gently pulling on the embroidered area; if it shifts or gaps, add more securing.
In our factory, embroidery must pass both visual checks and basic stress tests before we approve samples for mass production.
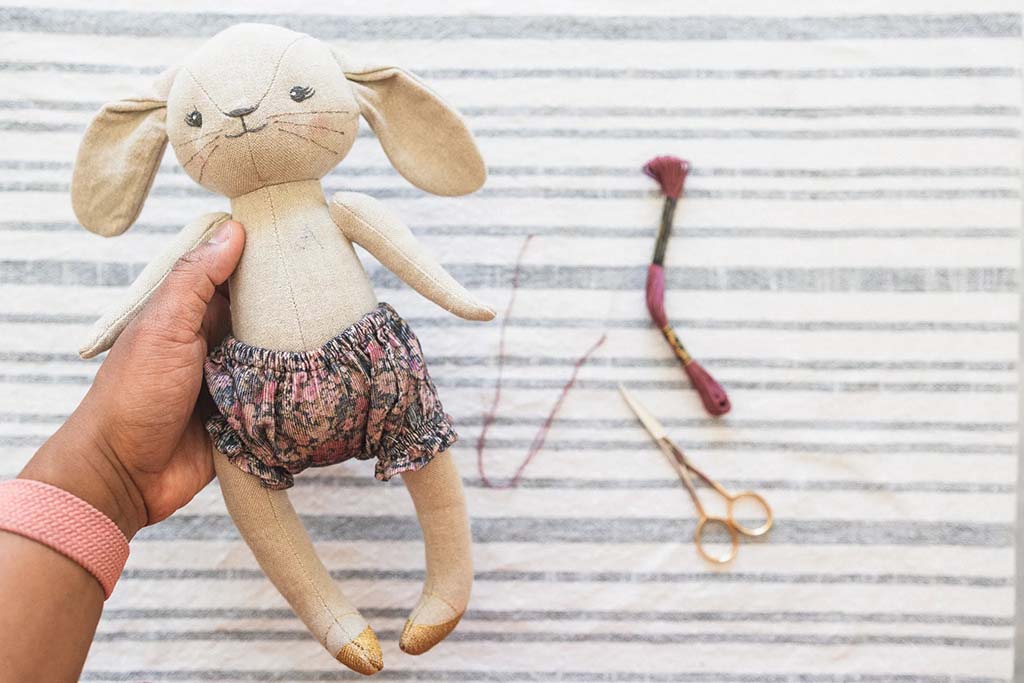
How can embroidery enhance facial features, logos, or decorative details?
Embroidery is one of the best tools to move a plush from “generic” to branded and expressive. It is safe, durable, and works on many shapes. You can use it for faces, names, logos, patterns, or even subtle textures on ears and tummies.
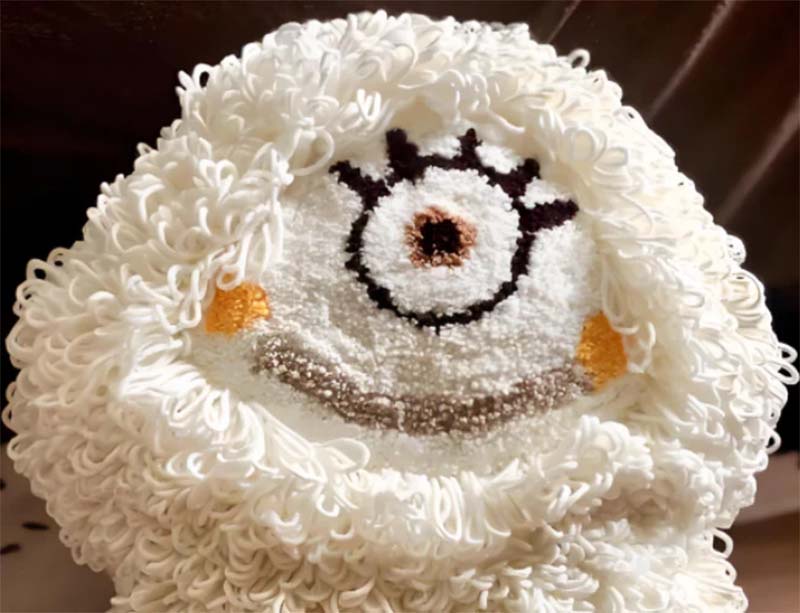
For baby and children’s plush, embroidered eyes and noses are often the safest option, with no hard plastic parts. For branded plush, logo embroidery on the tummy, paw pad, or ear becomes a strong branding tool. For décor plush, tone-on-tone embroidered patterns add quiet luxury.
You can use embroidery to create soft, safe facial features; to add brand logos and taglines on bellies, paws, or clothing; and to decorate ears, tummies, or accessories with patterns, names, and dates. The key is scale: keep details large enough to read on plush, and use strong color contrast or subtle tone-on-tone depending on your brand style.
Common ways to use embroidery on stuffed animals
| Use Case | Embroidery Placement | Design Ideas |
|---|---|---|
| Facial features | Eyes, nose, mouth, eyebrows, whiskers | Simple shapes, kawaii faces, expressive eyebrows |
| Branding & logos | Belly, paw pads, ear outside/inside | Company logo, tagline, campaign message |
| Personalization | Chest, back, ear, or foot | Names, initials, birth dates, short messages |
| Decorative elements | Ear lining, tummy, back, clothing | Stars, hearts, patterns, seasonal motifs |
| Premium detailing | Borders and seams on clothing or scarves | Monograms, small icons, tone-on-tone textures |
Design tips from a factory view
- Avoid tiny thin lines; plush pile will swallow them.
- Keep text bold and simple; avoid very small fonts.
- Test contrast: dark thread on light plush (or vice versa) reads best.
- For premium look, consider subtle tone-on-tone designs on ears and tummies.
When planned well, embroidery becomes part of the plush’s identity, not just an add-on.
How do manufacturers handle embroidery efficiently in large-scale production?
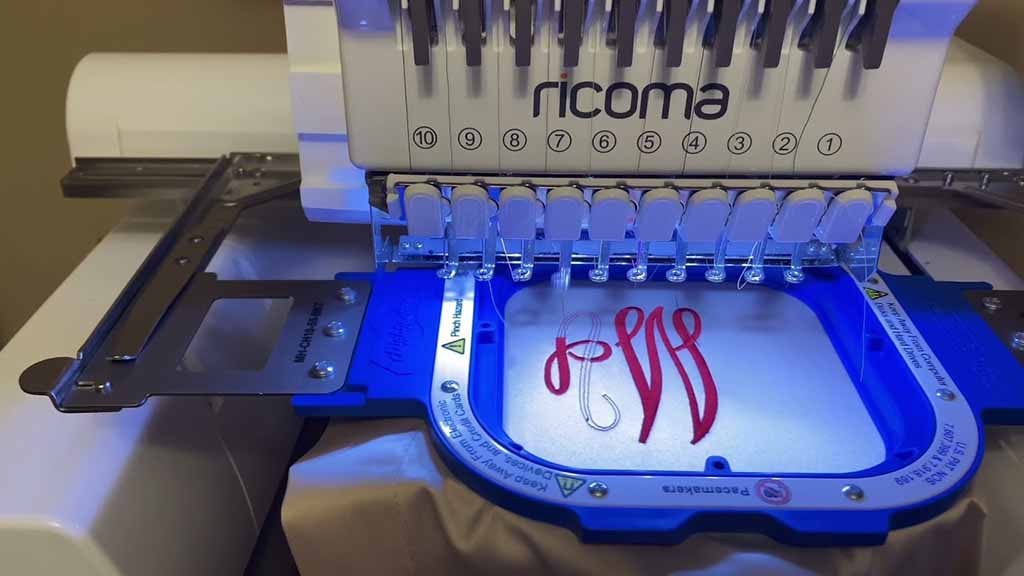
In mass production, embroidery must be consistent, efficient, and safe. We cannot afford a nose that looks different on every 1,000 pieces, or a logo that shifts by 5 mm between batches. This is why factories use digitized embroidery files, industrial machines, and strict process control.
Most embroidery in professional plush manufacturing happens before final assembly, on flat fabric pieces: for example, face panels, tummy patches, or ear linings. This allows us to hoop the fabric properly, use backing, and run many pieces in a single hooping.
In large-scale production, we digitize the design into a machine-readable embroidery file, test it on the chosen plush fabric, then run embroidery on flat panels using multi-head machines. After stitching, we trim threads, remove stabilizer, and move embroidered pieces into sewing lines. Standard operating procedures and sample boards keep each batch consistent.
Factory embroidery workflow (simplified)
| Step | What Happens | Why It Matters |
|---|---|---|
| Design & approval | Client provides logo/face design, we refine if necessary | Ensures design works at real size on plush |
| Digitizing | Convert artwork into stitch file with proper underlay | Controls density, pull, and thread paths |
| Test run | Embroider sample on real plush fabric panel | Check look, feel, and stability |
| Bulk set-up | Load multi-head machines, set tension and thread colors | Prepares for high-volume, consistent output |
| Embroidery on panels | Stitch faces, logos, details on flat panels | Faster and more accurate than on finished toys |
| Trimming & cleaning | Cut threads, remove stabilizer, quality check | Keeps pieces neat before sewing |
| Assembly | Sew embroidered panels into full plush toys | Final structure built around clean embroidery |
For very large projects, we also create standard samples and physical boards that show correct colors, stitch densities, and approved placements. Operators compare production pieces against these references.
If you, as a buyer, plan a new plush line with embroidery, sharing vector artwork and desired size, plus your target markets, helps your factory partner set up this process smoothly from the beginning.
Conclusion
Embroidery on a stuffed animal turns a simple plush into something expressive, safe, and brand-ready. With the right tools, careful surface preparation, smart stitch choices, and strong securing methods, even small makers can achieve clean results. At larger scale, digitized embroidery and planned workflows keep faces, logos, and details consistent across thousands of pieces.
At Kinwin, we combine both views every day—helping brands translate sketches and logos into embroidered plush that pass safety tests and delight real customers. If you’re planning a new plush project and want to integrate embroidery for faces, branding, or decorative details, you’re very welcome to contact me at [email protected] or visit kinwintoys.com to explore how our factory can support your next launch.