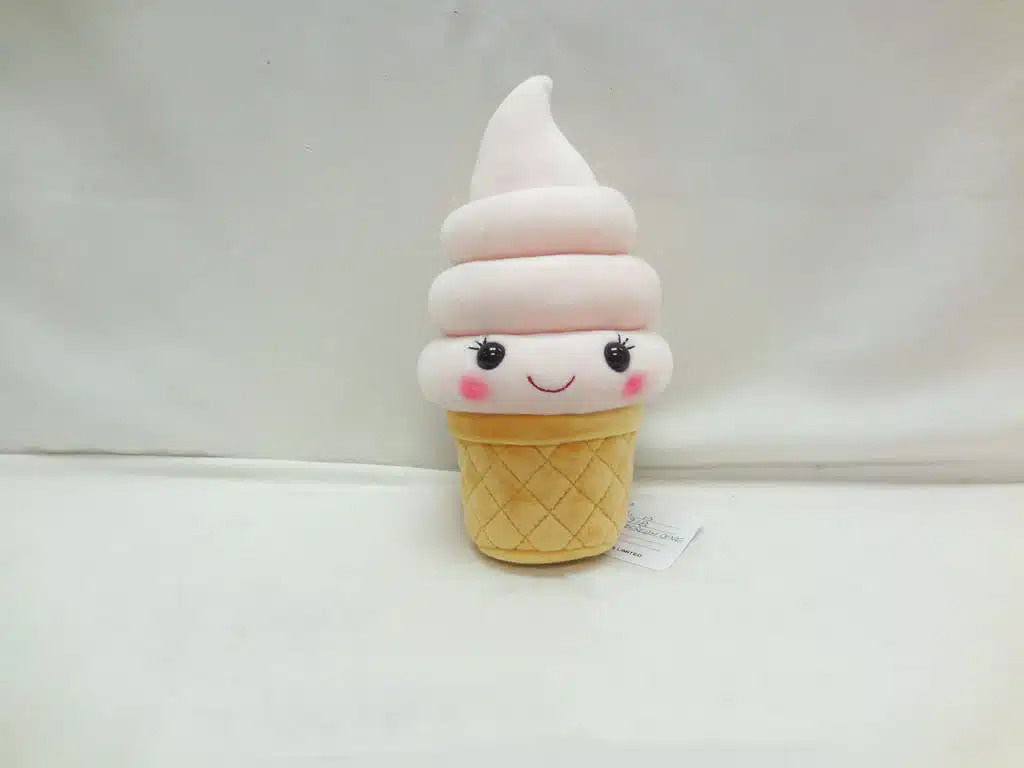
Creating a stuffed animal is a mix of artistry, engineering, and careful production planning. As someone who works closely with global brands, retailers, and e-commerce sellers, I see how a well-designed plush toy can create emotional value, upgrade a product line, and support long-term brand trust.
In this guide, I’ll walk you through the complete process of making a stuffed animal—from materials and pattern design to sewing, stuffing, finishing, and quality checks—using clear, simple English suitable for all readers. Whether you are a hobby maker, brand owner, or wholesale buyer, this guide will help you understand how professional plush toys are built inside the factory.
What materials and tools are essential to create a stuffed animal?
To create a high-quality stuffed animal, you need soft fabrics, stable stuffing, safe trims, and tools that help you achieve clean shapes. In my work at Kinwin, materials determine almost 60% of the final toy’s feel, safety, and durability.
Essential materials include:
- Plush fabrics (short plush, minky, velboa, faux fur)
- Polyester fiberfill (or premium high-resilience stuffing)
- Threads (polyester, strong tensile strength)
- Embroidery threads (for faces and details)
- Felt or fabric pieces for accents
- Safety eyes or noses (or embroidery for babies)
- Internal stabilizers (for weighted or balanced toys)
Common tools include:
- Fabric scissors, rotary cutters
- Sewing machine (or hand-stitch needles)
- Pins or clips
- Pattern papers
- Fabric markers
- Stuffing sticks
- Hot cutters (used in factories for sealing edges)
Table 1 – Essential materials and tools for stuffed animal creation
| Category | Examples | Why It Matters |
|---|---|---|
| Fabrics | Minky, velboa, faux fur | Defines softness, look, and target age group |
| Stuffing | Polyester fiberfill, premium fiber | Controls softness, shape, and bounce |
| Threads | Polyester sewing thread | Ensures strong seams during play |
| Fasteners | Safety eyes, noses, snaps | Provides secure finishing elements |
| Tools | Scissors, sewing machine, markers | Enables precise cutting and stitching |
| Accessories | Felt, bows, clothing | Adds personality and branding |
The right materials make production smoother and reduce rework. Using stable fabrics and stuffing ensures each batch feels the same—critical for brand reputation.
How do you design patterns and shapes for accurate plush construction?
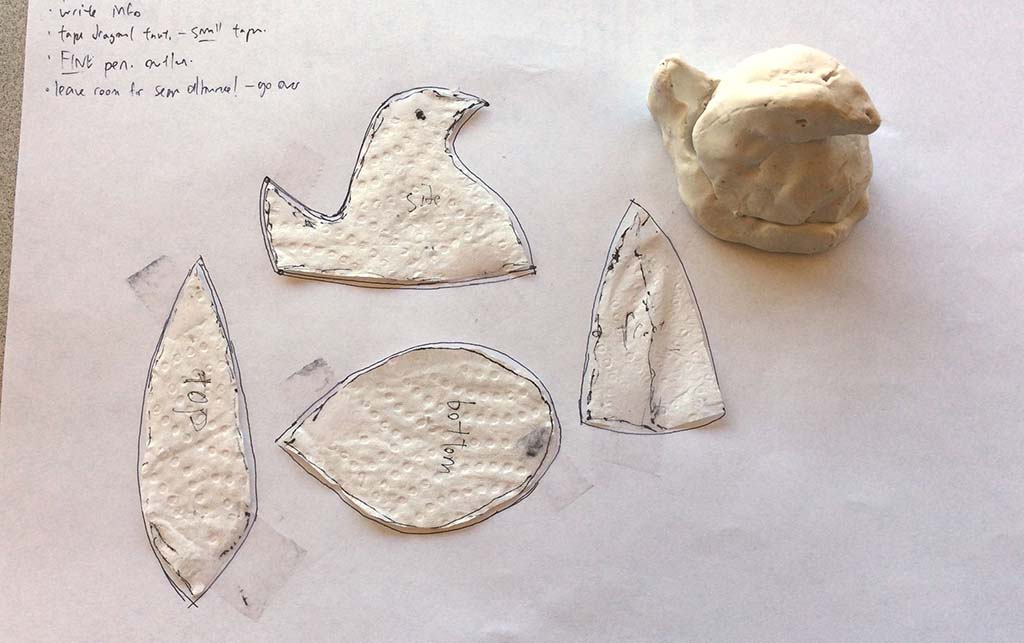
Pattern design is the foundation of every stuffed animal. Before cutting any fabric, I always create a clear pattern that matches the toy’s proportions, character style, and softness level.
The process usually follows these steps:
- Start with a concept sketch—front, side, and back.
- Break the character into shapes—head, body, limbs, ears, tail, accessories.
- Flatten each shape into paper patterns—consider curves, rotation, and seam direction.
- Add seam allowance—normally 3–5 mm depending on fabric.
- Label grain direction—pile direction affects final appearance.
Good pattern design combines art and engineering. Round shapes need multiple pieces to look smooth. Sharp corners require adjustments to avoid tension. Long limbs need internal reinforcement.
Table 2 – Key pattern design elements for stuffed animals
| Pattern Element | Explanation | Impact on Finished Toy |
|---|---|---|
| Shape breakdown | Dividing toy into core pieces | Ensures proportion and stability |
| Seam allowance | Extra space for sewing | Prevents shrinking or distortion |
| Grain direction | Direction of plush pile | Controls face look and uniformity |
| Curved lines | Smooth head and body shaping | Creates professional soft contours |
| Pattern labels | Notes for assembly | Reduces sewing mistakes |
Professional pattern design is what makes the difference between a toy that looks “cute” versus one that looks unbalanced or distorted.
What sewing and assembly techniques ensure durability and clean finish?
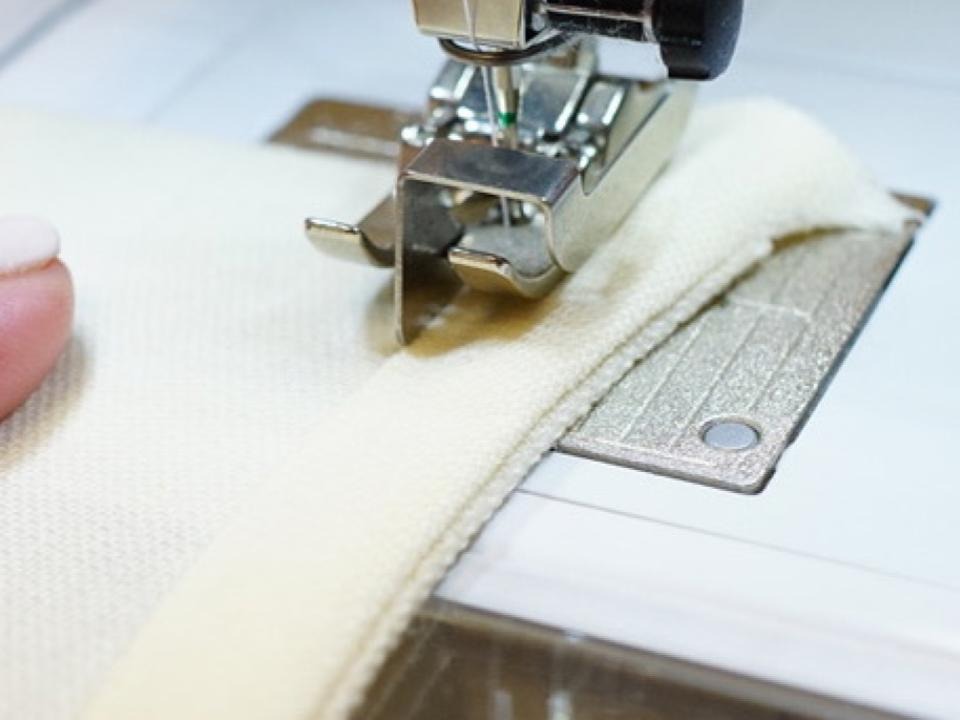
Strong construction is essential. Even a very soft toy becomes unsafe if seams break or accessories fall off. In our factory, we follow sewing standards that ensure each toy passes strength testing.
Common sewing techniques include:
- Backstitch or lockstitch for durability
- Double stitching at stress points (neck, limb joints)
- Hidden ladder stitch to close openings after stuffing
- Top-stitching for decorative or reinforced areas
Assembly steps typically include:
- Sew small pieces first (ears, tail, accessories).
- Attach facial embroidery before closing the head panel.
- Join body panels while maintaining symmetry.
- Add limbs and additional parts.
- Keep a stuffing opening for later.
Table 3 – Sewing techniques and their functional benefits
| Sewing Method | Description | Benefit |
|---|---|---|
| Lockstitch | Looping thread technique | High seam strength |
| Double stitch | Two reinforced rows | Prevents tearing during play |
| Ladder stitch | Invisible hand-closing method | Clean finish on final seam |
| Edge stitching | Stitching close to edge | Enhances shape stability |
| Internal reinforcement | Extra fabric or stitching | Supports limbs and stress zones |
These techniques are essential for toys sold in global markets, helping them pass EN71 or ASTM seam strength tests.
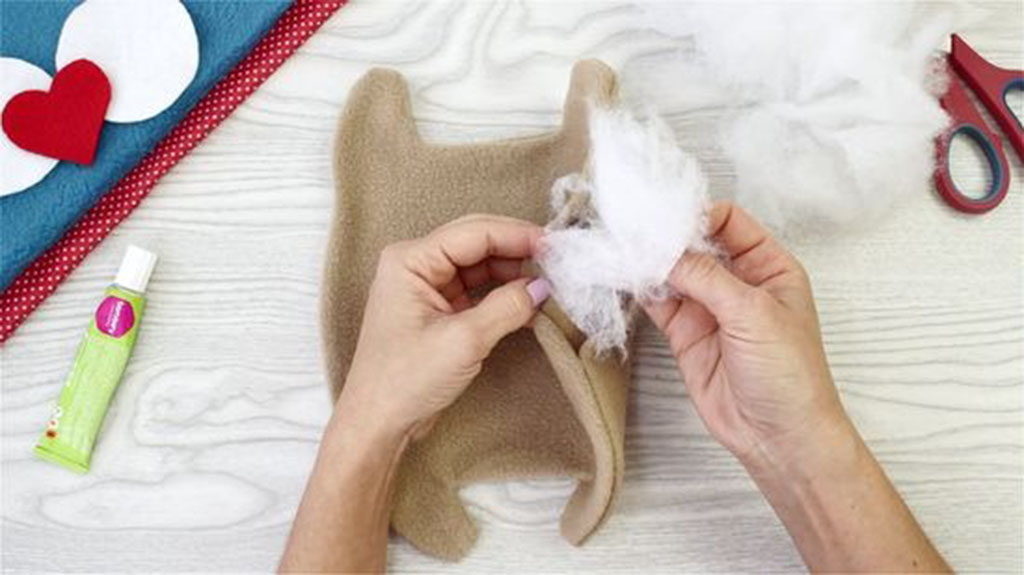
How is stuffing applied to achieve balanced softness and structure?
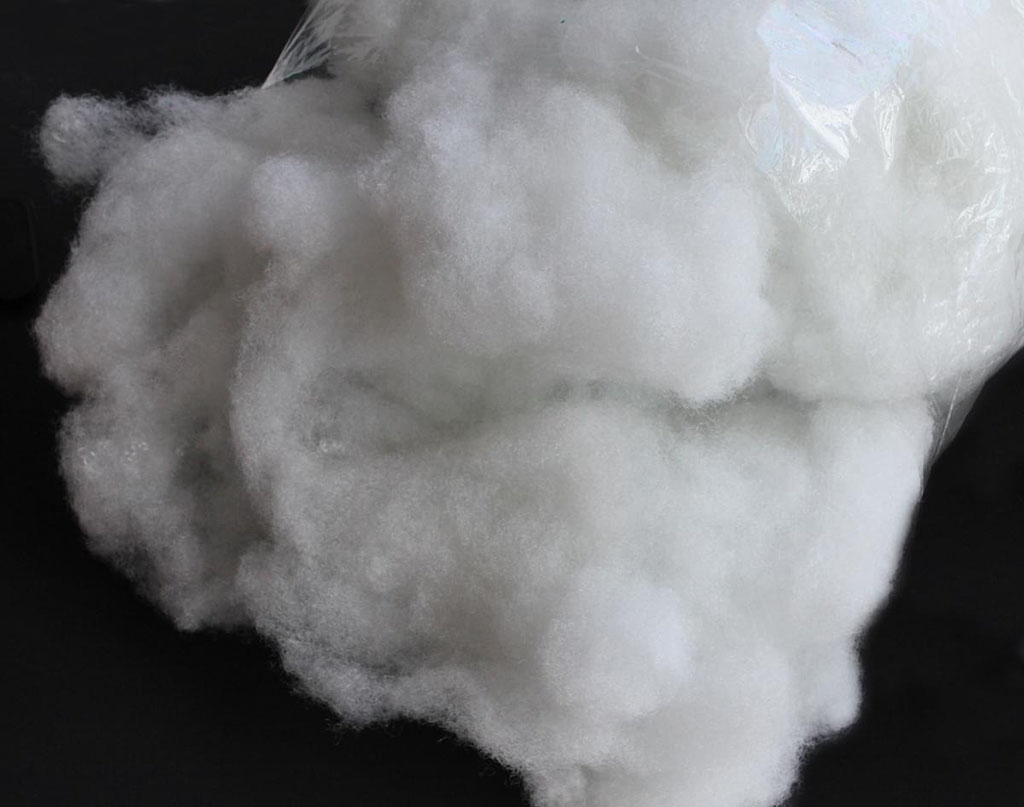
Stuffing determines how a toy feels in the hands of your customer. Too much stuffing makes the toy stiff. Too little makes it floppy and shapeless. At Kinwin, we aim for balanced softness that suits the design and age group.
Stuffing steps:
- Start with small areas—ears, limbs, snout.
- Fill the body gradually—avoid big lumps.
- Maintain symmetry—check sides constantly.
- Shape the toy while stuffing—massage the fiber into place.
- Add weighted pouches (if needed) before closing.
- Hand-sew the final seam using ladder stitch.
Key considerations:
- Soft toys need even fiber distribution.
- Larger plush may use inner pockets to control shape.
- Weighted plush require secure inner bags to prevent choking hazards.
Table 4 – Stuffing materials and structural considerations
| Stuffing Type | Features | Ideal Use Cases |
|---|---|---|
| Standard polyester fiberfill | Soft, lightweight | Main stuffing for all ages |
| High-resilience stuffing | Better recovery and bounce | Premium plush lines |
| Weighted pellets in pouches | Provides grounding weight | Therapy toys, sitting animals |
| Recycled fiberfill | Eco-friendly | Sustainable product lines |
| Foam inserts | For specific shape stability | Mascots and structured plush |
The goal is a plush toy that feels natural in the arms—not overly stiff and not too loose.
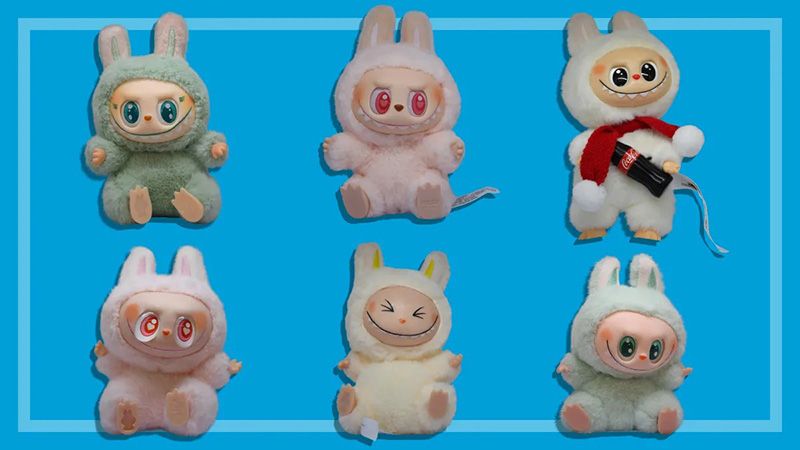
How are facial features and accessories safely added to stuffed animals?
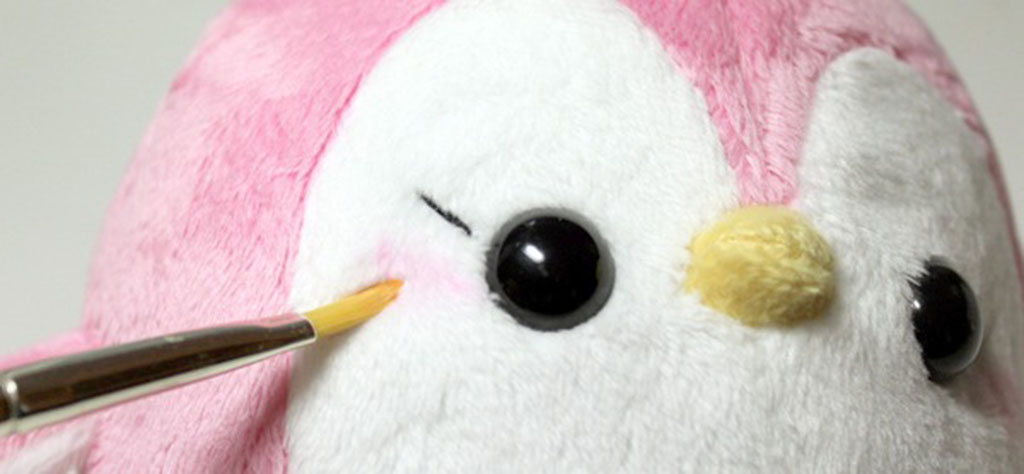
The face is the emotional core of a stuffed animal. A small change in eye position can completely transform its personality. But more importantly, faces must be safe, especially for children.
There are two main approaches:
1. Embroidery (Most Recommended)
- Safe for infants and toddlers
- No small parts that could detach
- Allows precise expression control
2. Safety Eyes / Noses
- Must meet pull-test strength
- Only used for toys rated 3+ years
- Installed with locking washers before stuffing
Accessories (bows, clothes, hats, patches) must also be:
- Sewn firmly
- Not too small for young age groups
- Free from sharp edges or metal pieces
Table 5 – Safe methods for faces and accessories
| Feature Type | Method | Safety Notes |
|---|---|---|
| Eyes (baby toys) | Embroidery | No risk of detachment |
| Eyes (3+ toys) | Safety eyes with lock washer | Must pass pull test |
| Noses | Embroidery or secure plastic | Check age rating |
| Mouth | Embroidery | Clean, durable expression |
| Accessories | Sewn seams, reinforced stitching | Avoid choking hazards |
| Clothing | Velcro or sewn-on garments | No small buttons for young kids |
Professional plush manufacturers always test face and accessory security during quality checks.
What quality and safety checks complete a professionally made plush toy?
Once the toy is finished, it undergoes strict quality controls to ensure it meets global standards. High-quality plush toys must be durable, clean, and safe for the target age group.
Key QC steps include:
- Seam strength testing
- Needle detection to prevent metal contamination
- Symmetry inspection (face, limbs, shape)
- Stuffing uniformity check
- Color fastness testing (saliva, sweat, rubbing)
- Trim strength testing for eyes, noses, accessories
- Compliance checks for EN71, ASTM, CPSIA
Table 6 – Final quality and safety checklist
| Check Type | What It Tests | Purpose |
|---|---|---|
| Seam strength | Pull test on seams | Ensures durability |
| Needle detection | Metal contamination | Protects consumer safety |
| Visual check | Shape, face symmetry, stitching | Ensures clean appearance |
| Stuffing check | Even distribution | Improves comfort and shape |
| Chemical testing | EN71-3, CPSIA | Ensures safe materials |
| Accessory security | Pull test | Prevents choking hazards |
These steps ensure consistent, reliable plush toys ready for premium retail channels.
Conclusion
Creating a stuffed animal is a full craft—from material selection and pattern design to sewing, stuffing, finishing, and safety testing. Quality plush toys require skill and care, but when done right, they deliver long-term emotional and commercial value. At Kinwin, my team and I help global buyers develop safe, soft, durable stuffed animals with consistent craftsmanship and strong safety compliance. If you’re planning your next plush project or exploring OEM/ODM options, feel free to email me at [email protected] or visit kinwintoys.com to see how our factory can support your success.