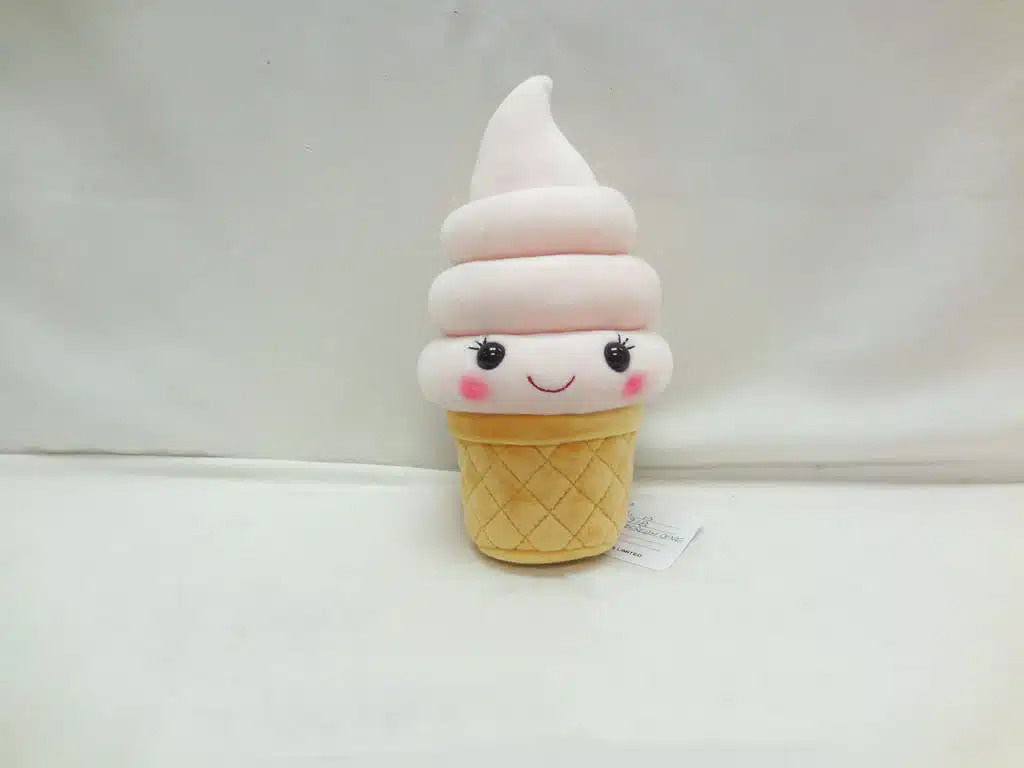
Turning a sketch into a real plushie is one of the most satisfying parts of the toy business. When you follow a clear, step-by-step process, you can move from idea to sample, and finally to a product that customers love to hug and display.
To make a plushie, you first choose safe fabrics and stuffing, then design and test a simple pattern. After that, you cut fabric pieces, sew and assemble the body, add stuffing in balanced layers, and attach facial details and accessories. Finally, you finish seams, remove loose threads, and run basic quality checks to be sure the plushie is soft, safe, and ready for your market.
Once you understand the full process, you can work more confidently with a factory partner or create cleaner handmade samples to present to your buyers.
What materials and tools are essential for making a plushie?
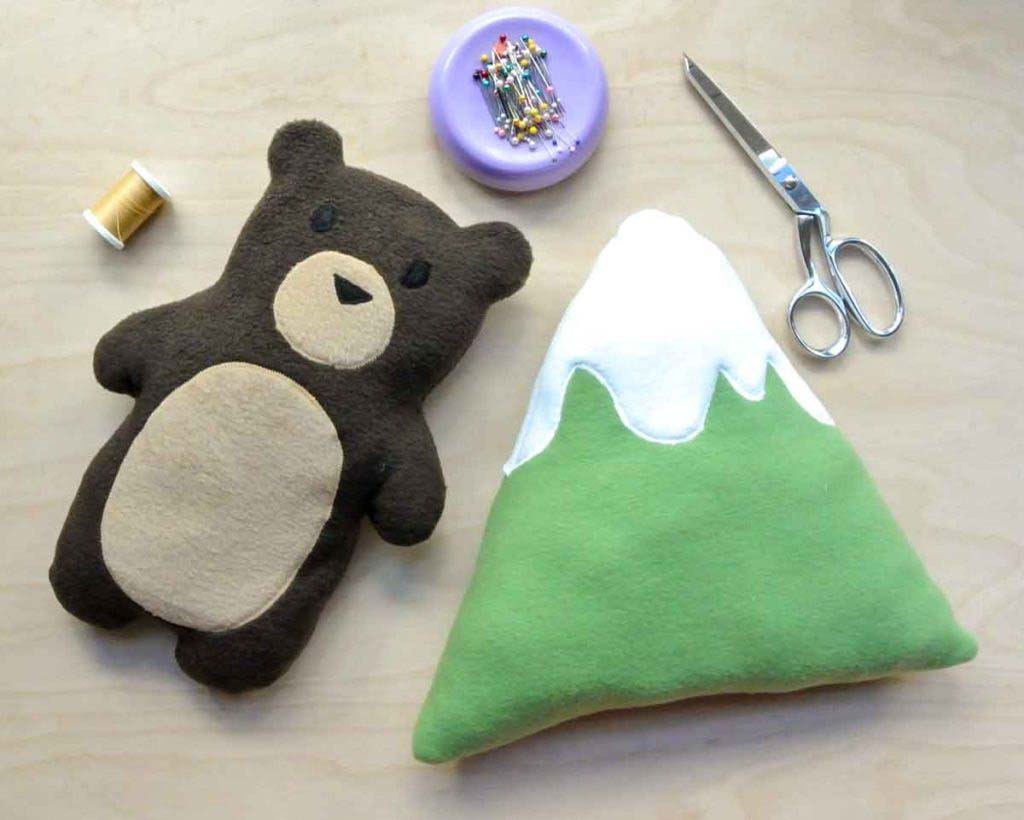
The materials and tools you choose will decide how your plushie looks, feels, and survives daily use. Good choices make sewing easier, improve safety, and reduce problems later in mass production. Even if you are just making a prototype, it is smart to work with materials that can be scaled in a real factory.
For most plushies, you need a soft outer fabric (such as minky or short plush), safe stuffing (usually polyester fiberfill), thread, and basic sewing tools like scissors, pins, and needles. Extra items like safety eyes, embroidery thread, felt pieces, and fabric markers help with facial details. Using CE- and ASTM-ready materials and strong polyester thread will make it easier to move from a handmade sample to a factory-ready design.
Here is a simple overview of common materials and tools:
| Category | Item / Material | Purpose | Notes for brands |
|---|---|---|---|
| Main fabric | Minky, velboa, short plush | Outer “skin” of the plushie | Choose pile length to match age group |
| Inner filling | Polyester fiberfill (PP cotton) | Soft, resilient stuffing | Standard for most export plush |
| Structure | Foam sheet, cardboard template | Support in flat parts (optional) | Avoid cardboard for washable products |
| Details | Felt, embroidery thread, safety eyes | Facial features and accents | Safety eyes only for suitable age groups |
| Sewing tools | Scissors, pins, needles, seam ripper | Cutting, holding, sewing, fixing | Keep blades sharp for clean cuts |
| Machine | Basic sewing machine (optional) | Faster seams and strong joints | Use polyester thread for durability |
Choosing fabric with your customer in mind
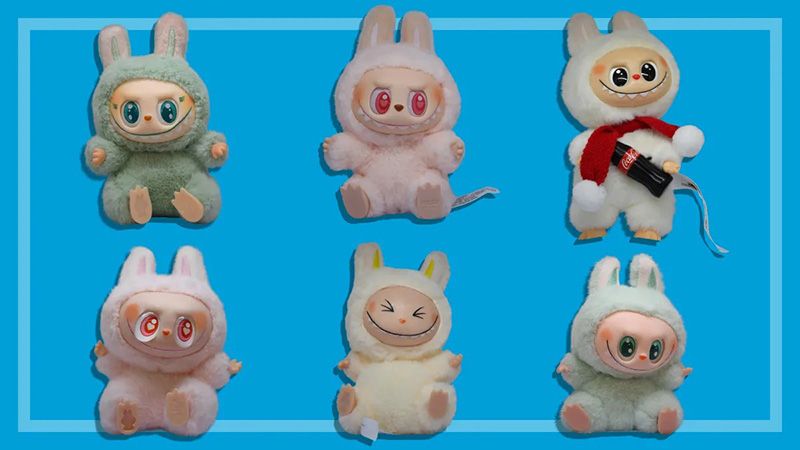
Your fabric decides the first touch experience. For baby and toddler products, very soft, low-pile fabrics like minky and short plush are popular. For more detailed or “anime-style” plush, slightly stiffer short pile fabric can show shapes and seams more clearly.
The fabric color and pattern also affect your brand story. Solid pastels feel gentle and safe, while bright contrasting colors can fit gaming, anime, and gift markets. When planning bulk production, it is wise to choose fabrics that are easy to source in stable quality and color.
Why high-quality stuffing and thread matter
Stuffing and thread are small cost items, but they influence quality a lot. Cheap stuffing can clump, feel rough, or trap dust. High-quality polyester fiberfill is light, clean, and easy to distribute inside small parts like ears and tails. Strong polyester thread helps seams survive hugs, pulls, and washes.
When you select materials carefully at the beginning, your plushie is already much closer to factory-level quality, even if you sew it by hand.
How do you design and draft patterns for accurate plushie shaping?
A plushie pattern is like a map that tells each fabric piece how to curve and join. A cute design can look very strange if the pattern is not correct. When you draft patterns carefully, you control the final shape, balance, and personality of the plushie.
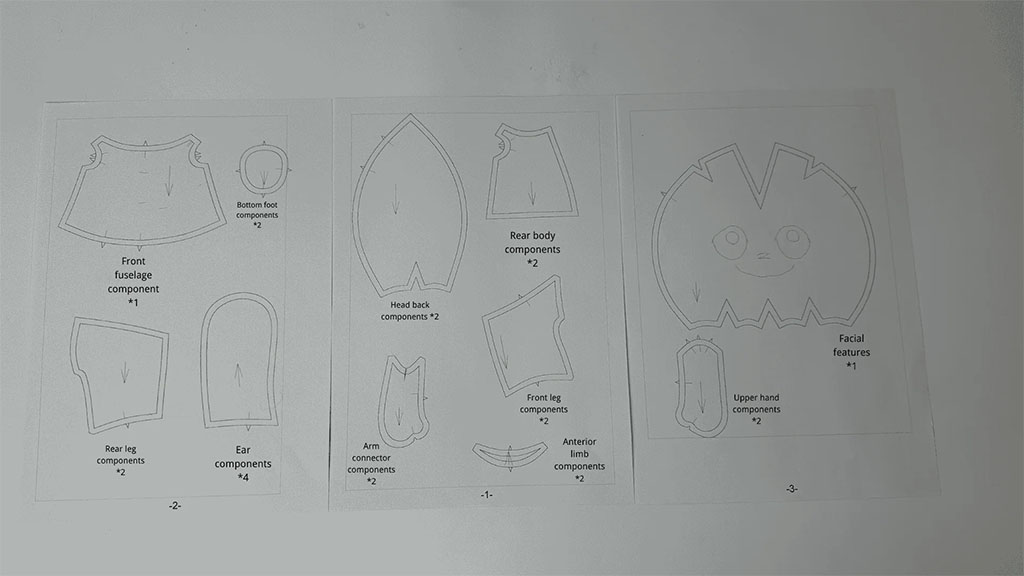
To design and draft a plushie pattern, you start from a simple front and side sketch, then break the body into basic shapes like circles, ovals, and tubes. You translate these shapes into flat pattern pieces with seam allowance added. After cutting and sewing a quick test sample in cheap fabric, you adjust curves and sizes until the plushie shape matches your design. This pattern can then be used for your main fabric and for future factory production.
Here is how different pattern choices influence the final plush:
| Pattern aspect | Design choice | Effect on final plushie | Typical usage |
|---|---|---|---|
| Body style | 2D flat vs. 3D rounded | Flatter vs. more volume | Pillows vs. full plush animals |
| Panel count | Few large vs. many small pieces | Simpler vs. more detailed shape | Budget toys vs. high-detail characters |
| Seam placement | Side seams vs. center seams | Where lines show on the body | Side seams for cleaner front view |
| Seam allowance width | Narrow vs. wide | Flexibility and strength | 0.5–0.7 cm common for small plush |
| Ears / limbs position | Higher vs. lower, front vs. side | Expression and character “personality” | Cute baby style vs. cool or long-limbed |
From sketch to pattern in simple steps
Start with a clear concept: front view and side view of the plushie. This does not have to be perfect art; it just needs to show the proportions. Decide head-to-body ratio, limb length, and where the face will sit.
Then, imagine the plushie as a 3D shape made from soft “panels.” For example:
- A round head may use two or four panels.
- A simple body might be two mirrored shapes.
- Arms and legs can be tubes or flat shapes.
Trace these ideas on paper, then add seam allowance (usually 0.5–1 cm) around each piece. Label every part clearly: “Head A, Head B, Body front, Body back, Ear inside, Ear outside,” and mark notches where parts should meet.
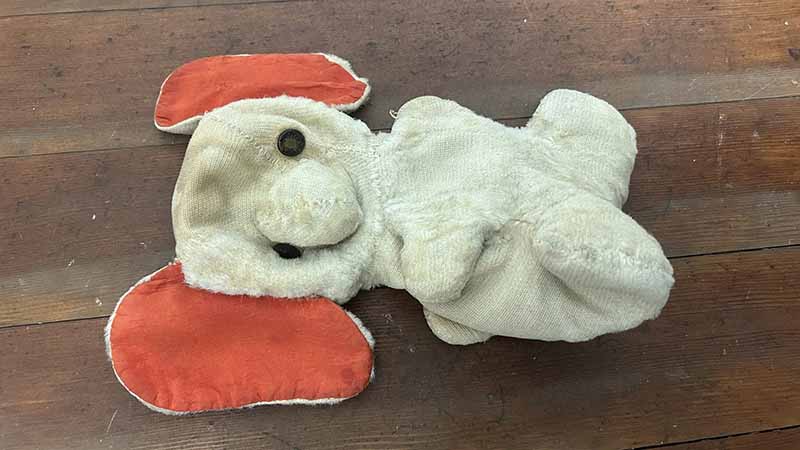
Testing and correcting the pattern
Before you cut expensive plush fabric, test your pattern in plain cotton or any cheap cloth. Sew quickly, turn right side out, and stuff loosely. Look at the shape from front, side, and back.
Ask yourself:
- Does the head feel too big or too small?
- Are the legs too long or too short?
- Does the plush tilt forward or backward?
Mark problem areas directly on the test sample, then adjust the paper pattern. This “mock-up loop” is exactly how factories like ours refine OEM and ODM samples before mass production.
When your test plush looks good, your pattern is ready for real fabric and future larger orders.
What sewing and assembly techniques ensure clean, durable construction?
Clean seams and strong construction are what separate a professional plushie from a rough hobby project. Even with a good pattern and fabric, weak stitches or messy assembly can cause gaps, twisted limbs, and customer complaints.
To sew and assemble a plushie with durable construction, you usually sew most seams from the inside with a sewing machine or strong hand stitches, leaving one or more openings for turning and stuffing. Use appropriate seam types for different areas, reinforce stress points like the base of arms and legs, and attach small parts before closing the main body where needed. Pressing seams lightly and trimming bulk at corners also help the plushie look smooth and clean.
Common seam types and where to use them:
| Seam type | Description | Best used for | Durability level |
|---|---|---|---|
| Straight seam | Simple line of stitches | Most body seams, limbs | High when stitched with polyester thread |
| Backstitch (hand) | Overlapping hand stitch | Small parts, tight curves | Very strong when done correctly |
| Zigzag seam | Side-to-side stitch | Stretch fabrics, edge finishing | Good elasticity |
| Ladder stitch | Invisible closing hand stitch | Final closing after stuffing | Discreet and secure |
| Topstitch | Stitching visible from outside | Decorative lines, securing edges | Adds strength and detail |
Building the plush from inside out
Most assembly starts with sewing small parts first:
- Sew ears, tails, and small decorative parts and turn them right side out.
- Attach them between head or body panels at the right positions.
- Sew head and body panels, leaving an opening at a less visible place (back or bottom).
- Join head and body if they are separate parts.
Always pin or clip parts in place before sewing. This prevents ears, arms, or tails from shifting and ending up uneven.
Reinforcing key stress points
Areas like underarms, neck, and bottom seams face more pulling and pressure. Adding a few extra backstitches or a second line of stitching in these places can greatly improve durability. In factory production, these reinforcement rules are written into sewing instructions so each worker follows the same standard.
Trim excess fabric at corners and curves without cutting into the seam. This reduces bulk and helps the plush look smooth when turned and stuffed. Small steps like this create a more professional finish, even at a small scale.
How is stuffing applied to achieve balanced softness and structure?
Stuffing is the part that turns flat fabric into a 3D character. Poor stuffing can ruin a good pattern, while thoughtful stuffing can make a simple design feel premium. Balanced filling gives support where needed and softness where comfort matters most.
To apply stuffing correctly, you add fiberfill (or other filling) in small portions, starting from the farthest areas, such as the tips of legs, arms, and ears, and working back toward the body opening. Use a chopstick or stuffing tool to push filling gently into corners, and check shape from all angles as you go. Adjust density for each area so the plushie can stand, sit, or hug well without feeling too hard.
Here is a basic stuffing plan you can adapt:
| Plushie zone | Recommended stuffing level | Main goal | Notes |
|---|---|---|---|
| Head | Medium–high | Keep shape, support facial details | Avoid overfilling cheeks and nose |
| Body center | Medium | Balanced hug feel | Slightly softer than head |
| Arms and legs | Low–medium | Easy to move and pose | Do not overfill small limbs |
| Ears, tail | Low | Light, flexible movement | Small amount to avoid drooping too much |
| Base / bottom area | Medium–high (if sitting) | Stability, sitting pose | Can add pellets in an inner pouch for weight |
Working in layers, not clumps
Always tear stuffing into small pieces before inserting. Large clumps create hard balls and uneven surfaces. Begin with limbs and smaller parts, then the head, and finally the body. After filling each section, massage the outside gently with your hands to spread the stuffing.
Check the plush from different sides:
- Does it lean or tilt?
- Are the shoulders even?
- Is one leg thicker than the other?
Add or remove small amounts until you see a balanced silhouette.
Combining stuffing types for special effects
In more advanced designs, you can mix stuffing types. For example, you can put plastic pellets in an inner pouch inside the body to add weight, while still using soft fiberfill around it. This gives a “weighted” feel without creating a choking risk if the outer seam fails.
For long series production, your manufacturer can standardize stuffing weight per size and per zone. That way, every piece feels the same when your customers pick it up.
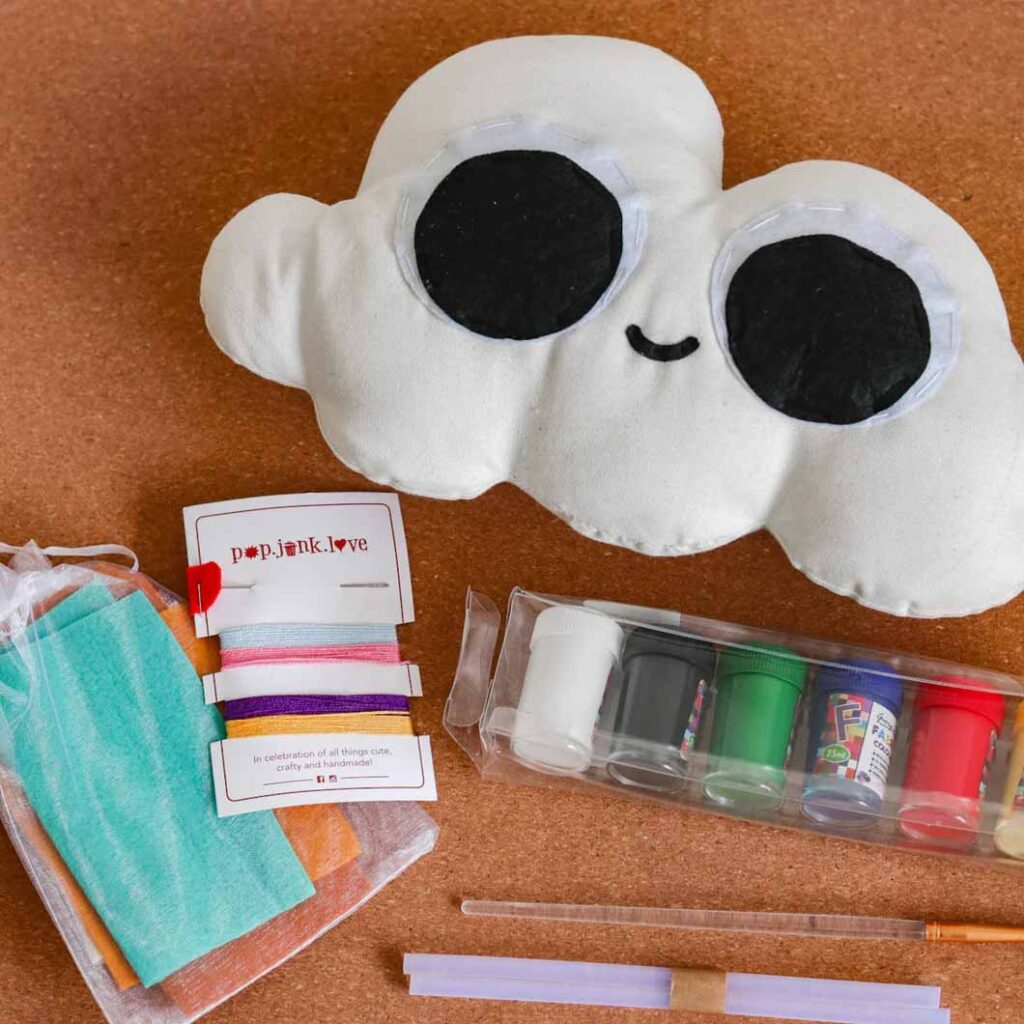
How do you add facial details and accessories safely and securely?
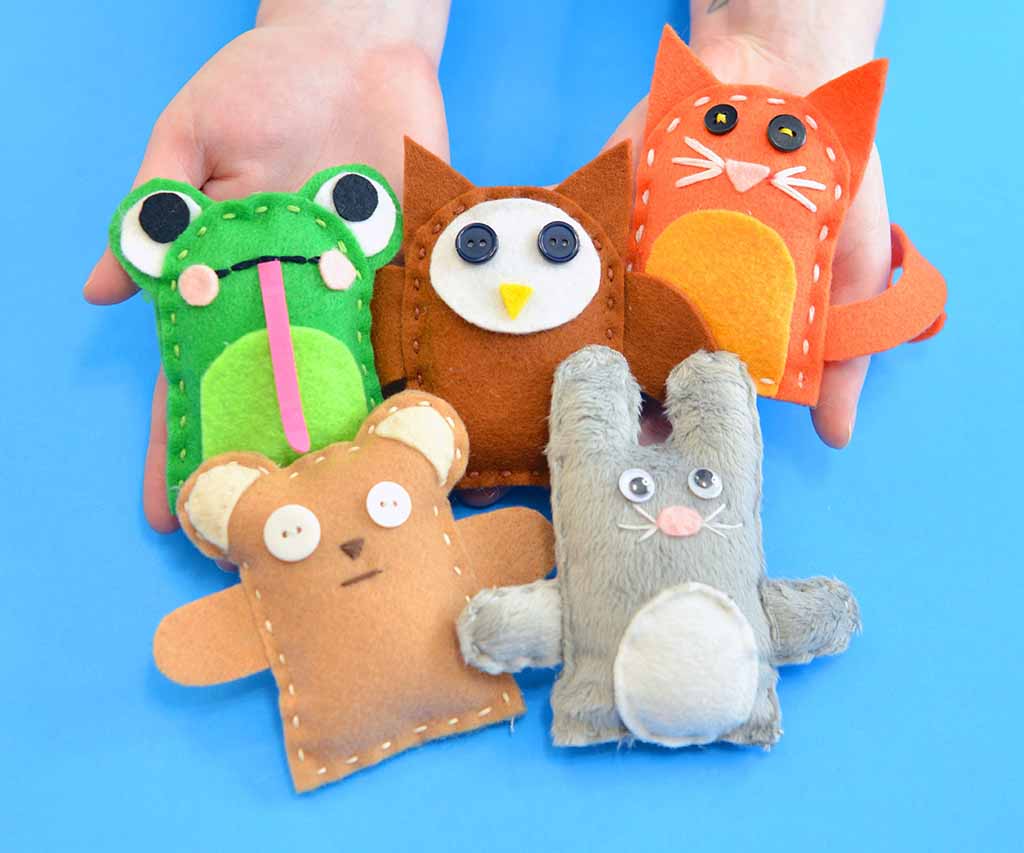
The face is the soul of the plushie. Small changes in eye position, mouth shape, or blush details can completely change the expression. At the same time, any parts on the face and body must be safe, especially for young children.
To add facial details safely, you can use embroidery, printed fabric, felt appliqué, or safety eyes and noses that meet relevant standards. For children under three, flat embroidered or printed features are usually safest. For older users, high-quality safety eyes and small sewn accessories are acceptable when firmly attached and tested. Always secure each detail with strong stitching or correct safety backing and avoid small parts that could detach.
Here is a quick comparison of common facial detail methods:
| Method | Look and feel | Safety level (for young kids) | When to use |
|---|---|---|---|
| Embroidery | Flat, durable, premium feel | Very high | Baby toys, premium brands |
| Printed fabric | Smooth, detailed graphics | High (if print is safe) | Character faces, large color areas |
| Felt appliqué | Soft, slightly raised | Medium–high | Extra detail, must be well sewn |
| Safety eyes / nose | Shiny, 3D look | Medium–high with good backing | Older children, collectibles |
| Plastic buttons | Hard, obvious, various colors | Low for young kids | Only for decor or adult items |
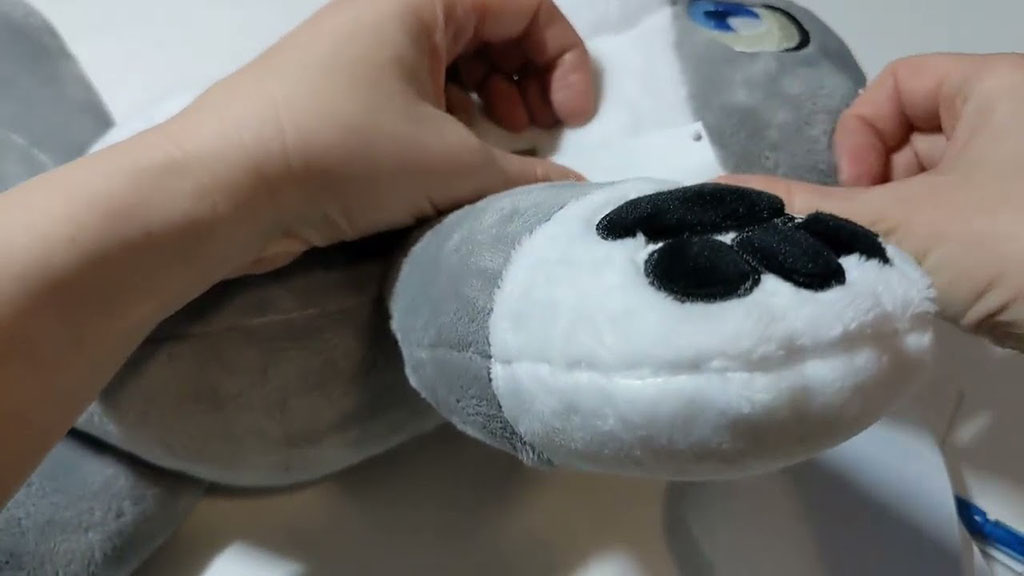
Positioning and testing the face
Before sewing or fixing anything, mark eye and mouth positions with a fabric pen or pins. Check the plush from the front and slightly from below (a child’s common angle). Tiny changes in spacing can change the mood from cute to strange.
After attaching eyes, nose, or felt pieces, try to pull them gently to see if they move. Safety eyes should have a strong backing inside the head fabric. Felt pieces should be stitched around the edges, not just glued, for children’s products.
Accessories that add value without risking safety
Accessories like scarves, hats, bags, and clothing can support your brand story and add perceived value. However, they should not create hazards. For children’s plush:
- Avoid long cords or ribbons.
- Sew small parts in place instead of leaving them loose.
- Use soft, non-shedding materials.
In a factory environment, these points are all written into the technical file and safety checklist. For your own prototypes, follow the same mindset so that when the design scales up, safety is already built in.
What finishing steps and quality checks ensure a polished, professional plushie?
Finishing is where your plushie moves from “homemade” to “brand-ready.” Even small actions like trimming threads and brushing the fabric make a big difference to first impressions and online reviews.
After sewing and stuffing, you should close the final opening with a ladder stitch, trim all loose threads, and smooth the surface of the plushie. Then check seams, shape, facial alignment, and attachment strength. A quick visual and “hug test” ensures the plushie feels comfortable, looks balanced, and does not have sharp or loose parts. This finishing routine becomes the last filter before you present the sample to your team, buyers, or factory.
You can use a simple checklist like this:
| Checkpoint | How to test | Pass criteria |
|---|---|---|
| Seam quality | Inspect and gently pull along seams | No gaps, no exposed stuffing |
| Overall shape | View from front, side, and back | Symmetry, no strange bumps or dents |
| Facial alignment | Look straight at the face | Eyes even, mouth centered, expression soft |
| Surface cleanliness | Visual check and light brushing | No stains, no loose fibers or fuzz balls |
| Attachments and details | Gently pull accessories and features | Nothing moves or feels loose |
| Comfort / hug test | Squeeze and hold in both hands | Feels soft, not overly hard or flat |
Presenting your plushie to the market or factory
Once your plushie passes these checks, it is ready to be photographed, shown to buyers, or sent to a manufacturer for quotation and scaling. Good finishing makes it easier for factories to understand your design intent and match it on the production line.
If you work with a partner like Kinwin, your finished sample, pattern, and material notes become the starting point for a more detailed technical pack. From there, the design can be adjusted to meet safety standards, cost targets, and production efficiency, so you get a plushie that looks like your sample but is ready for mass production and global export.
Conclusion
A professional plushie starts with smart material choices, clear patterns, clean sewing, balanced stuffing, and safe details. When each step is controlled, your final toy becomes soft, stable, and ready for real customers—not just photos. At Kinwin, my team helps global buyers turn rough concepts into factory-ready plush designs, then scale them into CE- and ASTM-compliant products that perform well in competitive markets.
If you plan to develop a new plush line or upgrade an existing design, we can support you from pattern optimization to full OEM/ODM production. You are welcome to contact me at [email protected] or visit kinwintoys.com to discuss your next plush project and explore how our factory can help you build long-term success.