Skip to content
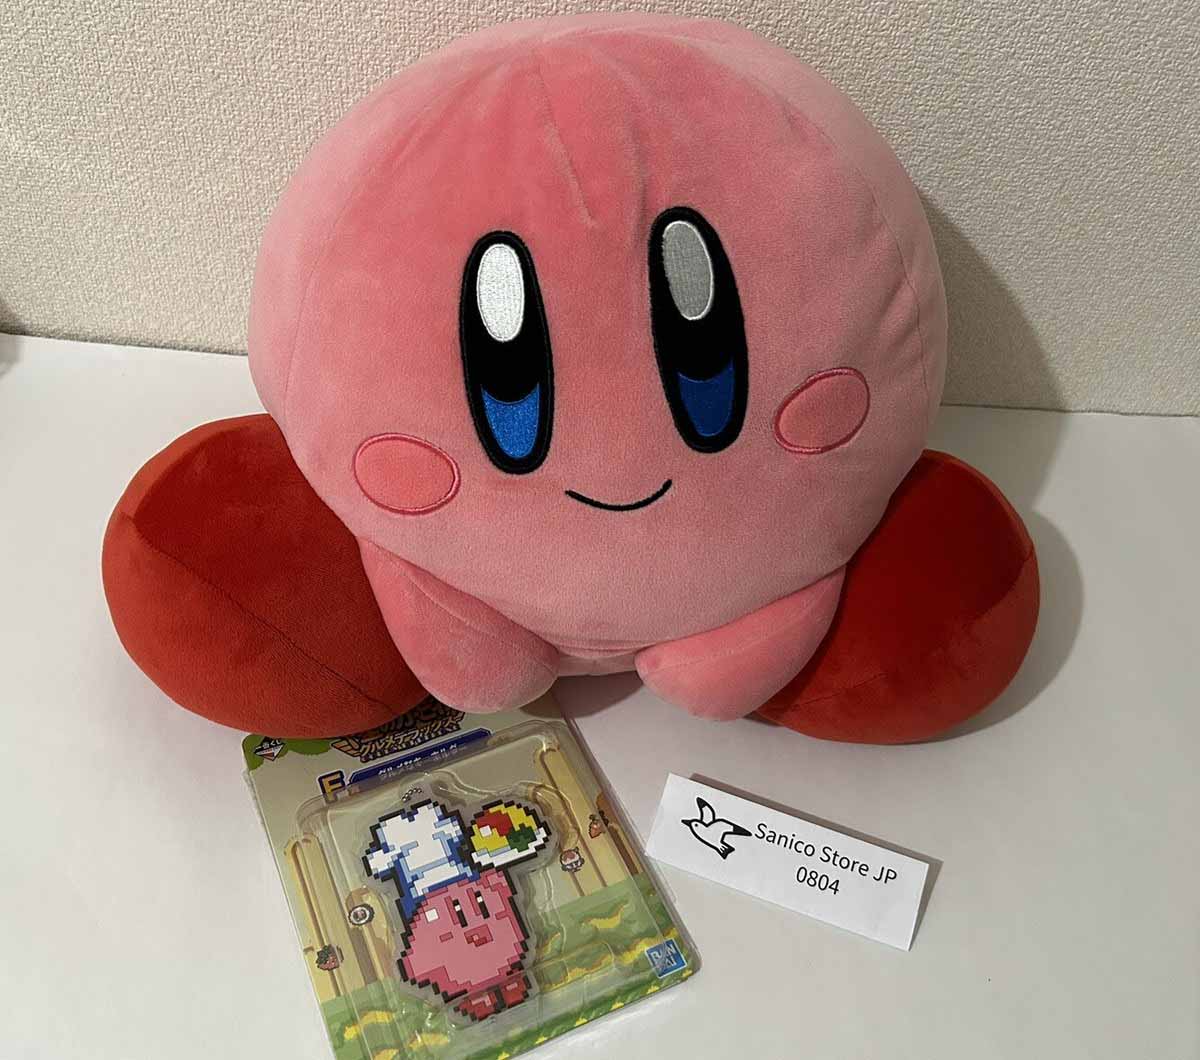
 Developing a custom plush toy always begins with the sample stage.
This is where the design concept becomes a physical product.
It is also the stage where most problems are discovered—such as proportion differences, fabric mismatches, or embroidery adjustments.
For many buyers, the goal is simple: make the sample look exactly like the design.
But achieving high sample accuracy requires careful preparation before development even begins.
When design information, materials, and technical details are clearly defined early, manufacturers can create samples that match expectations much more closely.
What Information Should Be Finalized Before Sample Development Begins?
The accuracy of a plush toy sample is largely determined before the first piece of fabric is cut.
If important information is unclear, pattern makers must make assumptions, which can lead to differences between the design and the sample.
Preparing clear development information helps reduce these risks.
Have Size, Structure, and Pose Been Clearly Defined?
Start with the basic structural details of the toy.
Key information should include:
- final toy height or sitting size
- standing or sitting pose
- arm and leg positions
- tail or accessory placement
For example:
- a 30 cm sitting plush will require different body proportions than a 30 cm standing plush
- limb angles may affect balance and appearance
- tail placement may influence seam design
Professional manufacturers—such as Kinwin—usually review these structural details with clients before starting pattern development.
Are Reference Images and Design Angles Provided?
Providing multiple reference angles helps ensure accuracy.
Ideally, the design package should include:
- front view
- side view
- back view
- close-ups of facial features
Without these references, pattern makers must interpret the design, which can lead to variations.
Clear visual guidance reduces misunderstandings during the sampling stage.
Pre-Sampling Information Checklist
| Information Category | Why It Matters |
|---|---|
| Toy size | Determines pattern scale |
| Pose and structure | Affects balance and shape |
| Reference angles | Prevents interpretation errors |
| Accessory placement | Impacts seam layout |
| Structural notes | Helps pattern makers plan construction |
How Clear and Production-Ready Should the Design Artwork Be?
A plush toy sample can only be as accurate as the design information provided.
Many sampling problems do not come from manufacturing mistakes—they come from unclear or incomplete design artwork.
When artwork is prepared with production in mind, pattern makers can translate it into a plush structure much more accurately.
Does the Artwork Show Clear Shapes and Proportions?
Illustrations created purely for visual presentation sometimes include:
- overlapping elements
- unclear body edges
- inconsistent proportions
- decorative lines that do not represent structure
For sampling, artwork should clearly show:
- the boundaries of each body part
- the relative size of the head, body, and limbs
- the placement of facial features
Factories experienced in custom plush development—such as Kinwin—often review artwork and suggest adjustments so the design can be translated into real plush panels.
Are Colors and Detail Placement Clearly Defined?
Color accuracy is another common source of confusion.
Design files should specify:
- exact color areas
- embroidery locations
- printed sections
- fabric type if known
Using color references (such as Pantone or HEX approximations) can help avoid misunderstandings.
Without clear color guidance, factories may choose the closest available fabric, which may look different from the intended design.
Artwork Clarity Evaluation Table
| Artwork Element | Clear Production Artwork | Risky Artwork |
|---|---|---|
| Body outlines | Clearly defined | Overlapping lines |
| Proportions | Consistent | Stylized or unclear |
| Color areas | Marked precisely | Approximate |
| Facial feature placement | Measured | Visually estimated |
| Detail notes | Documented | Missing |
How Do Pattern Making and Structural Planning Affect Accuracy?
Pattern making is the technical foundation of every plush toy.
Before a sample is sewn, technicians must convert the design into a set of fabric panels that will form the toy’s three-dimensional structure.
The accuracy of this step directly determines whether the final plush toy resembles the original concept.
Does the Pattern Reflect the Intended 3D Shape?
A good pattern is not just about cutting fabric—it is about engineering the final shape.
Pattern makers must consider:
- head curvature
- body balance
- limb placement
- seam positioning
For example:
- a round head may require several curved panels
- cheeks may need additional shaping seams
- the body must support the head’s weight
Manufacturers experienced in plush engineering—such as Kinwin—often refine the pattern multiple times during the sampling stage to improve accuracy.
Is Structural Stability Considered During Pattern Development?
Some designs look great in artwork but require structural adjustments in real products.
Examples include:
- thin necks that cannot support large heads
- narrow limbs that collapse after stuffing
- oversized accessories that affect balance
Pattern makers must sometimes adjust proportions slightly so the plush toy maintains its intended pose and durability.
These adjustments improve long-term product stability while keeping the design recognizable.
Pattern Development Accuracy Table
| Pattern Factor | Impact on Sample Accuracy |
|---|---|
| Panel layout | Determines overall shape |
| Seam placement | Creates curvature |
| Structural balance | Prevents collapse |
| Pattern refinement | Improves resemblance |
| Engineering review | Ensures manufacturability |
What Materials and Fabrics Should Be Confirmed Before Sampling?
Material selection has a major influence on how a plush toy sample looks and feels.
Even if the design and pattern are correct, choosing the wrong fabric can change the toy’s appearance significantly.
For this reason, material decisions should be discussed and confirmed before sampling begins.
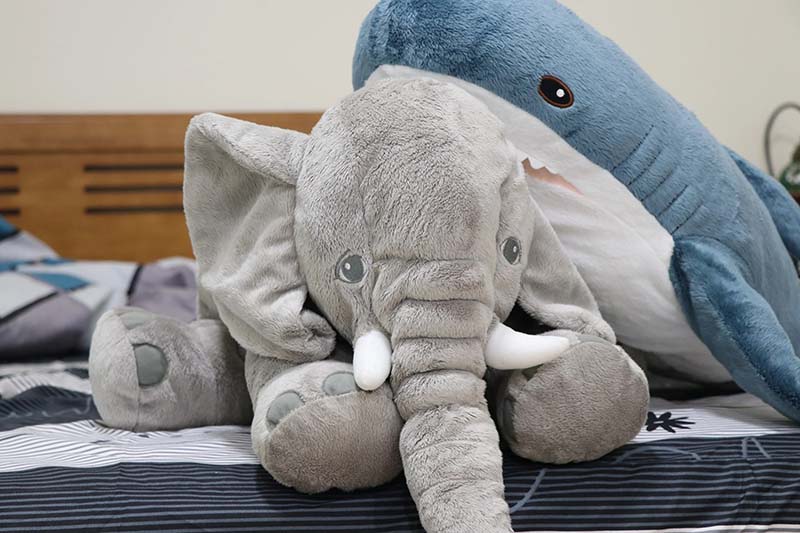
Does Fabric Type Affect the Toy’s Visual Style?
Different plush fabrics create very different visual effects.
Common plush materials include:
- Short plush (velboa or short pile): smoother surface, good for detailed embroidery
- Long plush: softer and fluffier appearance but less precise edges
- Minky fabric: very soft with a slightly stretchy feel
- Crystal super soft: commonly used for character plush toys
Each fabric behaves differently when sewn and stuffed.
Experienced manufacturers—such as Kinwin—often recommend specific fabrics based on the design style and required durability.
Are Fabric Colors and Textures Clearly Confirmed?
Color differences are another common reason why samples appear inaccurate.
Before sampling, it helps to confirm:
- fabric color swatches
- pile length
- texture feel
- accessory materials
When possible, manufacturers may provide physical swatches so clients can confirm colors before development.
This step helps ensure that the final plush toy reflects the intended visual identity.
Material Confirmation Table
| Material Factor | Why It Matters |
|---|---|
| Fabric type | Influences overall appearance |
| Pile length | Affects detail visibility |
| Fabric stretch | Can change proportions |
| Color matching | Ensures brand accuracy |
| Accessory materials | Impacts durability and style |
How Should Embroidery, Printing, and Facial Details Be Specified?
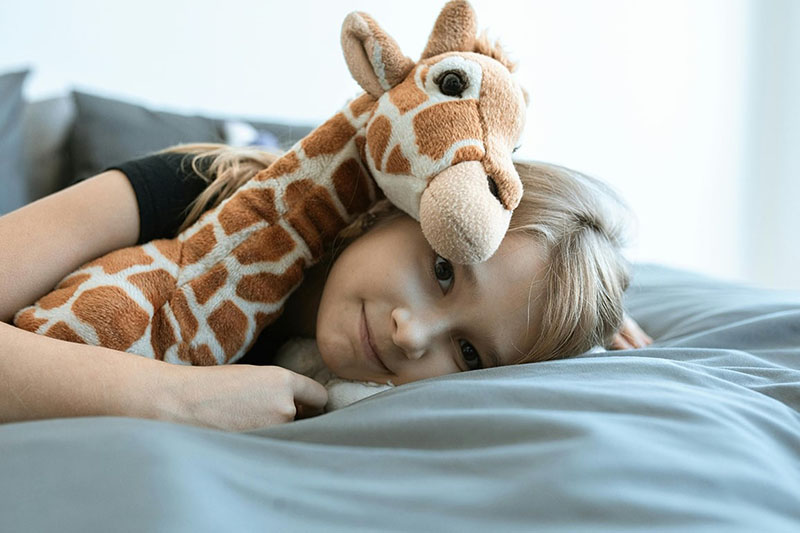
Facial details are often the most important visual elements of a plush toy.
Eyes, mouth, eyebrows, and decorative patterns define the character’s personality.
If these details are not clearly specified before sampling, even a well-constructed toy may look different from the intended design.
Are Embroidery Size and Placement Clearly Defined?
Embroidery is commonly used for plush toy facial features because it is durable and safe.
However, embroidery accuracy depends on clearly defined specifications.
Before sampling, it helps to confirm:
- the exact size of embroidered elements
- distance between facial features
- stitch density or style if necessary
- placement relative to seams
For example:
- the distance between eyes may be measured in millimeters
- the mouth position may be defined relative to the center seam
Manufacturers experienced in plush sampling—such as Kinwin—usually convert design artwork into embroidery files and review placement during sample development.
Should Printing Areas Be Separated From Structural Seams?
When printing is used for patterns or color blocks, alignment with sewing seams must be considered.
Because plush toys are assembled from multiple panels, printed artwork may need adjustment so that:
- patterns align across seams
- facial features remain centered
- color blocks do not distort when stuffed
Clear printing boundaries help ensure that the finished plush toy matches the intended design.
Facial Detail Specification Table
| Detail Factor | Why It Affects Sample Accuracy |
|---|---|
| Embroidery size | Controls visibility of facial features |
| Feature placement | Determines character expression |
| Stitch density | Affects clarity and durability |
| Printing alignment | Prevents pattern distortion |
| Panel seam relationship | Keeps features centered |
How Can Size, Proportions, and Stuffing Standards Be Controlled?
Even with a good design, clear materials, and well-made patterns, plush toy samples can still vary if size and stuffing standards are not controlled.
Because plush toys are filled soft products, small differences in stuffing pressure or sewing tolerance can slightly change their proportions.
To ensure sample accuracy, manufacturers usually define measurement standards and stuffing guidelines during development.
Are Key Measurements Defined for Each Body Part?
Instead of measuring only the overall height of the toy, it helps to define several reference measurements.
For example:
- head width
- body height
- arm length
- leg length
- distance between eyes
These measurements create a reference framework so that the plush toy can be evaluated objectively during sampling.
Professional plush manufacturers—such as Kinwin—often include these measurements in development sheets to maintain consistency between samples and mass production.
Is Stuffing Density Standardized?
Stuffing density affects both appearance and hand feel.
If stuffing is inconsistent, the toy may appear:
- wider or narrower
- rounder or flatter
- slightly asymmetrical
During sampling, technicians usually determine an appropriate stuffing level that balances:
- shape stability
- softness
- visual proportions
Once the correct density is confirmed, it becomes the reference standard for production.
Size and Stuffing Control Table
| Control Factor | Purpose |
|---|---|
| Reference measurements | Maintain consistent proportions |
| Panel dimension checks | Prevent pattern deviation |
| Stuffing density standard | Control shape and firmness |
| Symmetry inspection | Ensure balanced appearance |
| Sample measurement review | Confirm accuracy before production |
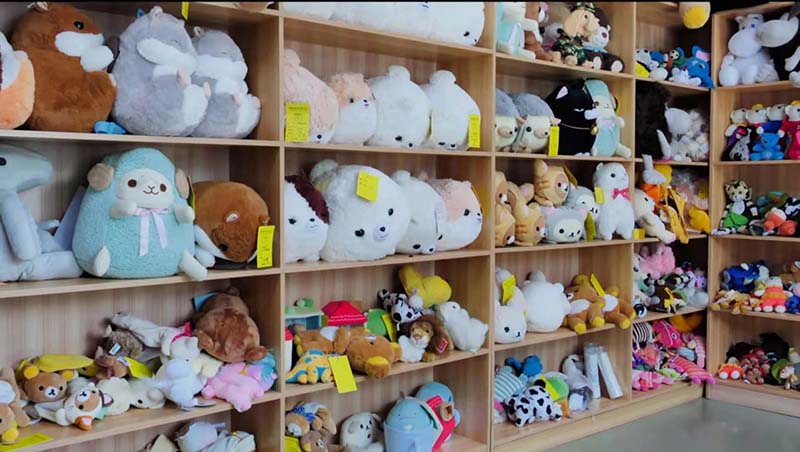
Conclusion
Achieving high plush toy sample accuracy is not a single step—it is the result of careful preparation and collaboration.
Accurate samples depend on several key factors:
- clearly defined design information
- production-ready artwork
- precise pattern engineering
- correct material selection
- well-specified embroidery and printing details
- controlled size and stuffing standards
When these elements are aligned early in the sampling stage, the final plush toy can match the original concept much more closely.
Experienced manufacturers—such as Kinwin—usually treat sampling as a structured development process, refining patterns, materials, and details until the toy accurately reflects the design.
With proper planning and communication, the sampling stage becomes not a source of frustration, but a powerful step toward creating a plush toy that looks great and performs reliably in production.