When people ask me, “How do you make a plush doll from start to finish?”, they are really asking two things:
- How do I turn a drawing into a real 3D doll?
- How do I make it look professional, not homemade or unsafe?
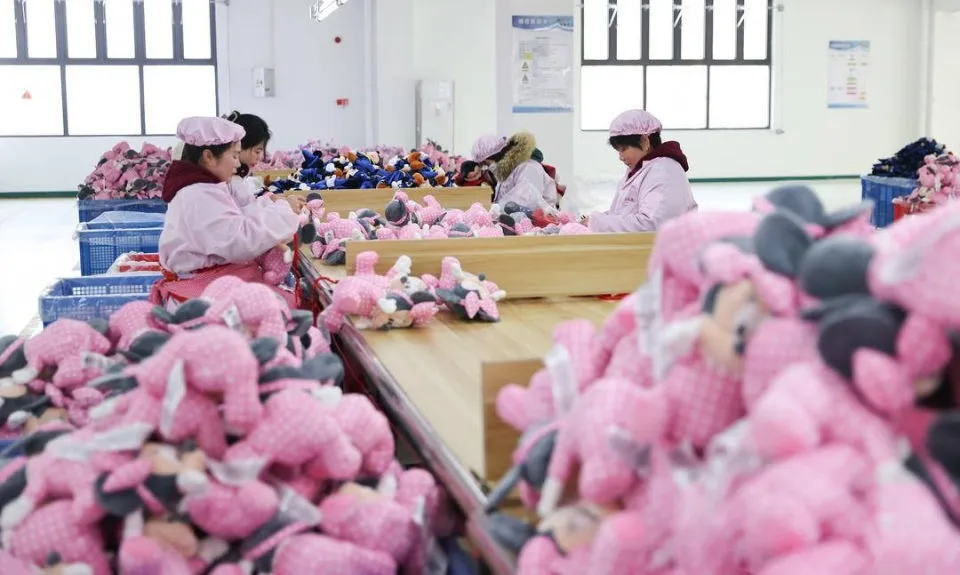
I’m Amanda from Kinwin, a plush toy manufacturer in China. Every day, my team takes sketches from brands and turns them into safe, soft, durable plush dolls for global markets. In this guide, I’ll walk you through the full process in simple English, from materials and patterns to sewing, stuffing, details, and quality checks.
Whether you are a DIY maker or a buyer who wants to understand how factories work, this guide will help you see each step clearly and make better decisions for your own plush doll projects.
What materials and tools are required for making a plush doll?
A good plush doll starts with the right materials and tools. If you choose weak fabric, poor stuffing, or the wrong accessories, it is hard to fix later. If you choose wisely at the beginning, sewing becomes easier, the doll feels better, and safety is easier to control.
You can think in three layers:
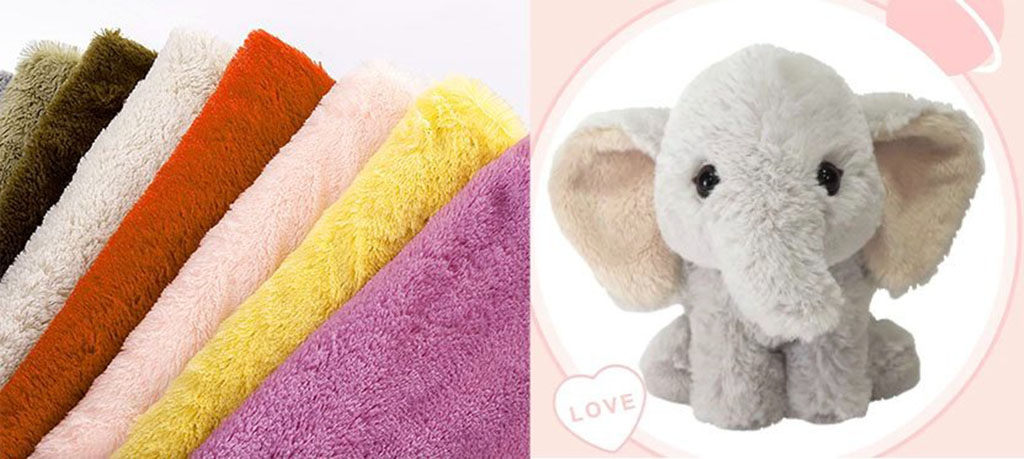
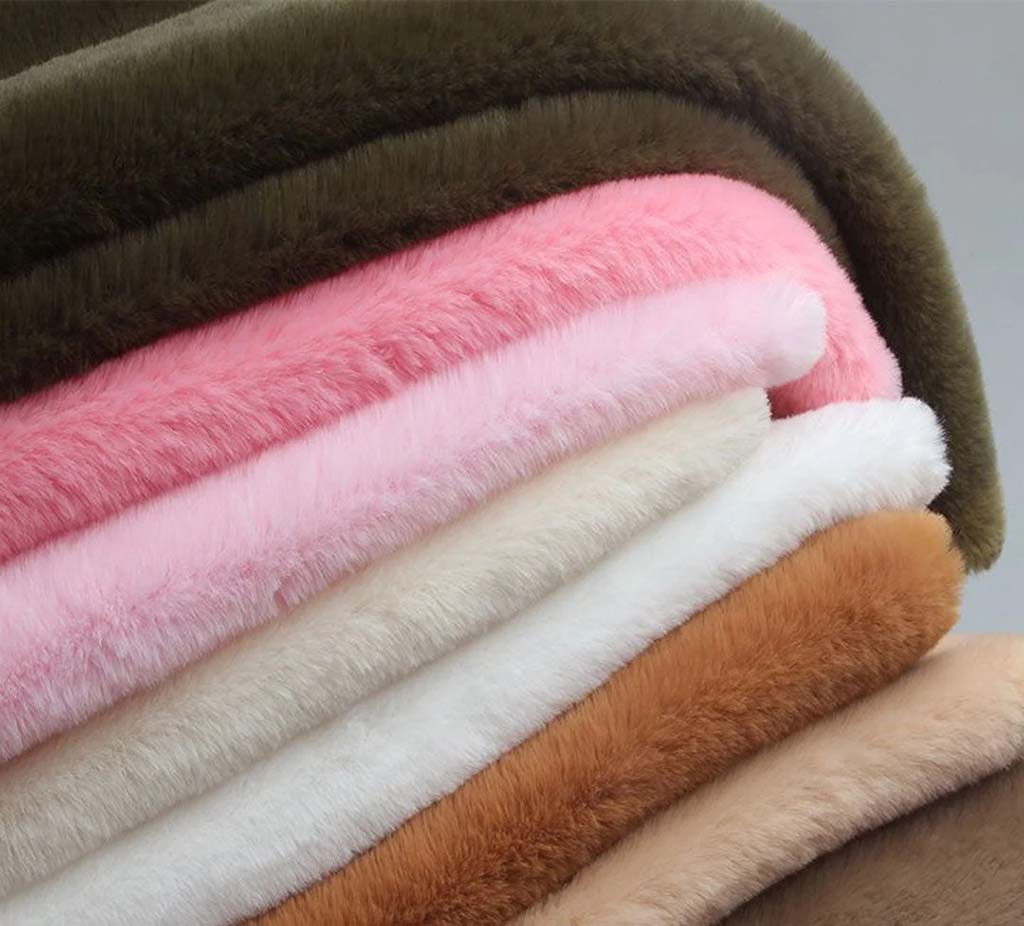
- Outside – fabric for skin, hair, and clothing
- Inside – stuffing and any support parts
- Details – eyes, mouth, hair, clothes, labels, and packaging
Alongside these, you need tools for cutting, marking, sewing, stuffing, and finishing.
| Category | Typical Choices for Plush Dolls | Role in the Doll | Practical Tips for Better Results |
|---|---|---|---|
| Skin fabrics | Short plush / velboa, minky, fleece, cotton jersey | Face, arms, legs, body skin | Choose soft, non-scratchy fabric; avoid very thin or loose knits |
| Hair fabrics | Long pile faux fur, felt, fleece, yarn (for handmade styles) | Hair, fringe, beards, tails | Test shedding and sewing direction before final choice |
| Clothing fabrics | Cotton, polyester blends, fleece, denim-look fabrics | Dresses, shirts, coats, pants | Avoid heavy or stiff fabric on very small dolls |
| Stuffing | Polyester fiberfill, recycled fiberfill, foam pieces (special) | Inner volume and softness | Use consistent grade; fluff before use for even density |
| Weight elements | Plastic pellets in inner pouches, small discs, joint parts | Help dolls sit/stand; add premium feel | Always enclose pellets in fabric bags; never loose in baby dolls |
| Face detail materials | Embroidery thread, felt, safety eyes/noses (for 3+ years) | Eyes, nose, mouth, cheeks | For under-3, prefer embroidery and felt; no loose hard parts |
| Accessories | Ribbons, bows, bags, shoes, hats, printed labels | Brand personality and play value | Make sure all items are age-appropriate and strongly attached |
| Cutting tools | Fabric scissors, rotary cutter, cutting mat | Clean, accurate pattern pieces | Keep one pair of scissors only for fabric to maintain sharpness |
| Sewing tools | Sewing machine, hand sewing needles, pins or clips, thread | Join all parts, close openings | Use polyester thread; match thread quality to fabric weight |
| Marking tools | Fabric pen/chalk, tracing tools, rulers, tape measure | Mark seam lines, notches, and feature positions | Choose washable, disappearing ink to avoid permanent marks |
| Stuffing tools | Stuffing sticks, chopsticks, narrow rulers | Push stuffing into small parts like fingers and feet | Use gentle pressure to avoid stretching seams |
| Finishing tools | Seam ripper, lint roller, small iron with pressing cloth | Correct small errors, clean surface, smooth fabric | Light pressing only, especially on synthetic plush fabrics |
If you plan to sell your dolls, choose materials that can pass toy safety tests later (colorfastness, harmful substance limits, etc.). It is always easier to start with “safe-ready” materials than to change everything at the last minute.
How do you design patterns and proportions for accurate doll shapes?
Pattern design is where a flat drawing becomes a real 3D doll. A good pattern gives you clean shapes, balanced proportions, and a strong base for clothing and accessories. A weak pattern gives twisted legs, flat faces, and strange body balance, even if your sewing is perfect.
For plush dolls, proportions matter a lot. You can choose realistic or stylized proportions, but you must be consistent. Common choices include:
- Big head, small body (cute child-like style)
- More realistic head-to-body ratio (for fashion dolls or mascots)
Before sewing, plan the pattern carefully:
- Draw front and side views of the doll (or ask your designer to do it).
- Decide head-to-body ratio (for example, head is 1/3 or 1/2 of total height).
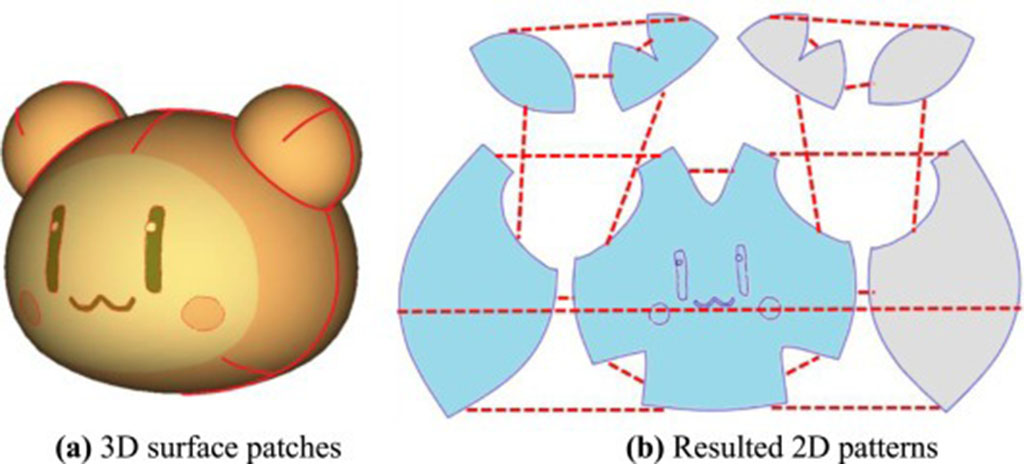
- Break the drawing into basic shapes: head, torso, arms, legs, hands, feet, hair.
- Turn each shape into pattern pieces with seams in logical places.
| Body Area / Element | Pattern & Proportion Tips | Effect on Finished Doll | What to Check in First Prototype |
|---|---|---|---|
| Head | Often wider than body; use multiple panels for rounded shape | Softer, more expressive face; less flat appearance | Does the head look too flat from side view? |
| Torso | Slight taper at waist; add chest/hip curves if needed | Helps doll sit or stand; gives “body” instead of tube | Can the doll sit without falling forward/backward? |
| Arms | Slight curve at elbow; wider at top than at wrist | Natural pose; better hugging feel | Do arms hang naturally by the side? |
| Legs | Slight flare at thigh; knee and ankle shaped by gentle curves | Stable standing/sitting depending on design | Are legs equal length and same thickness? |
| Hands & feet | Simplify shapes; avoid tiny fingers or toes in first versions | Easier sewing; fewer weak points | Any points too narrow to turn and stuff cleanly? |
| Neck | Keep wide enough; reinforce seam | Prevents head wobble or seam break | Does the head feel stable when you move the doll? |
| Hair pattern | Plan fringe, back panels, and any layers | Clear hairstyle, less guesswork during sewing | Does the hair cover intended areas without gaps? |
| Seam allowance | Add 0.5–1 cm depending on fabric thickness | Prevents thin seams; allows corrections | Do pieces still match after adding seam allowance? |
Pattern development workflow
- Draft patterns on paper or digitally
- Label each piece (head front, head side, body front, back, left arm, etc.).
- Mark grainline or pile direction for plush fabrics.
- Add seam allowances and notches
- Use notches to match key points (shoulders, hips, center front/back).
- Cut a test set in cheaper but similar fabric
- This is your proto sample to test proportions and construction.
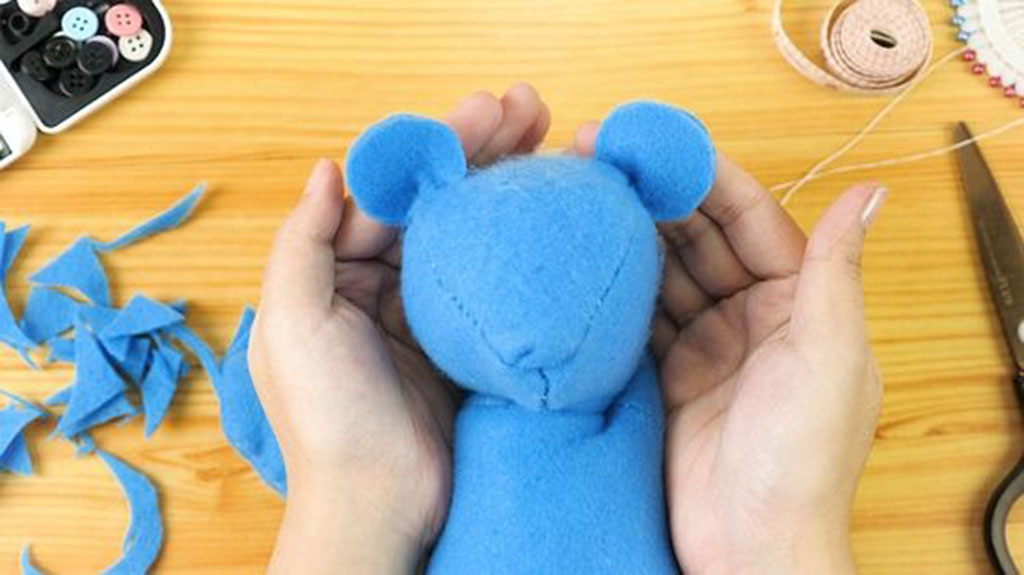
- Sew and stuff the prototype
- Do not worry about colours yet; focus on shape and balance.
- Evaluate and adjust
- Take photos from all sides.
- Mark areas to change, then update the pattern and repeat if needed.
In our factory, we often repeat sample development 1–3 times until the doll’s face expression, body proportion, and standing/sitting ability feel right. This investment at the beginning saves many problems later in mass production.
How do sewing and assembly techniques ensure durability and clean structure?
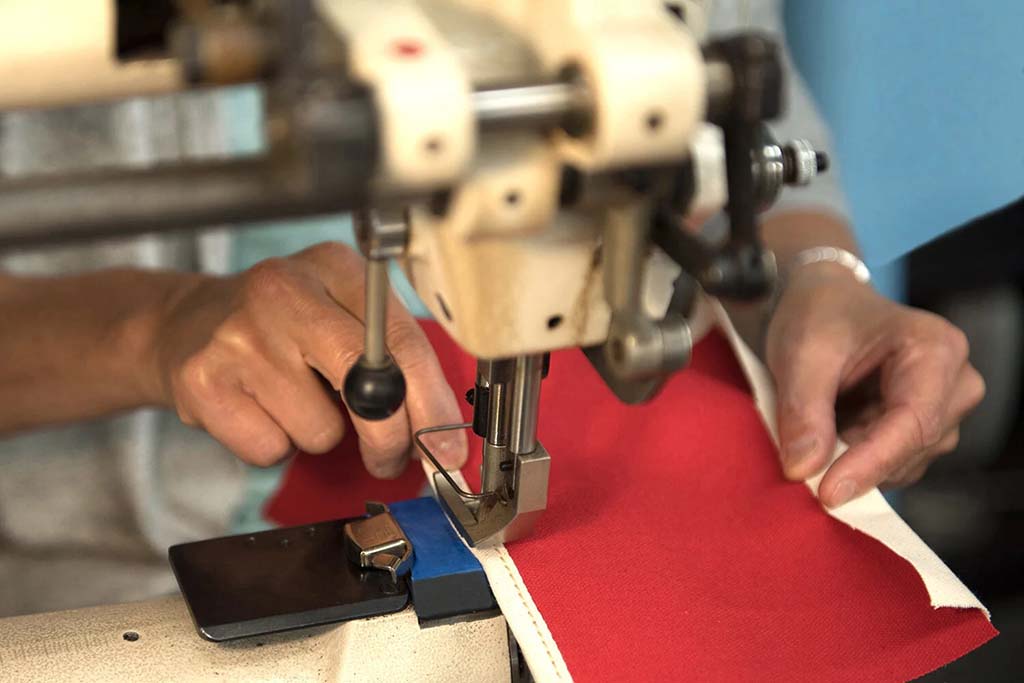
Even with a good pattern, bad sewing will destroy the look and lifespan of a plush doll. Strong, neat seams and a smart assembly sequence are the base of a professional result.
Durability comes from:
- Using the right stitch type and stitch length
- Maintaining consistent seam allowance
- Reinforcing high-stress areas like neck, underarms, and crotch
- Assembling parts in a logical order so you can sew with control
| Sewing / Assembly Area | Recommended Technique | Benefit for Doll Durability & Look | Common Mistakes to Avoid |
|---|---|---|---|
| Stitch type & length | Straight stitch; shorter length (2–2.5 mm) on curves | Smooth curves, fewer gaps, stronger seams | Very long stitches that pull apart under stress |
| Seam allowance | 0.5–1 cm; keep consistent around all pieces | Predictable shapes and matching edges | Very narrow seams that fray or break quickly |
| High-stress points | Double-stitch neck, limb joints, crotch, top of head | Reduces risk of tearing after play | Only one row of stitches in heavy stress zones |
| Edge finishing | Zigzag or overlock on fraying fabrics | Stops fraying, keeps inside neat | Leaving raw edges on woven fabrics that fray |
| Curves & corners | Clip curves and notch corners after sewing | Helps pieces turn smoothly with less bulk | Not clipping, causing thick, wrinkled edges |
| Assembly order | Small parts → face → head → limbs → body → final join | Better control and access when sewing | Attaching details too late when doll is bulky |
| Turning & pressing | Turn through planned opening; light pressing if needed | Cleaner shape, fewer wrinkles | Over-ironing synthetic plush (can melt or shine) |
Example assembly sequence for a basic plush doll
- Sew small parts:
- Ears, hair pieces, small accessories.
- Prepare face panel:
- Add embroidery, appliqué, or safety eyes (for 3+).
- Attach ears and some hair pieces to the head front if needed.
- Assemble head:
- Sew head panels together, leaving a stuffing opening.
- Sew arms and legs:
- Sew pairs right sides together, leave openings for stuffing.
- Sew body:
- Join front and back body pieces, leaving neck and bottom openings as needed.
- Attach limbs to body (depending on design):
- Sew into body seams for inset limbs, or topstitch externally for “ragdoll” style.
- Turn all pieces right-side out and move to stuffing.
This sequence gives you best access to tight areas (face, neck, joint areas) before the doll becomes bulky and harder to control under the sewing machine.
How is stuffing density managed to achieve stable form and softness?
Stuffing is where your plush doll becomes “alive.” Too soft, and it feels cheap or floppy. Too hard, and it loses comfort and can even feel stiff or unpleasant. The best plush dolls use zone-based stuffing: different areas get different densities, depending on function.
For example:
- Head: usually needs firmer stuffing to protect facial features and keep shape
- Torso: medium stuffing for hugging comfort and stability
- Limbs: medium to soft stuffing for easy posing and cuddling
- Base / hips: sometimes include pellets for stable sitting
| Doll Area / Purpose | Recommended Stuffing Strategy | Resulting Feel & Performance | Notes for Consistency |
|---|---|---|---|
| Head | Medium-firm, evenly distributed | Face stays stable; features don’t distort easily | Avoid overstuffing near seams to prevent strain |
| Cheeks & muzzle | Slightly softer than core but still full | Soft expression, no “flat face” spots | Add small amounts and shape by hand |
| Torso / chest | Medium, with focus on center support | Comfortable to hug; body keeps shape | Check both front and back for same fullness |
| Hips / base | Medium fiberfill + pellet bag (optional) | Doll can sit without falling forwards or backwards | Always enclose pellets in strong inner pouch |
| Arms & legs | Medium-soft; not too hard at joints | Natural drape and movement; easier hugging | Compare left/right limbs for equal fill |
| Hands & feet | Slightly firmer for defined shape | Clear outline; supports shoes or hand poses | Use small stuffing tools, avoid hard lumps |
| Neck | Firm but not rock-hard; may add extra internal strip | Head support; less wobble and seam stress | Stuff neck last and test movement |
Practical stuffing steps
- Prepare stuffing
- Loosen and fluff the fiberfill by hand.
- If using pellets, place them in sewn inner bags first.
- Start with small parts
- Stuff hands, feet, arms, and legs using a stick.
- Do not push too hard; build up little by little.
- Fill the head
- Add stuffing in small amounts, focusing on cheeks and top of the head.
- Check the face from front and side; adjust to keep symmetry.
- Fill the body
- Add any pellet bags to the base first (if using).
- Stuff chest and abdomen, checking balance from all sides.
- Check balance and softness
- Sit or stand the doll on a flat surface.
- Squeeze the doll in different places. Ask yourself: “Would I want to hug this?”
- Close openings with ladder stitch (invisible stitch)
- This gives a neat finish with no visible gap.
In factory production, we also control total doll weight so stuffing is consistent from piece to piece. For brand owners, this gives a more stable customer experience and fewer complaints about “some dolls feeling empty, others too hard.”
How are facial features, clothing, and accessories constructed and attached?
Facial features and clothing are where your plush doll gains real personality. They also create many safety risks if not done correctly. The goal is to achieve clear, charming expression and attractive outfits without creating small parts, sharp edges, or weak attachments.
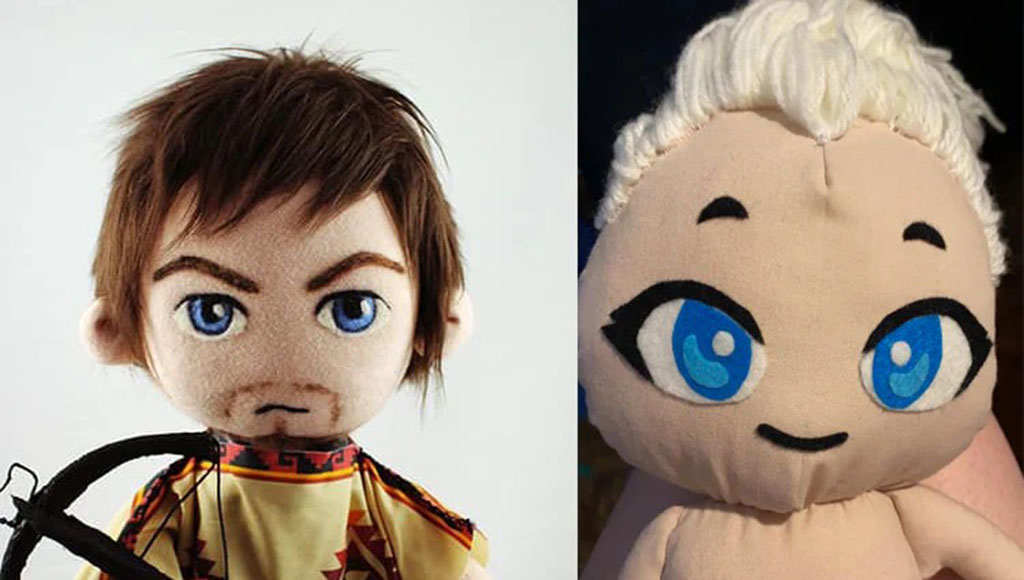
Facial features
You have three main methods: embroidery, appliqué, and plastic components.
- Embroidery
- Best for baby dolls and under-3 toys.
- Soft, no hard parts, hard to remove if sewn correctly.
- Appliqué (felt or fabric)
- Useful for larger eyes, cheeks, or special shapes.
- Must be fully stitched around edges, not only glued.
- Plastic safety eyes and noses (for 3+ dolls)
- Provide shiny, 3D look.
- Must use certified safety eyes with locking backs, plus proper age labelling.
Clothing and accessories
Clothes can be sewn-on (fixed) or removable. Removable outfits are great for older children and collectors. Sewn-on clothes are safer for young children and easier for parents.
Accessories include hats, bags, shoes, scarves, and branded items. All of these must be:
- Proportionate to the doll
- Comfortable to hold and play with
- Designed without long cords, sharp parts, or very small pieces for young age groups
| Component Type | Common Construction Method | Pros for Design & Play | Safety & Practical Notes |
|---|---|---|---|
| Eyes (baby/under-3) | Embroidered with strong thread on backed fabric | Very safe, soft, cannot be pulled off easily | Use backing to avoid distortion on stretchy plush |
| Eyes (3+ years) | Plastic safety eyes with locking backs | Shiny, expressive, fast in volume production | Must be tested; not suitable for under-3 dolls |
| Nose & mouth | Embroidery or small appliqué patches | Clean and soft face, easy to wash | Keep design simple to avoid misalignment |
| Blush / cheeks | Small felt circles or fabric paint (for décor) | Adds warmth and personality | For toys, choose safe materials and secure stitches |
| Hair | Sewn hair caps, yarn hair, faux fur wigs | Wide style range, from simple to very detailed | Avoid loose long strands for baby dolls |
| Basic clothing | Patterned like human garments, scaled to doll | High play value; allows mix-and-match outfits | For young ages, consider partially sewn clothing |
| Shoes & socks | Felt or fabric shoes with elastic or Velcro | Finish the look; add fashion style | Avoid tiny buckles and long laces for young users |
| Small accessories | Bags, hats, scarves, glasses, etc. | Strong branding and character identity | For kids, attach with stitching or safe fasteners |
When you design facial features and outfits, always think:
- Who will use this doll?
- Will they put it in their mouth?
- Will they pull hard on clothes or hair?
For factory projects, we plan accessories at the concept stage, not at the end. This makes safety and testing much easier, especially for EN71/ASTM and similar standards.
What quality and safety checks ensure a professionally finished plush doll?

The last step is quality and safety checking. This is what separates a “nice idea” from a truly professional plush doll that can stand in front of customers, pass safety tests, and protect your brand reputation.
You don’t need a big lab to think like a factory. Even for small batches, you can follow a simple checklist and basic stress tests. For mass production, we add formal AQL inspections, lab tests, and needle detection.
| Check Area | What to Inspect or Test | Why It Matters | Simple Methods You Can Use |
|---|---|---|---|
| Visual appearance | Clean fabric, no stains, correct colours | First impression and gift-worthiness | Inspect under good light; compare with master sample |
| Symmetry & proportions | Face alignment, limb length, body balance | Makes doll look “right”, not strange | Check front and side views; measure left vs right |
| Seams & stitching | No open seams, skipped stitches, or loose threads | Prevents stuffing leaks and fast damage | Gently pull on seams, especially at neck and limbs |
| Stuffing distribution | No hard lumps, no hollow spots, consistent density | Comfort and premium feel | Squeeze body, limbs, and head in multiple spots |
| Attachments | Eyes, nose, hair, accessories firmly fixed | Safety for children; avoids choking risks | Pull-test by hand; for serious work, use pull gauge |
| Sitting / standing test | Doll can sit or stand as design requires | Usability for play and display | Place on flat surface; check if it topples easily |
| Labels & tags | Brand label, care label, safety warnings correct | Legal compliance and customer guidance | Check text accuracy and placement on each batch |
| Odour & feel | No strong chemical smell; surface feels pleasant | Customer comfort and trust | Smell and feel a few random pieces from each batch |
Additional checks for factory-level production
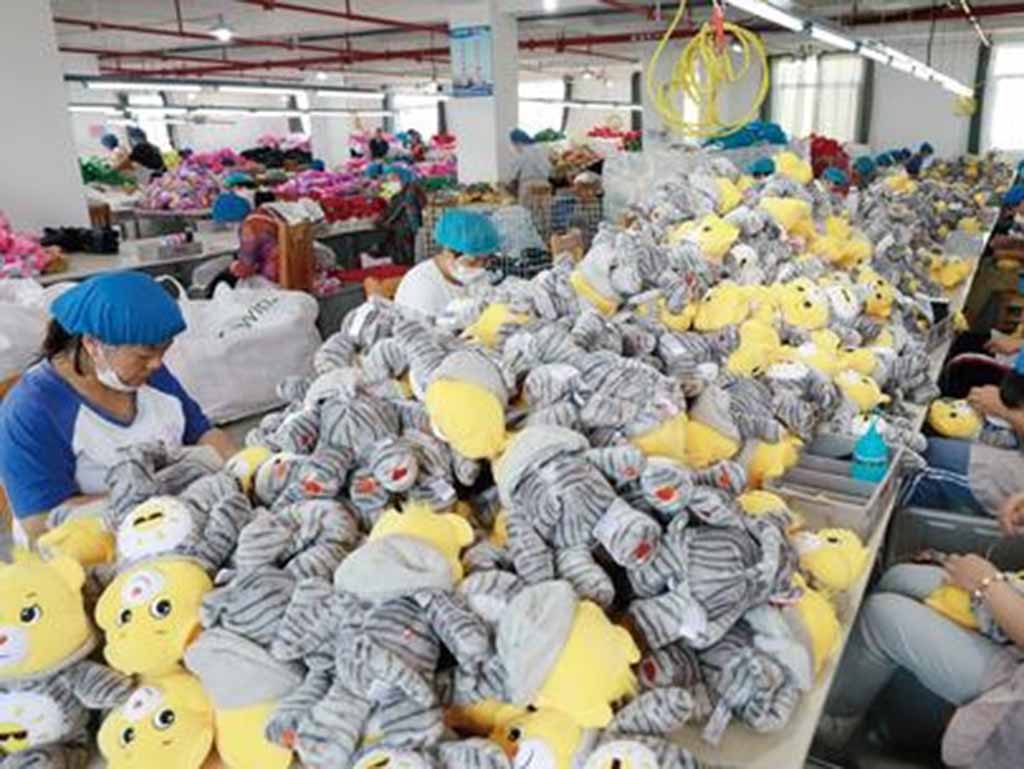
In our Kinwin production lines, we also:
- Inspect incoming materials (fabric, stuffing, accessories)
- Use in-process QC to catch issues early on the sewing lines
- Run needle detection on all finished dolls to ensure no broken needles remain inside
- Send samples to accredited labs for EN71, ASTM, CPSIA, and other tests, depending on client markets
Even if you are still at a smaller scale, building this mindset early will make it much easier to move into larger orders and export channels later.
Conclusion
A good plush doll is soft, stable in shape, and full of personality, but it is also carefully engineered from inside to outside. From materials and patterns to sewing, stuffing, details, and quality checks, each step adds to your customer’s first impression and long-term trust. At Kinwin, we help global buyers turn sketches into professionally finished plush dolls that meet EN71, ASTM, and other safety standards while still feeling cute, modern, and brand-right. If you are planning your next plush doll collection or want to upgrade your current products, you are welcome to contact me at [email protected] or visit kinwintoys.com so we can explore how our factory can support your success.