Skip to content
 In factories, embroidery is not only an artistic choice. It is a technical process involving tools, pattern planning, stitch types, machine programming, and strict quality checks. If any step is weak, you may see crooked smiles, uneven eyes, loose threads, or even safety risks for children.
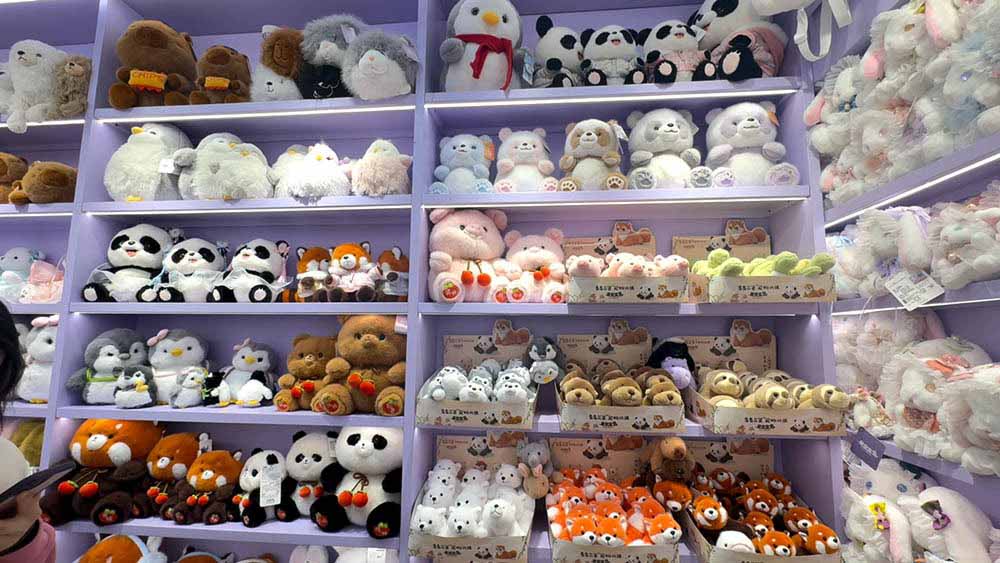
In this guide, I’ll walk you through how we embroider stuffed animals from a manufacturer’s perspective, using simple English and a practical structure. You’ll see which tools you need, how designers mark positions, which stitches work best on plush, how mass production embroidery is done, how embroidery improves faces and logos, and how we check safety and durability before export.
What tools and materials are needed to embroider a stuffed animal?
Whether you are doing hand embroidery on a few custom plush toys or machine embroidery in a factory, you need the right tools and materials. Plush fabrics are stretchy, fuzzy, and thick. If you use the wrong needle or thread, the pile will pull, the stitches will sink, or the face will distort.
I like to separate the tools into four groups:
- Marking and measuring tools – to place features exactly where they should be.
- Support tools – hoops and stabilizers that control stretchy plush fabrics.
- Stitching tools and materials – needles, threads, machines.
- Finishing tools – scissors, thread burners, brushes, and inspection aids.
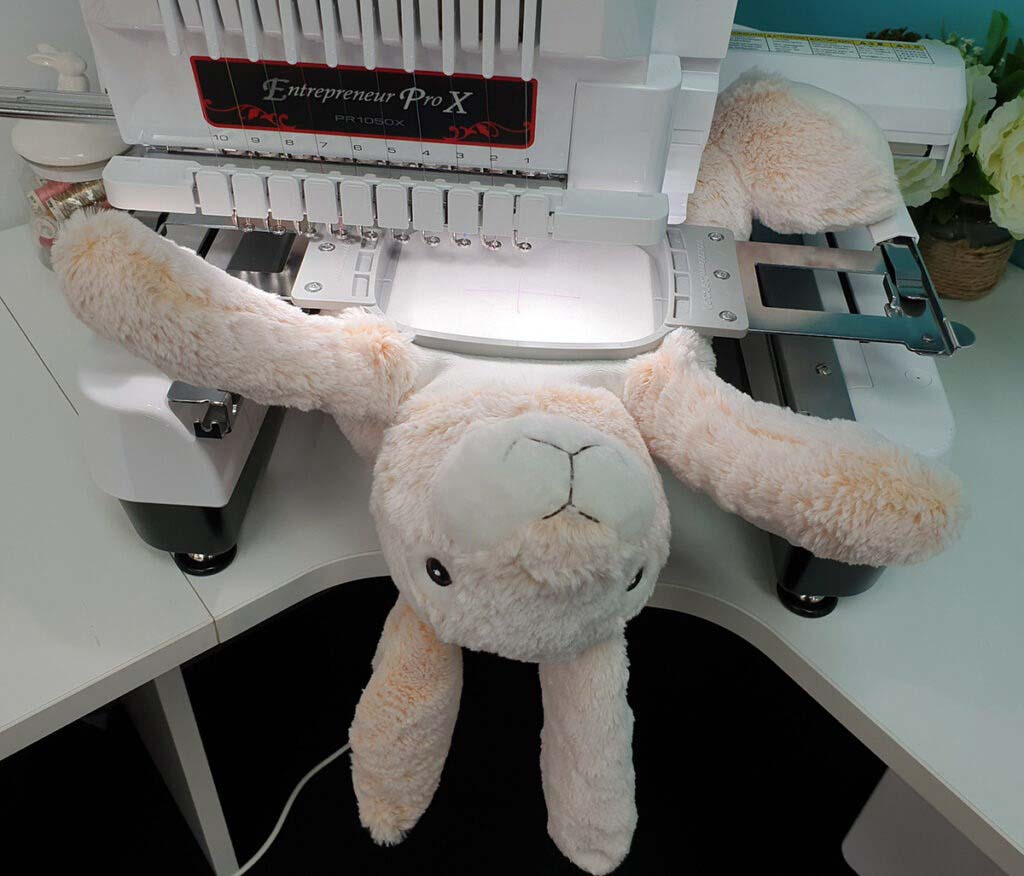
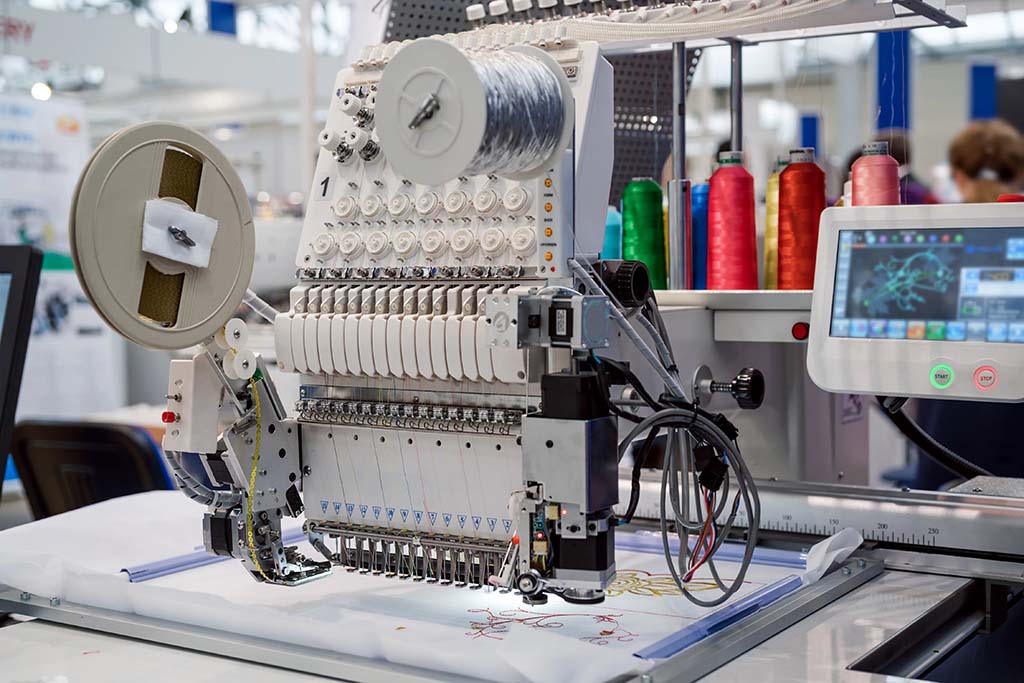
For small-scale or hand work, you might use air-erasable pens, small hoops, and embroidery needles. In factory production, we use multi-head embroidery machines, industrial stabilizers, and jigs to keep parts aligned.
The most important materials are embroidery thread and stabilizer. Good embroidery thread should be smooth, colorfast, and strong. Stabilizer supports the fabric from the back so stitches do not sink into the pile or distort the shape of the stuffed animal’s face or body.
Here is how the main tools and materials fit together from a buyer and designer point of view:
| Tool / Material | Description | When It Is Used | Tips for Buyers and Designers |
|---|---|---|---|
| Embroidery thread | Polyester or rayon thread in various colors, usually on cones or spools | All embroidered faces, logos, and details | Choose toy-grade, colorfast thread; confirm color after washing tests |
| Embroidery needles | Needles with special eye and point suitable for plush and knit fabrics | Hand or machine stitching through plush and stabilizer | Use correct size; too thick damages fabric, too thin breaks easily |
| Stabilizer (backing) | Tear-away, cut-away, or water-soluble support fabric behind plush | Under all machine embroidery on stretchy plush | Ask factory which stabilizer is used for faces and logos; test if backing leaves no rough edges |
| Hoop / frame | Round or rectangular frame to hold fabric flat during stitching | Hand and machine embroidery to prevent puckering | Ensure hoop tension is firm but not crushing the pile |
| Marking tools | Air-erasable pens, chalk, heat-erase pens, printed templates | To position eyes, nose, mouth, and logo accurately | Ask pattern maker to define center lines and reference points for each size |
| Embroidery machine | Single-head or multi-head computerized machine | Mass production of faces, logos, patterns | Confirm factory has enough heads to match your schedule and complexity |
| Design software (digitizing) | Software to convert artwork into stitch files (DST, PES, etc.) | Before production; defines stitch paths and density | Make sure a professional digitizer handles your key characters and brand logos |
| Scissors & snips | Small, sharp tools to trim thread ends and stabilizer | After embroidery to clean up loose threads | Check that no long thread tails remain on samples |
| Thread burner / heat cutter | Device to carefully melt synthetic thread tails | To secure loose ends in hidden areas | Ask factory to avoid harsh burning on front; only hidden tails should be heat-cut |
| Brushes / lint removers | Tools to revive pile around embroidery and remove loose fibers | After embroidery and stuffing | Helps keep face clean and soft; improves shelf appearance |
When you specify embroidery in your plush brief, don’t just say “embroidered face.” Explain where, how big, and how many colors you want, and ask your factory which tools and materials they will use to achieve it consistently.
How do designers plan and mark embroidery positions accurately?
A cute face can become strange very quickly if the eyes or mouth are just a few millimeters off. On plush toys, tiny position changes make a huge difference in personality and brand consistency. That’s why we treat facial embroidery as a precise design and marking process, not a guess.
First, our designers work with your artwork to define key reference lines on the head pattern:
- center line (vertical)
- eye line (horizontal)
- nose/mouth line
- safety margins near seams and edges
We then test these positions on flat fabric panels and later on stuffed sample heads. Only when the expression looks right in 3D do we finalize positions for production.
In hand or small-batch work, we mark the location using fabric-safe pens or chalk. In mass production, we often build paper or acrylic templates with cut-out windows or dots, so operators can quickly align and mark the same points again and again.
The planning also covers size scaling. If you have the same character in 20 cm, 30 cm, and 40 cm sizes, we don’t simply stretch everything proportionally. We adjust eye size, distance, and mouth curve to keep the “feeling” identical across sizes. This is part art, part measurement.
Here is how we typically plan and mark embroidery positions step by step:
| Step / Element | Purpose | Who Usually Does It | Key Checks for Consistent Results |
|---|---|---|---|
| Define reference lines on head | Create clear center and eye lines on pattern pieces | Pattern maker / designer | Ensure lines match natural curves and seam positions |
| Translate artwork to head shape | Adapt 2D art to curved 3D head | Designer + sample maker | Check proportions on a stuffed sample, not only on flat drawings |
| Set eye / nose / mouth coordinates | Decide exact distances from reference lines | Product developer / pattern team | Confirm symmetry and expression by viewing samples from multiple angles |
| Create marking templates | Make paper or acrylic guides with holes or outlines | Technical team / sample room | Test templates on at least several sample heads; adjust if misalignment appears |
| Choose marking tools | Pick air-erase pen, chalk, or heat-erase pen | Production engineering | Ensure marks disappear or are fully covered by stitches; no stains or residue |
| Pilot marking on small batch | Validate that operators can follow templates and guidelines | Line leaders + QC | Compare marked panels with reference sample before embroidery |
| Confirm standard operating procedure (SOP) | Document steps for marking each character or SKU | QA team / production manager | SOP includes diagrams, measurements, and photos; used for training and audits |
| Final buyer approval | Get buyer’s sign-off on face position and expression | You + factory merchandising team | Approve “golden sample” that becomes reference for all future bulk production |
As a buyer, you can ask your factory to show you the marking templates and measurement diagrams. This is a very quick way to see how serious they are about facial accuracy and brand consistency.
What stitching techniques work best for plush fabrics?
Plush fabrics are very different from flat cotton or linen. The pile can hide stitches, distort shapes, and make lines look fuzzy. So we must choose stitching techniques that work with the pile, not against it.
For hand embroidery, common stitches include:
- Backstitch – for thin, clean lines (mouths, eyebrows).
- Split stitch or stem stitch – for slightly textured lines with nice curves.
- Satin stitch – for filled shapes like noses or simple eyes.
- French knots – for tiny dots like freckles or simple eye highlights (not recommended for baby toys due to safety).
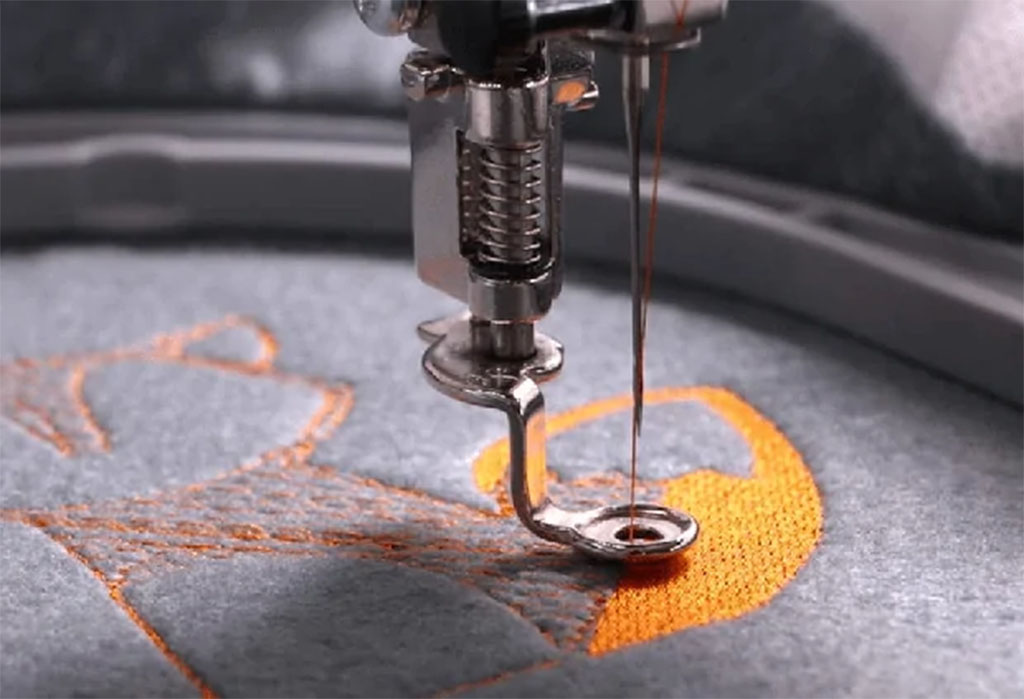
For machine embroidery, we mainly use:
- Running stitch – for delicate outlines or hidden technical lines.
- Bean stitch – repeated running stitches for stronger lines.
- Satin stitch – for solid shapes and letters with smooth edges.
- Fill stitch (tatami) – for larger filled areas like big eyes or logos.
- Knockdown stitch – a special low-density fill under the main design to flatten plush pile so details do not sink in.
Choosing the right stitch type, density, and direction helps us keep the design readable and the plush surface smooth. For example, if satin stitch is too tight on stretchy plush, the fabric will pucker. If density is too low, the pile will show through and the design will look patchy.
Below is a practical overview of which techniques work best on plush fabrics and how we use them.
| Technique Type | Typical Use on Plush | Visual Effect on Toy | Main Advantages | Watch-outs / Limitations |
|---|---|---|---|---|
| Hand backstitch | Mouth lines, eyebrows, simple outlines | Thin, clean line that follows curves well | Easy to control by hand; flexible for small runs | Time-consuming; not ideal for mass production |
| Hand satin stitch | Small noses, simple eyes, small patches | Solid, smooth filled area | Soft and handmade look; works well on short plush | On long plush, pile must be trimmed or controlled; inconsistent if done by many workers |
| Split / stem stitch | Decorative lines, outlines on clothing or accessories | Slightly textured, “drawn” line | Hides minor fabric movement better than single line | Can look messy if stitch length is not consistent |
| Machine running stitch | Fine outlines, internal details, technical positioning | Very thin line or hidden stitch | Fast; low thread use; good for guidelines | Too light to show on long pile; can disappear visually |
| Machine satin stitch | Eyes rims, noses, letters, small logos | Bold, smooth, slightly raised shape | Premium look; great for faces and branding | Must control density to avoid puckering; not ideal for very large filled areas |
| Machine fill stitch | Large pattern areas, big eyes, logo blocks | Flat, even surface area with visible stitch pattern | Covers pile well; durable; good for big shapes | Heavier thread use; if too dense, fabric stiffens; if too loose, pile shows through |
| Knockdown stitch | Underlayer beneath main embroidery on plush pile | Slight flattened halo around design, less visible | Keeps pile laying flat so details stay sharp | Needs correct color and density; if badly digitized, halo becomes visible and looks patchy |
| Appliqué + embroidery | Logos, patches, big shapes with fabric pieces | Fabric patch with embroidered outline | Saves time on large areas; enables special textures | Requires good cutting and placement; edges must be fully secured for toy safety |
When you discuss embroidery with your factory, ask whether they use knockdown stitching under facial features on high-pile plush. This single detail can dramatically improve how clean and sharp your characters look in real life.
How do manufacturers apply machine embroidery for mass production?
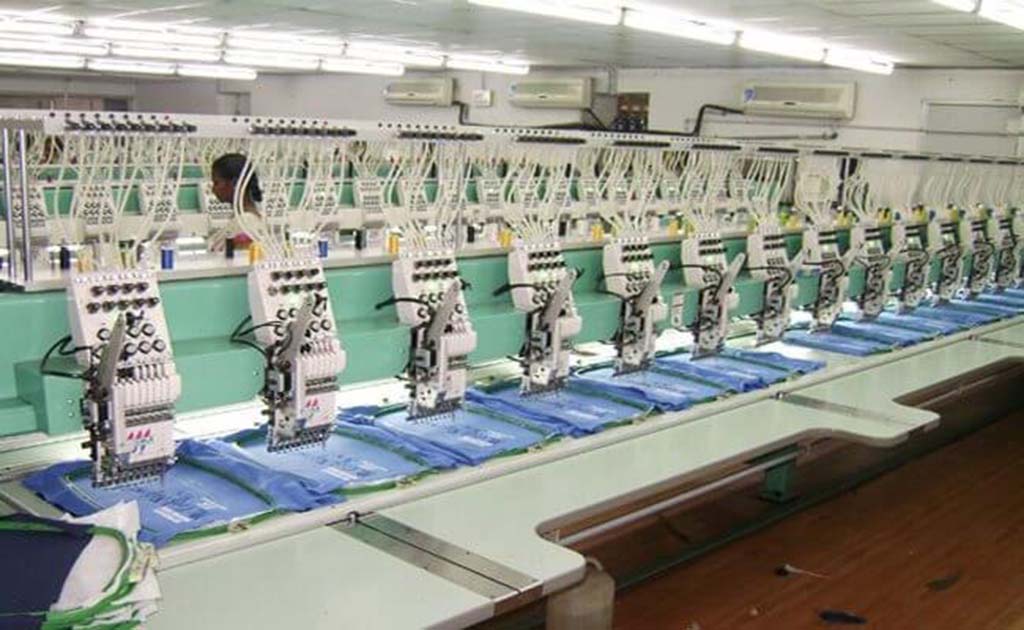
In mass production, we cannot embroider each stuffed animal one by one like a craft project. We must set up repeatable, high-efficiency processes using multi-head machines and pre-embroidered panels. Understanding this flow will help you see why some design choices are easy and others are expensive.
Most of the time, we embroider flat fabric panels before sewing and stuffing the plush toys. It is much more stable and faster than embroidering on finished plush bodies. The key steps are:
- Digitizing the design
We convert your artwork into a stitch file that tells the machine exactly how to move the needle: which stitch type, density, direction, and color order. Good digitizing is half of the embroidery quality. - Hooping with stabilizer
We place the plush fabric and stabilizer in a hoop or frame and ensure the fabric is tight but not stretched too much. For multi-head embroidery machines, each frame holds multiple pieces. - Test run and adjustment
We run a test on the same fabric and stabilizer used in production. Then we adjust:- stitch density,
- pull compensation (how much we offset shapes to account for fabric pull),
- thread tension,
- color order and trim points.
- Bulk embroidery
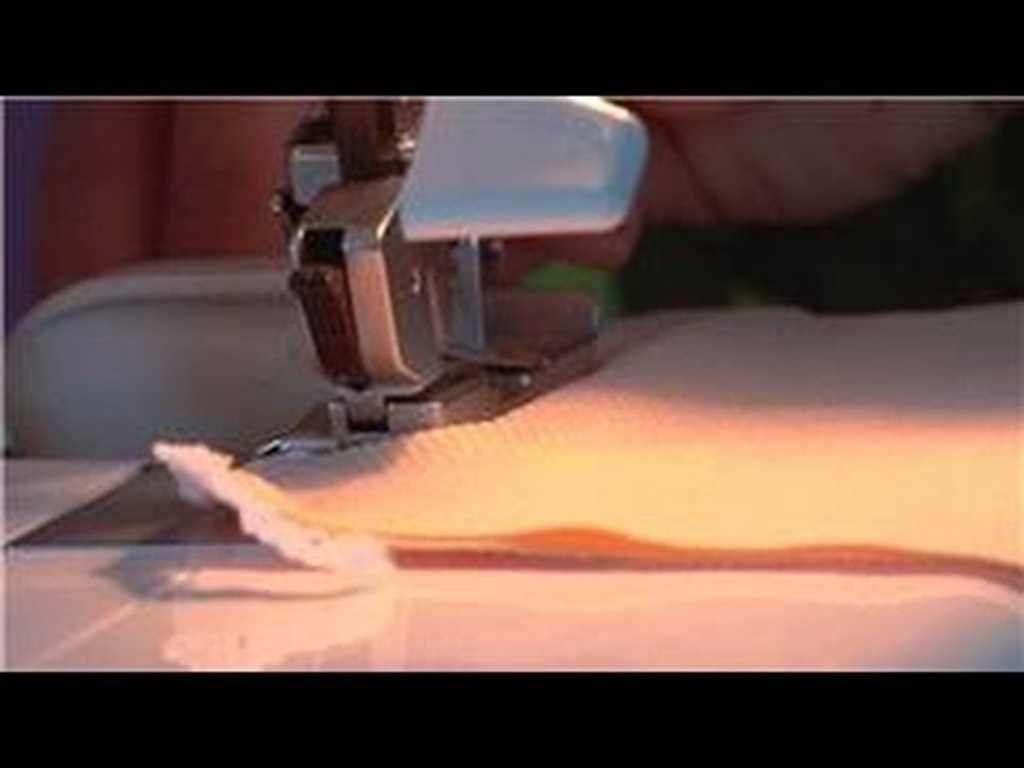
Once the test is approved, we run bulk production. Each machine head stitches the same design at the same time. Operators change thread colors and frames according to the program. - Trimming and backing removal
After embroidery, we trim thread tails, remove excess stabilizer, and clean the surface. Some stabilizers are tear-away, some are cut-away, and some are wash-away depending on the design and your safety requirements. - Quality control and bundling
Panels that pass inspection are then passed to the sewing line, where they are assembled into heads and bodies.
Here is how the machine embroidery process looks when we break it down by stage.
| Production Stage | What Happens in This Stage | Impact on Cost and Quality | What You Should Decide or Approve |
|---|---|---|---|
| Artwork preparation | Finalize vector or high-res art for face, logo, or pattern | Clear artwork reduces digitizing errors | Provide clean, layered files and clear color references |
| Digitizing (stitch file) | Convert art into stitch paths, densities, and color steps | Determines how design behaves on plush | Approve test embroidery; check edges, coverage, and expression carefully |
| Hooping & stabilizing | Mount plush fabric and stabilizer into frames | Controls puckering and alignment | Ask what stabilizer is used; confirm no stiff or scratchy backing remains after finishing |
| Pilot run on real fabric | Stitch small batch for test and corrections | Reveals real-world issues with pile, color, and alignment | Request photos or physical samples before approving bulk |
| Bulk machine embroidery | Run multi-head machines across many frames and shifts | Main driver of production efficiency and cost per piece | Define acceptable variation and AQL; consider how many colors per design are really needed |
| Trimming & backing removal | Remove excess stabilizer and thread tails | Affects comfort and aesthetic on both front and back | Check rear side of embroidery; ask that sharp backing corners be trimmed for baby products |
| Panel QC and bundling | Inspect embroidered panels before sewing | Prevents bad faces entering sewing line | Agree to reject rule for misaligned or flawed faces |
| Integration into sewing | Use embroidered panels in assembling heads and bodies | Final face expression and placement on 3D toy | Approve “golden sample” of fully finished plush, not just isolated panels |
A common mistake is to only approve a flat embroidery sample. Always check the embroidery again on a fully stuffed sample, because the 3D curve changes how eyes, nose, and mouth look.
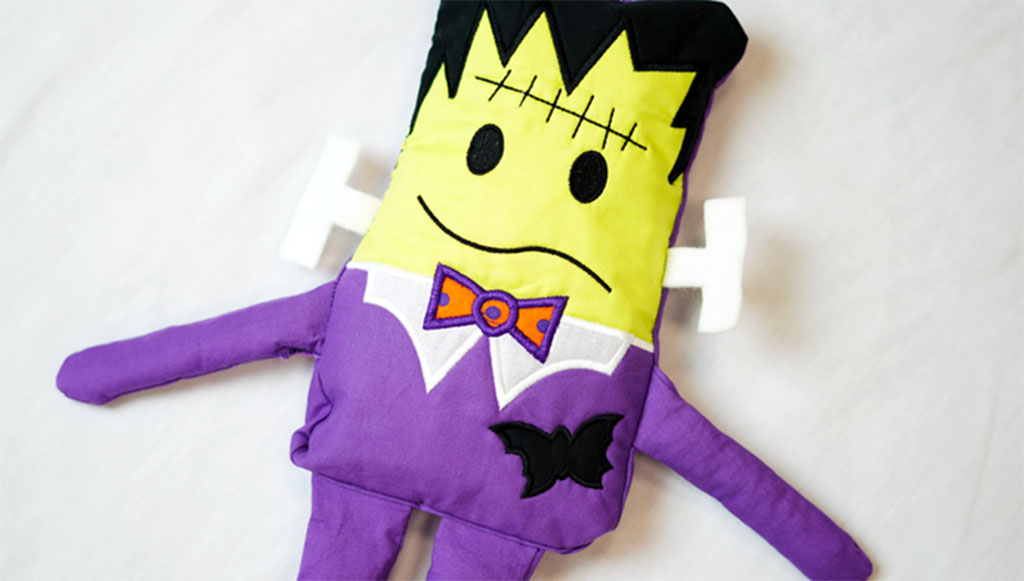
How can embroidery enhance facial expressions and brand details?
Embroidery is not just decoration. It is one of the most powerful tools to control emotion, personality, and brand identity on a plush toy. Small changes in line thickness, angle, and shape can make a character look friendly, shy, sleepy, cool, or playful.
For faces, embroidery lets you:
- control eye shape (round, oval, angled, chibi-style);
- adjust eyebrows to show happiness, surprise, or determination;
- design mouths that smile, pout, or look sleepy;
- add cheek blush, freckles, or whiskers without adding extra materials.
For brand details, embroidery can be used for:
- logos on paws, tummies, or clothing;
- slogan text or dates on bellies and feet;
- badges or patches on jackets, caps, or backpacks;
- subtle pattern elements that link a whole series together.
Compared with printing, embroidery feels more premium and durable on plush. It supports a higher price point and both children and adults see it as a quality sign.
Below is a simple way to think about how specific embroidered elements support expression and branding.
| Embroidered Element | Visual and Emotional Effect | Typical Placement on Stuffed Animal | Business and Brand Benefits |
|---|---|---|---|
| Eyes (shape & size) | Define whether character looks cute, realistic, or stylized | Front of head, sometimes with multi-layer details | Strong brand identity; easy to recognize in photos and thumbnails |
| Eyebrows & eyelids | Control mood (happy, sleepy, excited, serious) | Above eyes or partly covering them | Helps target specific audience (babies vs teens vs collectors) |
| Mouth and nose | Show emotion and personality | Lower face area, often in contrast color | Can differentiate your plush from generic competitors |
| Cheeks, blush, freckles | Add warmth and friendliness | Cheek areas and near eyes | Increases “kawaii” or cute appeal; supports impulse buying |
| Logo on paw or foot | Subtle but visible brand signature | Bottom or side of paw/foot | Builds brand recognition, especially in photos and unboxing videos |
| Logo or patch on clothing | Strong branding without touching face aesthetics | Chest, sleeve, hat, scarf, or belly badge | Allows co-branding, limited editions, and promotional partnerships |
| Series icon or motif | Ties multiple SKUs into one collection | Ear tags, chest badges, small patches on body | Encourages collecting; makes it easier to communicate “Series 1, Series 2…” |
| Text (names, dates) | Celebrate events or personalization | Paw, tummy, scarf, or back label | Perfect for gifting; can support higher price for personalized or limited items |
When you develop a plush range, think of embroidery as your “visual language”. Each line and shape helps you speak directly to your customer, without words, on every shelf and every screen.
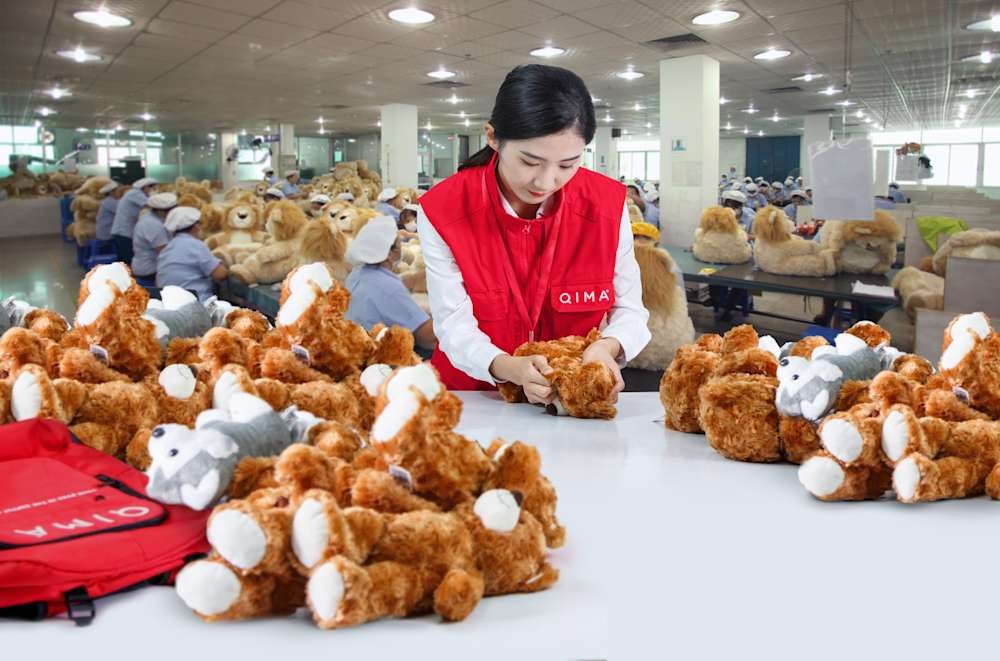
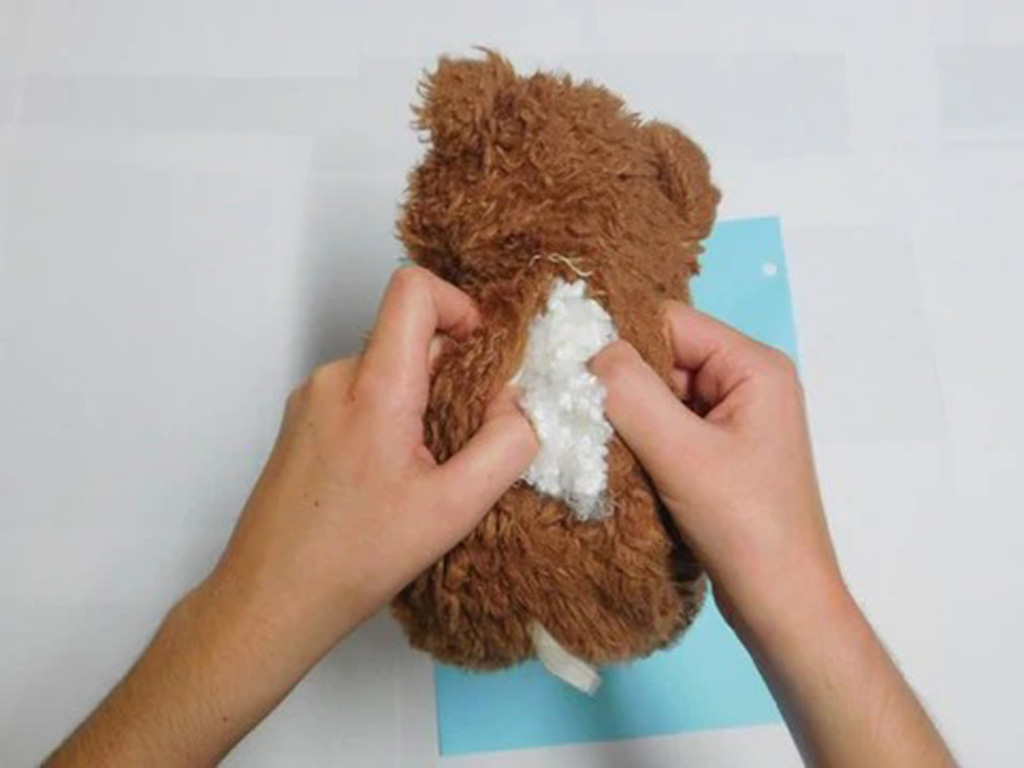
How do quality checks ensure embroidery safety and durability?
Even the cutest embroidery must also be safe, durable, and comfortable. A loose thread on a baby’s plush, a rough backing that scratches the skin, or color that bleeds during washing can all damage your brand. That is why in production we treat embroidery as a critical quality control point.
Embroidery touches several safety and quality areas:
- Mechanical safety – no long threads that small fingers can catch, no sharp backing edges, no easily detachable appliqués.
- Chemical safety – dyes in thread and stabilizer must pass EN 71-3, ASTM, and CPSIA requirements.
- Physical comfort – the back of embroidery should not be too rough, especially for baby plush.
- Durability – stitches must stay in place through pulling, rubbing, and washing.
In the factory, we set up checklists and testing rules for embroidery:
- In-line checks by operators and line leaders.
- End-of-line inspection for every batch of embroidered panels.
- Random pull tests and seam checks around embroidery areas.
- Lab tests on final plush to confirm colorfastness and safety compliance.
Here is how we typically manage embroidery quality from a control perspective.
| Quality Check Type | What Is Inspected | Why It Matters for Safety & Durability | Typical Tests or Methods Used |
|---|---|---|---|
| Visual surface inspection | Alignment of face, symmetry, missing stitches, thread “bird nests” | Ensures character looks consistent and professional | Compare to golden sample; view from front, side, and top angles |
| Thread tail & loop check | Long tails, random loops, or loose ends on front or back | Prevents snagging, unraveling, and choking risks | Trim tails; secure ends; gently rub embroidery to catch snags |
| Backing and stabilizer check | Remaining stabilizer pieces or sharp corners behind embroidery | Avoids scratchy or hard areas against skin | Remove or round off backing; check by hand-feel especially on baby plush |
| Pull and abrasion tests | Strength of embroidery under pulling and rubbing | Ensures stitches do not break or distort easily | Manual pull tests around key details; optional abrasion tests in lab |
| Colorfastness tests | Dye stability to washing, saliva, sweat, and rubbing | Prevents color bleeding onto skin, clothes, or mouths | EN 71 / ASTM colorfastness tests; internal wash tests at factory |
| Placement tolerance check | Variations in eye spacing, mouth position, and logo location across pieces | Keeps brand expression uniform; reduces customer complaints | Use rulers, templates, and sample comparison; define acceptable deviation in millimeters |
| Safety standard review | Compliance with EN 71, ASTM F963, CPSIA, and any additional retailer standards | Guarantees legal access to target markets and retailer acceptance | Use certified threads and backings; send final plush to accredited labs |
| AQL final inspection | Sample-based inspection of finished plush (post-stuffing) | Ensures only compliant items enter cartons and shipments | Follow defined AQL plan; separate major and minor embroidery defects |
As a buyer, you can ask your factory these simple questions:
- How do you check embroidery alignment and consistency?
- What is your rule for maximum allowed distortion or misplacement?
- Which tests have you done on embroidery threads for colorfastness and safety?
Clear answers here show you how much care the factory puts into this small but critical detail.
Conclusion
A good plush toy is safe, soft, durable, and appealing while also offering branding opportunities. At Kinwin, we use embroidery to give stuffed animals clear expressions, strong brand identity, and long-term durability while keeping every stitch aligned with global toy safety standards. Contact us at [email protected] or visit kinwintoys.com to discuss your next plush project and explore how our factory can support your success.