When people ask me how to make a stuffed animal, they often imagine just two steps: sew and stuff. In a real project, we follow a clear system. Every choice—fabric, pattern, stitching, stuffing—changes how the toy looks, feels, and how long it lasts.
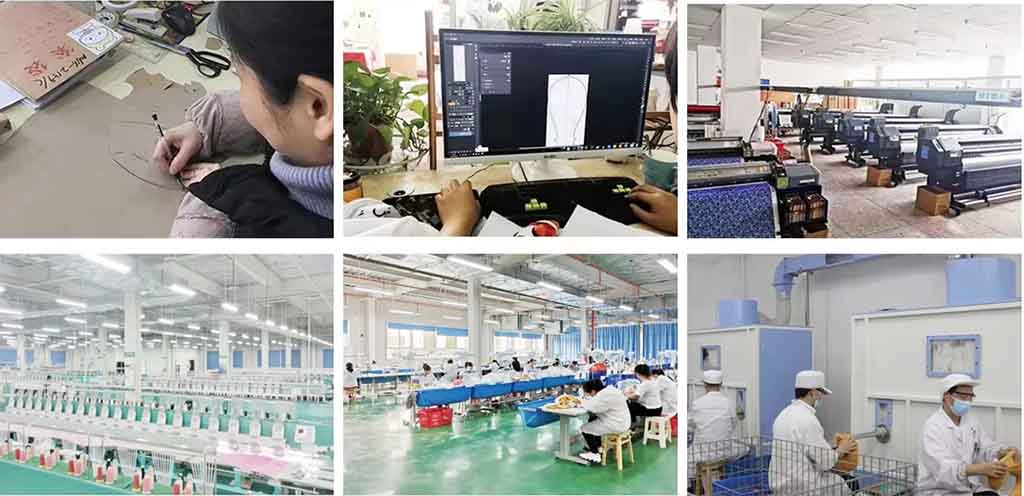
I’m Amanda from Kinwin in China. My factory makes plush toys and stuffed animals for brands, retailers, and e-commerce sellers in the USA, Europe, Japan, South Korea, and the Middle East. In this guide, I’ll walk you through the full process: what you need, how patterns are built, how we cut and sew, how we manage stuffing and details, and how we test safety before mass production.
What materials and tools are required to make a stuffed animal?
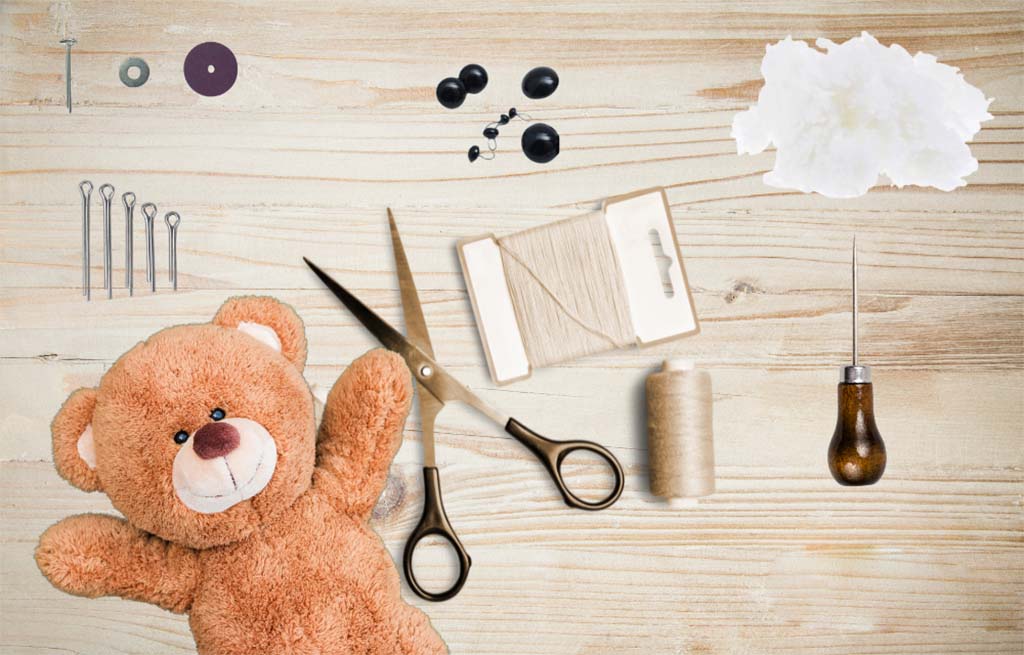
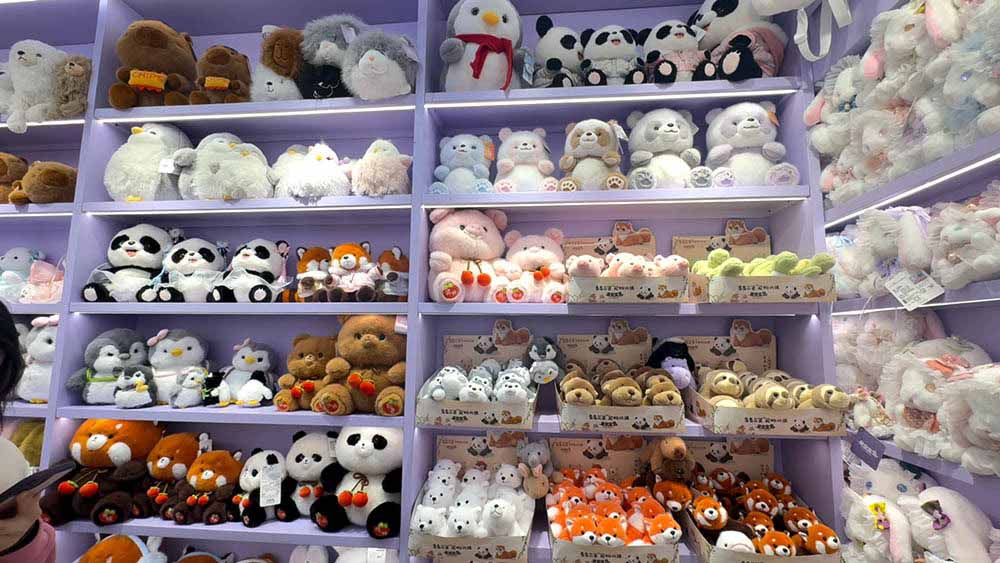
To make a stuffed animal, you always need two groups of things: materials (what becomes the toy) and tools (what helps you build it). At home or in a factory, the logic is the same. Only the scale changes.
For materials, you choose the outer fabric, stuffing, thread, and details. For tools, you use cutting tools, sewing tools, and some small helpers for turning and stuffing.
Core materials and tools for stuffed animals
| Category | Examples | Role in the process |
|---|---|---|
| Outer fabric | Minky, short plush, velboa, fleece, cotton | Gives the stuffed animal its look and touch |
| Stuffing | Polyester fiberfill (PP cotton), sometimes pellets | Fills the body, creates volume and softness |
| Sewing thread | Strong polyester thread | Holds all pieces together, supports durability |
| Details | Embroidery thread, felt, labels, safety eyes (for 3+) | Adds expression, branding, and style |
| Cutting tools | Fabric scissors, rotary cutter, cutting mat | Cuts fabric pieces cleanly and accurately |
| Marking tools | Fabric chalk, washable markers, pattern notches | Transfers pattern lines and match points |
| Sewing tools | Sewing machine, hand needles, pins, clips | Joins pieces with straight, secure seams |
| Stuffing tools | Stuffing stick, chopsticks, small funnel (for pellets) | Helps push filling into corners and small parts |
In my own work, I always tell buyers: start with the right fabric and stuffing. If those two feel good, you are already halfway to a nice stuffed animal.
How do designers create and refine sewing patterns for accuracy?
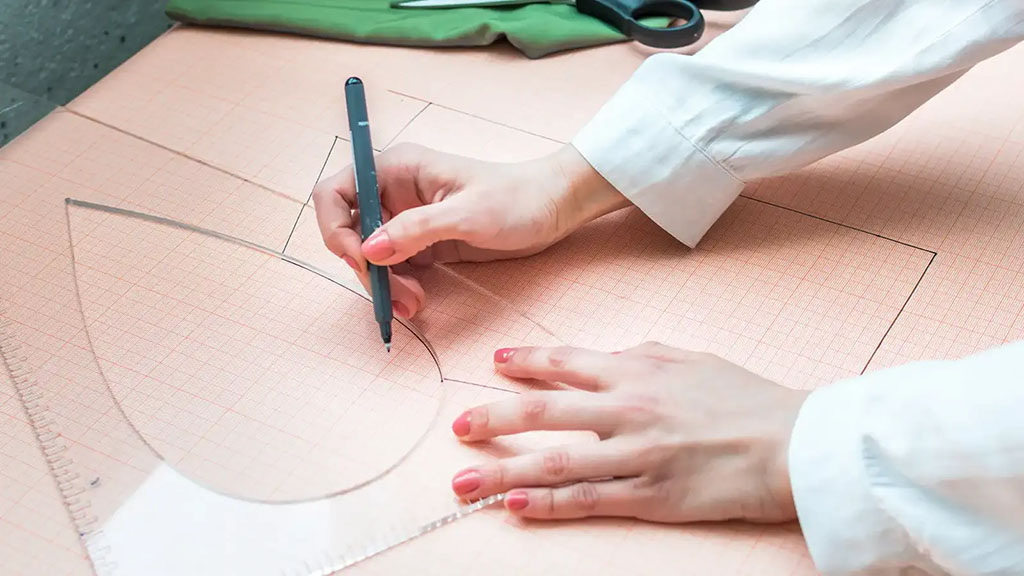
A beautiful stuffed animal starts with a good pattern. The pattern is the 2D plan that becomes a 3D shape. If the pattern is wrong, no fabric or stuffing can fix the shape later.
Designers begin with sketches. Then they break the body into pattern pieces: head, body, ears, arms, legs, tail, and sometimes clothing. Each piece needs seam allowance, match marks, and correct curve shapes to create the desired form. We then sew prototype samples, adjust, and repeat until the toy looks good from every angle.
Pattern creation and refinement steps
| Stage | What happens | Why it matters |
|---|---|---|
| Concept drawing | Front, side, and sometimes back view of the animal | Fixes proportions and style focus |
| First pattern draft | Designer makes 2D pieces (head, body, limbs, ears) | Turns drawing into sewable shapes |
| Add technical marks | Seam allowance, grain lines, notches, part labels | Guides cutting and sewing accuracy |
| First prototype | Sew sample from pattern and basic materials | Shows real shape, pose, and balance |
| Fit and shape check | Review head size, belly volume, limb angles | Finds where pattern must be changed |
| Revised patterns | Adjust curves, angles, and sizes, then re-sample | Achieves final look and repeatable fit |
In the factory, we keep the final version as the “golden pattern”. All bulk cutting follows this set so every production run matches the approved sample.
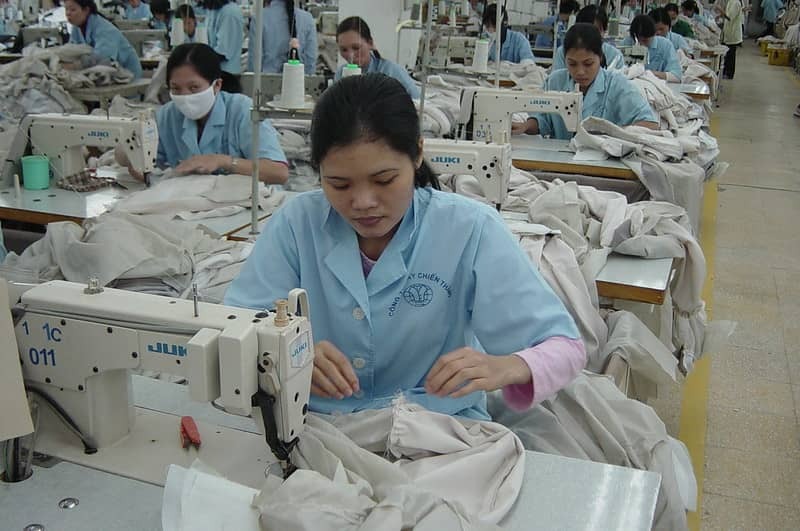
What are the key steps in cutting, stitching, and assembling parts?
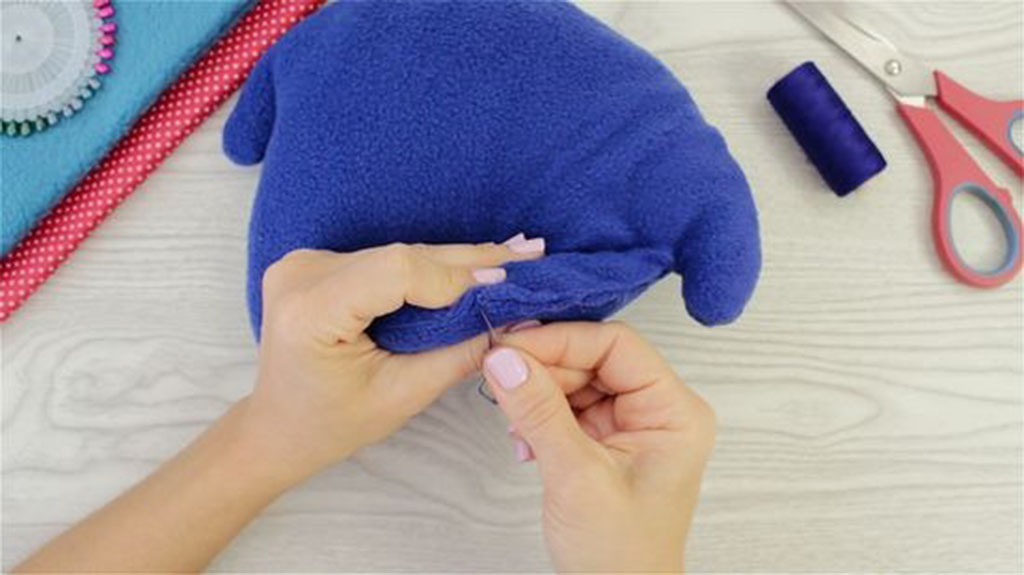
Once the pattern is ready, we move to cutting and sewing. This is where flat fabric becomes a real stuffed animal. The sequence matters, so seams stay clean and details are placed correctly.
We cut fabric according to the pattern, sew small pieces first (like ears and tails), prepare the face panel with embroidery, then assemble the head and body. Limbs are attached either inside seams or sewn on later. Finally, we turn everything right side out, stuff, and close the openings.
Key construction steps for a stuffed animal
| Step | What we do | Result for the final toy |
|---|---|---|
| Fabric cutting | Lay pattern pieces on fabric and cut accurately | Correct shape and symmetry of all parts |
| Small parts first | Sew ears, tails, horns, small accessories | Clean, ready-to-attach pieces |
| Face panel preparation | Embroider or apply face details before assembly | Hidden back side of stitches, neat finish |
| Head and body assembly | Sew panels together, leaving stuffing openings | Main 3D form of stuffed animal |
| Attach limbs and ears | Sew into seams or topstitch onto body | Stable placement of arms, legs, and ears |
| Turn right side out | Turn all pieces through openings | Exposes smooth outer surface of the toy |
| Stuff and close | Add filling, adjust shape, then hand-sew openings | Finished stuffed animal, ready for inspection |
In mass production at Kinwin, each step becomes an operation. One worker may focus on ears, one on bodies, one on closing. This keeps quality more stable from piece to piece.
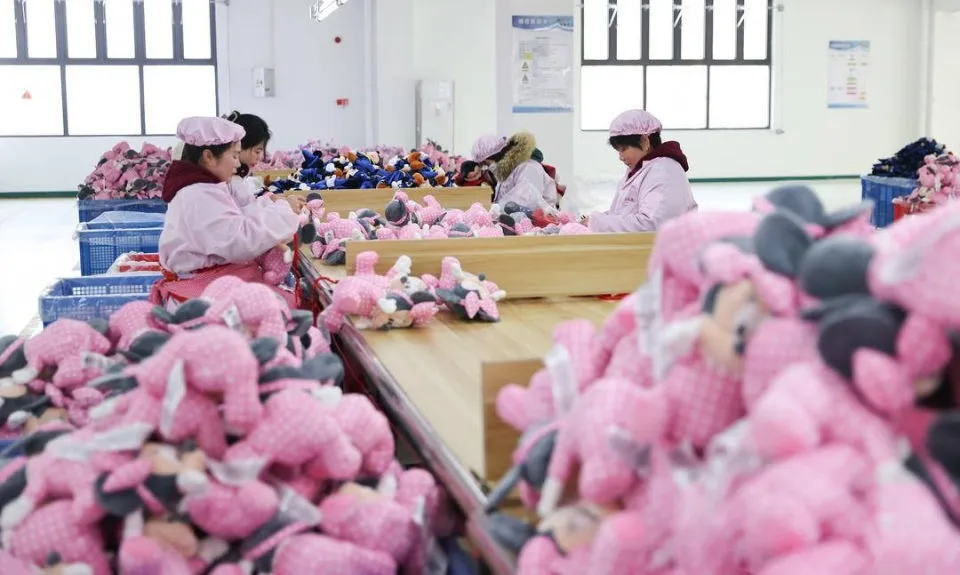
How is stuffing density managed for softness and realistic shape?
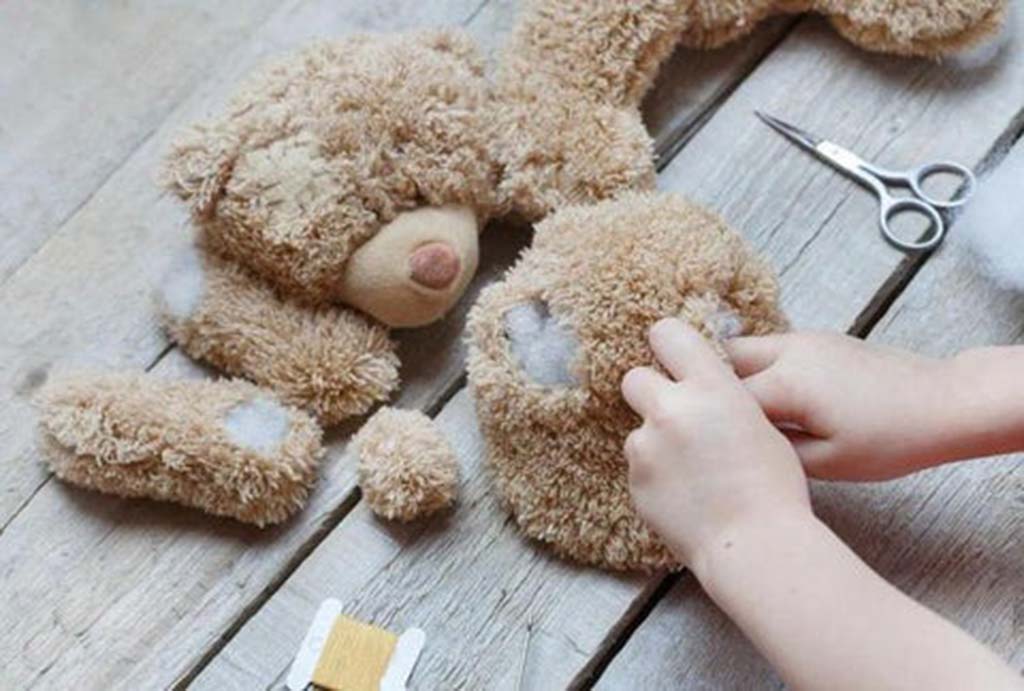
Stuffing is where a stuffed animal comes to life. But “fill it until it is full” is not enough. We manage density by area: head, body, limbs, and sometimes tail or belly need different amounts of stuffing.
The head is often firmer to keep face shape. The body is medium for hugging. Limbs may be softer or floppier, depending on style. Some designs use small pellet bags in the bottom for extra weight and stability. We also control overall stuffing weight to keep feel consistent across a batch.
Stuffing density planning by body area
| Part of the toy | Typical stuffing level | Effect on feel and look |
|---|---|---|
| Head | Medium-firm | Face stays clear, eyes and nose sit correctly |
| Body | Medium | Comfortable to hug, supports main silhouette |
| Arms and legs | Light to medium | Either relaxed “floppy” feel or more structured |
| Bottom / feet | Medium-firm or with pellets | Helps toy sit upright and feel more grounded |
| Tail / extras | Light | Keeps small parts flexible but not empty |
During production, we train workers to feel the right density and also give reference stuffing weights. This way, your stuffed animals feel similar whether they are from the first or last carton.
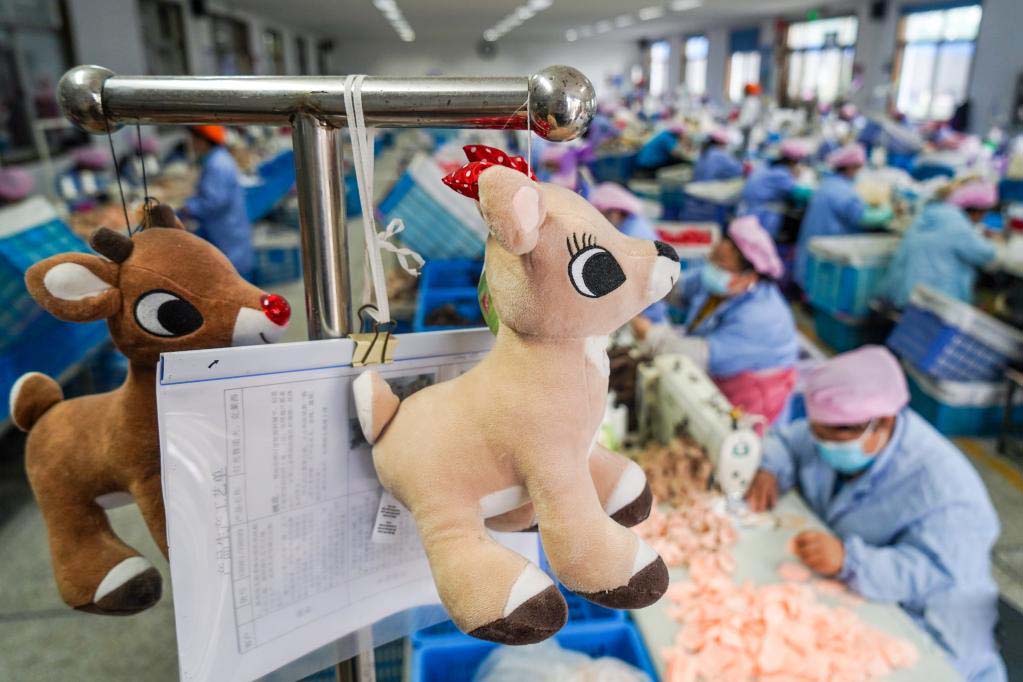
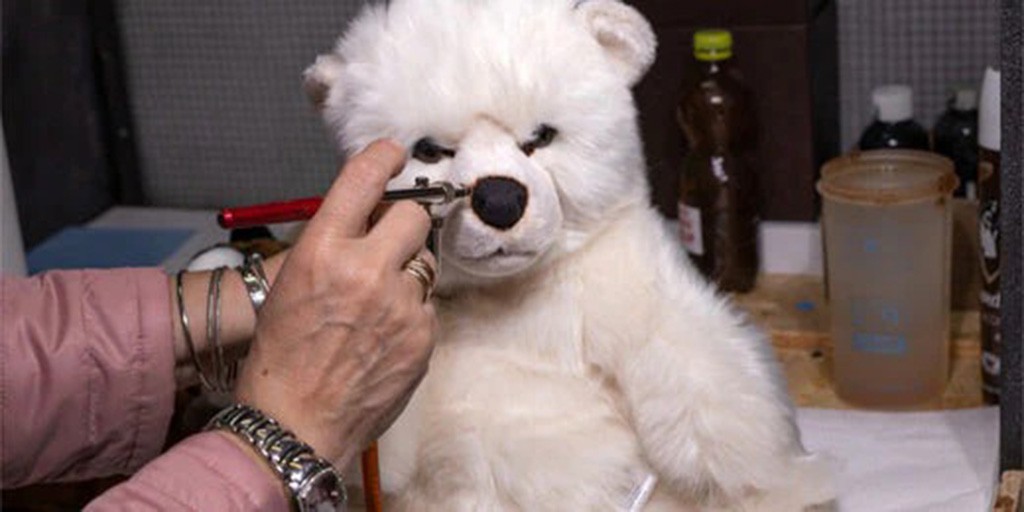
How are facial details, trims, and accessories securely attached?
The face is the heart of a stuffed animal. If the eyes are uneven or the mouth is wrong, the whole toy feels off. Details must also be safe and secure, especially for children.
For younger age groups, we usually use embroidery for eyes, nose, and mouth. For older children and adult collectors, we may sometimes use safety eyes or noses, firmly locked from the inside. Trims like bows, scarves, or clothing must be sewn in place carefully, with strong stitches and no loose parts that can be pulled off easily.
Attaching details and accessories safely
| Detail type | Common method | Safety and quality notes |
|---|---|---|
| Eyes (baby / toddler) | Embroidered directly on face panel | No hard parts; safest for young children |
| Eyes (3+ / collectors) | Safety eyes with internal washer | Must pass pull tests; not for under 3 years |
| Nose & mouth | Embroidery or applique fabric | Durable and washable, no small pieces |
| Cheeks / markings | Appliqué fabric or printing | Add character; edges must be sewn securely |
| Clothing | Integrated garment pieces or removable outfits | Buttons, snaps, and trims must match age grade |
| Bows / trims | Sewn into seams or firmly topstitched | Avoid glue-only attachments in toy production |
| Labels & tags | Woven labels, swing tags | Provide brand info, care instructions, safety marks |
In every project, I always ask: Who will use this stuffed animal, and how old are they? That answer decides which detail methods we use on the face and accessories.
How do manufacturers test and ensure safety before mass production?
For export and serious retail, a stuffed animal must be more than cute. It must be safe, compliant, and consistent. At factory level, we follow a chain of checks from raw material to finished product.
We verify fabric and stuffing quality, run pull tests and seam strength checks, and send samples to third-party labs for chemical and physical testing based on the target markets (for example, EN 71 in Europe or ASTM F963 and CPSIA in the USA). Age grading and labels are matched with the design, trims, and test results.
Safety and quality assurance steps
| Stage | What we check | Why it matters |
|---|---|---|
| Material inspection | Fabric weight, color, defects, stuffing quality | Prevents problems before sewing starts |
| Pre-production sample | Final look, feel, structure, label content | Sets the “golden reference” for production |
| Inline quality control | Seams, stuffing, details during sewing process | Catches issues early, reduces rework |
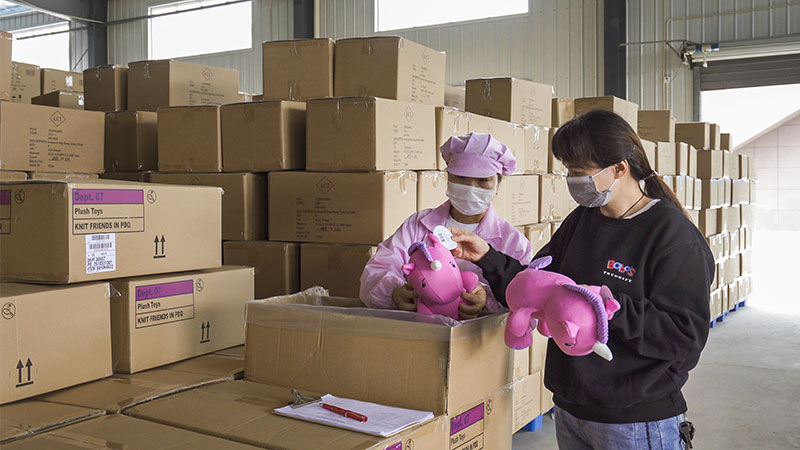
| Final inspection | Random checks on finished toys (size, seams, dirt, shape) | Keeps bulk close to approved sample |
| Lab testing | Chemical content, flammability, mechanical tests | Meets legal and retailer requirements |
| Documentation & labeling | Age grade, warnings, care instructions | Guides safe use and builds buyer confidence |
When you work with a factory like Kinwin, we support you by aligning design, materials, and safety planning from the start. This saves time and reduces risk when you move from sample to mass production.
Conclusion
Making a stuffed animal is a complete process, not a single action. You choose materials, build accurate patterns, cut and sew in a clear sequence, manage stuffing by area, attach safe details, and support everything with testing and quality control.
When you understand these steps, you can brief your factory in simple, direct language: the size you want, the level of softness, the target age group, and the look you imagine. This is how a sketch or idea turns into a stuffed animal that feels right in your customer’s hands and passes the checks of parents, retailers, and regulators.
At Kinwin, my team and I help global buyers move through this full journey—from first drawing to final shipment. If you’d like support on your next stuffed animal project, you’re welcome to contact me at [email protected] or visit kinwintoys.com. We can turn your concept into a safe, high-quality toy ready for the shelves.