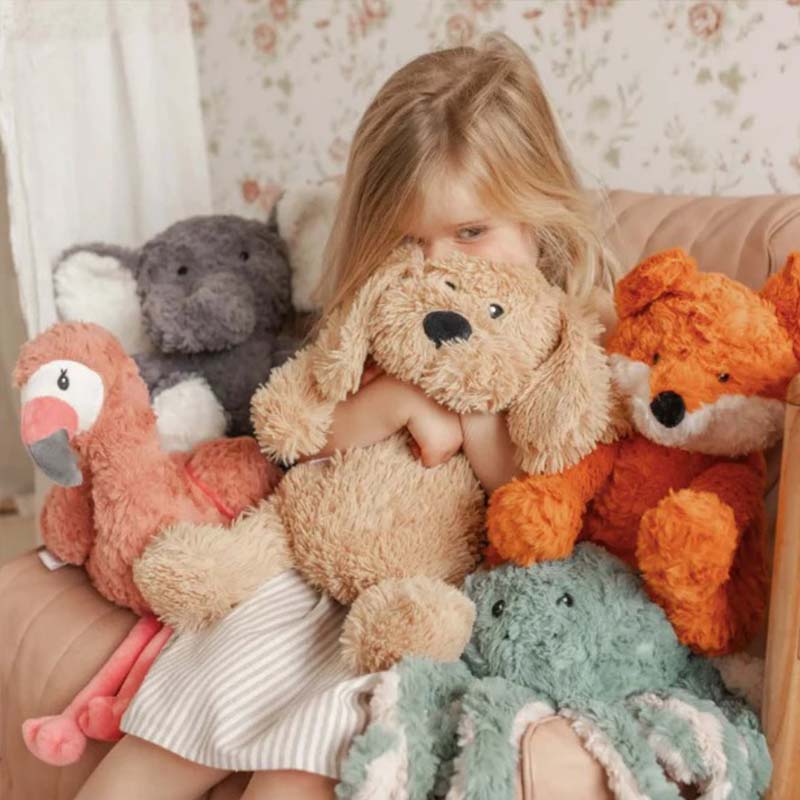
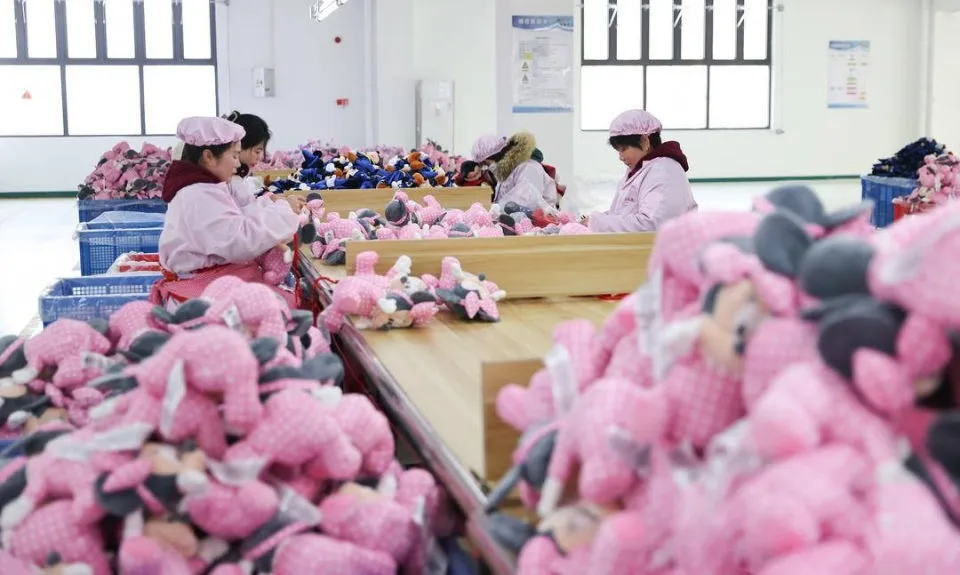
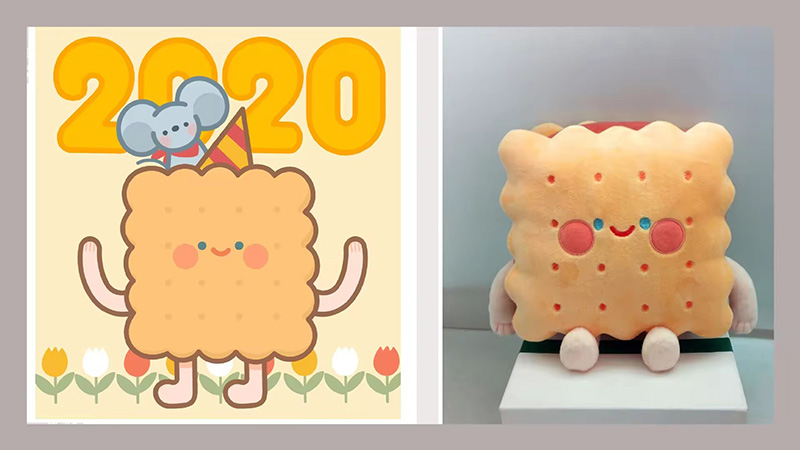
Many brands start a custom stuffed animal project with pictures instead of drawings. From my experience working with brand owners and product teams, this approach is common—and effective—when handled correctly. However, picture-based development requires a different mindset than traditional design-led projects.
Reference pictures can inspire great plush products, but they also introduce ambiguity. Photos show appearance, not structure. Without the right preparation, small misunderstandings early on can lead to large gaps between expectation and final sample.
That is why successful picture-to-plush development begins with choosing the right types of reference images. The quality and clarity of input materials directly determine how accurately a factory can interpret and reproduce your idea.
What Types of Reference Pictures Are Most Useful for Custom Stuffed Animal Development?
Not all pictures are equally useful for plush development. From my experience, the best results come when reference images clearly communicate shape, proportions, and character intent, rather than just style or mood.
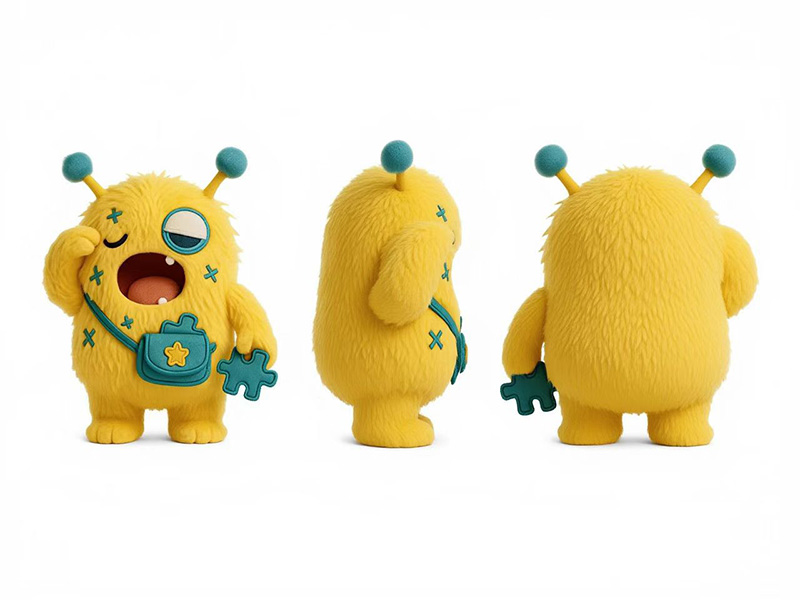
The most valuable references are multi-angle images. Front, side, and back views help designers understand volume and structure. Single-angle photos often hide critical details, forcing factories to guess—one of the main causes of inaccurate samples.
Clear lighting and resolution matter. High-quality images reveal edges, curves, and transitions between parts. Blurry or heavily filtered photos reduce usable information, especially for facial features and seam planning.
Close-up detail shots are also important. Eyes, noses, mouths, ears, and accessories often define character identity. Without clear close-ups, factories may simplify or misinterpret these elements during pattern making.
Another helpful category is comparative references. Including photos that show size relative to common objects or people helps clarify scale. Plush size perception can differ greatly without context.
Finally, functional references add value. If the plush needs to sit, stand, hug, or wear accessories, images showing posture or interaction help designers plan internal structure and balance.
| Reference Type | Limited Use | High-Value Use | Development Impact |
|---|---|---|---|
| Viewing angles | Single angle | Front / side / back | Accurate structure |
| Image quality | Blurry / filtered | Clear & well-lit | Better interpretation |
| Detail shots | Missing | Facial & part close-ups | Feature accuracy |
| Scale reference | None | Size comparison included | Correct proportions |
| Functional context | Static pose | Interaction / posture | Better form planning |
For buyers, the goal of reference pictures is clarity, not quantity. Well-chosen images reduce guesswork and give OEM factories the information they need to turn visual ideas into accurate, manufacturable stuffed animals.
How Do Designers Translate 2D Images into 3D Plush Structures?
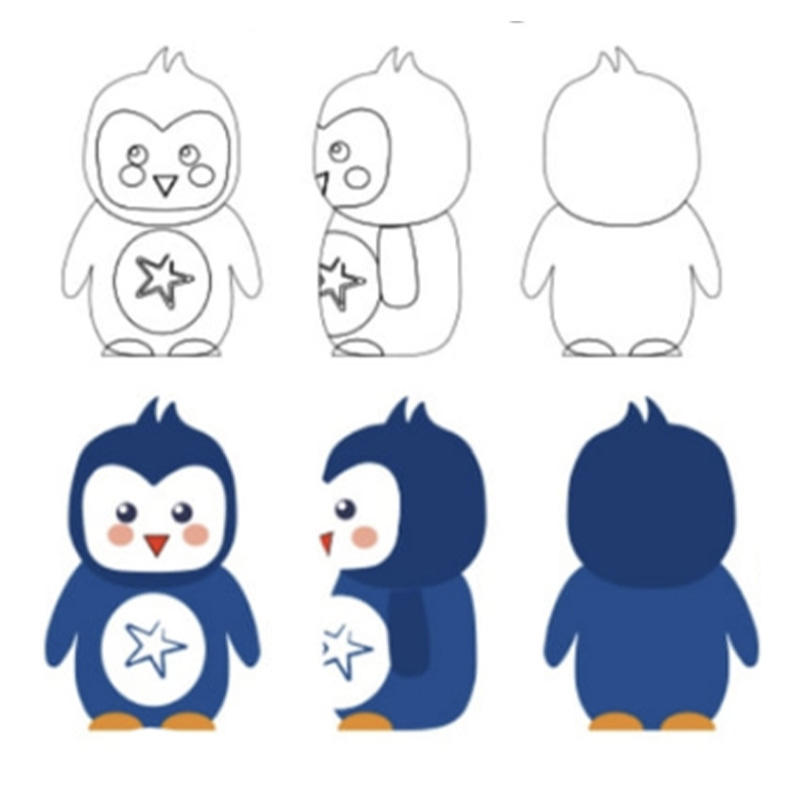
Translating a flat image into a three-dimensional plush is a structural interpretation process, not a simple visual copy. From my experience, the accuracy of this step largely determines whether a sample feels “right” when held, not just when viewed.
Designers start by identifying primary volumes—head, body, limbs, and any extensions. Even if a picture looks simple, each part must be defined as a 3D form with depth, curvature, and connection points. This prevents flat-looking or unstable plush results.
Next comes proportion mapping. Designers estimate relative size relationships between parts based on visual cues. This includes head-to-body ratio, limb thickness, and feature placement. Because photos distort perspective, experienced designers normalize proportions to match real-world plush balance.
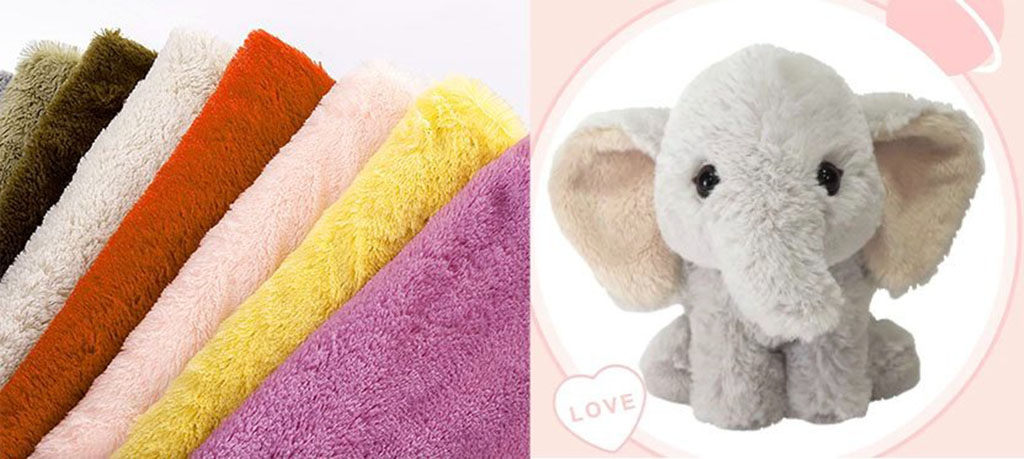
Seam logic is then established. Designers decide where seams should sit to best express shape while supporting efficient sewing. Seam placement affects expression, symmetry, and durability. Poor seam logic is a common reason plush looks “off” even when colors match.
Material behavior is also considered early. Soft plush fabrics stretch and compress, changing how shapes read in 3D. Designers adjust structure to account for pile height, elasticity, and stuffing response—details not visible in photos.
Finally, designers create structural guides—sketches, notes, or internal references—that communicate intent to pattern makers. This bridge between design and pattern is critical for consistency.
| Translation Step | Weak Approach | Professional Approach | Plush Outcome |
|---|---|---|---|
| Volume definition | Visual guess | Clear 3D segmentation | Stable structure |
| Proportion mapping | Photo-based only | Normalized ratios | Balanced form |
| Seam planning | Afterthought | Shape-driven logic | Clean appearance |
| Material behavior | Ignored | Adjusted for fabric | Natural look |
| Design-to-pattern handoff | Verbal only | Documented guides | Accurate execution |
For buyers, understanding this process explains why two factories can see the same picture and produce very different results. Designers who think in structure—not just appearance—are essential for turning 2D images into convincing 3D stuffed animals.
How Are Key Features, Proportions, and Expressions Interpreted from Reference Photos?

Interpreting features and expressions from photos is where most picture-to-plush gaps occur. From my experience, success depends on separating what must be copied precisely from what must be adapted for plush construction.
Designers first identify key identity features. These are the elements that make the character recognizable—eye shape and spacing, nose size, mouth curve, ear position, or signature markings. These features receive priority and tighter tolerance during development.
Proportions come next. Photos often exaggerate or compress perspective, especially for faces. Professional teams adjust proportions to suit plush physics—larger heads for stability, slightly simplified limbs for durability—while preserving the character’s visual identity.
Expression interpretation is especially delicate. A plush cannot reproduce every subtle facial nuance from a photo. Designers focus on emotional direction (happy, calm, playful, serious) and use simplified shapes, embroidery angles, or stitch curves to express that emotion clearly.
Feature depth is also reinterpreted. Flat images may suggest depth that does not exist in fabric form. Designers decide which elements should be raised, embroidered, appliquéd, or stitched flat—balancing realism with manufacturability.
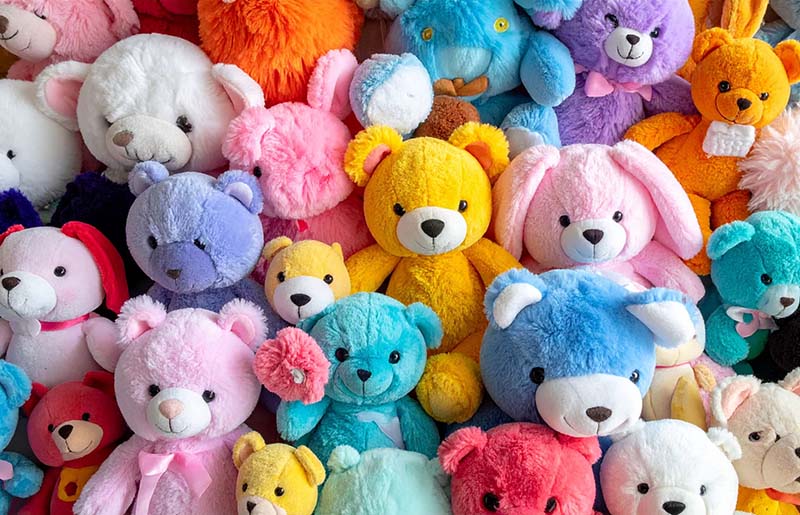
Finally, consistency matters more than realism. Professional manufacturers aim for expressions that look the same across units, not overly complex details that vary from piece to piece.
| Interpretation Area | Common Risk | Professional Handling | Accuracy Result |
|---|---|---|---|
| Identity features | Treated equally | Priority features defined | Recognizable plush |
| Proportion handling | Photo distortion copied | Plush-balanced ratios | Natural form |
| Facial expression | Over-detailed | Emotion-focused simplification | Clear character |
| Feature depth | Random choice | Purposeful construction | Clean execution |
| Consistency | High variation | Repeatable expression | Stable output |
For buyers, understanding feature interpretation helps set realistic expectations. The goal is not to copy a photo pixel by pixel, but to capture the character’s essence in a form that works reliably as a stuffed animal.
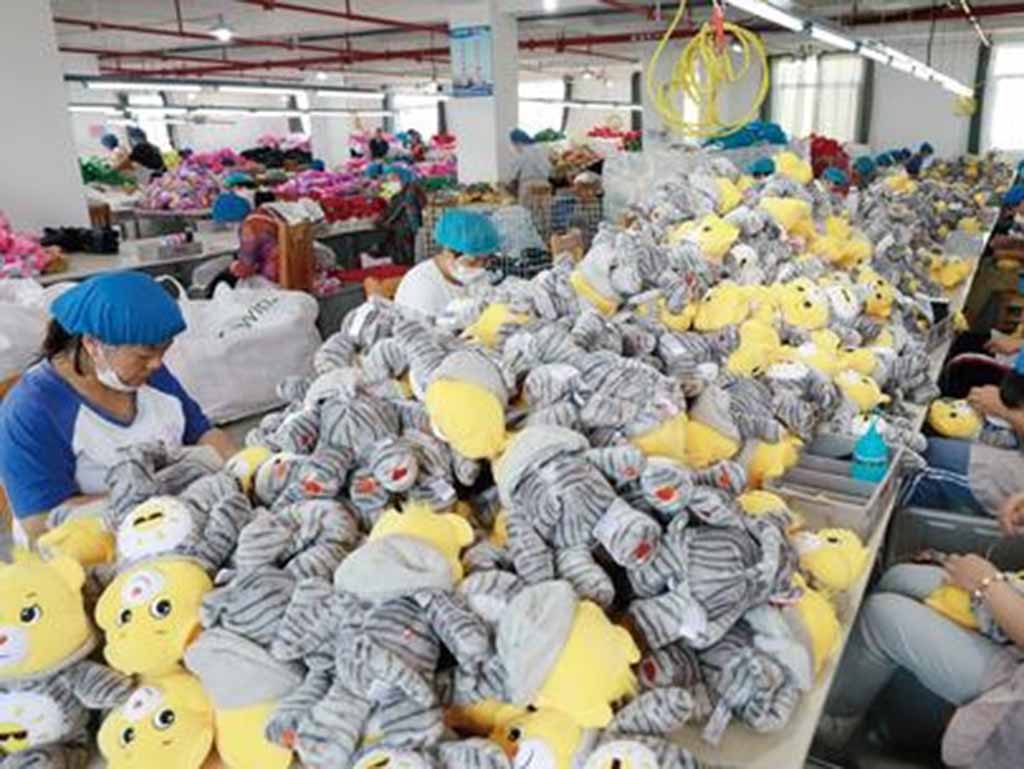
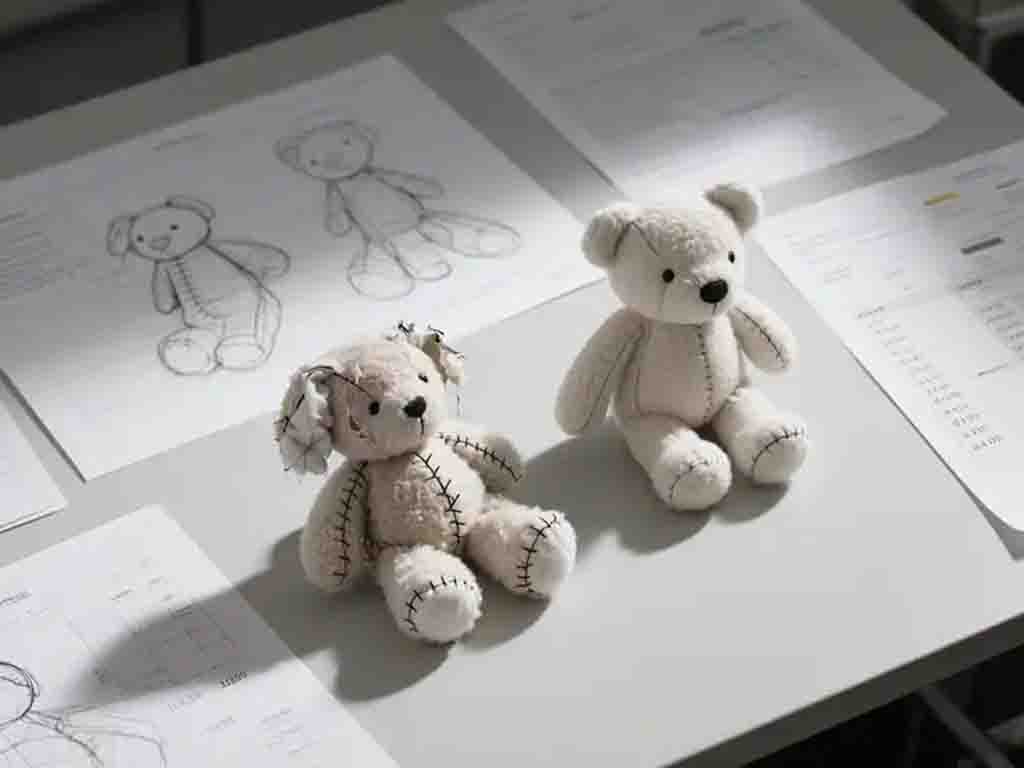
What Role Do Pattern Making and Prototyping Play When Working from Pictures?
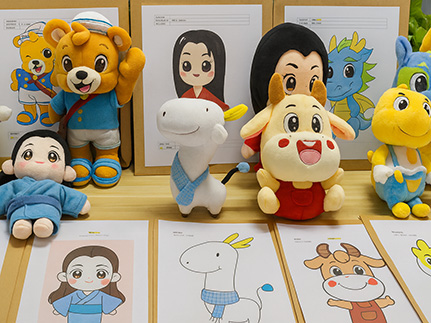
When developing stuffed animals from reference pictures, pattern making and prototyping are the critical translation stages where ideas either become accurate—or drift off course. From my experience, this is where professional factories create the biggest difference.
Pattern making turns visual interpretation into measurable structure. Skilled pattern makers break the design into pattern pieces that control volume, symmetry, and connection points. Working from pictures requires extra judgment, because dimensions are inferred rather than defined. Professional teams document assumptions and confirm them during prototyping.
Prototyping then tests those assumptions. The first sample is not expected to be perfect—it is a verification tool. It reveals whether proportions feel right, whether features sit naturally, and whether the plush balances when held or placed. Without this physical feedback, picture-based development remains theoretical.
Iteration discipline matters. Professional manufacturers revise patterns methodically—adjusting one variable at a time and tracking changes. This prevents overcorrection, a common issue when multiple features are changed without control.
Another key role of prototyping is manufacturability validation. Samples are evaluated not only for appearance, but also for sewing difficulty, material behavior, and repeatability. Designs that look good once but cannot be reproduced consistently are refined early.
Finally, pattern locking is essential. Once a sample is approved, patterns are frozen and version-controlled. This ensures that future samples and mass production remain aligned with the approved reference.
| Development Stage | Weak Practice | Professional Practice | Development Outcome |
|---|---|---|---|
| Pattern creation | Visual guessing | Structured assumptions | Controlled shape |
| Prototype purpose | Cosmetic check | Structural validation | Early correction |
| Revision method | Random changes | Step-by-step adjustments | Faster convergence |
| Manufacturability | Considered later | Evaluated in sample | Scale-ready design |
| Pattern control | Informal updates | Version-locked patterns | Consistent output |
For buyers, strong pattern making and disciplined prototyping turn pictures into reliable blueprints. This stage ensures that creative intent is preserved while preparing the design for consistent production.
How Can Buyers Review and Adjust Samples to Match Reference Images More Accurately?
When working from reference pictures, sample review is not about saying “yes” or “no”—it is about guiding accuracy through structured feedback. From my experience, buyers who review samples systematically achieve far higher picture-to-plush fidelity than those who rely on general impressions.
The first step is side-by-side comparison. Buyers should review the sample next to the reference images from the same angle. This helps identify proportion differences, feature placement shifts, and expression changes that are easy to miss when viewed separately.
Next is priority-based feedback. Not every difference carries the same weight. Buyers should clearly identify which elements are critical to identity—such as eye shape, head size, or ear position—and which areas allow flexibility. This prevents factories from overcorrecting minor details while missing core issues.
Using visual markup improves clarity. Simple annotations on photos—circles, arrows, short notes—communicate intent far better than long text descriptions. Markups reduce interpretation gaps, especially across language differences.
Measurement feedback also matters. When size or proportion feels off, buyers should request or provide reference measurements (overall height, head width, limb length). Even approximate targets help pattern makers adjust more precisely.
Another effective approach is controlled iteration. Buyers should request focused changes per revision cycle rather than multiple broad adjustments. This keeps development stable and speeds convergence.
Finally, confirmation is essential. After adjustments are made, buyers should ask factories to summarize what was changed and what remains the same. This closes the loop and prevents misalignment in the next sample.
| Review Method | Unclear Approach | Effective Buyer Practice | Accuracy Gain |
|---|---|---|---|
| Visual comparison | Separate viewing | Same-angle comparison | Clear gap detection |
| Feedback focus | Everything equally | Priority features defined | Identity preserved |
| Communication | Text-only | Photo markup | Faster understanding |
| Size guidance | “Feels wrong” | Reference measurements | Precise adjustment |
| Revision control | Many changes at once | Step-by-step changes | Stable progress |
| Confirmation | Assumed | Change summary requested | Fewer surprises |
For buyers, structured sample review turns feedback into direction, not confusion. When adjustments are prioritized, visualized, and confirmed, reference-based development becomes far more accurate and efficient.
How Does Clear Communication with OEM Factories Improve Picture-to-Plush Accuracy?
Clear communication is the final multiplier in picture-to-plush accuracy. From my experience, even strong designers and pattern makers cannot deliver accurate results if communication is fragmented, reactive, or undocumented.
The first requirement is shared reference clarity. Buyers and factories should confirm which images are primary references and which are secondary inspiration. When multiple photos conflict, professional teams agree on priority early to avoid mixed interpretation.
Next is structured briefs. Beyond sending pictures, buyers should provide short, focused notes: target size, preferred softness, key features that must not change, and acceptable simplifications. This turns images into actionable instructions rather than open-ended inspiration.
Regular checkpoints improve alignment. Instead of waiting for a finished sample, professional OEM workflows include interim confirmations—materials, embroidery method, feature placement—so corrections happen early, not after weeks of work.
Language simplicity also matters. Short sentences, bullet points, and visuals reduce misunderstanding, especially in cross-border projects. Clear does not mean detailed—it means unambiguous.
Documentation closes the loop. Each revision should be summarized and confirmed before moving forward. This creates a shared record that protects accuracy when teams change or projects pause.
Finally, trust improves efficiency. When communication is clear and consistent, factories spend less time guessing and more time executing—leading to better samples in fewer iterations.
| Communication Element | Common Risk | Best Practice | Accuracy Outcome |
|---|---|---|---|
| Reference priority | Conflicting images | Primary/secondary defined | Clear direction |
| Design brief | Images only | Images + key notes | Actionable guidance |
| Checkpoints | Final-only review | Interim confirmations | Early correction |
| Language style | Long explanations | Simple & visual | Faster understanding |
| Documentation | Informal chats | Confirmed summaries | Stable alignment |
| Collaboration tone | Reactive | Trust-based & clear | Fewer iterations |
For buyers, clear communication transforms picture-based development from trial-and-error into a controlled process. When intent is shared early and confirmed often, OEM factories can deliver plush samples that closely match reference images—both visually and structurally.
Conclusion
Creating custom stuffed animals from reference pictures succeeds when images, structure, pattern making, and communication work together. With clear inputs and disciplined OEM collaboration, pictures can be turned into accurate, scalable plush products.
📧 Contact: [email protected]
🌐 Visit: https://kinwintoys.com