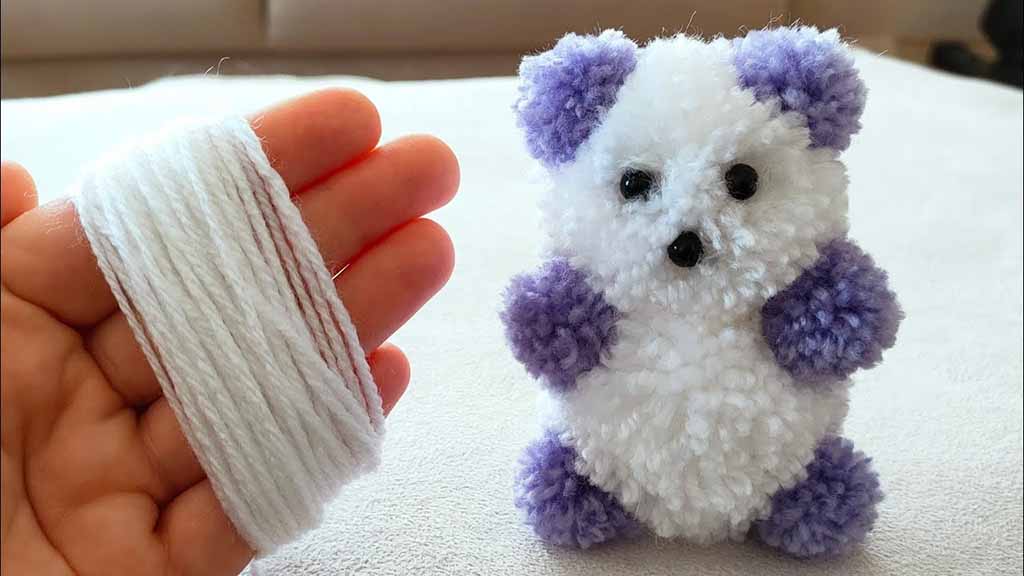
Turning a plush into a keychain is a smart way to extend a character line, create low-cost gifts, and give your customers a “carry everywhere” version of their favorite toy. When the mini plush is well designed and safely constructed, it becomes a powerful branded accessory for bags, keys, and backpacks.
To make a plush into a keychain, you first choose suitable fabrics and hardware, adjust the design for small size, and plan a secure attachment point. Then you sew and reinforce key stress areas, fine-tune the stuffing so the mini plush holds its shape, and finish with clean trimming and safety checks. With a clear process, you can move easily from full-size plush to a professional keychain series that fits global markets.
What materials and tools are needed to turn a plush into a keychain?
Good materials and tools are the base of every successful plush keychain. At small size, every detail becomes more noticeable. Fabric, stuffing, thread, and hardware must work together to keep the keychain light, strong, and safe for daily use on bags and keys.
For most plush keychains, you will use soft but durable outer fabrics (minky, short plush), polyester fiberfill, strong polyester thread, and specialized hardware such as key rings, lobster clasps, or ball chains. You also need basic sewing tools, and in factory settings, simple jigs to keep hardware positions consistent.
A quick overview looks like this:
| Category | Example Items | Purpose | Notes for brands |
|---|---|---|---|
| Outer fabric | Minky, short plush, velboa | Soft “skin” of the mini plush | Short pile works best at small scale |
| Inner filling | Polyester fiberfill (PP cotton) | Shape and softness | Use less, but keep density controlled |
| Thread | High-strength polyester thread | Seams and attachment points | Essential for daily handling on bags |
| Hardware | Key ring, lobster clasp, ball chain | Attachment to keys, bags, zippers | Choose style to match age group and brand |
| Connectors | Ribbon loop, webbing, fabric tab, elastic | Join hardware to plush body | Should be strong and tightly sewn |
| Tools | Scissors, needles, sewing machine, pliers | Cutting, sewing, attaching hardware | Small pliers help close jump rings cleanly |
High-quality hardware is important. Thin, weak rings may bend or open easily, which leads to lost plush and bad reviews. For OEM and ODM projects at Kinwin, we usually test several hardware samples to match your budget and durability targets.
How do you modify or downsize a plush for keychain-friendly proportions?
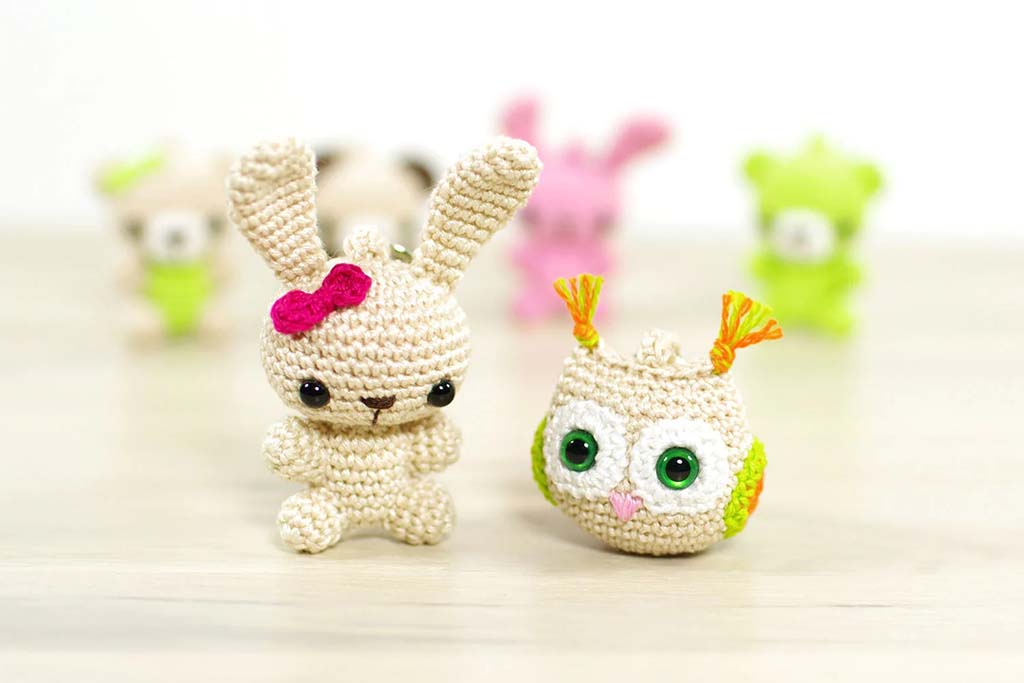
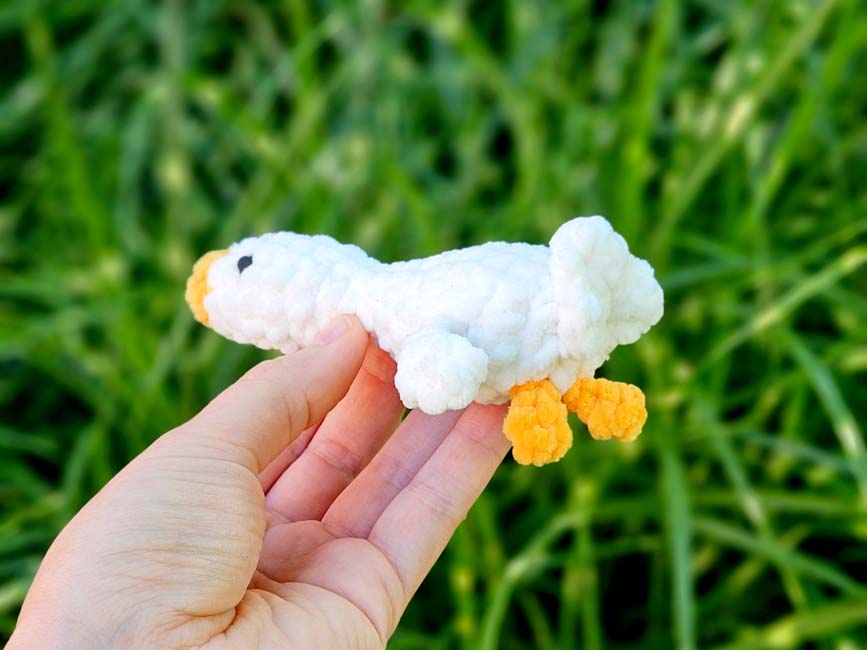
Not every full-size plush can simply be “shrunk” into a keychain. When you reduce the size, some details become too small, seams get crowded, and the overall silhouette may lose its charm. A keychain plush needs simplified lines and a strong, readable shape even at 8–12 cm total height.
To modify a plush for keychain use, you usually start from the main character and simplify shapes, remove tiny details, and adjust proportions so the head and body still look cute at small scale. Limbs are often shortened or merged into a simpler body shape. The goal is to keep the “soul” of the character while making the pattern easy to sew and stuff at miniature size.
Here is how full-size and keychain versions often differ:
| Design Aspect | Full-size Plush | Keychain Plush Adaptation |
|---|---|---|
| Overall size | 20–40 cm | About 8–12 cm |
| Proportions | More realistic or balanced | Slightly bigger head, shorter limbs |
| Facial details | More lines and color changes | Simplified, fewer but clear details |
| Small accessories | Scarves, bags, complex clothing | Simplified or removed, or printed instead |
| Pattern complexity | Many panels for shaping | Fewer panels, simplified curves |
Simplifying shapes without losing character
At small size, strong silhouettes work best. When we convert designs at Kinwin, we often:
- Make the head slightly larger than in the full-size version
- Reduce or merge small panel pieces (for example, one-piece arms)
- Replace embroidered micro-details with simple shapes or color blocks
- Use printed fabric or simplified embroidery instead of tiny appliqués
This keeps the mini plush recognizable while making production practical.
Choosing the right keychain size
Most B2B buyers choose keychain plush heights between 8–12 cm. Smaller than that can feel too tiny and hard to handle; larger than that may feel bulky and heavy on keys. You can also create two sizes: a smaller charm for keys and a slightly larger one for bags and backpacks.
What methods securely attach keychain hardware to a plush toy?
The attachment point is the most critical area for function and safety. If the hardware is not well anchored, the keychain will break, or the plush may tear away from the ring. This leads quickly to returns and complaints.
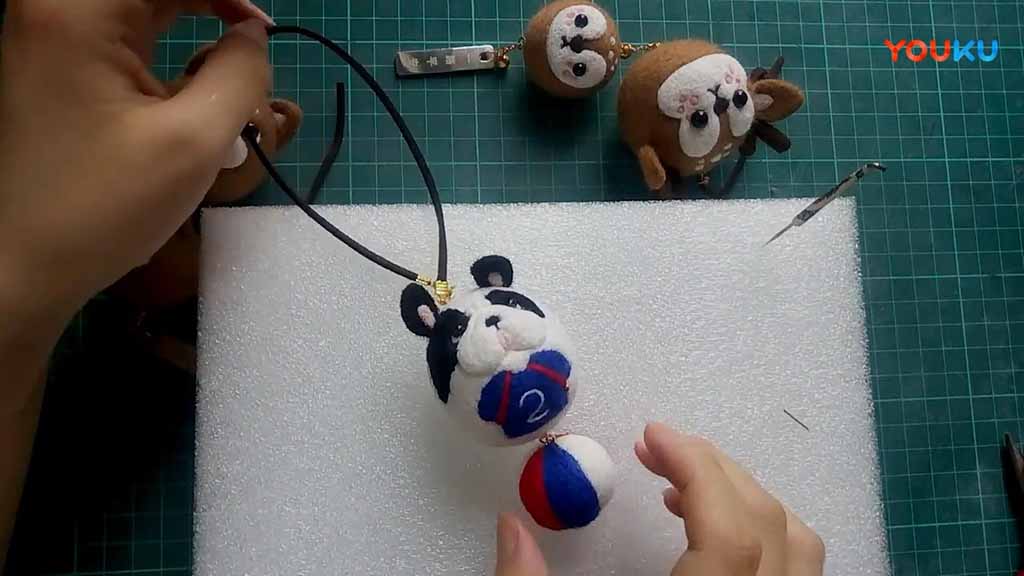
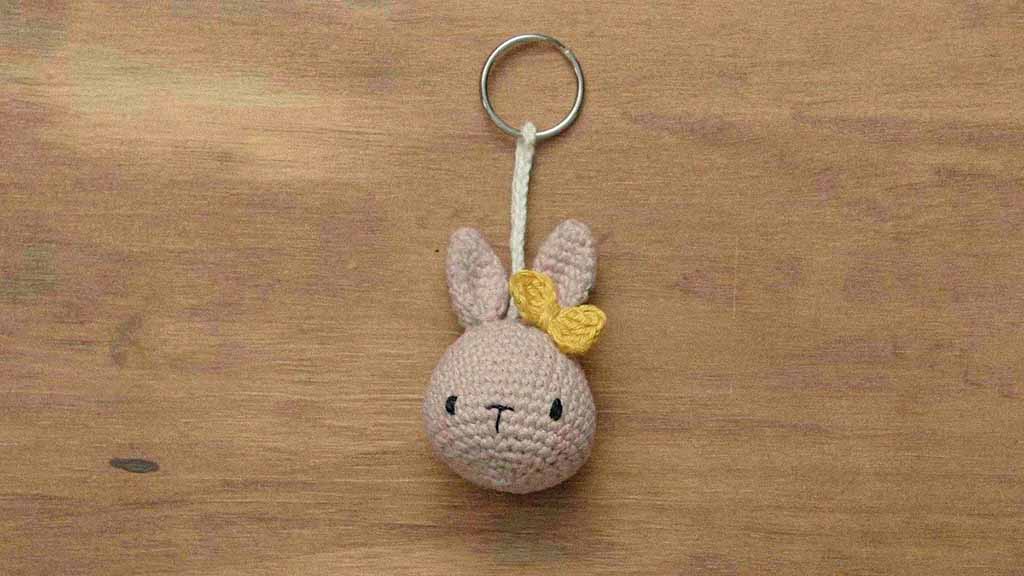
To attach keychain hardware securely, you usually create a strong loop or tab on the top or back of the plush, then connect it with a key ring, lobster clasp, or ball chain. The loop is sewn deep into the head or body seam, sometimes with extra internal fabric for reinforcement. For children’s products, the connection must be smooth, with no sharp edges or open metal ends.
Below is a simple comparison of common attachment methods:
| Attachment Method | How It Works | Pros | Points to watch |
|---|---|---|---|
| Fabric loop in seam | Fabric tab sewn into head or back seam | Clean look, strong when well reinforced | Needs strong stitching and good fabric |
| Ribbon/webbing loop | Strong ribbon folded and sewn into seam | Good strength, slim profile | Use high-quality ribbon or webbing |
| Elastic loop | Elastic cord sewn into seam | Flexible movement, playful feel | Must be thick enough to avoid snapping |
| Plastic hanger insert | Small plastic piece inside head | Consistent location, used in factories | Must be fully covered and tested |
| Direct ring through eyelet | Ring attached to sewn eyelet or D-ring | Adjustable hardware, easy replacement | Only for older users, check for snags |
Best placement for hardware
Most keychain plush toys use a top-of-head attachment point. This feels natural for hanging on bags and lets the plush hang straight. For some designs, a loop on the back, ear, or hat can also work, but the toy should still hang in a stable way.
For production, we normally add the loop or plastic hanger during sewing, not after. It goes between panels so the internal seam holds it firmly.
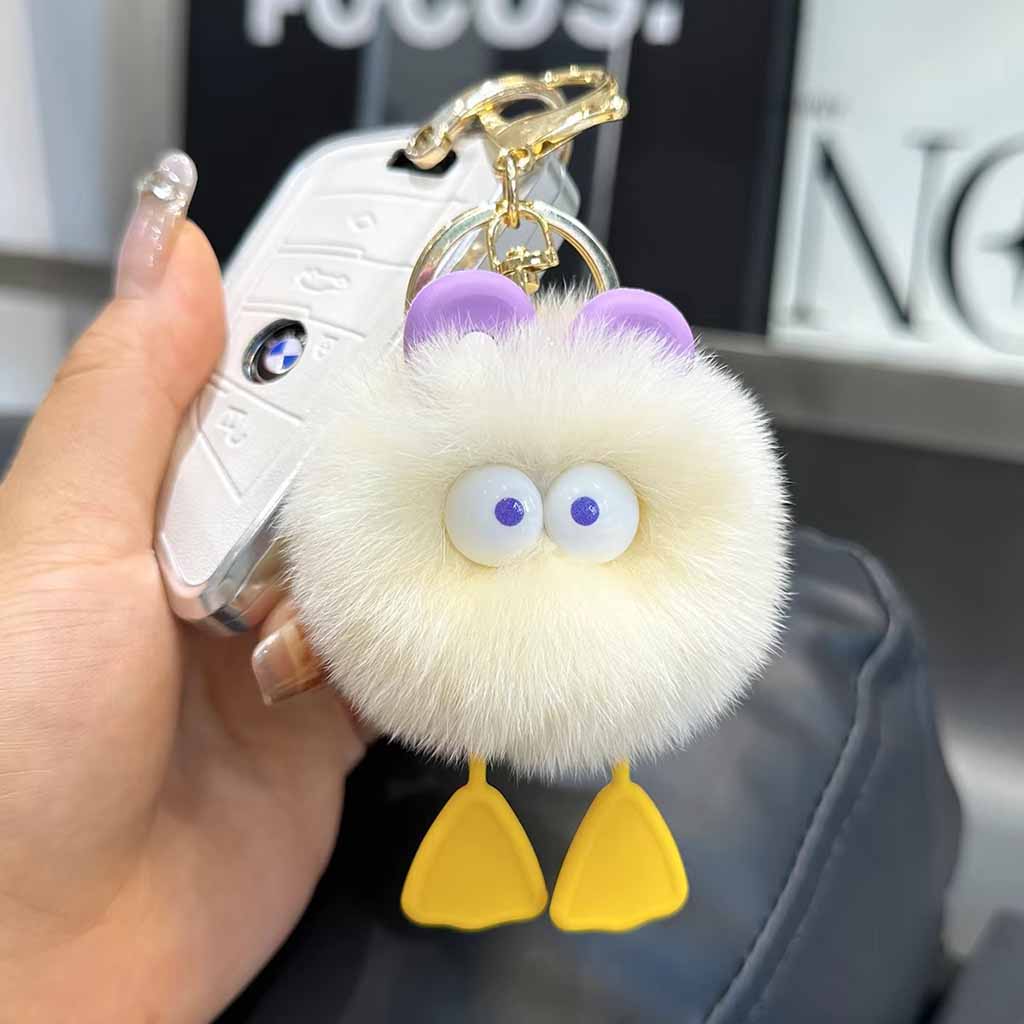
Choosing hardware based on your target user
- For young kids and school bags: key rings and lobster clasps with rounded, smooth shapes.
- For teens and adults: ball chains or more stylish metal parts can work.
Your manufacturer can suggest hardware that matches your brand’s look and your market’s safety expectations.
How do you reinforce seams and stress points for long-term durability?
Keychain plush toys face more pulling, swinging, and friction than regular plush. They are hung on zippers, thrown into bags, and bumped against other items. Reinforcing seams and stress points is essential if you want your products to survive real-world use.
Reinforcement focuses on the areas where hardware and loops meet the plush, as well as the neck, top seam, and any thin limbs. Extra stitches, strong thread, and sometimes additional internal fabric patches help spread the stress and prevent tearing.
You can think about stress points like this:
| Stress Area | Typical Risk | Reinforcement Method |
|---|---|---|
| Loop / tab attachment | Loop tearing away from body | Double or triple stitching, internal patch |
| Top seam of head | Fabric tearing under hardware weight | Wider seam allowance, backstitching |
| Neck area | Head/body separation under pull | Extra seam passes, inner support |
| Thin limbs | Limbs ripping off during play | Strong seam, avoid ultra-thin shapes |
| Hardware connection | Ring opening or deforming | Quality metal, closed rings, checked joins |
Stitching techniques for added strength
In factory production, we often:
- Use shorter stitch length in stress areas
- Add a second row of stitches near the loop
- Backstitch (reverse stitching) over loop sections to lock seams
For small runs or handmade work, you can also add a small square of strong fabric (like woven tape or extra plush backing) inside the head where the loop is attached. This spreads the tension and protects the plush fabric.
Balancing durability and aesthetics
Reinforcement should not make the plush look bulky or stiff. The aim is to hide strength inside. When pattern and sewing are planned well, the keychain looks soft and cute, but inside it carries a strong “skeleton” around key points.
How do you add or adjust stuffing to maintain shape at miniature size?
Stuffing has to be handled differently at keychain size. If you use the same stuffing density as a full-size plush, the mini version may become too hard or look over-inflated. If you use too little, it will look flat and cheap.
For keychain plush, stuffing must be added in small amounts, with special attention to the head and body balance. The toy should keep a clear silhouette, but still feel light and slightly squeezable. Inside the head, stuffing also helps support the loop or hanger area.
Here is a simple stuffing plan for mini plush:
| Area | Stuffing Level (Mini Plush) | Goal | Notes |
|---|---|---|---|
| Head | Medium–firm | Maintain face shape and support loop | Avoid stretching fabric near hardware |
| Body | Medium | Soft but not sagging | Slightly softer than head |
| Arms / legs | Low–medium | Flexible and not stiff | Can be flatter to reduce sewing difficulty |
| Ears / extras | Low | Light detail without bulk | Sometimes can remain unstuffed |
| Base / bottom | Medium | Stable hanging and display | Optional: small pellet pouch for weight |
Techniques for small-scale stuffing
- Tear fiberfill into very small pieces before inserting.
- Use a thin wooden stick or chopstick to reach narrow areas.
- Start with limbs or small parts, then fill head and body.
- Check the toy from all sides while stuffing and adjust as needed.
When we create samples at Kinwin, we often compare a few stuffing levels side by side. This helps you experience the difference yourself and choose the feel that matches your brand and customer group.
Managing weight and swinging comfort
Keychains should not be too heavy, especially if used on keys or small bags. It is better to rely on good pattern shape and moderate stuffing instead of heavy fillings. If you need some extra weight for stability, a small inner pouch with a few pellets can be used in the base, but always with safety and age group in mind.
What finishing steps ensure a clean, safe, and professional plush keychain?
Finishing is where a mini plush moves from “handmade-looking” to “market-ready.” At keychain size, small errors become easy to see: loose threads, uneven faces, or crooked loops can all stand out quickly in customer photos and reviews.
After assembly, you need to trim threads, align faces, check hardware, and run simple safety checks. This final step helps ensure the keychain looks neat, hangs correctly, and is safe to use.
A practical finishing checklist looks like this:
| Checkpoint | How to Test / Inspect | Pass Criteria |
|---|---|---|
| Thread trimming | Inspect all seam lines and hardware area | No loose or long dangling threads |
| Face alignment | Look directly at the face and from side | Eyes level, mouth balanced, expression clear |
| Loop and hardware angle | Hang keychain by hardware | Plush hangs straight, not twisted |
| Seam integrity | Gently tug on head, loop, and limbs | No opening seams or visible gaps |
| Hardware closure | Open and close clasp or ring | Smooth action, no sharp edges or cracks |
| Surface cleanliness | Visual check of plush surface | No stains, marks, or fabric damage |
Safety and age considerations
If your keychain line is targeted at teens or adults, safety rules are more flexible but still important. For younger age groups, you must check:
- No sharp corners on metal parts
- Strong attachment of hardware and loops
- No small detachable parts likely to break under force
In a factory environment, we combine visual checks with random pull tests on hardware and loops to simulate daily use.
Presenting your keychain as a professional product
Packaging can also support a professional look:
- Simple backing cards with your logo
- Small hangtags explaining the character or collection
- Sets or blind boxes for collectible series
When finishing and presentation are well handled, your plush keychain line can sit confidently next to larger plush items and still feel part of the same family.
Conclusion
Turning a plush into a keychain is a smart way to extend your character world and create everyday touchpoints with your customers. When materials, downsizing, hardware attachment, reinforcement, stuffing, and finishing are all handled with care, your mini plush keychains become durable, safe, and highly “giftable” items. At Kinwin, my team supports global buyers in developing keychain versions of their plush designs, from pattern simplification and hardware selection to CE- and ASTM-compliant production.
If you plan to add plush keychains to your product line or upgrade an existing design for better durability and quality, we are ready to help. You are welcome to contact me at [email protected] or visit kinwintoys.com to discuss how our factory can turn your characters into successful, market-ready plush keychains.