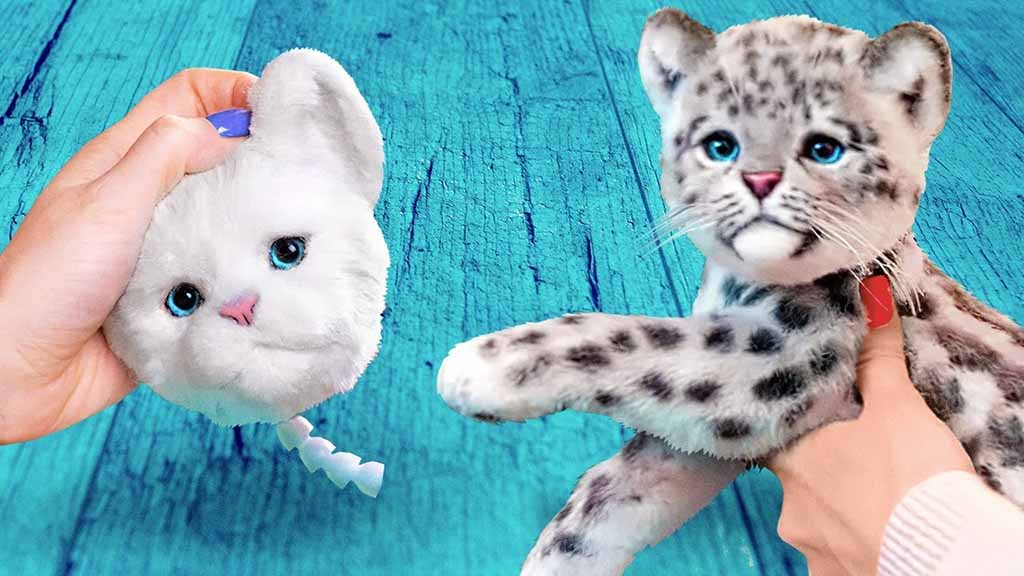
When someone hugs a cat plush and smiles, they are really reacting to many small decisions you made: materials, pattern, sewing, stuffing, and finishing. As a manufacturer, I see every cat plush as a mix of engineering and emotion.
To make a cat plush, you need soft plush or fleece fabric, polyester fiberfill, strong thread, and a clear pattern that captures feline proportions. Clean sewing, carefully placed facial details, balanced stuffing, and a final quality-check turn simple materials into a polished toy that feels soft, looks cute, and holds its shape over time.
In this guide, I’ll walk you through the full process—from choosing fabrics to final checks—so you can think like a professional plush maker even if you are sewing in a small studio.
What materials and tools are required to make a cat plush?
Before thinking about cute ears or whiskers, you need a stable material base. The wrong fabric or stuffing makes the cat look flat, twist after washing, or feel scratchy. The right materials help you get smooth curves, a cozy handfeel, and strong seams.
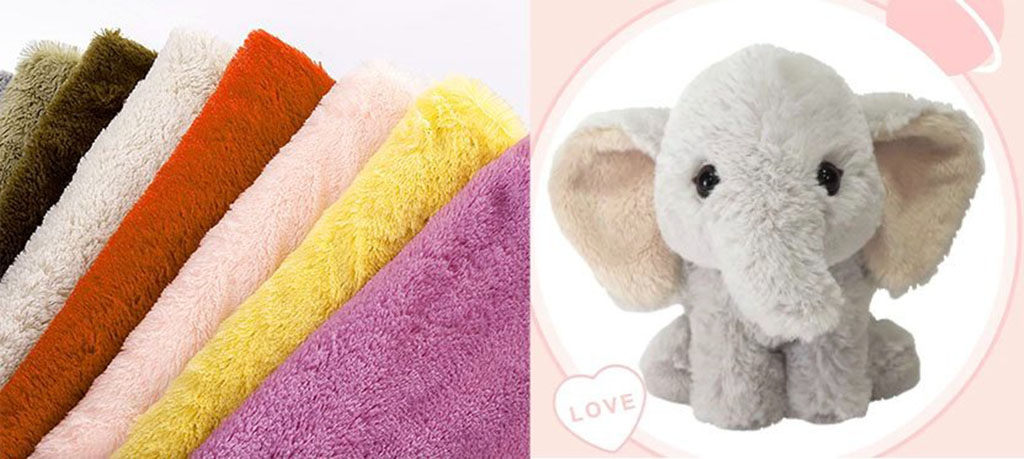
For most cat plush projects, I recommend polyester plush or minky for the outer shell and polyester fiberfill for stuffing. These are the same types of materials we use in factory production for brands worldwide because they are soft, durable, and easier to pass safety tests.
You will need soft outer fabric (minky, short-pile plush, or fleece), polyester fiberfill, strong polyester thread, and basic sewing tools such as scissors, pins, needles, and a sewing machine (optional). Adding felt or embroidery thread for eyes and nose, plus simple pattern paper and a stuffing stick, will support clean details and balanced shaping.
Recommended materials and tools
| Category | Items | Why They Matter |
|---|---|---|
| Outer fabric | Minky, short-pile plush, or fleece | Controls softness, look, and ease of sewing |
| Lining/support | Felt or firm fabric (for ears/muzzle, optional) | Keeps certain areas flat and crisp |
| Stuffing | Polyester fiberfill | Creates volume, softness, and resilience |
| Thread | Polyester sewing thread | Strong, low stretch, good for plush seams |
| Facial details | Embroidery thread, felt pieces | Safe, durable eyes, nose, and mouth |
| Marking tools | Fabric chalk, erasable pen | Helps transfer patterns accurately |
| Cutting tools | Fabric scissors, small snips | Clean edges and precise trimming |
| Sewing tools | Needles, pins/clips, sewing machine (optional) | Secure seam construction |
| Shaping tools | Stuffing stick, ruler, paper for patterns | Balanced stuffing and accurate measurements |
Once your basic kit is ready, you can focus on design without being blocked by missing supplies.
How do you design patterns that capture accurate feline proportions?
Even when you stylize a cat, the plush still needs to “read” as feline at first glance. That comes from proportions and silhouette: head-to-body ratio, leg length, body curve, and tail position. You don’t need a perfect anatomical cat, but you do need consistent choices.
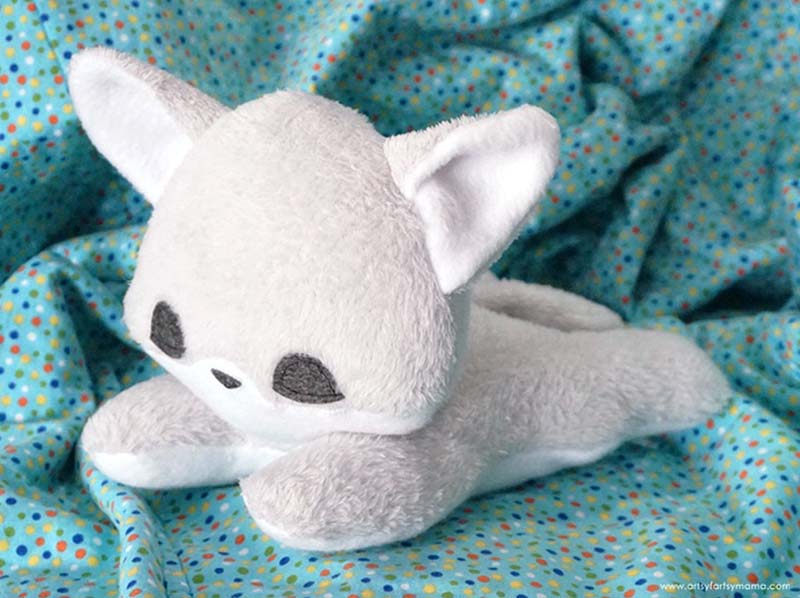
I suggest starting with a simple sitting or standing pose. These poses are easier to pattern and display nicely on a bed or shelf. Decide early whether your cat will be realistic, chibi (big head, small body), or somewhere between.
To design patterns that capture feline proportions, sketch your cat from the front and side, choose a clear pose, then break the silhouette into simple shapes: head, body, legs, and tail. Convert these shapes into flat pattern pieces with seam allowances, and test them with a quick fabric mock-up before cutting your final plush fabric.
Key steps for pattern design
| Step | What You Do | Result |
|---|---|---|
| Define size & pose | Choose height, sitting or standing style | Clear design target for your pattern |
| Sketch front & side | Draw simple cat outlines with big shapes | Visual guide for proportions |
| Segment the body | Separate head, body, legs, tail, ears, muzzle | List of pattern pieces you need |
| Draft paper pieces | Add seam allowance (5–7 mm) around all outlines | Ready-to-use templates for fabric cutting |
| Test prototype | Sew a quick sample in cheap fabric | Corrects shape issues before using plush fabric |
For beginners, a two-part body (front and back) with separate legs and tail is easiest. Later, you can move to more advanced 3D patterns using gussets for the head and belly to get smoother curves.
What sewing and assembly techniques shape the cat’s body, head, and limbs?
Once your pattern is ready, sewing and assembly turn flat fabric into a 3D cat. The goal is simple: smooth curves, matched seams, and strong joints. There is a logical order that makes everything easier: small parts first, then head, then body, then join them.
Use a sewing machine for long seams if you have one, and hand stitches for small, curved areas or final closures. Keep seam allowance even so the left and right sides match.
Start by sewing ears, legs, and tail, then assemble and close the head, and finally join the stuffed head to the body. Use straight stitches for long seams, backstitch or double stitching on stress points, and ladder stitch at openings. Clipping curves and corners before turning helps your cat plush keep smooth, natural lines around the face and body.
Suggested assembly order
| Step Order | Part | Main Task |
|---|---|---|
| 1 | Ears | Sew right sides together, turn, optionally topstitch |
| 2 | Legs & tail | Sew around edges, leave opening for stuffing |
| 3 | Head (without stuffing) | Attach ears into head seam, sew head pieces together |
| 4 | Body | Sew front and back, leave opening at bottom/back |
| 5 | Join head & body | Sew neck seam with double stitching |
| 6 | Stuff limbs, body, head | Fill and then close openings with ladder stitch |
Useful stitches and techniques
| Technique | Where to Use It | Benefit |
|---|---|---|
| Straight machine stitch | Main seams on body, head, legs, tail | Strong, clean construction |
| Backstitch (hand) | High-stress joints (neck, leg base) | Extra strength in small areas |
| Ladder (invisible) stitch | Final openings after stuffing | Almost invisible closure, professional look |
| Clipping notches | Around curved seams | Helps fabric lie flat without bulges |
| Double stitching | Around neck and upper legs | Reduces risk of seam failure over time |
Think of the cat’s skeleton as you sew: legs must attach securely to support the body; the neck seam must hold the head without wobbling; and the tail should be anchored deeply enough that it cannot tear off easily.
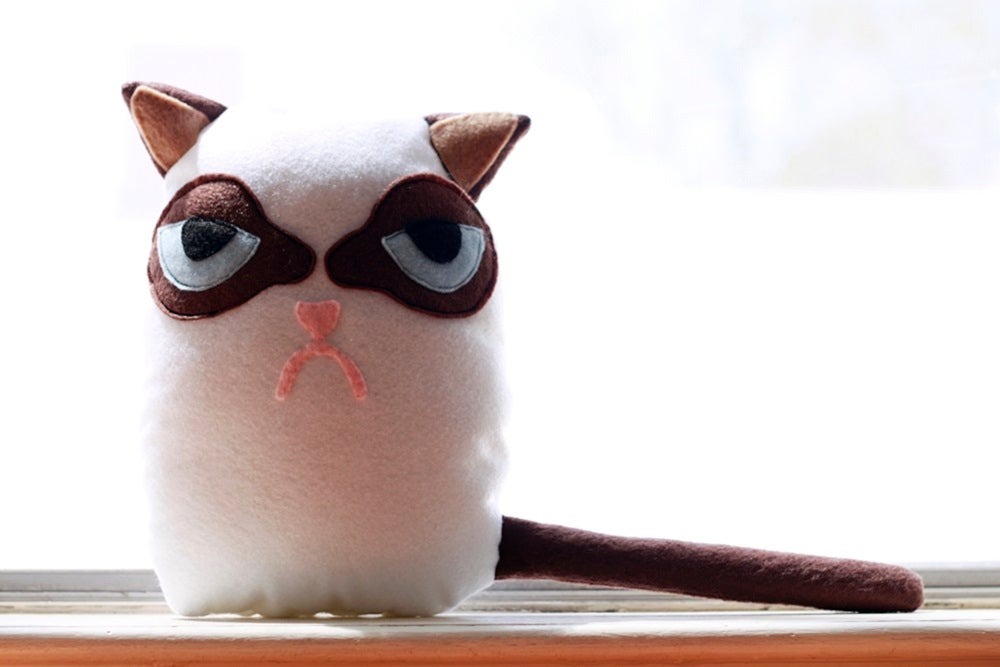
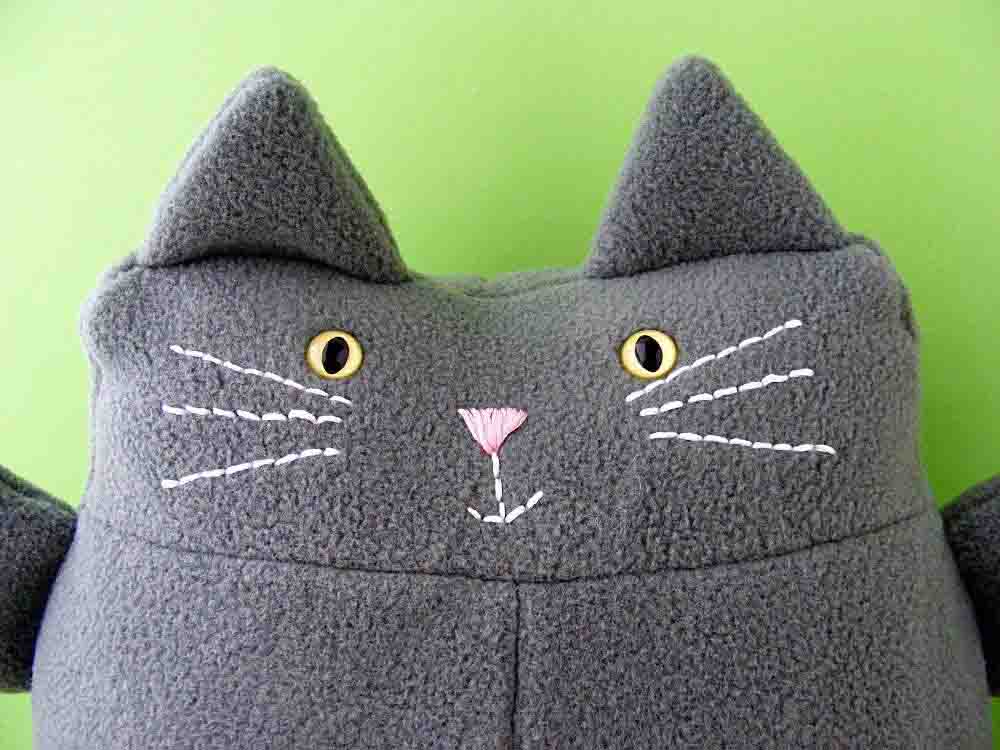
How do you add facial details, ears, and tail features with precision?
Face and features make your cat come alive. Even with perfect sewing, a misplaced eye or crooked nose can make the plush look “off.” The safest and most durable options for details are embroidery and securely sewn felt pieces.
Plan your face while the head front panel is still flat. Once you sew and stuff the head, small adjustments are much harder. For ears and tail, think about direction and attitude: upright ears look alert; slightly tilted ears feel cute and playful; a curved tail gives a relaxed or happy vibe.
Mark the facial center lines, then position eyes, nose, and mouth evenly around them. Use embroidery or carefully stitched felt for eyes and nose, attach ears into the head seam so they stand neatly, and secure the tail with deep seam allowance and reinforcement stitches. Taking time with alignment and stitching at this stage gives your cat plush a clean, expressive look.
Feature-planning guide
| Feature | Key Decisions | Practical Tips |
|---|---|---|
| Eyes | Size, spacing, and shape (round, almond, kawaii) | Keep equal distance from center line and same height |
| Nose | Triangle, heart, or oval shape | Place slightly below eye line, centered |
| Mouth | Simple “Y” or “W” curve | Lightly draw template before stitching |
| Ears | Size, angle, and placement on head | Pin and check in mirror before final sewing |
| Tail | Length and curve (straight, curled, S-shaped) | Add internal support (felt) if long and thin |
Detail methods
| Method | Best For | Notes |
|---|---|---|
| Embroidered eyes/nose | Baby-safe, high durability | Takes more time but no hard parts |
| Felt appliqué | Clear shapes, stylized designs | Always sew around all edges, do not rely on glue |
| Safety eyes (for older kids) | Strong, shiny, plastic look | Only if you can meet small-parts safety needs |
| Tail topstitching | Defining stripes or fur texture | Use contrasting thread for subtle markings |
Before final stitching, step back and look at the face from a distance. If you like the expression from across the room, it will likely look good in photos and on shelves too.
How is stuffing applied to achieve balanced softness and realistic form?
Stuffing is where many handmade plush toys fail: too much and the cat feels hard and distorted; too little and it collapses and looks cheap. The secret is to vary stuffing density in different body zones and build up volume gradually with small handfuls of fiberfill.
For a cat plush, you usually want a medium-firm head, a medium-soft body, and limbs that are slightly softer so they can pose gently without looking empty. The tail can be lightly stuffed or partly flat, depending on style.
Begin stuffing from smaller parts (legs, tail, ears if needed), then move to the head and finally the body. Use small tufts of fiberfill pushed gently into corners, then layer more until the shape is full but still squeezable. Adjust filling so the plush can sit or stand without tipping, and make sure both sides of the cat feel balanced in weight and softness.
Recommended stuffing levels
| Area | Suggested Firmness | Reason |
|---|---|---|
| Head | Medium to firm | Keeps face smooth, ears stable |
| Body | Medium | Comfortable to hug yet holds shape |
| Front legs | Light to medium | Soft drape for natural poses |
| Back legs | Medium | Helps sitting position stay stable |
| Tail | Light | Allows gentle curve without stiffness |
Stuffing process tips
- Limbs first
- Fill paws slightly more than upper legs so they keep volume.
- Ensure left and right legs feel similar.
- Head second
- Start stuffing from the farthest points (ears, cheeks), then move inward.
- Pay special attention behind the face to keep fabric smooth.
- Body last
- Add fiberfill in layers from bottom to top.
- Check sitting or standing balance as you go.
- Balance check
- Place the cat plush on a table or bed.
- Adjust stuffing if it tilts or collapses in one direction.
Once you are happy with the shape and feel, you can close all openings with ladder stitch, pulling the thread carefully so the seams blend into the fur.
What finishing and quality-check steps ensure a polished cat plush?

The final stage turns your cat plush into something that looks and feels ready for sale or gifting. Finishing is not only about appearance; it is also about safety and durability. You want to make sure seams are secure, details cannot be pulled off easily, and the plush looks clean and inviting.
A simple quality checklist—very similar to what we use in factory QA—helps you catch problems early. Check symmetry, seams, stuffing, details, and surface. Trim thread tails and brush or smooth the fabric for a tidy look.
To finish a cat plush, close all openings with ladder stitch, reinforce high-stress joints if needed, trim loose threads, and lightly groom the surface. Then inspect symmetry, seam strength, stuffing balance, and detail security. If the plush sits or stands well, looks clean from all angles, and has no loose parts, it is ready as a polished final product.
Finishing and quality-check checklist
| Check Area | What to Look For | Fix If Needed |
|---|---|---|
| Seams | No gaps, popped stitches, or visible holes | Reseam with backstitch or machine stitch |
| Symmetry | Eyes, ears, legs aligned left-to-right | Adjust stuffing or resew if difference is big |
| Stuffing | No hard lumps, flat spots, or empty zones | Add or remove stuffing and massage lightly |
| Features | Eyes, nose, ears, tail firmly attached | Add extra stitches, especially on children’s toys |
| Surface | Clean, no loose fibers or pencil marks | Trim, brush, or lightly spot-clean |
| Stability | Plush can sit or stand as intended | Adjust leg stuffing or tail support |
When everything passes your own quality standard, your cat plush will feel much closer to a professionally produced toy, not just a quick craft.
Conclusion
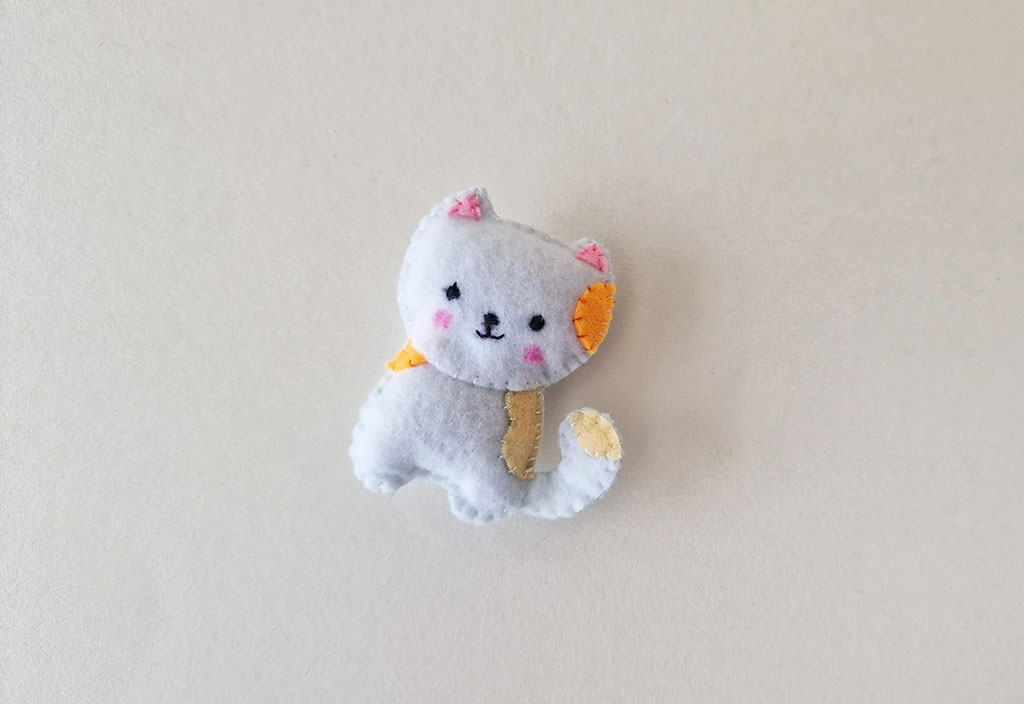
A well-made cat plush combines soft materials, smart pattern design, careful sewing, balanced stuffing, and thoughtful finishing into one friendly character that people want to hug and keep.
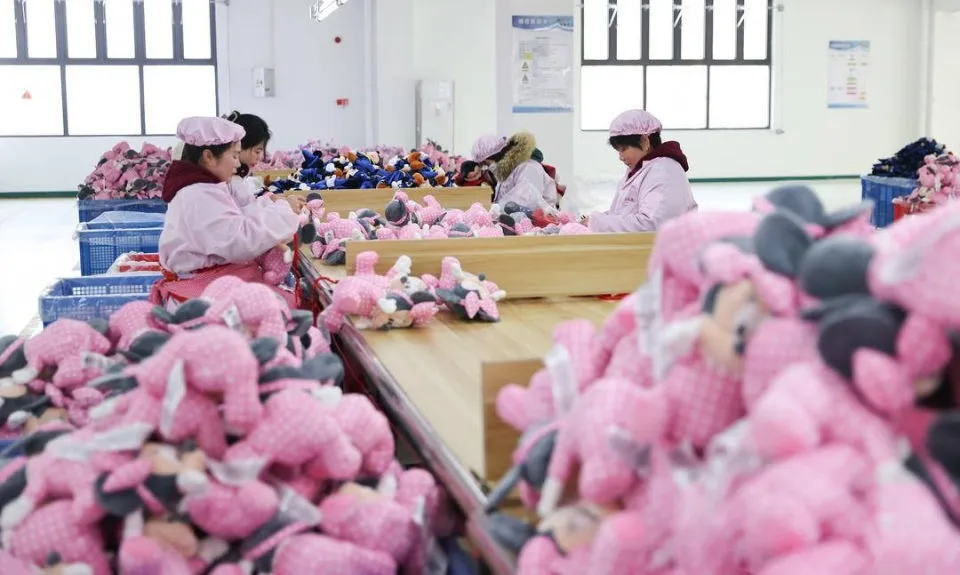
At Kinwin, we apply the same step-by-step logic to OEM and ODM plush projects for global brands—from simple sitting cats for baby lines to stylized mascot cats for fandom and gifting. If you ever want to move from handmade pieces to factory-scale production with full safety support, you’re very welcome to contact me at [email protected] or visit kinwintoys.com to explore how our team can help.