Skip to content
 Designing a “Makeship-style” plush is about more than making something cute. You’re creating a limited-run collectible that has to match a creator’s character, feel premium in hand, and survive shipping to fans all over the world.
Makeship itself is a crowdfunding platform that partners with creators to design and manufacture high-quality, limited-edition plush and other products, then produces only after campaigns hit a minimum goal. I am not affiliated with Makeship, but as a plush factory owner I often get requests for “Makeship-style” plush: compact chibi proportions, clean embroidery, strong branding, and collector-level finish. In this guide, I’ll show you how to plan and produce that level of product with a manufacturer like us.
Let’s walk through materials, design, patterning, sewing, details, and production workflow so your next plush feels ready for a campaign from day one.
What materials and tools are needed to create a Makeship-style plush?
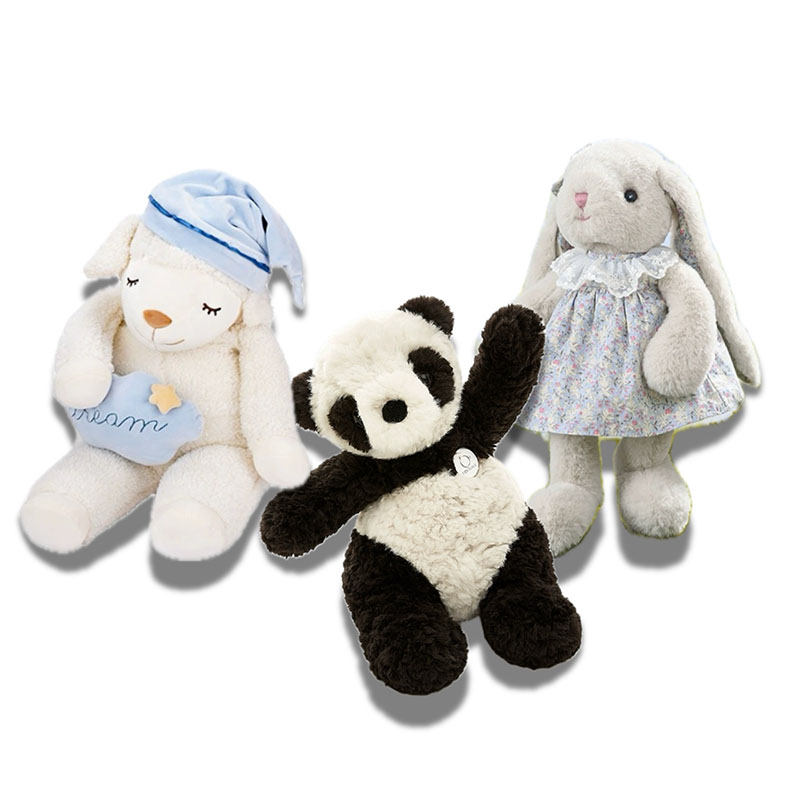
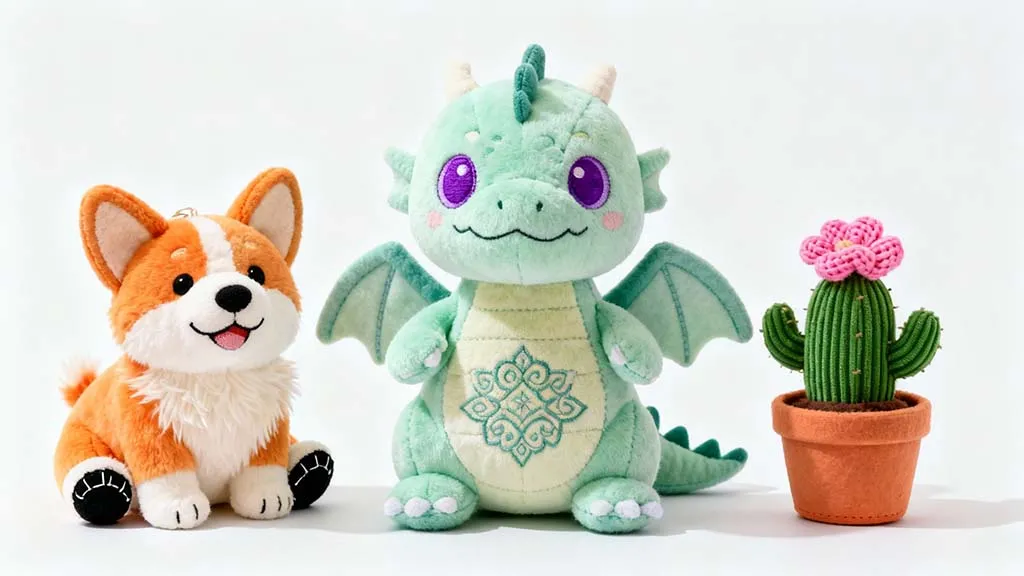
A Makeship-style plush is usually a compact, stylized character plush with strong shelf presence and “premium but huggable” feel. To get there, you need to plan materials and tools like a collectible, not just a generic toy.
Most creators want: soft outer fabric, stable stuffing, clean embroidery, and enough internal structure so the plush stands or sits nicely in photos and on fans’ shelves. That means choosing mid-to-high grade materials and avoiding the cheapest options, even if your MOQ is small.
Key material and tool choices
| Category | Typical Options for Makeship-Style Plush | Why It Matters for Collectible Quality |
|---|---|---|
| Outer fabric | Short plush / velboa, minky, sometimes low-pile faux fur | Soft handfeel, good color saturation, durable pile |
| Lining & support | Tricot knit lining, felt reinforcements in feet/face, stabilizer | Helps keep crisp shapes (ears, feet, hats, wings) |
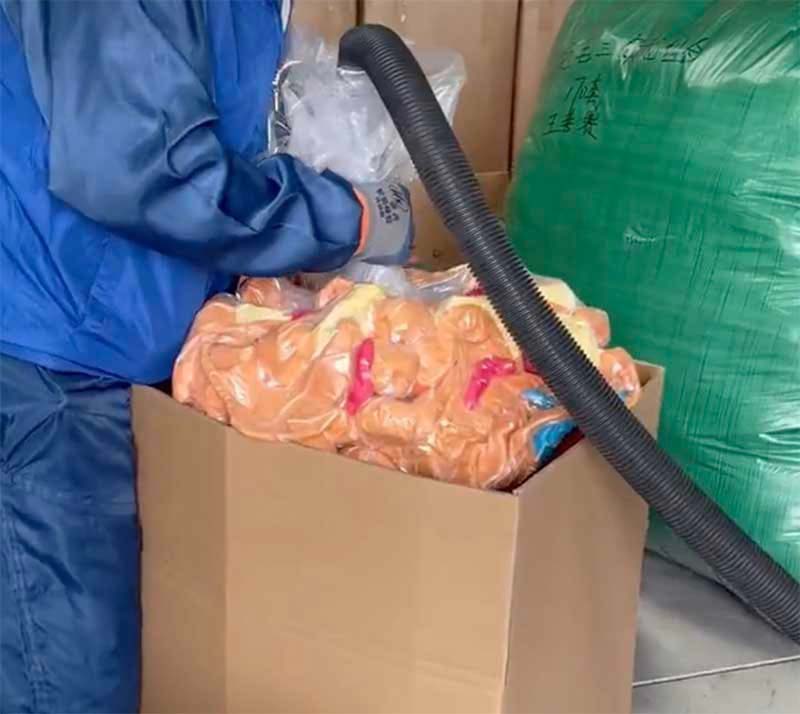
| Stuffing | High-resilience polyester fiberfill; optional poly pellets for weight | Balanced softness, better rebound, more “premium” feel |
| Embroidery thread | Polyester embroidery thread with accurate color chart | Sharp lines, durable eyes/mouth/details |
| Accessories | Custom clothing, small props, printed tags, woven labels | Adds value and character, helps branding |
| Pattern tools | Pattern paper, French curves, rulers, digital pattern software | Precise chibi proportions and symmetry |
| Sewing equipment | Domestic or industrial sewing machines, overlockers, hand needles | Clean, strong seams; reduced seam puckering |
| QC & measuring tools | Measuring tapes, template boards, sample checklists | Keeps size and proportions consistent across production |
When you brief a factory, share not only your art but also how you want the plush to feel: very soft and floppy, medium-firm collectible, or weighted and grounding. That makes it much easier for us to choose the right fabric weight and stuffing density.
How do you convert a character concept into a production-ready plush design?
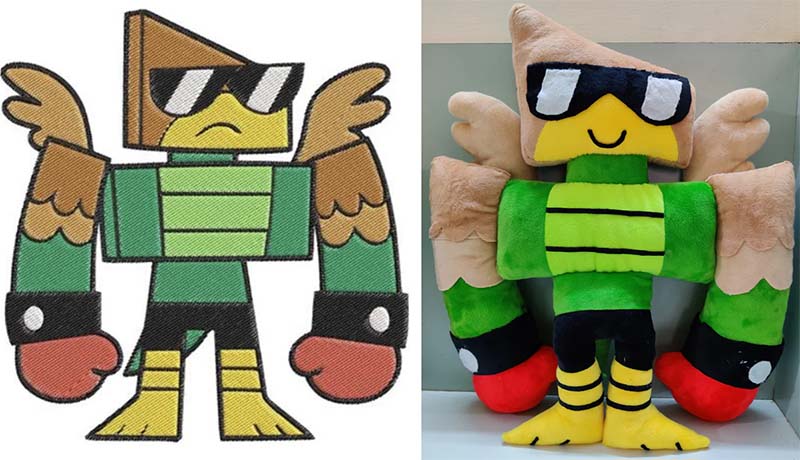
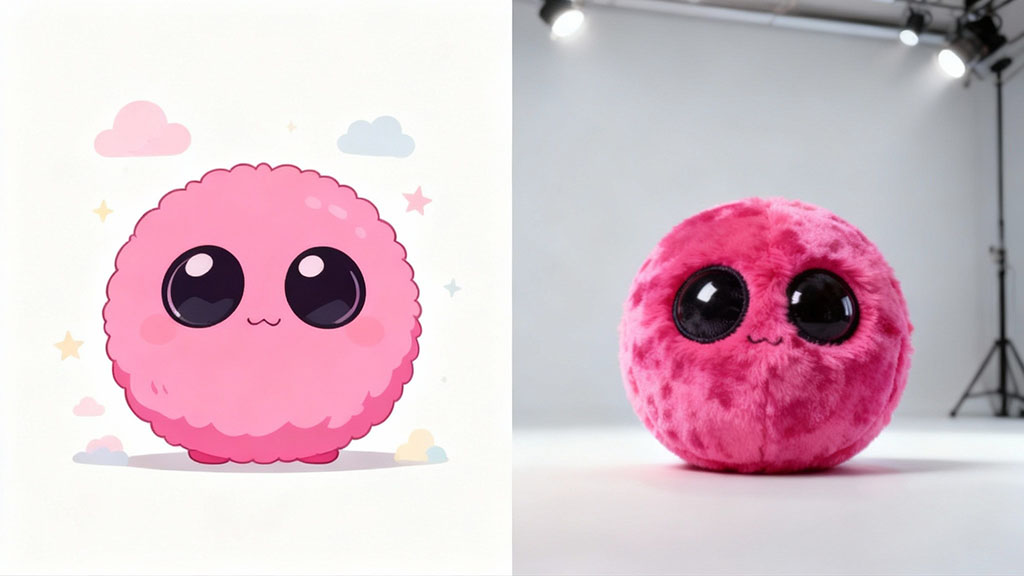
Creators usually start with 2D art: a VTuber, streamer avatar, game character, or comic mascot. To make a Makeship-style plush, you must translate that art into a simplified, chibi-like 3D form while protecting key identity points (hair shape, outfit, colors, props).
Platforms like Makeship work closely with creators to create a “digital product design” that includes views, dimensions, and a color guide for manufacturing. Even if you work directly with a factory like mine, you still need the same design package.
From character to plush design
| Step | What You Provide / Decide | Why It Matters |
|---|---|---|
| Core reference art | Front, side, and back views of the character | Gives designers a clear base for 3D translation |
| Chibi / plush simplification | Bigger head, shorter body, simplified details | Keeps plush readable and cute from any angle |
| Priority features | Hair silhouette, eye style, outfit elements, props | Protects character identity in simplified form |
| Color guide | Pantone / RGB / HEX references for each element | Keeps colors consistent through sampling and bulk |
| Size target | Total height and rough width depth (e.g. 20–25 cm) | Guides pattern scale and stuffing volume |
| Pose & expression | Standing, sitting, arms open, neutral or dynamic face | Influences balance, pattern pieces, and seam layout |
Practical process to convert concept to plush
- Collect references
Gather all character art, brand guidelines, and any “don’t change this” notes from the creator. - Decide plush style
Agree on chibi level: ultra-deformed (huge head) or softer stylization. This ties directly to your target audience and shelf presence. - Simplify details
Remove tiny lines, micro-accessories, complex textures that won’t translate well into fabric. Instead, emphasize big, recognizable shapes. - Create a turn-around sheet
Prepare front, side, back, and sometimes ¾ view of the plush design. Add notes on materials, embroidery areas, and any 3D parts like capes or removable jackets. - Lock dimensions and color guide
Finalize approximate height (e.g. 22 cm) and assign specific colors to each part. This is what the factory will follow during patterning and embroidery file setup.
A clear production-ready design keeps you from losing weeks on small misunderstandings and lets the factory move smoothly into pattern drafting and sampling.
How do pattern drafting and prototyping ensure accurate Makeship proportions?
Makeship-style plush typically follow compact chibi proportions: larger head, shortened limbs, and a body that feels stable when sitting or standing. This is similar to classic chibi style where the head can be around one third to one half of total height.
Pattern drafting is where these proportions become real. A good factory will combine standard body bases (proven shapes that stand and sit well) with your unique character elements to keep both stability and personality.
Pattern and prototype planning
| Element | Typical Approach for Makeship-Style Plush | Impact on Final Look & Feel |
|---|---|---|
| Overall height | 18–28 cm for most campaigns | Easy to display, ship, and hold |
| Head-to-body ratio | Often 1:1 or 1:1.5 (head : body) | Chibi look, large face area for expression |
| Body style | Standing, sitting, or “beanie” style base | Influences balance and perceived cuteness |
| Limb construction | Simple tubes or sculpted arms/legs | Affects pose, hugging feel, and complexity |
| Gussets & darts | Added in head and body to shape cheeks, belly, and back | Creates 3D volume and reduces flat areas |
| Prototype iterations | 1–3 rounds typically before final approval | Allows fine-tuning of size, face, and balance |
How the pattern–prototype loop works
- Draft the base pattern
The pattern maker translates your turn-around art into 2D pieces: head panels, torso, arms, legs, ears, accessories. They apply chibi ratios and add seam allowances. - Cut in sample fabric
We cut the first sample in intended fabric (or a very close substitute) to test real-world softness, stretch, and color. - Sew and stuff a prototype
The sample team follows planned sewing order and stuffing density to build a first plush. At this stage, we mainly check proportions and silhouette. - Review and mark changes
You and the factory review photos or a physical sample. You might adjust:- Head size relative to body
- Eye and mouth placement
- Belly volume or ability to sit
- Ear, tail, or hair shape
- Update pattern and repeat if needed
We revise pattern pieces and produce a second, more refined prototype until you feel it matches your vision and feels “Makeship-level” in hand.
Pattern and prototyping are where you lock the core identity of your plush. If you rush this step, no amount of later embroidery or accessories will fully fix the base shape.
What sewing and assembly techniques achieve premium collectible quality?

Even the best pattern can look cheap if sewing and assembly are rough. A Makeship-style plush is a collectible, so fans expect tight seams, smooth curves, clean symmetry, and controlled stuffing.
From a factory perspective, this means choosing a good sewing order, training operators on character-specific steps, and using appropriate seam types and stitch lengths.
Sewing and assembly priorities
| Area | Best Practice for Collectible-Grade Plush | Result for the Buyer |
|---|---|---|
| Seams on visible areas | Use smaller stitch length, consistent tension | Smooth curves, fewer puckers or waves |
| Stress points | Reinforce limb joints, neck, tail, and accessory anchors | Less risk of tearing with normal handling |
| Seam allowance | Standardized width (e.g. 5–7 mm) with careful trimming | Clean shapes, reduced bulk in corners and curves |
| Stuffing control | Layered stuffing with tools for narrow parts | Even softness, no hard lumps or hollows |
| Final seam closure | Ladder stitch/invisible close on last opening | Professional finish, almost hidden hand-seam line |
| Inline QC | Operators self-check symmetry and seam integrity | Lower defect rate and more consistent batches |
Core techniques to reach premium quality
- Optimize sewing order
Sew facial details on flat pieces first, then construct head, limbs, and body. Attach smaller elements (ears, hair tufts) early when access is easier. This reduces distortion and keeps features aligned. - Use appropriate stitches
- Machine chain stitch or lockstitch for main seams.
- Backtacking at seam starts/ends in stress areas.
- Hand ladder stitch for closing stuffing openings.
- Control curves and corners
Clip seam allowances around tight curves (head, cheeks, paws) so the plush turns smoothly and doesn’t bubble or pinch. - Standardize stuffing steps
Document how much stuffing goes in each area (head, belly, limbs) using approximate weights or filling zones. This is key to keeping batch-to-batch consistency for fans. - Add internal supports where needed
For standing characters or big heads, we sometimes add felt stiffeners or inner panels in feet, tail, or back to keep posture stable. - Inline and final inspections
Trained inspectors check each plush for seam integrity, face symmetry, stain-free fabric, and correct hangtag/label placement before packing.
Collectors notice all these small details when they unbox their plush. When you build them into your process, your product feels closer to official campaign quality.
How do manufacturers manage embroidery, details, and accessories for Makeship plush?
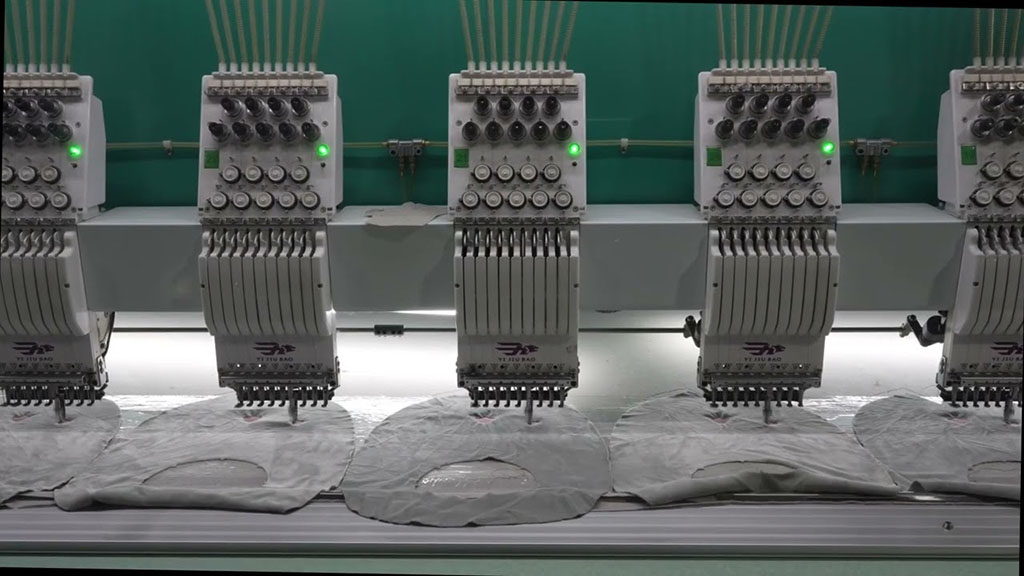
For most Makeship-style plush, the face and key markings are done with embroidery, not printing. This gives a sharp, durable look and passes safety expectations for children. Clothing, props, and special effects (like wings, capes, or detachable coats) complete the collectible feel.
From our side, this means turning your art into digital embroidery files, mapping thread colors, and deciding how each accessory will be constructed and attached.
Managing details and accessories
| Detail Type | Typical Manufacturing Approach | Impact on Perceived Value |
|---|---|---|
| Eyes, mouth, brows | Multi-layer embroidery with fine stitch density | Crisp expression, long-lasting detail |
| Logos & small symbols | Embroidery or high-quality woven labels | Clear branding; survives washing and handling |
| Hair and markings | Combination of fabric appliqué + embroidery outlines | Allows complex shapes without too heavy stitching |
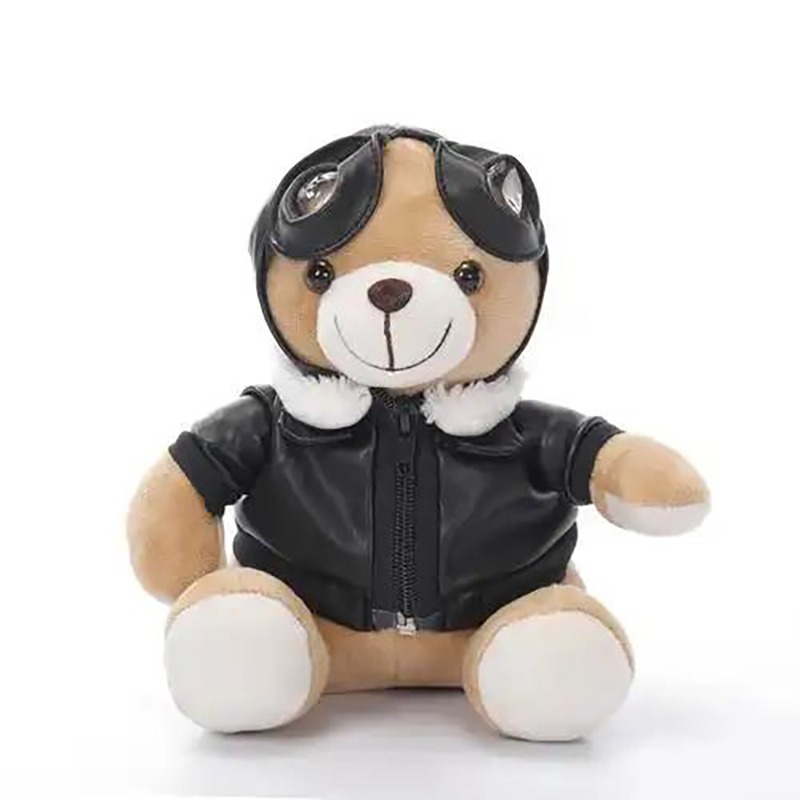
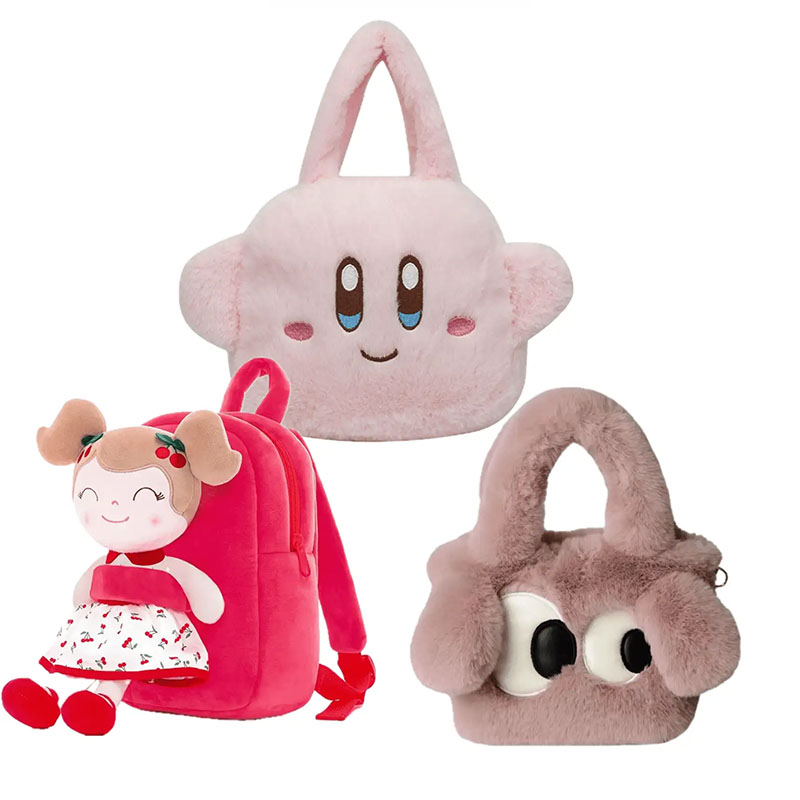
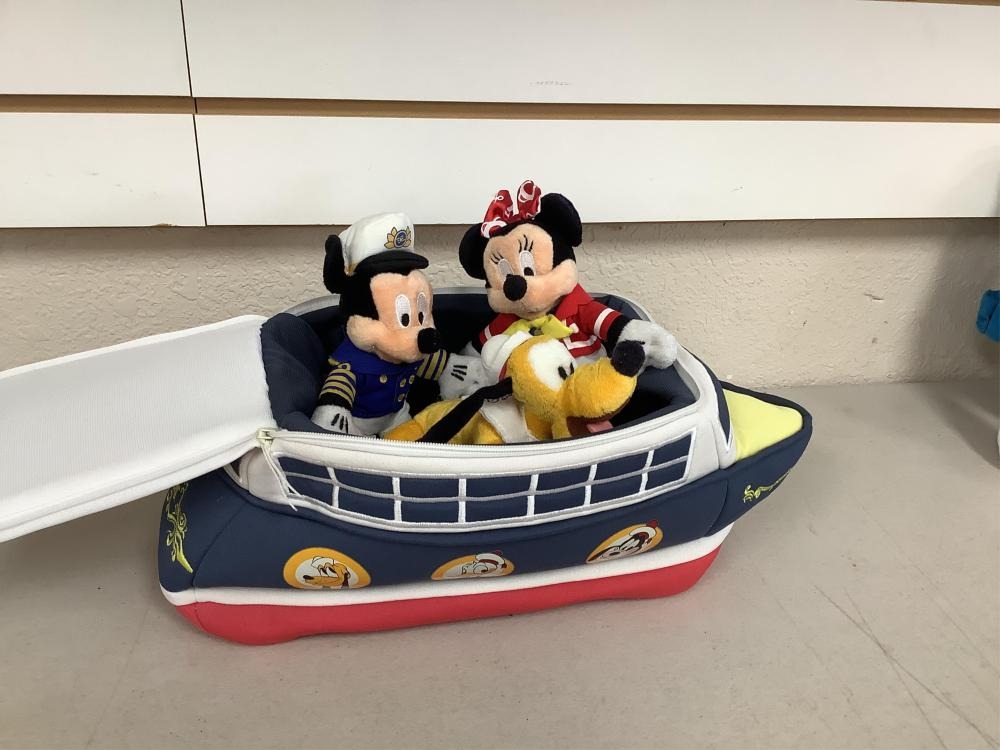
| Clothing (jackets, capes) | Separate sewn garments attached or partially removable | Adds play and pose options, “doll-like” experience |
| Props (weapons, items) | Soft-constructed mini plush or felt pieces | Deepens character identity, adds collectibility |
| Labels & tags | Woven main label + campaign or brand hangtag | Communicates limited edition and origin |
Steps to handle embroidery and extras
- Create embroidery art layers
We separate your face and symbol designs into layers suited for embroidery: outline, fill, highlights, etc. Very tiny details may be simplified. - Digitize embroidery files
Specialists convert art into stitch data, setting directions, densities, and underlay stitches. Thread colors are matched to your guide. - Run embroidery tests
We test on the real fabric to check how lines, fills, and small shapes sew out. Adjustments are common to prevent “muddy” details or puckering. - Design accessories for manufacturing
For capes, jackets, hats, or bags, we design mini-patterns with the right seam allowances and attachment points (Velcro, snaps, stitching). We balance “fun to pose” with safety and durability. - Define attachment rules
- Some accessories are fully sewn on for child-safe use.
- Others are semi-removable (e.g. cape stitched at neck but open at sides).
- Fully removable items need stricter age labeling and safety review.
- Include everything in the tech pack
Thread codes, embroidery positions, accessory patterns, label placement, and packaging notes are included in a shared document so sampling and bulk stay aligned.
Well-managed details are what make a plush feel like a campaign collectible, not just a generic mascot.
How do sampling, revisions, and mass-production workflows mirror the Makeship process?
Makeship’s own workflow follows a clear path: collaborate on design, launch a limited-time campaign, produce only if the goal is met, then ship to fans. When you develop a Makeship-style plush directly with a factory, you still want a similar structure: design → sample → refine → confirm → mass production → QC → shipping.
Typical plush development and production flow
| Stage | What Happens | Key Decisions and Outputs |
|---|---|---|
| Concept & design | You share art, style targets, size, and brand needs | Final 2D plush design, color and material guide |
| Pattern & first sample | Factory drafts pattern, sews and stuffs prototype | Checks on proportions, feel, and balance |
| Revisions & final sample | Adjust pattern, embroidery, accessories, stuffing | Final approved “golden sample” for bulk |
| Pre-production (PP) | Prepare patterns, embroidery files, fabric and trims | PP sample, material reservations, line planning |
| Mass production | Bulk cutting, sewing, stuffing, finishing, inline QC | Finished units meeting golden-sample standard |
| Final QC & packing | Visual inspection, metal detection, packaging and boxing | Carton labels, shipping documents, export prep |
How this mirrors a campaign-style approach
- Design approval = “campaign art lock”
Once you approve the plush design and spec, we treat it like the final campaign art. Any later change can affect timing and cost. - Gold sample = “pre-launch hero”
This is the sample you photograph, use for marketing, and hold us to during production. It should be checked from all angles, hugged, and tested for poseability. - PP and production = “campaign make phase”
After all orders (or forecasts) are in, we buy materials and produce the exact number needed—very similar to how Makeship only makes enough units once a campaign hits the goal. - Logistics and fulfillment
Depending on your setup, we can ship to your warehouse, a 3PL, or regional hubs. The main aim is to keep the unboxing feeling close to what fans expect from a limited-run drop: clean, on-time, and damage-free.
If you map your own timelines around this flow—allowing enough time for sampling and revisions—you can deliver a high-quality plush line that feels just as polished and collectible as a formal Makeship campaign.
Conclusion
A good Makeship-style plush is a compact, chibi-inspired collectible that captures a character’s personality with premium materials, clean embroidery, balanced stuffing, and careful factory workflows—from design and patterning to sampling, details, and mass production. When you plan each step with the campaign experience in mind, your plush doesn’t just look cute in photos; it arrives in fans’ hands feeling intentional and worth keeping for years.
At Kinwin, we help creators, brands, and retailers develop custom plush that follow this kind of structured, campaign-ready process—from early concept sketches to full-scale production, export documents, and long-term reorders. If you’re planning your own “Makeship-style” plush line and want factory support that understands both design and B2B logistics, you’re very welcome to contact me at [email protected] or visit kinwintoys.com to discuss your next project and see how our plush team can support your growth.