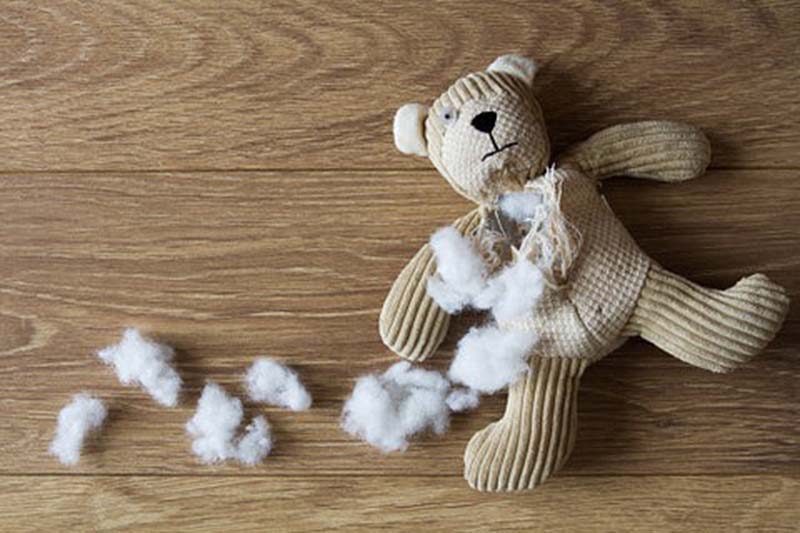
When a stuffed animal goes flat or lumpy, it can feel like you’re losing an old friend. The fabric is still fine, but the hug is gone.
Restuffing a stuffed animal means opening the body, removing old, collapsed filling, and adding fresh stuffing to restore shape, softness, and support. With simple tools and a careful step-by-step process, you can bring back comfort and stability without damaging the original fabric or details.
In this guide, I’ll walk you through how I would restuff a toy from a practical, factory-informed point of view—but in simple, home-friendly steps you can follow even as a beginner.
What tools and materials are needed to restuff a stuffed animal?
Before you touch any seams, it helps to prepare a small “restuffing kit.” With the right tools and materials close by, you can work calmly and avoid mistakes like tearing fabric or using the wrong stuffing.
You don’t need professional equipment. A few basic sewing tools, good-quality stuffing, and some patience are enough to rescue most plush toys.
Essential tools and supplies
You’ll usually need:
- Sharp small scissors or a seam ripper to open seams.
- Hand sewing needles for closing seams afterward.
- Strong polyester thread in a matching color.
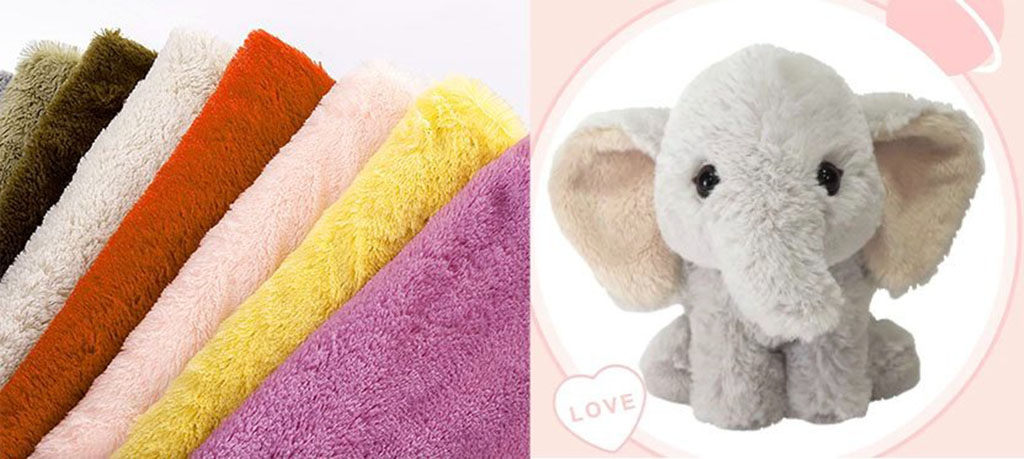
- Polyester fiberfill stuffing (fresh, clean, good rebound).
- Optional chopstick, stuffing stick, or blunt knitting needle to push stuffing into corners.
- Optional pins or clips to hold seams while you sew.
- Optional extra fabric patch if you discover a weak or worn area inside.
If the toy originally had weighted beads in feet or bottom, you may also want small poly pellets or similar to rebuild that weight.
Table – Restuffing toolkit overview
| Item / Material | Purpose in Restuffing Process | Notes for Best Results |
|---|---|---|
| Small scissors / seam ripper | Open seams cleanly without cutting main fabric | Choose sharp tools and work slowly |
| Hand sewing needles | Close seams and repair weak areas | Use a size that passes smoothly through fabric |
| Polyester thread | Strong seam closure after restuffing | Match color to original seam if possible |
| Polyester fiberfill | Fresh filling for softness and volume | Choose clean, springy stuffing, not old or dusty |
| Stuffing stick / chopstick | Push stuffing into corners and small parts | Helps avoid finger stretching of fabric |
| Pins / clips | Hold seam edges in place while sewing | Especially useful for longer seams |
| Fabric patch | Reinforce thin or damaged spots from the inside | Use similar weight fabric to the original |
Once this mini-kit is ready, you can focus fully on the toy instead of hunting for things mid-repair.
How do you open seams safely to prepare for restuffing?
Opening the toy is the most delicate step. If you cut too deep, you may damage the outer fabric or decorative stitching. If you rip quickly, seams can fray and become harder to close later.
The goal is to open a controlled section of an existing seam—often on the back or bottom—so you can reach inside without changing the toy’s overall design.
Choosing where to open
Good access points are:
- Original closing seam at the back, side, or bottom.
- A less visible area (back of leg, under tail, base of body).
- A seam with straight or gentle curves, not tiny tight corners.
Avoid:
- Face area or highly visible front seams.
- Seams with heavy topstitching or strong decorative stitches unless necessary.
Safe seam-opening steps
- Examine the toy
- Look for original hand-sewn section or slightly thicker seam where it was closed before.
- Check for any weak or already opened stitches you can reuse.
- Start with a small opening
- Use a seam ripper or the pointed tip of small scissors.
- Cut just a few stitches, then pull the thread gently to open more.
- Work along the seam, not across fabric
- Insert the seam ripper under stitches only, not into the fabric.
- Take your time; it’s better to open slowly than to repair a tear later.
- Open enough space for your hand or fingers
- Usually 4–8 cm is enough, depending on toy size.
- Larger toys may need a longer opening, but keep it in one section.
Table – Safe seam-opening guidelines
| Step / Consideration | What to Do | Why It Matters |
|---|---|---|
| Choosing location | Pick back, bottom, or hidden seam | Minimizes visible repair marks |
| Tool choice | Use seam ripper or small sharp scissors | Reduces risk of cutting fabric |
| Opening size | Start small, enlarge only as needed | Keeps control over seam and fabric edges |
| Stitch removal method | Slip under stitches, not through fabric | Avoids holes or tears along the seam line |
| Handling fabric | Support fabric with your free hand | Prevents stretching or distortion |
Once the seam is open, you’re ready to focus on what’s inside.
How do you remove old stuffing and assess interior structure?
Inside the toy, you’ll usually find old polyester fiberfill, sometimes mixed with clumps, dust, or flattened sections. Very old toys may also have cotton or foam pieces.
The idea is to remove what no longer supports shape or softness, while paying attention to the toy’s internal structure—such as separate stuffing zones, internal linings, or bead pockets.
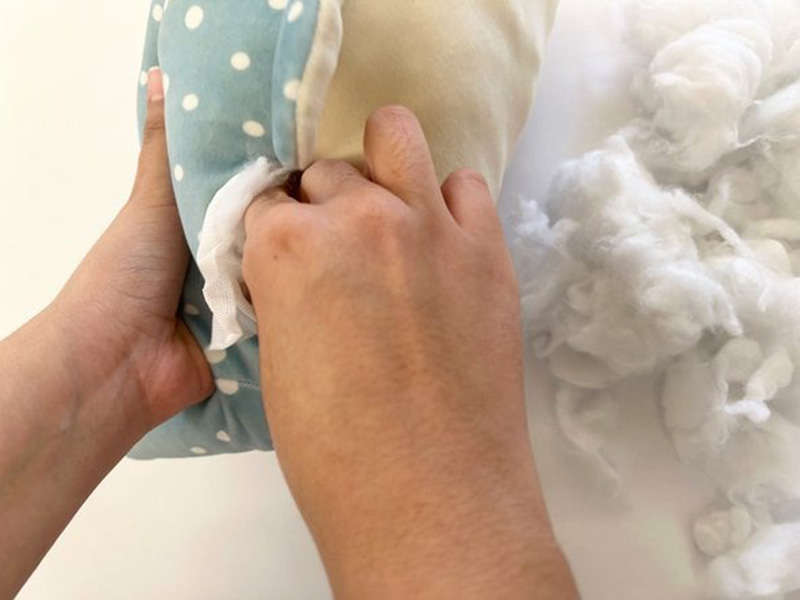
Removing old stuffing
- Work over a clean surface
- Use a tray or large bag to catch old stuffing and dust.
- Take stuffing out in stages
- Start near the opening and gently pull small handfuls.
- Avoid yanking hard; you don’t want to tear lining or small internal bags.
- Note special components
- If you feel heavier areas, they might be bead bags or internal weights.
- If possible, keep these intact and put them aside to reuse.
- Decide how much to remove
- For very old or musty stuffing, it’s often best to remove everything.
- For newer toys, you may keep some internal structure and just refresh the main volume.
Assessing interior structure
While the toy is empty (or partly empty):
- Check fabric from the inside
- Look for thin spots, holes, or seam strain.
- Check seam allowances
- Confirm they are not fraying heavily.
- Check compartmentation
- Some toys have internal stitching that separates head and body or sections.
If you see damaged areas, now is the best time to reinforce them with extra stitching or a fabric patch from inside. This protects the toy before you add new stuffing.
Table – Old stuffing removal and interior inspection
| Task | What You Do | Benefit for Restuffing |
|---|---|---|
| Remove stuffing slowly | Pull small portions, watch for inner bags | Prevents accidental tearing of internal features |
| Collect and inspect fill | Look at old stuffing for mold, odor, or clumping | Helps decide if you should replace fully |
| Inspect inner fabric | Check for thin, worn, or torn areas | Guides reinforcement before restuffing |
| Note structure | Identify separate head/body or weighted zones | Preserves original design and balance |
| Repair now if needed | Patch or reinforce from inside | Strengthens toy before new stuffing goes in |
After this step, you’ll know what you’re working with and how much new stuffing you’ll need.
How do you choose and apply new stuffing for optimal softness and shape?
The new stuffing is what makes the toy feel alive again. The wrong filling can make it too hard, too floppy, or uneven. The right filling and technique create balanced softness, stable shape, and a satisfying hug.
Choosing stuffing
For most toys, I recommend high-quality polyester fiberfill because it is:
- Light and springy
- Hypoallergenic (when using good brands)
- Wash-friendly
- Easy to shape in small or large toys
You can also:
- Add poly pellets in small sewn bags for weight in the bottom or feet.
- Mix a small amount of foam pieces for firmer support if needed.
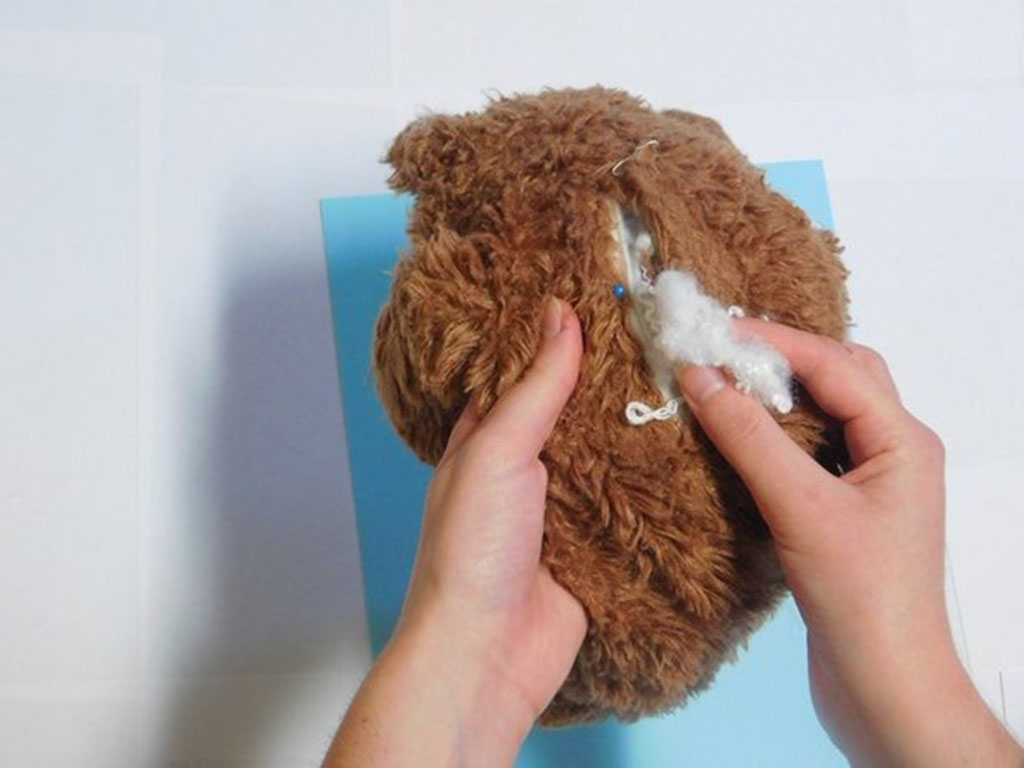
Applying new stuffing
- Prepare the fiberfill
- Pull the stuffing apart gently so it becomes fluffy, not compacted.
- Start with small parts
- Stuff limbs, tail, ears, and snout first.
- Use a stuffing stick for narrow areas; avoid pushing with sharp tools.
- Shape the head
- Add stuffing around edges first, especially behind cheeks and forehead.
- Build up gradually toward the center.
- Check the face shape and symmetry from the outside as you go.
- Fill the body
- Start by filling corners and outer curves.
- Then add stuffing in layers toward the center.
- For a plush that should sit, add a bit more at the base.
- Test softness and balance
- Hug the toy and squeeze gently.
- Adjust until it feels soft but stable—not rock hard, not collapsing.
Table – Stuffing choices and application tips
| Area / Objective | Stuffing Choice & Method | Resulting Feel and Shape |
|---|---|---|
| General body & head | Polyester fiberfill, added in small tufts | Even softness, good rebound |
| Limbs & tail | Smaller tufts pushed with stuffing stick | Well-shaped but still flexible |
| Cheeks / muzzle | Carefully placed stuffing around front sections | Clear facial shape and expression |
| Base / bottom weight | Extra fiberfill or sewn bead bag inside | Better sitting stability |
| Premium feel | Good-quality, springy fiberfill | Longer-lasting softness, less future clumping |
Take your time here—this is where the toy gets its new life and personality back.
How do you close seams securely after restuffing?
Once you’re happy with the new stuffing, you need to close the opening. This step should create a seam that is strong, neat, and as invisible as possible.
The standard method for hand closing is the ladder stitch (also called invisible stitch). It pulls the two fabric edges together from the outside so the seam line blends into the original stitching.
Preparing to close the seam
- Adjust final stuffing
- Before stitching, remove or add a very small amount to reach the perfect feel.
- The opening should sit flat enough for the edges to touch without strain.
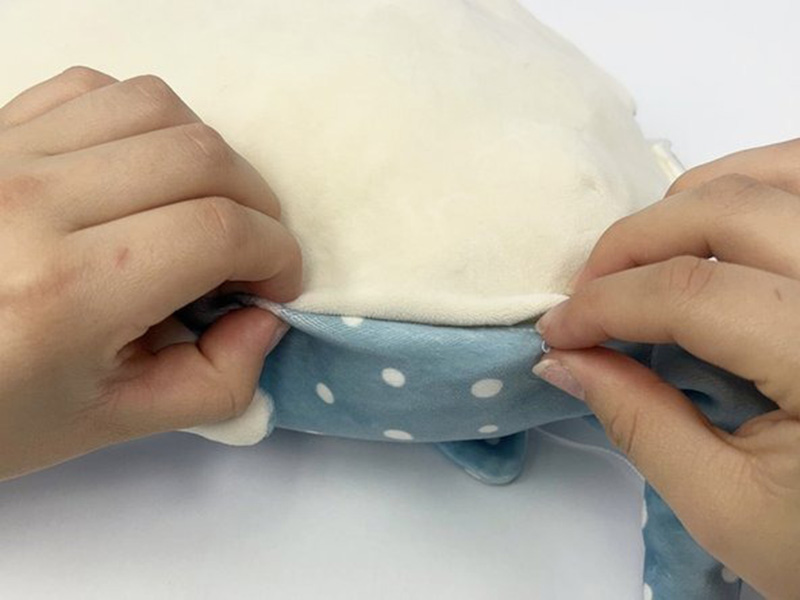
- Fold seam allowances inward
- Tuck the raw edges into the toy so you see clean folded edges.
- You can pin or clip them lightly if the fabric is slippery.
- Thread your needle
- Use strong polyester thread, doubled if the fabric is thick.
- Knot the end securely.
Ladder stitch (invisible stitch) steps
- Insert the needle from inside so the knot hides inside the toy.
- Take a small stitch in the folded edge on one side.
- Cross directly to the other folded edge and take a small stitch there.
- Keep alternating sides, moving forward in tiny steps, creating a “ladder” of thread between the folds.
- Gently pull the thread every few stitches so the seam edges come together.
- When you reach the end, make a small knot, then hide it by passing the needle into the toy and out a short distance away. Trim the thread close to the fabric so the end disappears inside.
Table – Seam-closing best practices
| Step / Detail | What You Do | Why It Improves the Result |
|---|---|---|
| Stuffing check | Final squeeze test before sewing | Prevents over-tight or under-filled seams |
| Folded edges | Turn raw edges inward | Gives a clean, non-fraying seam line |
| Ladder stitch | Stitch across both folds in tiny steps | Creates a nearly invisible closure |
| Thread tension | Pull thread just enough to close gap | Avoids puckering or visible dimples |
| Knot hiding | Hide knot inside toy after final stitch | Keeps outside surface neat and professional |
If the toy originally had a curved seam, work slowly and keep stitches close together to follow the shape smoothly.
How do you ensure the restored plush maintains long-term durability and form?

Restuffing is not only about the first day after repair. You also want the stuffed animal to stay soft, stable, and safe over time. A few extra checks and good habits will help the toy keep its improved form much longer.
Post-restuffing checks
After closing the seam:
- Gently pull on limbs, ears, and tail
- Make sure nothing feels loose or unstable.
- Check seam line
- Look for any gaps or skipped stitches, especially near curves or stress points.
- Inspect overall shape
- Confirm the toy does not lean too far forward or backward.
- Adjust minor stuffing issues by massaging if needed.
Long-term care tips
- Avoid sitting or lying full body weight on the toy regularly.
- Keep it away from strong heat (radiators, very hot dryers).
- Use gentle wash methods if cleaning is needed, and re-fluff with brush and hands after drying.
- Store in a cool, dry place, not compressed under heavy items.
When to consider future touch-ups
Even after a good restuffing, very loved toys may need light adjustments later:
- A small top-up of stuffing through the same seam if it starts to flatten again.
- Occasional brushing of the plush surface to keep fibers lifted.
- Reinforcement of seams if you notice any stretching.
Table – Durability and form maintenance checklist
| Focus Area | What to Check or Do | Benefit for the Restored Plush |
|---|---|---|
| Structural strength | Tug-test on limbs, ears, seam lines | Confirms the toy can handle regular play |
| Shape balance | See if toy sits or stands as intended | Ensures new stuffing supports proper posture |
| Seam quality | Look for gaps, skipped stitches, or fraying | Prevents future tears or leaks of stuffing |
| Daily use habits | Avoid heavy compression, treat as a toy not a seat | Keeps stuffing and fabric from early collapse |
| Cleaning routine | Gentle wash, careful drying, light brushing | Protects softness and structure over time |
| Future top-ups | Add small amounts of stuffing if needed | Extends the “new life” of the toy |
With these habits, one restuffing can carry a beloved plush through many more years of use.
Conclusion
A well-restuffed stuffed animal feels almost like a new toy, but keeps all of its memories and emotional value. By opening seams carefully, removing tired stuffing, adding fresh filling with control, and closing everything with strong, neat stitches, you restore both comfort and shape in a safe, reliable way. At Kinwin, we use the same logic when repairing samples or developing plush for brands—balancing softness, structure, and durability so each piece feels good in real life, not only in photos. If you plan to turn your restored designs or characters into a custom plush line, you’re very welcome to contact me at [email protected] or visit kinwintoys.com to explore how our factory can support your next project and help your brand grow with high-quality plush.