Skip to content
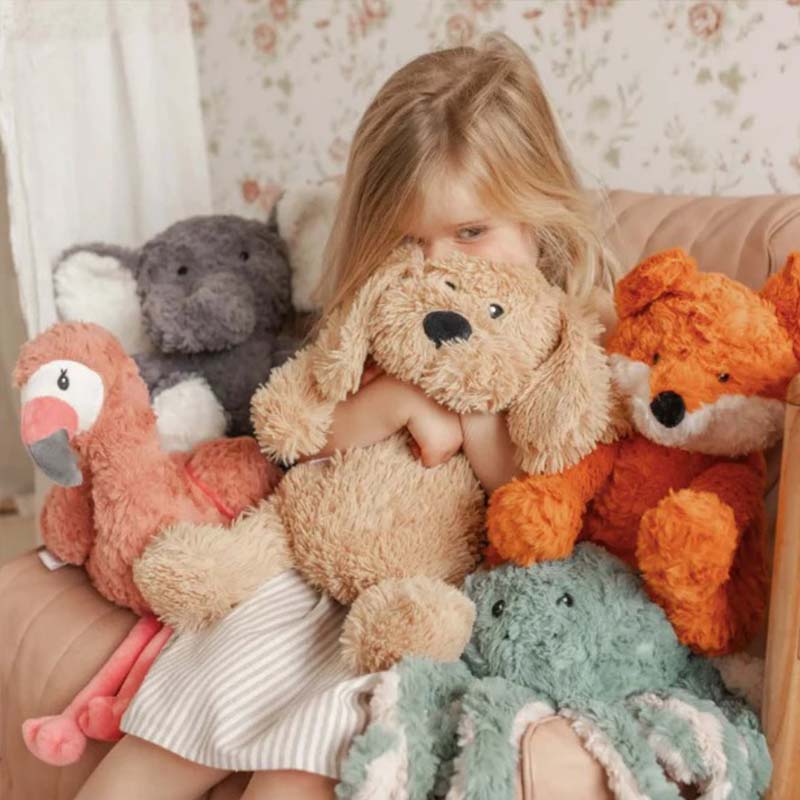
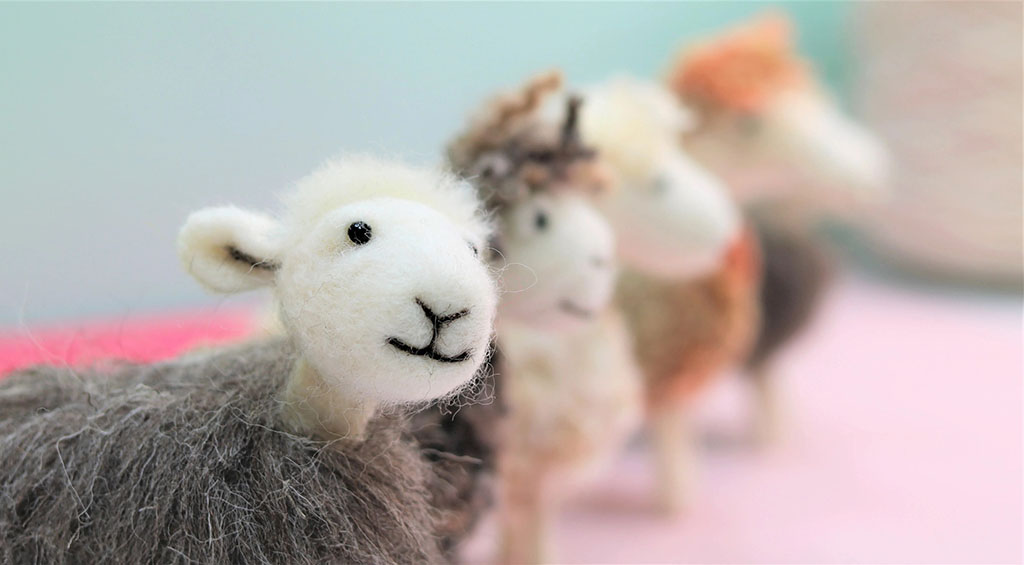
 Making your own stuffed animal is one of the most rewarding DIY projects. You don’t just sew fabric—you create a character with personality, softness, and emotional value.
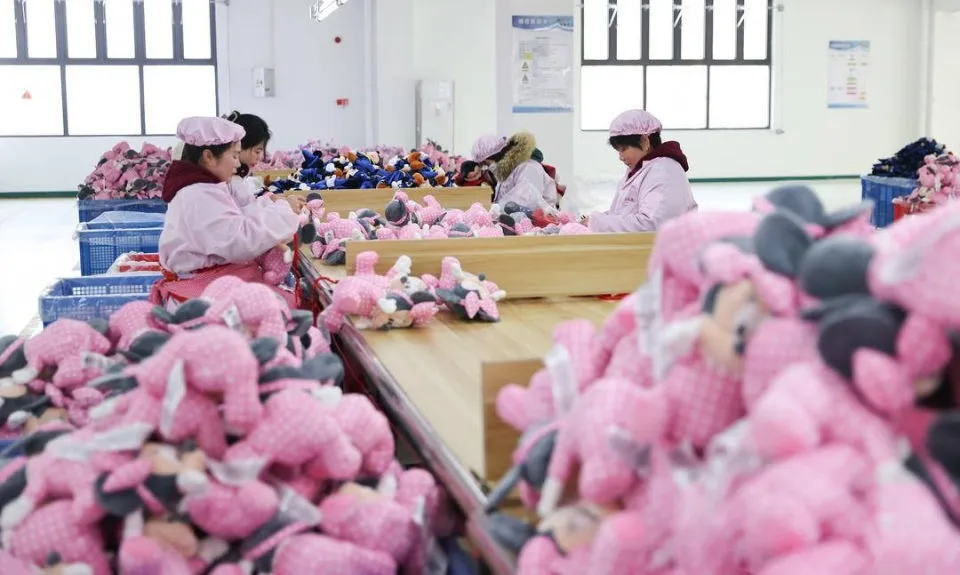
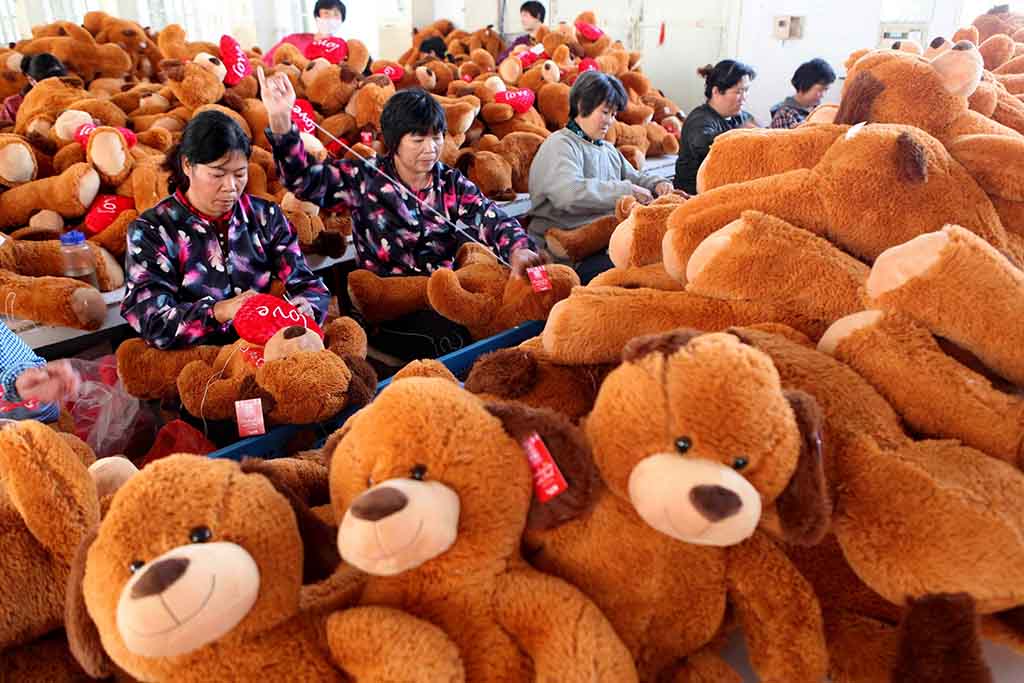
As a plush manufacturer in China, I normally produce toys for global brands at scale. But the basic logic is the same whether you make one toy at home or 10,000 in a factory: choose the right materials, plan your pattern, sew with care, stuff correctly, and finish with clean details and safety in mind.
In this guide, I’ll walk you step by step through the process in simple English, so you can turn your idea into a well-shaped, durable, and professional-looking stuffed animal.
What materials and tools are essential for making your own stuffed animal?
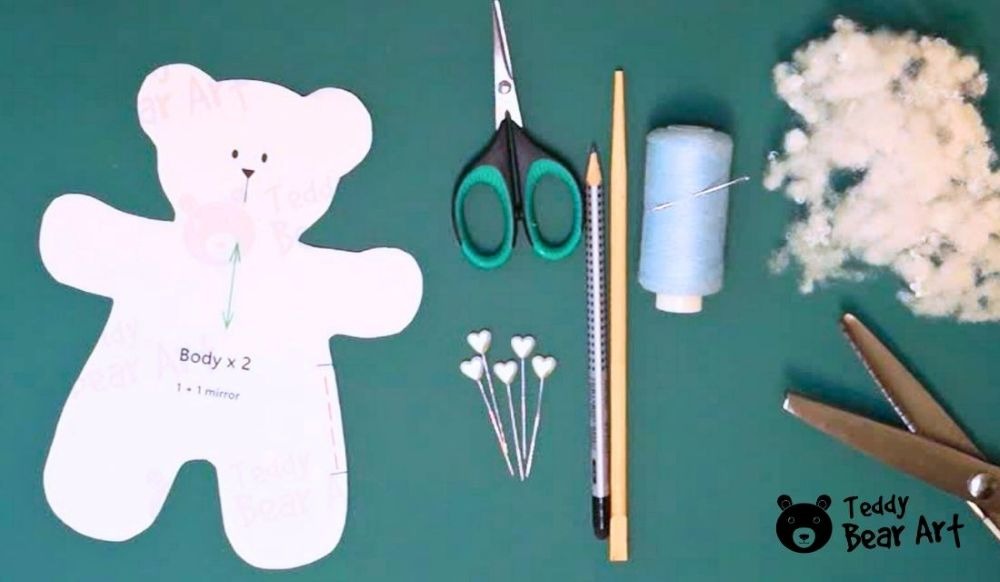
Good results start with the right fabric, filling, and basic tools. You don’t need expensive equipment, but you do need materials that are safe, easy to sew, and strong enough to handle hugs, washing, and daily use.
The exact choices depend on your design and who will use the toy—baby, child, or adult. For beginners, I recommend soft but stable fabrics, simple fillings, and a small set of reliable tools.
Core materials
- Fabric for the body
- Short plush, fleece, minky, or good-quality cotton.
- For beginners, fleece or short plush is easier than very slippery fabrics.
- Stuffing
- Polyester fiberfill is the most common and easiest to use.
- You can add a little bead bag inside for weight in the bottom if you like, but keep it well sealed.
- Thread
- Strong polyester sewing thread in a color close to your fabric.
- Embroidery thread (cotton or polyester) for facial details if you don’t use safety eyes.
- Details
- Safety eyes and nose (for older kids and adults).
- Or embroidery floss to stitch eyes, nose, and mouth.
- Optional: felt for patches, cheeks, or small accessories.
Basic tools
- Fabric scissors and small snips
- Hand sewing needles (sharps and embroidery needles)
- Sewing machine (optional but very helpful)
- Pins or clips
- Fabric marker or chalk
- Ruler or tape measure
- Paper for patterns (printer paper, kraft, or tracing paper)
Table – Essential supplies for DIY stuffed animals
| Category | Items You Need | Why They Matter |
|---|---|---|
| Main materials | Plush/fleece/cotton fabric, polyester fiberfill | Form the body and softness of your stuffed animal |
| Sewing thread | Strong polyester thread | Keeps seams secure and durable |
| Detail materials | Safety eyes/nose, embroidery floss, felt pieces | Create the face and accessories |
| Tools | Scissors, needles, sewing machine (optional) | Allow you to cut and sew accurately |
| Marking & measuring | Chalk/marker, ruler, tape measure | Help you trace patterns and keep proportions |
| Pattern paper | Printer or kraft paper | Used to design and adjust your pattern pieces |
Once you have this basic “kit,” you can focus on the fun part: turning a simple idea into a real plush character.
How do you design and draft patterns for accurate plush shaping?
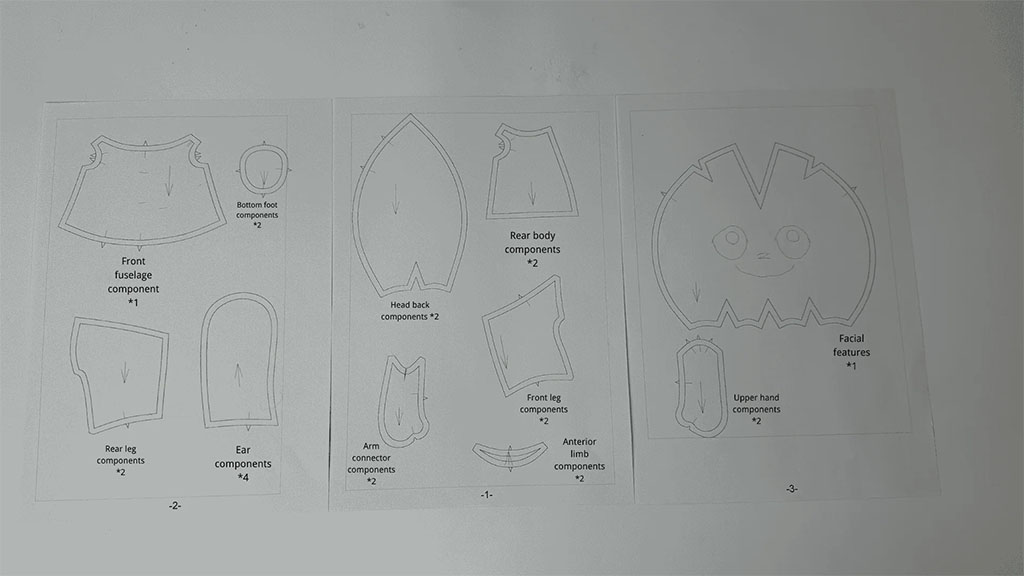
A stuffed animal that looks cute and balanced always starts with a good pattern. The pattern is your 2D “blueprint” for a 3D shape. If the pattern is flat or unbalanced, the toy will look strange no matter how nice the fabric is.
You do not need to be a professional designer to draft a simple plush pattern. You just need a clear idea, a bit of planning, and some patience with curves.
Steps to design your pattern
- Define your concept
- Decide what you will make: bear, cat, bunny, dinosaur, or a simple blob shape.
- Choose a final size, for example 25 cm tall or 20 cm long.
- Sketch front and side views
- Draw a simple front view and side view on paper.
- Mark head, body, arms, legs, ears, and tail.
- Break the toy into parts
- Head (often two sides plus a middle strip or gusset).
- Body (front and back, or side panels).
- Limbs (arms, legs), ears, tail.
- Draft pattern pieces
- Draw one half of a symmetrical piece, then mirror it by folding the paper.
- Add seam allowance (commonly 5–7 mm) around each piece.
- Label your pattern
- Name each piece (Head side, Body front, Ear, etc.).
- Mark grain or nap direction (arrow in direction of fabric pile).
- Note how many pieces to cut (e.g., “Cut 2 mirrored”).
- Test with a quick mockup
- If you are unsure, sew a quick test using cheap fabric.
- This helps you see if the head is too big, legs too long, etc.
Table – Pattern design steps and their purpose
| Step | What You Do | Why It Helps |
|---|---|---|
| Concept & size | Decide animal type and final dimensions | Keeps design focused and proportionate |
| Front & side sketches | Draw simple views of your toy | Visualize 3D shape before cutting fabric |
| Break into parts | Separate head, body, limbs, ears, tail | Makes pattern drafting more manageable |
| Draft pattern pieces | Draw and mirror shapes on paper | Creates accurate, repeatable shapes |
| Add seam allowance | Extend outlines by 5–7 mm | Ensures enough fabric for strong seams |
| Label and mark arrows | Write names and directions | Prevents confusion during cutting and sewing |
| Mockup test (optional) | Sew a test toy in basic fabric | Reveals proportion or shape problems early |
A clear pattern makes sewing much easier—and gives you the option to repeat or modify your design in the future.
What sewing and assembly techniques ensure durability and clean seams?

Once your pattern is ready and pieces are cut, it’s time to sew. The goal is to create strong seams with smooth curves, so your stuffed animal looks clean and survives a lot of hugs.
You can sew by hand or with a machine. A machine is faster, but careful hand sewing can still give excellent results if you use the right stitches.
Sewing order basics
The exact order depends on your design, but a common flow is:
- Sew facial embroidery or attach safety eyes on flat head pieces.
- Sew ears and tail, turn them right side out.
- Sew head pieces together and leave a gap for stuffing (or connect head and body later).
- Sew arms and legs, turn them, and stuff lightly if needed.
- Sew body pieces together, leaving an opening for stuffing and attaching limbs.
- Attach limbs to body either by sewing into seams or hand-stitching later.
Techniques for strong seams
- Use small, tight stitches if sewing by hand. Backstitch is stronger than a simple running stitch.
- When using a machine, choose a shorter stitch length for curves (for example 2–2.5 mm).
- Clip or notch seam allowances around tight curves so they turn smoothly.
- Always backstitch (machine) or double-knot (hand) at the beginning and end of seams.
Hand-sewing stitches you may use
- Backstitch – strong, good for structural seams.
- Ladder stitch (invisible stitch) – used to close openings after stuffing.
- Whip stitch – for quick joining, less invisible but simple.
Table – Sewing and assembly techniques
| Technique / Step | How to Do It | Benefit for Final Toy |
|---|---|---|
| Backstitch (hand) | Needle goes back into previous hole then forward | Creates strong, dense seam for structural parts |
| Short machine stitches | Use 2–2.5 mm stitch length on curves | Keeps seams secure and curves smooth |
| Clipping/notching seams | Cut small notches on curves before turning | Reduces bulk and puckers on rounded shapes |
| Sew details on flat | Embroider face or add eyes before assembly | Easier access, cleaner results |
| Leave stuffing openings | Plan small gaps in body or head seams | Lets you stuff and adjust later |
| Ladder stitch closing | Use invisible stitch to close final openings | Gives a neat, almost invisible seam |
If you take your time on seams, your stuffed animal will look clean and store-ready, not just “homemade.”
How is stuffing applied to achieve balanced softness and structure?
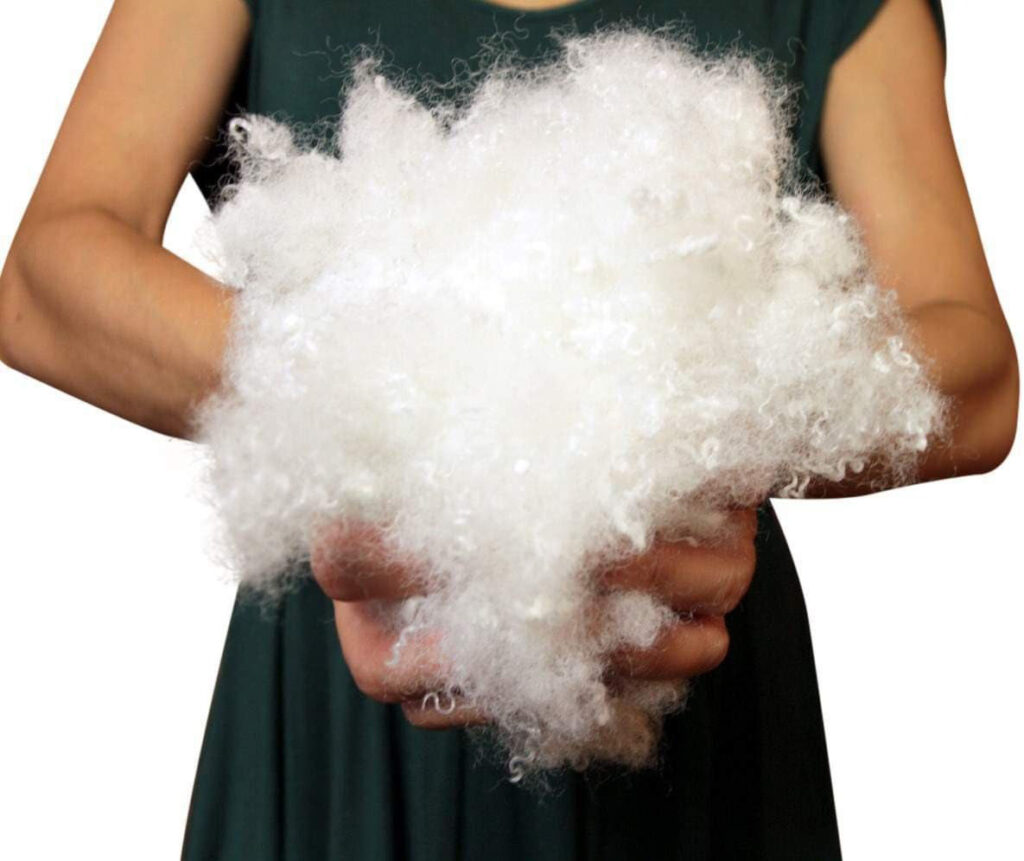
Stuffing is what turns a flat fabric shell into a real plush friend. Too much stuffing and the toy feels hard and distorted; too little and it collapses or looks wrinkled. The secret is to apply stuffing slowly and in layers, checking the shape as you go.
General stuffing guidelines
- Use small pieces of fiberfill, not giant clumps.
- Start with small areas (ears, limbs, muzzle), then fill larger sections (head, body).
- For a cuddly feel, aim for medium firmness, not rock-hard.
- Pay attention to key shape zones: cheeks, belly, base, and joints.
Step-by-step stuffing
- Prepare fiberfill
- Pull the filling apart so it is fluffy and even.
- Stuff small areas first
- Use a chopstick or stuffing tool for narrow parts like arms, legs, and tail.
- Fill until these parts hold their shape but can still bend.
- Stuff the head
- Add fiberfill around the edges first, then into the center.
- Shape cheeks, forehead, and back of head carefully.
- Stuff the body
- Start at corners and edges, then fill the middle.
- Make the belly slightly softer if you want a hug-friendly toy.
- Add a bit more stuffing at the base so the toy can sit.
- Check balance
- Stand or sit the toy upright and see if it leans.
- Adjust stuffing as needed before closing the final opening.
Table – Stuffing areas and goals
| Part of Toy | Stuffing Goal | Tips for Best Results |
|---|---|---|
| Ears | Light to medium, just enough to hold shape | Don’t overstuff; ears should still be flexible |
| Arms & legs | Medium firmness, easy to move and pose | Use small pieces of fiber and a slim tool |
| Head | Firm but not rock-hard | Build cheeks and forehead slowly, check symmetry |
| Body | Medium-soft belly, slightly firmer base | Helps the toy sit and feel nice to hug |
| Base / bottom | Slightly more stuffing to stabilize sitting | Add extra filling at bottom corners |
| Special zones | Muzzle, nose area, cheeks | Shape carefully to keep expression balanced |
When stuffing feels balanced, the toy becomes comfortable to hold and visually harmonious.
How are facial details and accessories safely added to homemade plush?
The face is the first thing people notice. Eyes, nose, mouth, and little details give your stuffed animal its personality. But they also need to be safe and secure, especially if the toy is for a child.
You can choose between safety hardware (safety eyes and nose) and embroidered or felt details. For babies and very young children, embroidered or appliqué faces are the safest.
Options for facial features
- Safety eyes and nose
- Plastic parts with washers that lock on the inside.
- Must be attached before stuffing and closing the head.
- Not recommended for children under 3 years old.
- Embroidered eyes and mouth
- Stitched directly onto the fabric using embroidery thread.
- Very safe and durable when done with strong thread.
- Felt appliqué
- Felt pieces sewn or tightly stitched onto the face for eyes, nose, or cheeks.
- Avoid only gluing; always add stitching for strength.
Safe accessory ideas
- Soft felt scarf sewn on.
- Embroidered patches or hearts.
- Fabric bow or small hat securely sewn, not loosely attached.
Avoid:
- Loose buttons, beads, sequins, and glued parts for children’s toys.
Table – Facial detail methods and safety notes
| Method | How It Looks | Safety & Durability Notes |
|---|---|---|
| Safety eyes / nose | Shiny, 3D plastic parts | Attach before stuffing, not ideal for under 3s |
| Embroidered eyes | Soft, flat, often kawaii style | Very safe, good for babies and heavy use |
| Felt appliqué | Colored shapes on face (eyes, cheeks, nose) | Always sew around edges, avoid glue-only |
| Embroidered mouth | Simple lines or smiles | Strong when stitched with good tension |
| Sewn accessories | Scarf, bow, patches attached with stitches | Check regularly for loose parts if for children |
| Glued decorations | Only for display plush, not play | Avoid for children or frequent use |
By choosing safe and secure facial details, you protect both the toy’s look and the user’s safety—and you reduce the risk of parts falling off over time.
What quality checks ensure a polished, professional-looking final toy?
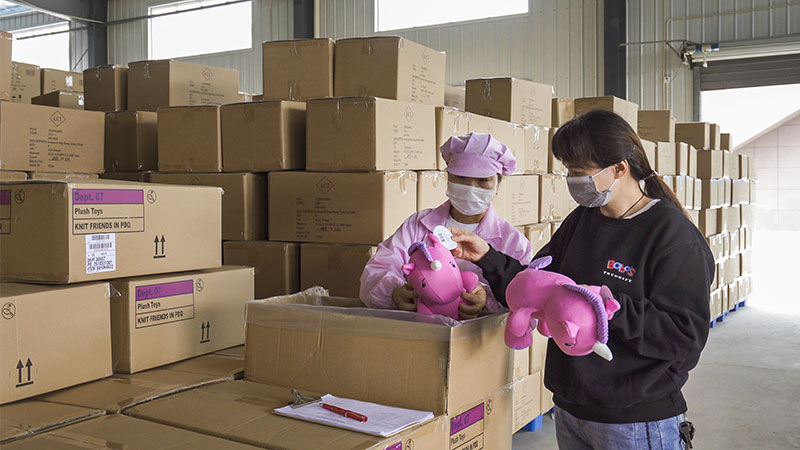
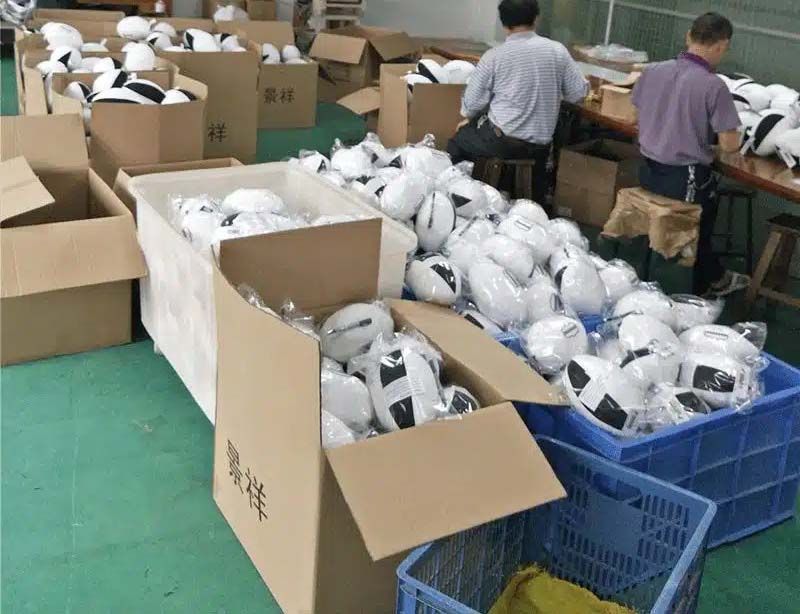
When your stuffed animal is fully sewn, stuffed, and decorated, it’s time for a final quality check. This is exactly what we do in the factory before packing toys for shipment: we check seams, stuffing, symmetry, and overall appearance.
A simple checklist will help your homemade plush look much more professional and last longer.
Areas to review
- Seams and stitching
- Check all seams for gaps or loose threads.
- Tug gently on limbs, ears, and tail to ensure they are secure.
- Stuffing balance
- Check for hard lumps or empty areas.
- See if the toy can sit or stand the way you planned.
- Face and symmetry
- Compare eye level and spacing.
- Make sure facial features are centered and mirrored.
- Surface appearance
- Trim stray threads and extra fabric bits.
- Brush the plush surface gently to lift fibers and remove lint.
- Safety review
- Look for any small parts that could be pulled off.
- Check that knots and closures are secure and hidden.
Table – Quality check checklist
| Checkpoint | What to Look For | How to Fix If Needed |
|---|---|---|
| Seams | No gaps, no overly loose stitches | Reseam weak areas, trim threads |
| Limbs & ears | No wobbling or partial attachment | Reinforce with extra stitching |
| Stuffing | No hard clumps or flat spots | Open seam slightly, adjust or add fiberfill |
| Face & alignment | Eyes and nose level and centered | Adjust or redo embroidery or appliqué if needed |
| Surface | Clean, no fuzz balls or long threads | Trim, brush, or lint-roll the toy |
| Safety & durability | No loose buttons or decorations | Remove risky parts or sew them more securely |
After this final pass, your stuffed animal will feel closer to a store-quality toy rather than just a simple DIY craft.
Conclusion
Making your own stuffed animal is a step-by-step journey: you choose good materials, design a simple pattern, sew strong seams, stuff with care, add safe details, and finish with a thoughtful quality check. When you follow this process, your plush will not only look cute but also feel comfortable, safe, and durable in real use.
At Kinwin, my team and I do this at a larger scale every day for global brands—but the heart of the process is the same as your home project: turning a soft idea into a soft friend. If you ever want to turn your homemade design into a custom plush line for your brand or store, you’re very welcome to contact me at [email protected] or visit kinwintoys.com to explore how our factory can support your next plush project.