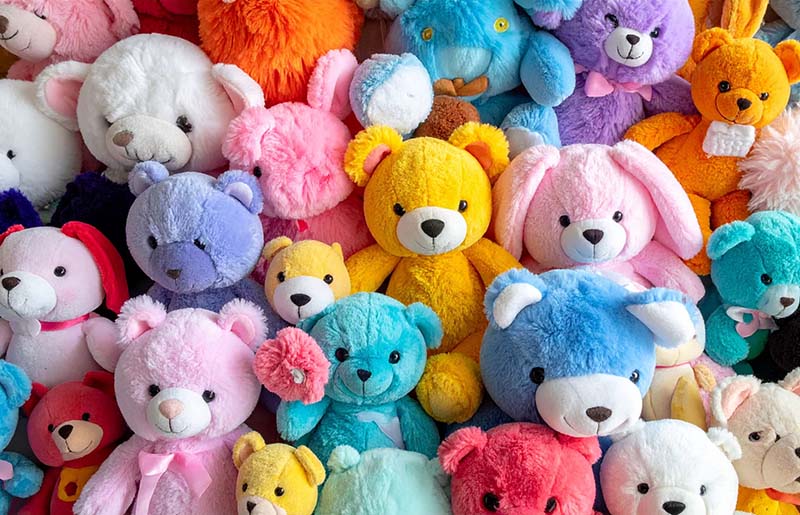
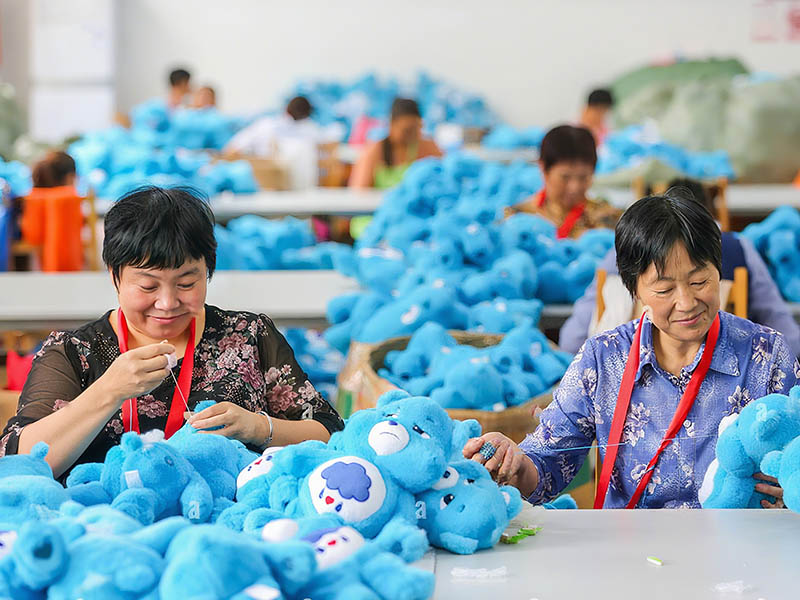
Custom plushies let your brand, character, or mascot become something people can actually hug. A well-made plush can carry your logo, your story, and your values into homes, offices, and social media photos. Done right, it becomes more than a toy—it becomes a soft ambassador for your brand.
Custom plush can feel complex: sketches, materials, factory communication, sampling, safety testing, and mass production. In this guide, I’ll walk you through how I handle this process at Kinwin for global buyers—using simple English and a clear, step-by-step structure so you can plan your own project with confidence.
What materials and tools are required to make custom plushies?
Before you think about eyes, logos, or packaging, you need to choose what your plush is made of. Materials define softness, durability, safety, and price. Tools decide how clean and efficient the production will be.
For most custom projects, I start by asking:
- Who will use this plush? (babies, kids, teens, adults, fans)
- Where will it be used? (bedroom, office, theme park, promo events)
- What is your target price and quality level?
From there, we build a material package that matches your brand.
Core materials and tools for custom plushies
| Category | Common Choices | Role in the Final Plush |
|---|---|---|
| Outer fabrics | Minky, velboa, fleece, short plush, faux fur, knit | Controls softness, look, and age suitability |
| Inner stuffing | Polyester fiberfill, high-resilience fiber, pellets | Controls softness, bounce, and weight |
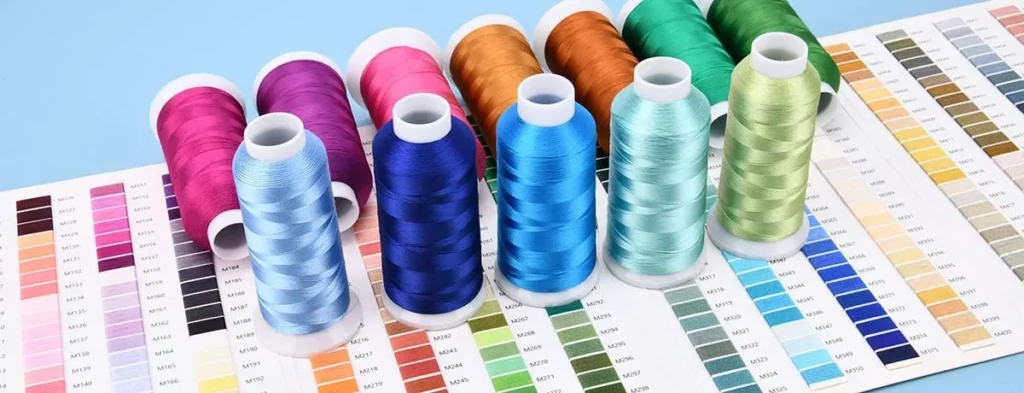
| Threads | Polyester sewing thread, embroidery thread | Affects seam strength and facial/logo detail quality |
| Hard components | Safety eyes, noses, internal frames (if needed) | Adds expression and structure |
| Reinforcements | Interfacing, inner fabric patches, felt | Supports thin areas and stress points |
| Branding elements | Woven labels, printed tags, logo patches | Delivers your brand identity in a physical way |
| Sample-room tools | Fabric scissors, snips, pattern paper, chalk, rulers | Used for early pattern work and prototypes |
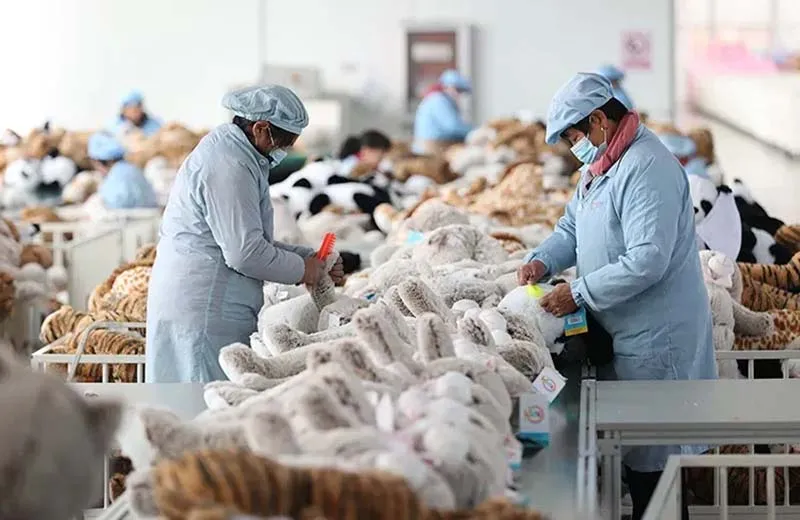
| Production equipment | Sewing machines, embroidery machines, stuffing machines | Enables clean, consistent mass production |
| QC and safety tools | Needle detector, pull-test equipment, weight scales | Keeps toys safe and consistent across large orders |
When we align material choices with your brand story (eco-friendly, ultra-soft, premium, budget, etc.), your custom plushies feel on-brand and intentional, not random.
How do you transform a concept sketch into a production-ready plush design?
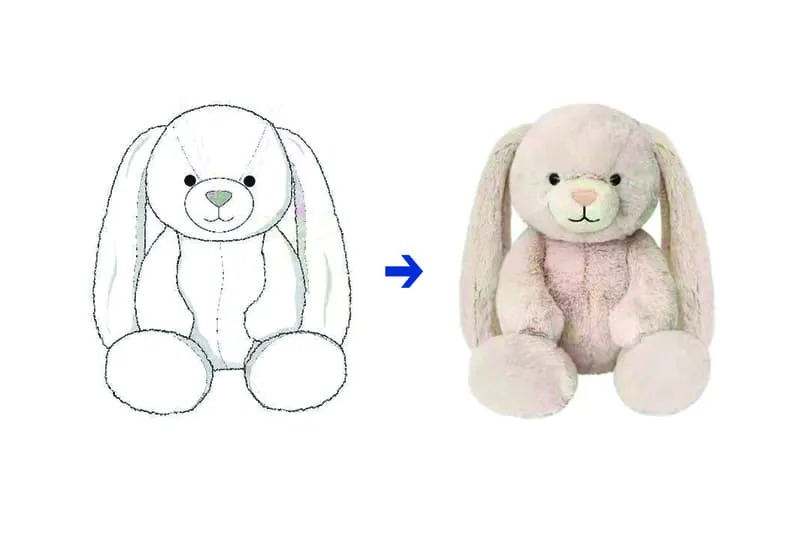
The most common question I get from new buyers is:
“I have a sketch or a mascot—how do we turn this into a real plush?”
The path is clear but structured. We translate your idea into technical patterns, proportions, and artwork that a factory can follow exactly.
From concept to production design – main stages
- Gather references
- Character artwork from different angles.
- Brand style guide (colors, logos, fonts).
- Any previous merch or toys you want to match.
- Discuss target and constraints
- Final size, budget range, and target age.
- Any key features you must keep (ears, hairstyle, outfit details).
- Create technical sketches & turnarounds
- Front, side, and back views.
- Mark seam lines, color blocks, embroidery zones, and logo positions.
- Draft first pattern and build prototype sample
- Sample-room team turns the 2D design into 2D pattern pieces.
- They sew and stuff a first physical sample (Prototype 1).
- Review, adjust, and refine
- You check shape, expression, and proportions by photos or physical sample.
- We adjust head size, limb length, eye placement, and details based on feedback.
- Lock final patterns and tech pack
- Final pattern set.
- Confirmed color list, fabrics, embroidery files, and logo placement.
- This “tech pack” becomes the recipe for bulk production.
Concept-to-design workflow at a glance
| Stage | What You Provide | What the Factory Delivers |
|---|---|---|
| Initial idea | Sketches, brand guidelines, inspiration | Feasibility feedback, size & cost suggestions |
| Design clarification | Priority features, budget, target age | Turnaround drawings, material proposal |
| Pattern & Prototype 1 | Approval to start sampling | First physical sample with notes |
| Feedback & revision | Comments, markups, photos, videos | Improved samples (2nd, 3rd, etc. as needed) |
| Pre-production approval | Final “OK” on design and materials | Locked tech pack, cost confirmation, production plan |
When this process is clear, you avoid the most common pain point: a sample that looks different from what you imagined.
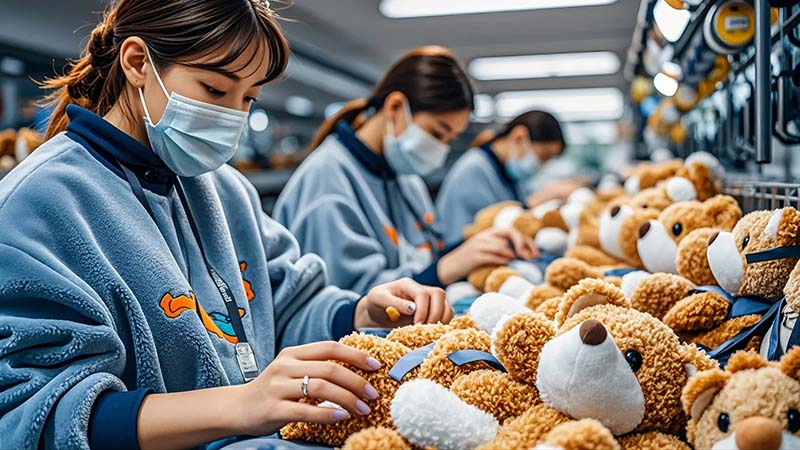
What sewing and assembly methods ensure high-quality custom construction?
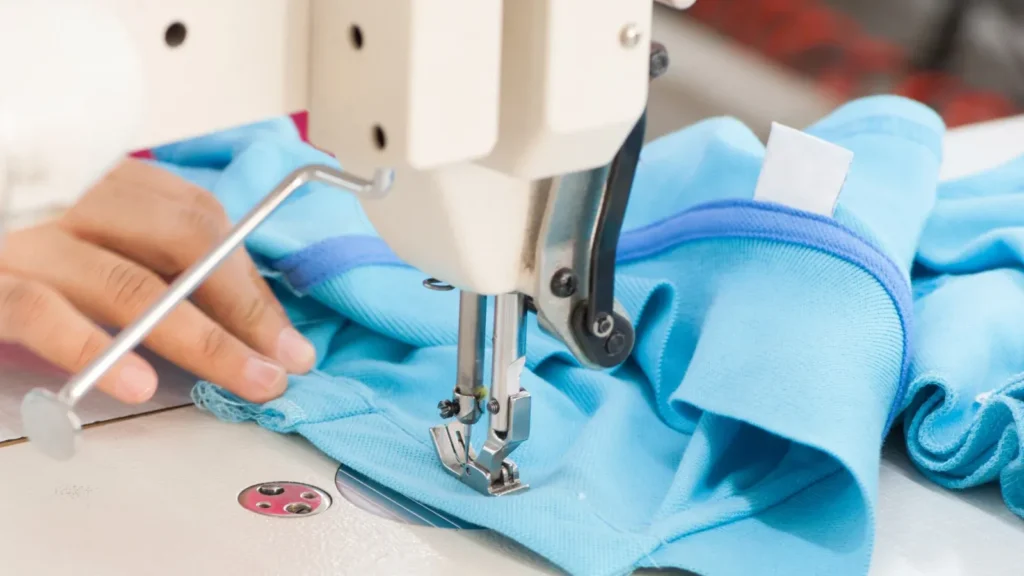
Once the design and patterns are ready, the sewing and assembly stage decides whether your plush feels cheap or premium. Clean seams, proper assembly order, and good reinforcement make a big difference.
Professional sewing basics
For high-quality custom plushies, we focus on:
- Even stitching – medium-short stitch length for strength.
- Reinforced stress points – neck, joints, and base get extra stitching.
- Correct seam allowance – usually 3–5 mm, consistent across pieces.
- Clean alignment – ears, arms, and legs attached symmetrically.
Assembly order for efficiency and neatness
A typical assembly flow looks like this:
- Pre-sewing details
- Embroider eyes, logos, and patterns on flat fabric.
- Sew appliqué panels before joining body pieces.
- Small parts first
- Construct ears, tail, small limbs.
- Turn and press if needed.
- Head and body construction
- Join head panels, add safety eyes/nose (if used), close part of head.
- Sew body panels, leaving stuffing openings.
- Limb and head attachment
- Attach arms, legs, and head to body according to the pattern plan.
- Reinforce joining seams with extra stitching.
- Final seam closures
- After stuffing, close openings with ladder stitch (hand) or hidden machine seams.
Sewing and assembly focus points
| Area | Best Practice | Effect on Final Plush |
|---|---|---|
| Seam stitching | Straight, tight, reinforced at start and end | Strong seams that don’t burst with play |
| Stress point handling | Double stitching / inner patches at key joints | Durable plush suitable for frequent handling |
| Detail placement | Embroidery done on flat panels | Sharper logos and facial details |
| Part alignment | Jigs, notches, and training for consistent placement | Symmetrical, professional appearance |
| Closing seams | Ladder stitch in less visible area | Clean finish; no obvious repair look |
| In-line checks | QA at different sewing stages | Defects caught before stuffing and finishing |
When you see a plush with neat curves, no puckering, and aligned features, you’re seeing the result of disciplined sewing and assembly.
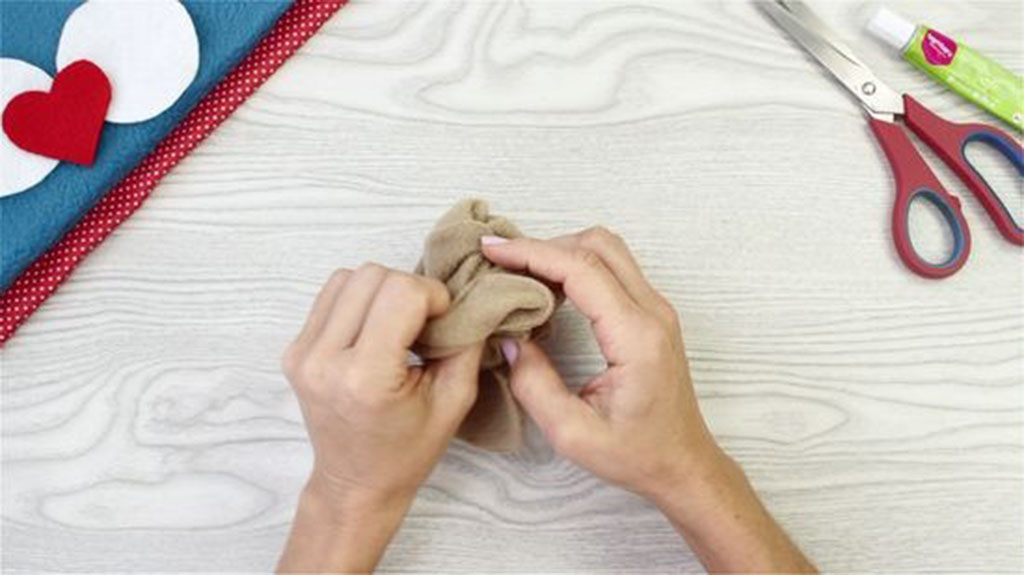
How do manufacturers control stuffing density and shaping for custom designs?
Stuffing is where many custom plush projects fail or succeed. The same pattern, with different stuffing density, can look totally different. Professional factories do not “just fill.” We control stuffing like a specification.
Defining the stuffing strategy
For each custom design, we decide:
- How soft or firm should the plush feel?
- Does it need to stand, sit, or lie down?
- Do we need weights (pellets) in the base or limbs?
- Which zones need extra shaping (head, snout, belly, cheeks)?
We then assign stuffing instructions and target weights per size.
Zone-based stuffing
Most custom plushies are stuffed in several zones:
- Head – usually slightly firmer to keep facial structure.
- Body – softer or medium for hugging and squeezability.
- Limbs – enough to avoid a “flat” feeling, but still flexible.
- Base / bottom – often denser or weighted so the plush can sit upright.
For weighted plushies or premium lines, we may also use inner pouches filled with pellets to add specific weight in certain areas.
Stuffing control methods
| Control Aspect | How Manufacturers Manage It | Benefit for Your Brand |
|---|---|---|
| Density targets | Define “soft / medium / firm” zones in tech pack | Consistent feel across all pieces and batches |
| Fill weight | Use weight ranges (e.g., ±5–10 g per toy) | Keeps toys from feeling too empty or overfilled |
| Zone instructions | Diagrams or notes for head, body, limbs, base | Better shape retention and pose (sitting/standing) |
| Weighted elements | Pellets in sewn pouches, placed before final stuffing | Safer and more stable weighting |
| Tools & equipment | Fiber opening, stuffing machines, small tools | Efficient, repeatable stuffing process |
| QC checks | Random checks for symmetry, softness, and shape | Avoids “lumpy” or unbalanced production lots |
For you, this means your custom plushies feel reliable and premium, not unpredictable from one unit to the next.
What customization options—colors, fabrics, embroidery—enhance brand uniqueness?
Custom plushies are a branding tool, not just a toy. When we plan customization, we look at how the plush can carry your color story, logo, and personality in a natural way.
Main customization layers
- Colors
- Brand Pantone colors translated into plush fabric colors as closely as possible.
- Harmonized palettes for main body, details, and accessories.
- Fabrics & textures
- Minky for ultra-soft baby lines.
- Short plush / velboa for clean, graphic characters.
- Faux fur for more realistic or luxury animals.
- Knit or boucle for “home décor” or adult gifts.
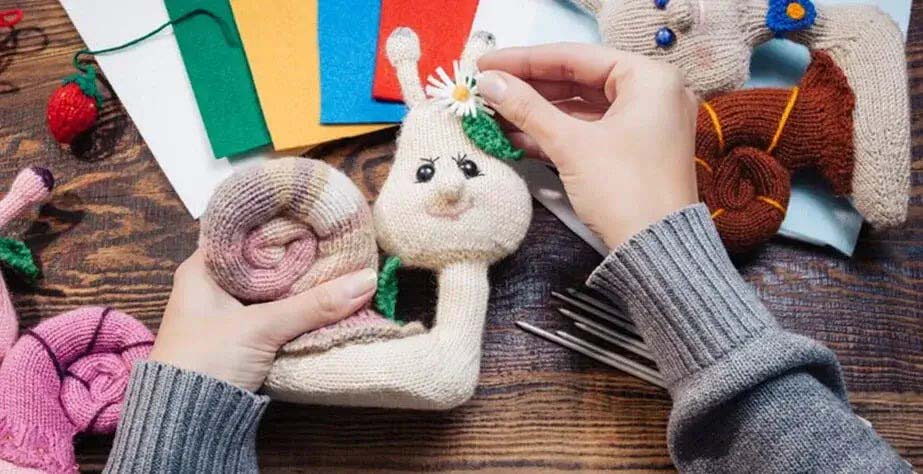
- Embroidery & printing
- Eyes, mouths, logos, and text in high-quality embroidery.
- Appliqué logos on clothing (hoodies, scarves, T-shirts).
- Printed tags or patches for more detailed branding.
- Labels & packaging
- Woven hem labels with logo.
- Hangtags with care instructions, story, QR code.
- Custom boxes or bags for gifting, unboxing, and retail displays.
Customization options overview
| Customization Area | Examples | Branding Impact |
|---|---|---|
| Body color & accents | Brand colors on body, ears, paw pads | Immediate brand recognition |
| Fabric choice | Minky for baby, velboa for mascots, faux fur for luxe | Matches target audience and price positioning |
| Embroidery details | Logo on chest, slogan on back, unique facial style | Turns plush into a clear brand carrier |
| Clothing & accessories | Hoodie in brand color, scarf with pattern, hat | Adds storytelling and seasonal flexibility |
| Labels & tags | Woven label + branded hangtag + QR link | Supports retail, e-commerce, and social media tie-ins |
| Packaging | Printed box, zip bag, mailer with artwork | Enhances perceived value and gifting experience |
The strongest custom plush projects treat each plush as a small 3D billboard that’s also soft and lovable.
How do professional makers manage sampling, revisions, and mass production?
Custom plush success depends heavily on how you manage the timeline from first sample to final shipment. Good factories treat this as a clear, transparent process, not a black box.
The typical project timeline
- Inquiry & briefing
- You share design files, quantity estimates, target price, and timeline.
- We confirm feasibility and propose materials and approximate cost.
- Sampling phase
- Sample 1: Rough prototype to prove shape and size.
- Sample 2+: Refined versions, improving details and colors.
- Pre-production sample: Final version used as reference for bulk.
- Testing and approvals
- For children’s products, many clients request lab testing (EN71, ASTM, CPSIA).
- All details are frozen once the pre-production sample is approved.
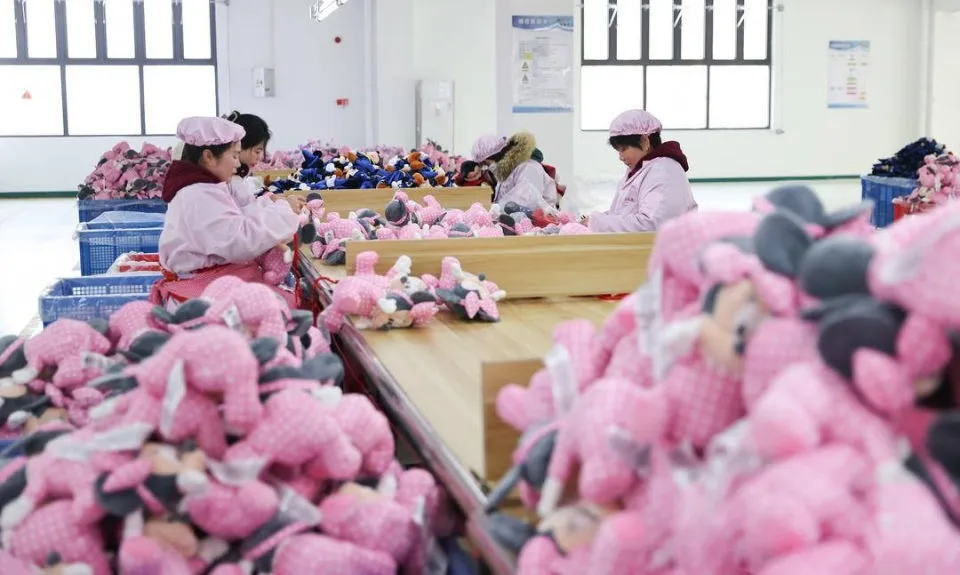
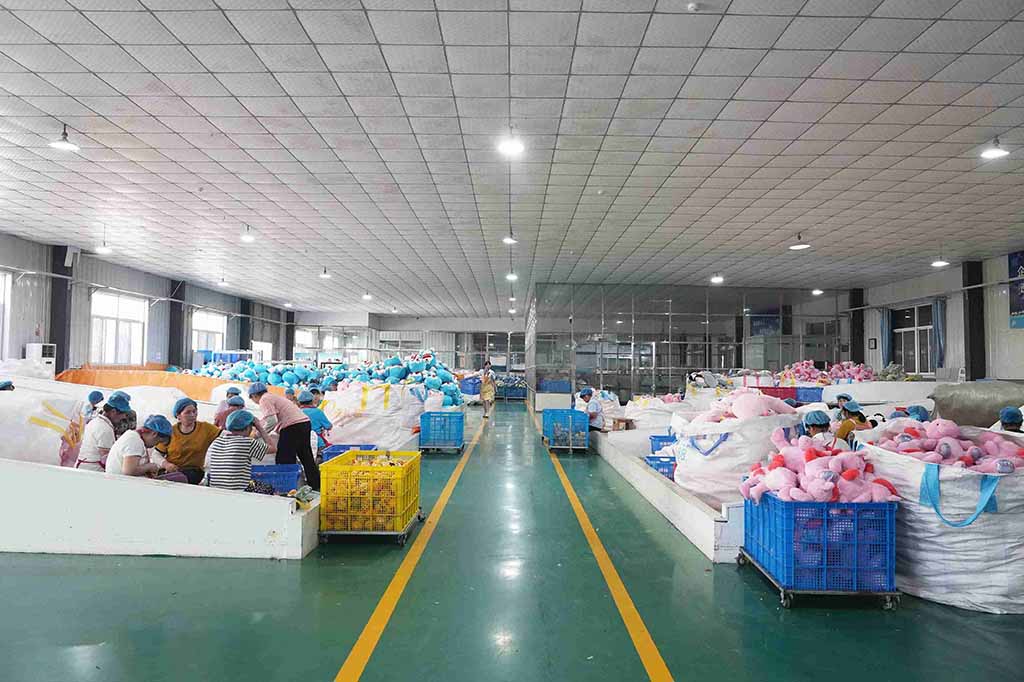
- Mass production
- Fabric and components ordered in bulk.
- Cutting, sewing, stuffing, and finishing follow the tech pack.
- QC checks at multiple stages (cutting, sewing, stuffing, final).
- Final inspection and shipping
- Internal QC or third-party inspection (AQL) before packing.
- Cartons labelled and prepared for sea, air, or express shipping.
Sampling–to–production management
| Phase | Your Role as Buyer | Our Role as Manufacturer |
|---|---|---|
| Briefing | Share designs, goals, budget, timeline | Feasibility review, risk and cost explanation |
| Sample review | Give clear, consolidated feedback, with photos/notes | Adjust patterns, materials, embroidery, details |
| Pre-production sign-off | Approve final sample and spec | Freeze design, confirm schedule and pricing |
| Production | Stay available for small clarifications | Run bulk production, conduct QC, update progress |
| Pre-shipment | Approve inspection results and packaging details | Pack and ship according to your instructions |
When both sides manage communication well, you get a custom plush line that arrives on time, on spec, and on brand—which is the core of a successful project.
Conclusion
Making custom plushies is not just about “sewing a toy.” It is about turning your character or brand into a soft, safe, and consistent product that people love to hold and share. With the right materials, clear design translation, professional sewing and stuffing control, smart customization choices, and a disciplined sampling and production process, your custom plushies can become one of the strongest physical touchpoints of your brand.
At Kinwin, my team and I work with buyers from the USA, Europe, Japan, South Korea, and the Middle East to develop OEM & ODM plush lines—from first sketch to mass production, including safety testing and logistics support. If you’re ready to bring your own custom plush idea to life, you’re very welcome to contact me at [email protected] or visit kinwintoys.com to explore how our factory can support your next project.