Turning a plush toy idea into a real, physical prototype is one of the most important phases in product development. It’s where creative concepts meet engineering logic, material selection, and real-world manufacturability. For global brands, licensing owners, and product developers, understanding how prototyping works helps prevent delays, reduce cost, and ensure the final toy meets both brand standards and safety regulations.
This guide walks you through every major stage—from the first sketch to the final Pre-Production Sample (PPS)—so you know exactly what to expect when working with professional plush toy manufacturers.
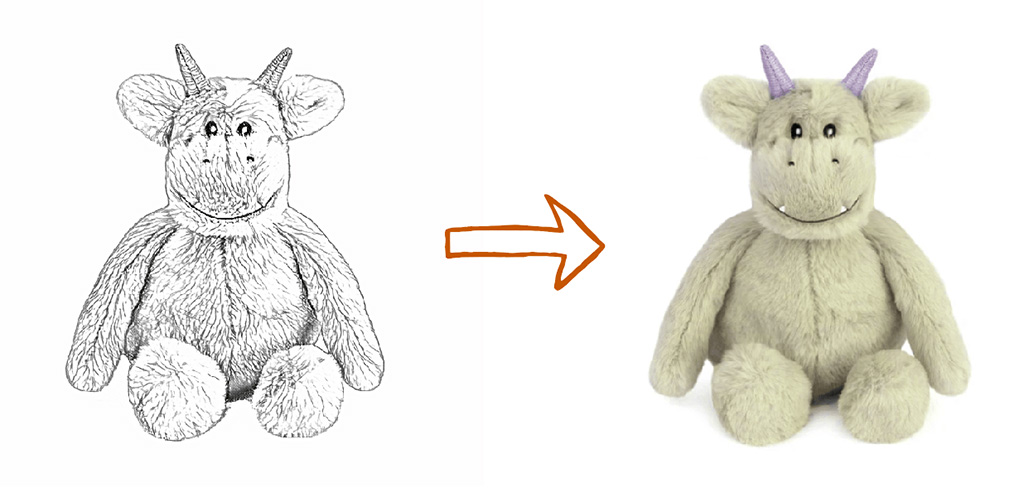
How the Initial Concept Sketch Is Reviewed and Translated into Production Requirements
The prototyping process begins with a review of the client’s concept sketches or character artwork. This includes not only the main design but also additional views (front, side, and back), expressions, accessory details, and proportion notes. The factory’s design and project management teams analyze the sketch to understand the character’s visual identity, shape language, and functional needs.
At this stage, the goal is to translate a creative idea into practical production requirements. The factory evaluates which parts of the design require special fabrics, what areas may need reinforcement, and whether accessories need separate pattern pieces. If a sketch contains elements that are difficult to produce—such as extremely thin limbs, sharp angles, or complex gradients—the factory recommends modifications to improve durability, manufacturability, and compliance.
Clear communication at this stage prevents misunderstandings later in development. Factories may request additional images, 3D turnarounds, or reference styles to ensure accurate interpretation before pattern work begins.
| Review Focus | Purpose | Impact |
|---|---|---|
| Shape and proportions | Determine construction approach | Guides pattern complexity |
| Material needs | Identify textures and pile length | Affects cost and sewing difficulty |
| Accessories | Define removable vs. fixed parts | Ensures safety and compliance |
| Character identity | Maintain brand consistency | Avoids redesign during sampling |
| Safety concerns | Review small parts & structural weak points | Prevents rework later |
How Pattern Makers Convert 2D Artwork into 3D Plush Geometry
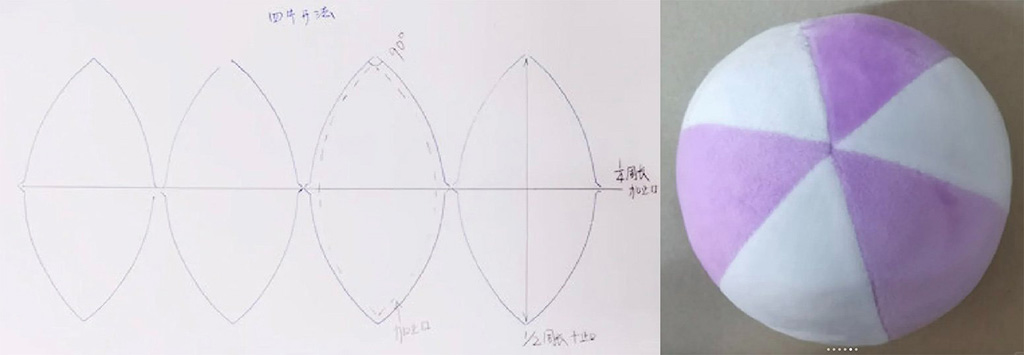
Once the concept is approved, professional pattern makers translate the 2D artwork into 3D geometry. Plush pattern making is a specialized skill that requires both engineering experience and artistic judgment. Unlike rigid toys, plush toys rely on fabric stretch, stuffing behavior, seam placement, and shape balance to achieve their final look.
Pattern makers break the character down into sculptural components—head, body, limbs, tail, features—and create flat pattern templates for each piece. They determine seam direction, fabric grain alignment, and panel structure to ensure the plush will maintain its intended shape once stuffed.
The number of pattern pieces varies greatly based on design complexity. A simple plush may require fewer than 10 pattern pieces, while a highly detailed IP character may require 30–60 pieces.
The first pattern draft is tested through mock-ups or soft prototypes. Pattern makers refine shapes, adjust curves, and correct proportions before cutting the final fabric.
| Pattern Element | Description | Influence on Prototype |
|---|---|---|
| Panel count | Number of fabric pieces used | More pieces = higher accuracy |
| Seam placement | Areas where panels join | Affects shape smoothness |
| Fabric grain direction | Guides stretching and shaping | Important for symmetry |
| Curve calibration | Adjusts character silhouette | Controls plush fullness |
| Stuffing volume map | Defines firm vs. soft areas | Ensures tactile balance |
How Material Selection and Fabric Mapping Are Finalized for the Prototype
Fabric selection greatly influences softness, durability, and character accuracy. During prototyping, the factory aligns fabric options with the design brief, comparing texture, pile length, color accuracy, and printability. Common choices include minky, velboa, faux fur, fleece, and specialty textured fabrics.
Fabric mapping divides the plush toy into zones, assigning the correct fabric type to each area. For example, the face may require short-pile velboa for clean embroidery, while the body uses long-pile faux fur. Accessories like wings, capes, or clothing use lighter materials to maintain proper drape and movement.
Color matching is achieved through Pantone codes or physical swatches, ensuring consistency across sampling and mass production. Stuffing materials—PP cotton, recycled polyester, beads, foam—are chosen based on firmness requirements and regulatory needs.
| Material Component | Decision Criteria | Impact on Prototype |
|---|---|---|
| Fabric type | Softness, durability, sewing difficulty | Determines overall feel |
| Pile length | Short vs. long plush | Affects visual accuracy |
| Color standard | Pantone or swatch matching | Ensures brand consistency |
| Filling material | Density and firmness | Controls structure |
| Accessory materials | Safety compliance | Reduces testing risk |
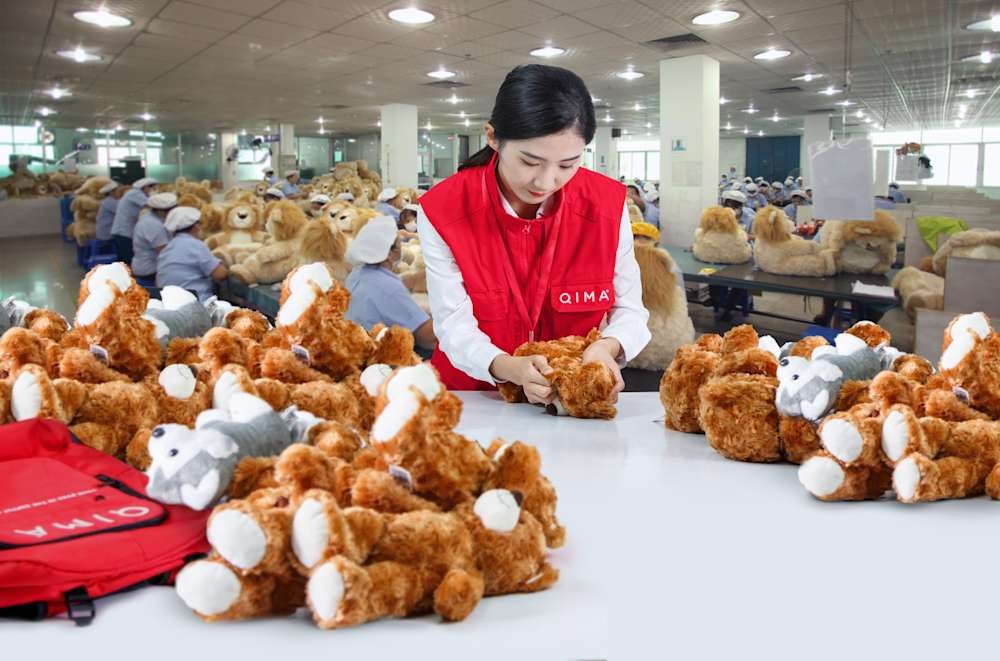
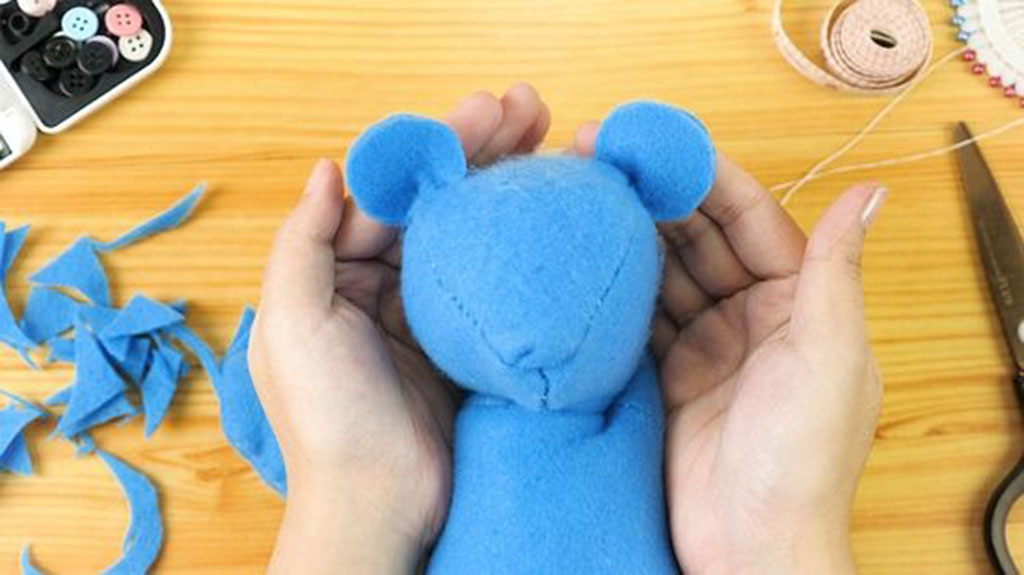
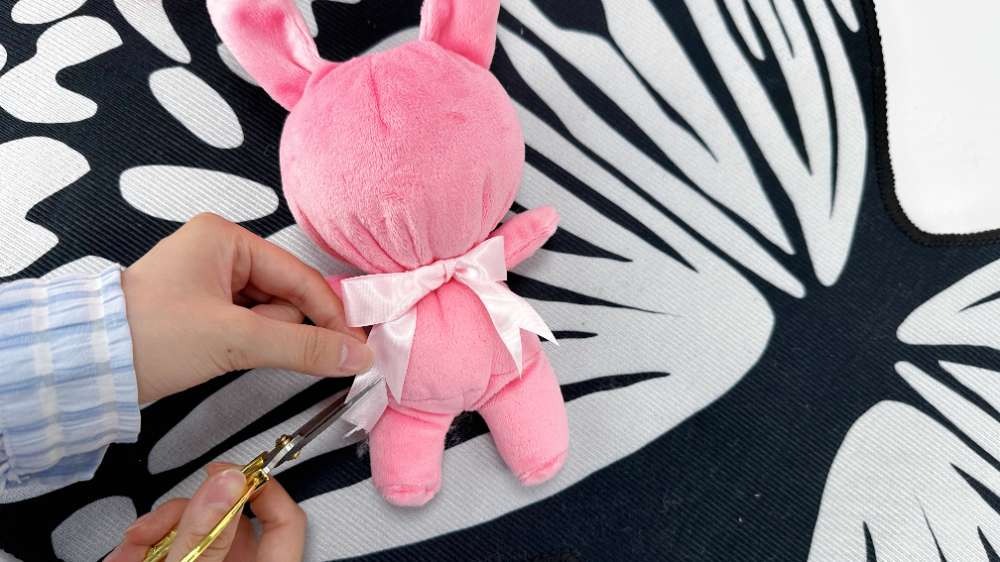
How the First Physical Sample Is Sewn, Stuffed, and Assembled
Once patterns and fabrics are prepared, the sample room begins constructing the first physical prototype. Skilled sewing technicians stitch the pattern pieces together following the engineer’s instructions. Assembly requires careful attention, especially around curves, corners, and detailed facial features.
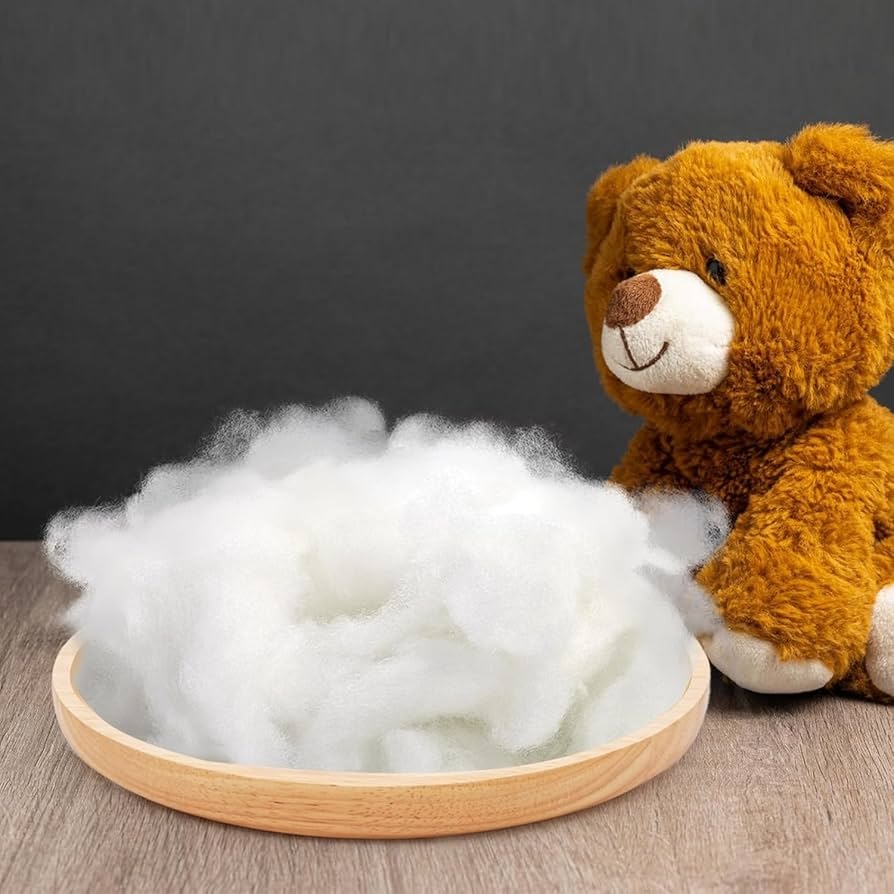
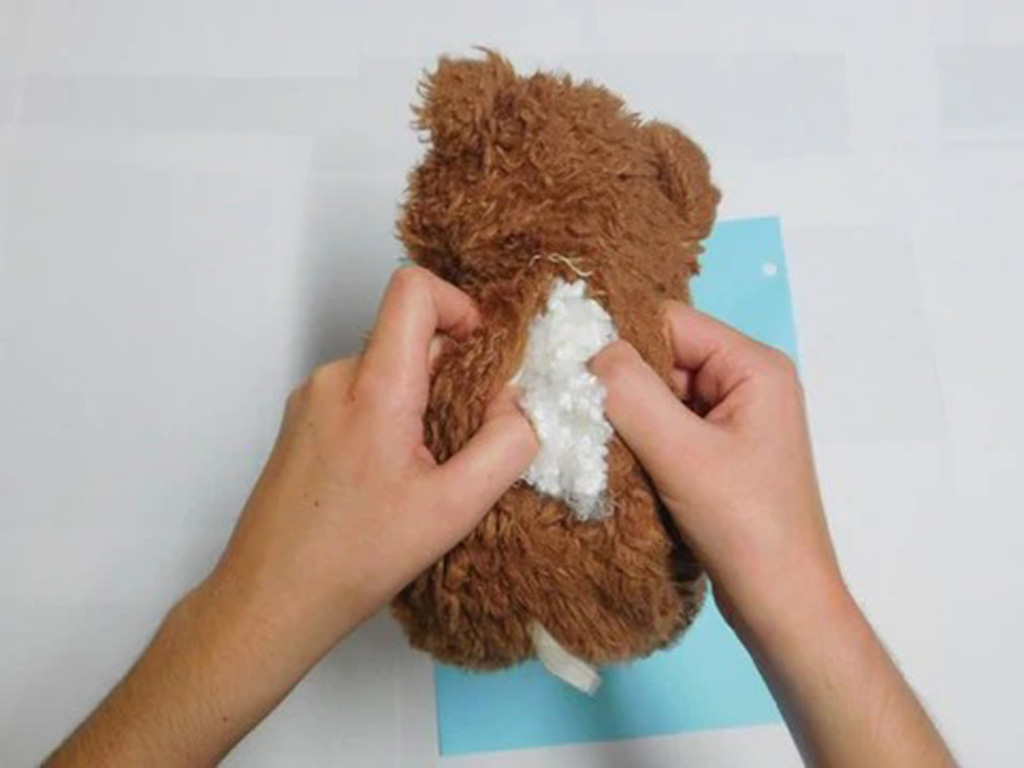
After stitching, the plush is filled with the appropriate stuffing material. Engineers distribute stuffing strategically—firmer in areas requiring shape support, softer in areas intended for squishiness. Weighted components (beads or pellets) may be added to the bottom to improve balance or create a premium feel.
Accessories such as clothing, capes, hats, wings, or props are created in parallel and attached using reinforced methods to ensure durability. Final assembly includes closing seams, brushing fur, trimming loose threads, and attaching safety eyes or embroidery details.
| Assembly Step | Description | Importance |
|---|---|---|
| Sewing | Join all pattern pieces | Determines overall shape |
| Stuffing | Fill body evenly | Ensures softness and firmness |
| Accessory attachment | Secure accessories & props | Safety + durability |
| Facial detailing | Embroidery or printing | Defines character identity |
| Finishing | Clean-up, trimming, symmetry check | Ensures professional look |
How QC Teams Evaluate the Prototype and Identify Necessary Revisions
Quality control begins immediately after the first prototype is assembled. QC teams evaluate the plush from both an artistic and engineering perspective. They compare the sample against the design brief, artwork, and technical pack to ensure accuracy in shape, proportions, colors, and details.
The team assesses seam strength, symmetry, facial alignment, accessory attachment, and stuffing distribution. If the toy is intended for infants or children, QC checks also focus on safety elements—such as pull tests for eyes, secure stitching for small parts, and compliance with regulations such as ASTM F963, EN71, and CPSIA.
Most prototypes require refinement. QC teams document required changes in a revision sheet with annotated photos and dimension notes. The feedback is shared with pattern makers and sampling technicians to adjust patterns, materials, or construction techniques.
| QC Checkpoint | Evaluation Goal | Outcome |
|---|---|---|
| Shape accuracy | Match original artwork | Adjust patterns if needed |
| Embroidery & facial details | Correct placement & expression | Prevent character distortion |
| Seam durability | Ensure safe construction | Reinforce weak areas |
| Accessory safety | Avoid choking hazards | Improve attachment |
| Material accuracy | Check color & texture | Replace incorrect fabrics |
How Final Adjustments Lead to the Approved Pre-Production Sample (PPS)
After revisions are implemented, the factory prepares the next iteration—often called the second sample or T2. The goal of this stage is to confirm all improvements and finalize specifications. Once both the client and QC teams approve the updated sample, the factory produces the Pre-Production Sample (PPS).
The PPS is the master reference for all mass production units. It includes finalized materials, stitching methods, embroidery details, stuffing density, proportions, and accessories. Any deviation from the PPS during mass production is considered a quality issue. This sample is stored in both the factory and the client’s office for cross-checking during production.
The PPS also becomes the basis for packaging design alignment, safety testing, and production planning. Factories use it to calculate accurate material consumption, labor time, and production line setup requirements.
| PPS Component | Purpose | Role in Mass Production |
|---|---|---|
| Approved materials | Final fabrics & colors | Ensures consistency |
| Accurate proportions | Final 3D geometry | Guides cutting & stitching |
| Stuffing density | Firmness standard | Prevents variation |
| Embroidery files | Locked-in artwork | Ensures identical expression |
| Accessory construction | Final attachment method | Ensures safety & durability |
Conclusion
Plush toy prototyping is a detailed, collaborative process that transforms creative sketches into production-ready samples. By understanding each stage—from concept review to PPS approval—buyers can prepare better documentation, avoid unnecessary revisions, and accelerate time to market. Factories like Kinwin specialize in guiding global brands through each of these steps with accuracy, transparency, and craftsmanship, ensuring every prototype reflects the original design vision.
📧 Contact: [email protected]
🌐 Visit: https://kinwintoys.com