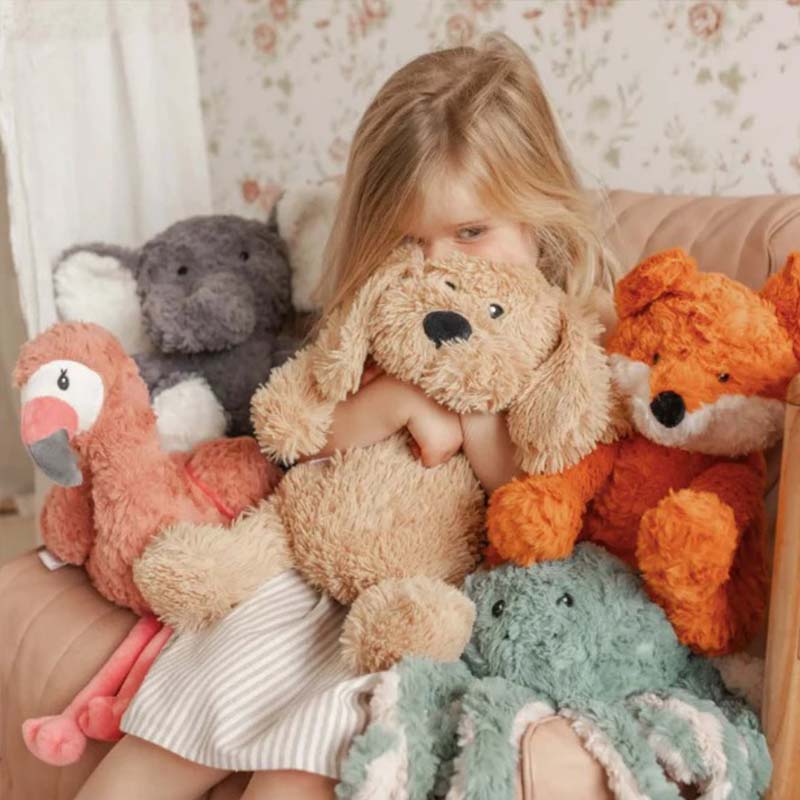
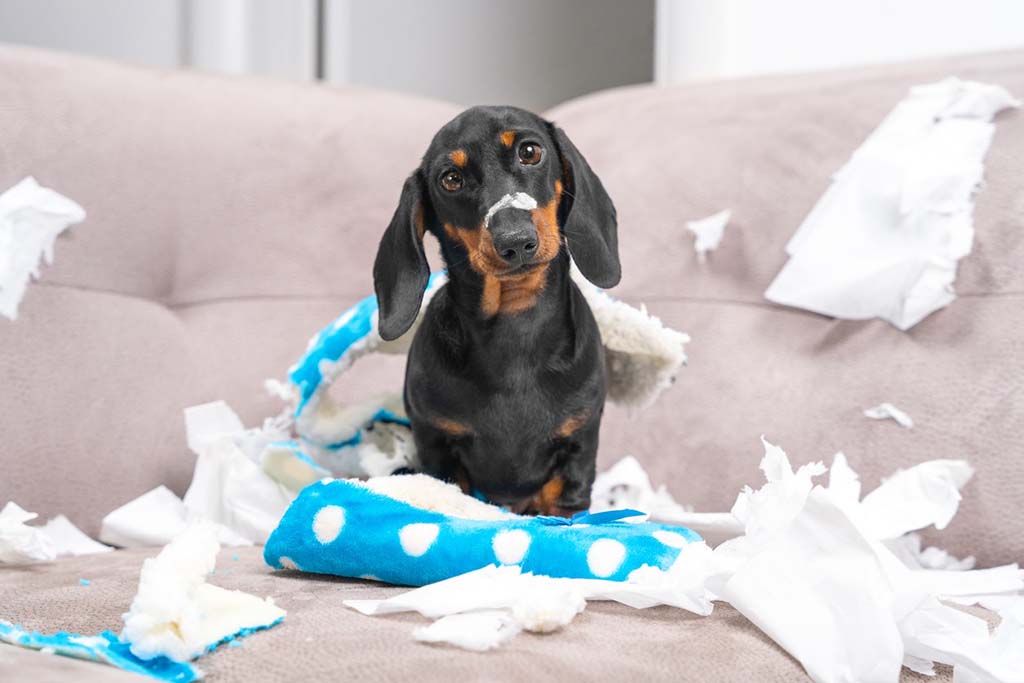
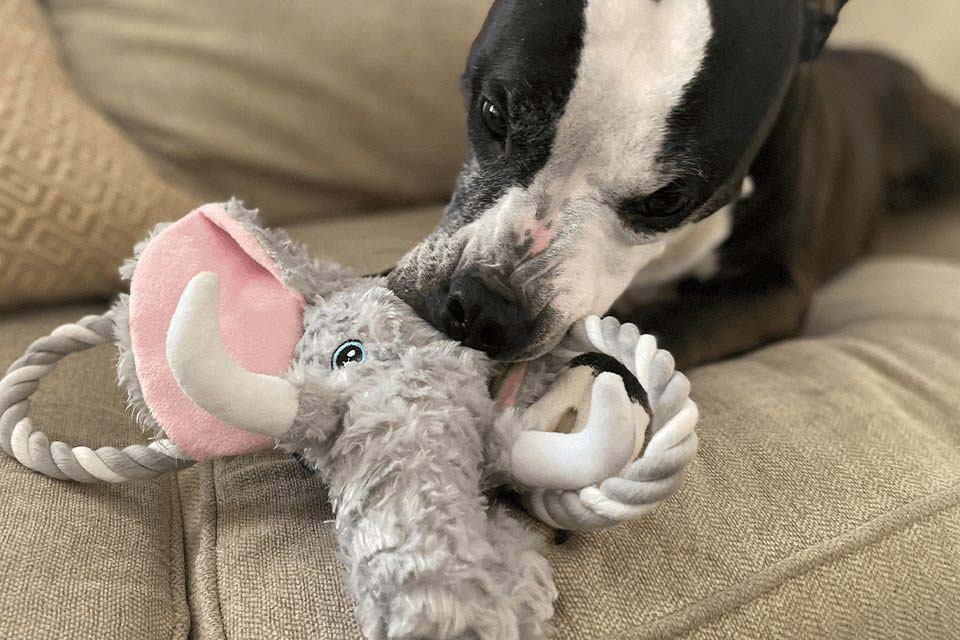
Making a dog toy plushie is very different from making a normal plush for children. Dogs pull, shake, chew, and test every weak point. If the toy is not designed and sewn for this extra stress, it can break fast and may even become unsafe.
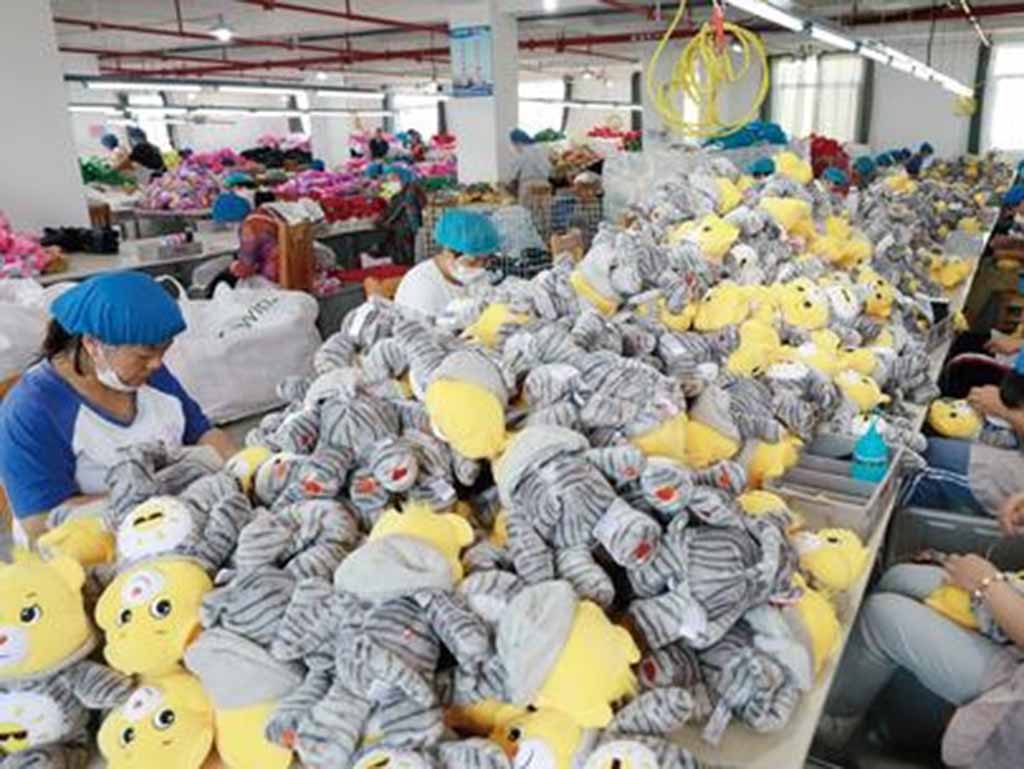
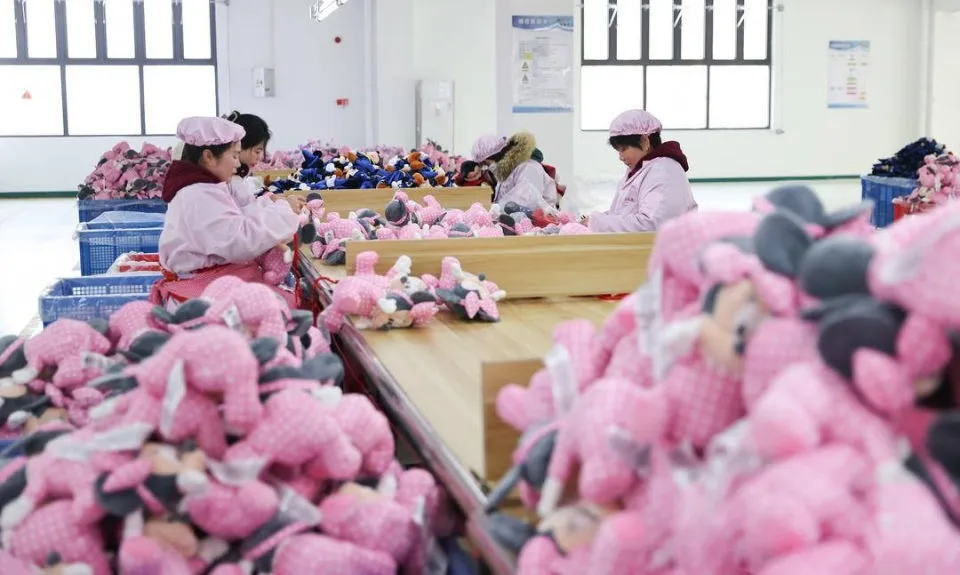
As a plush manufacturer in China, I usually design for children and families. But many clients also ask me, “How would you build a plush toy if it is for dogs?” In this guide, I’ll explain how I think about materials, patterns, stitching, stuffing, and features so you can make dog toy plushies that are safer and more durable for real play.
What materials and tools are required to make a dog toy plushie?
For dog toys, materials and tools must focus on strength first, cuteness second. You still want a fun design, but you cannot use very delicate fabrics or weak threads.
When I plan a DIY or small-batch dog toy, I want:
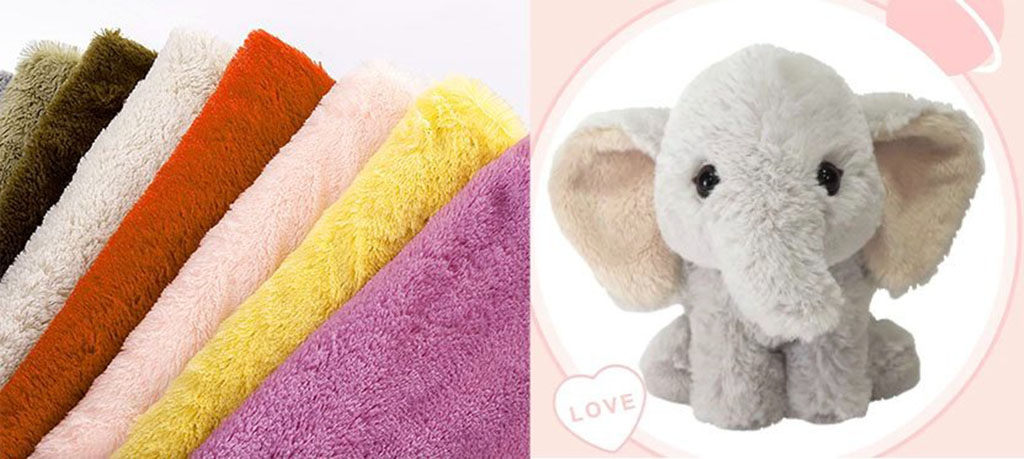
- Fabrics that resist tearing and abrasion.
- Threads that can handle pulling and shaking.
- Tools that let you sew strong seams and curves.
You can work by hand or with a sewing machine, but your material choices will decide how long the toy survives in a dog’s mouth.
Recommended materials and tools
Here is a simple overview to help you prepare your workspace:
Table 1 – Core materials and tools for a dog toy plushie
| Category | Recommended Choices | Why They Help for Dog Toys |
|---|---|---|
| Outer fabric | Heavy-duty polyester, canvas, denim, thick plush, or reinforced fleece | Better tear and abrasion resistance |
| Inner layer (optional but ideal) | Woven polyester or nylon lining | Adds hidden strength behind the cute surface |
| Thread | Strong polyester or nylon thread | Handles pulling and shaking better than cotton |
| Needles | Heavy-duty machine needle (e.g., 90/14 or 100/16) or thick hand needle | Can sew through thick layers |
| Stuffing | High-quality polyester fiberfill, fabric scraps, or rope sections | Keeps shape, less likely to clump or break |
| Extras | Tough squeaker, crinkle film (certified for pet use) | Adds fun sound but must be well-contained |
| Tools | Fabric scissors, pins/clips, sewing machine (optional), chalk, ruler | Basic kit to cut, mark, and sew accurately |
If you are making toys to sell, you should also keep labels and records of materials you use, so it’s easier to answer safety questions from customers.
How do you design patterns suited for chewing-resistant shapes?
Pattern design decides how your toy will be chewed. Long, thin parts become “handles” that dogs grab and rip. Very narrow necks or tiny legs can open at the seam after a few strong shakes.
So for dog toys, I think in this order:
- Simple first – fewer narrow parts, more compact shapes.
- Thick transitions – smooth curves between head, body, and limbs.
- Chew zones – understand where the dog’s mouth will sit and reinforce those zones.
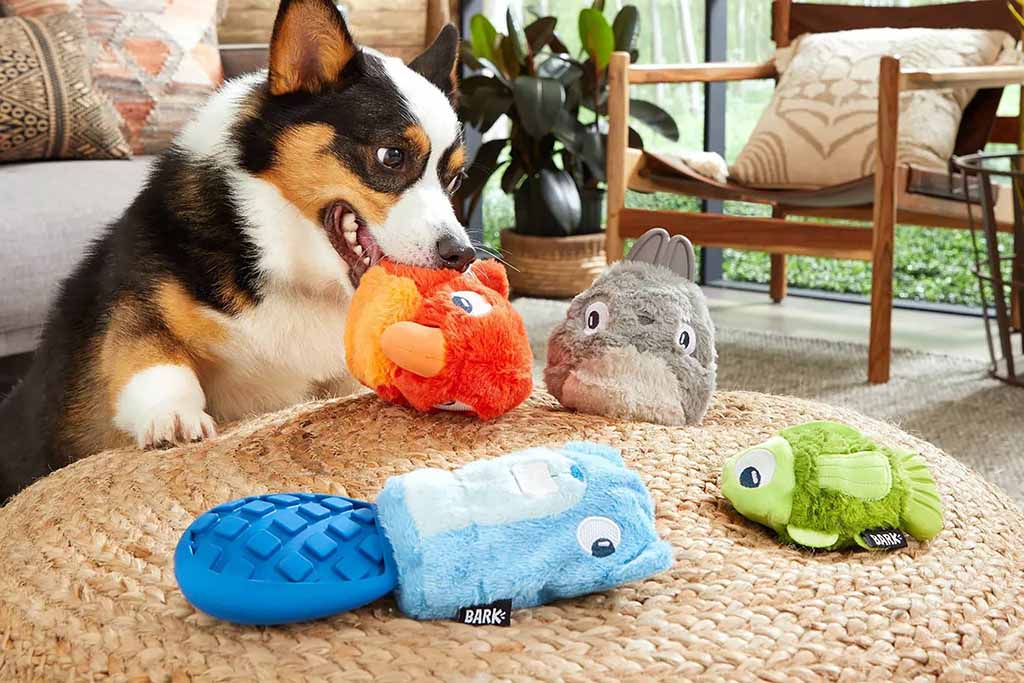
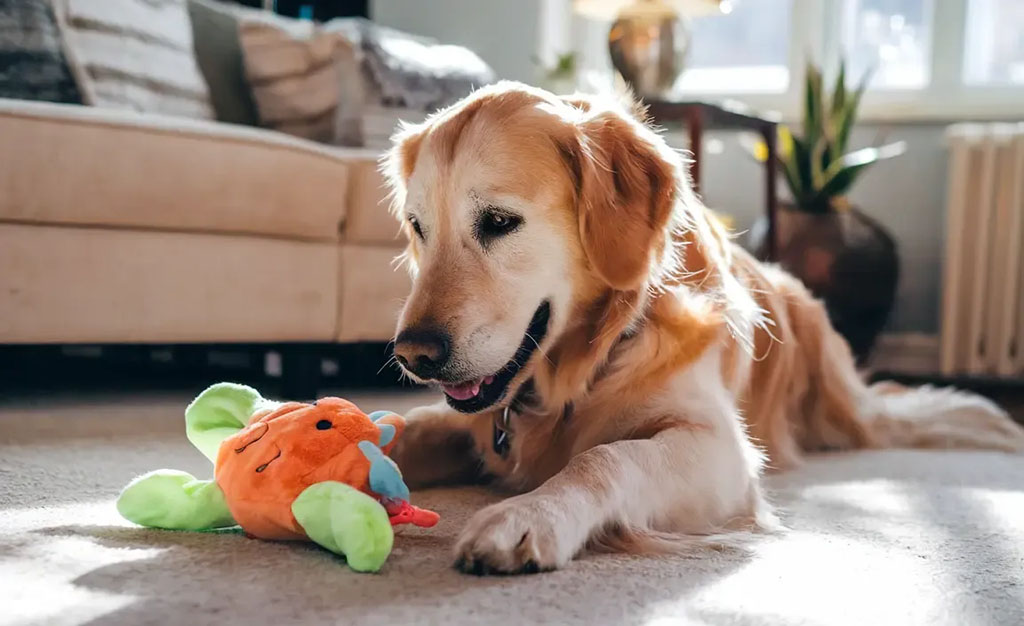
Shape ideas that work better for dogs
You don’t have to make very complex animals. Clean, strong silhouettes last longer.
Table 2 – Dog-friendly pattern concepts
| Pattern Type | Description | Durability Pros |
|---|---|---|
| Bone shape | Classic dog-bone outline | No weak neck, easy to stuff evenly |
| Flat animal | Two main panels with simplified head and body | Fewer seams and parts to rip |
| Ring or donut | Circular shape with inner hole | Even stress, good for tugging |
| Tug toy with “body” | Thick central body with short, strong limbs | Dogs can grab different spots without thin joints |
| Knotted sections | Fabric or rope knots inside a fabric cover | Internal structure adds strength |
When you draw your pattern:
- Avoid extremely thin necks or tails.
- Round off sharp corners to reduce stress points.
- Make body parts a bit thicker than you would for a human plush.
You can sketch on paper, cut a test shape from cheap fabric, and let a dog play gently with the empty shell first to see where teeth naturally grip. That tells you where to add extra layers or seams.
What stitching and reinforcement methods ensure durability for dogs?
Even the best pattern and materials will fail if stitching is weak. Dogs create strong, repeated stress at the seams. That is why, in my mind, dog toys must be “over-built” compared with normal plush.
Key goals for sewing:
- Strong seams that will not open easily.
- Extra reinforcement at stress points like edges, corners, and “necks.”
- Internal structure that holds if the outer fabric starts to wear.
Stitching methods I recommend
If you use a sewing machine:
- Use a shorter stitch length (for example, 2–2.5 mm) for tighter seams.
- Use a straight stitch plus a second row beside it in heavy stress areas.
- Or use a zigzag stitch inside the seam allowance to add stretch and strength.
If you sew by hand:
- Use backstitch (not running stitch) for the main seams.
- Add a second line of stitching in critical areas.
- Tie strong, secure knots and bury thread ends.
Where and how to reinforce
Think especially about:
- The areas where two big parts meet (head–body, body–limbs).
- The border around the squeaker pocket.
- The opening you use to insert stuffing.
Table 3 – Reinforcement strategies for dog toy seams
| Area of Toy | Suggested Reinforcement | Reason |
|---|---|---|
| Main body seam | Double-stitch; use smaller stitch length | First defense against tearing |
| Corners & curves | Backstitch or extra passes at curve points | Prevents seam from popping when stretched |
| Stuffing opening | Ladder stitch + extra knots when closing | High-stress area when dog squeezes and bends toy |
| Squeaker pocket | Separate inner seam around squeaker | Keeps squeaker secure even if outer layer tears |
| Attach points (if separate limbs/ears) | Cross reinforcement (sew back and forth) | Resists pulling and twisting |
If you look at your toy and think, “This seam might be okay,” you probably need one more reinforcement step. Dogs test every weak spot.
How do you choose safe stuffing and squeakers for pet use?
Stuffing choice is important for feel and safety. If a dog breaks the toy open, you want the risk as low as possible. No stuffing is perfectly safe if eaten, so your main job is to:
- Use materials less likely to break into dangerous, sharp, or tiny pieces.
- Contain them very well inside the toy.
For simple home use, I usually prefer:
- Good quality polyester fiberfill (clean, not dusty).
- Large fabric scraps from strong, non-fraying fabric.
- Rope sections if you want more internal structure.
Avoid stuffing with small loose beads or anything that can roll everywhere if the toy breaks.
Choosing and securing squeakers
Squeakers are fun but add risk if not handled carefully.
Tips I follow:
- Buy squeakers from pet-supply or toy-supply sources, not random craft items.
- Choose one larger squeaker instead of many tiny ones.
- Put the squeaker in a separate inner pocket or pouch, sewn closed before adding it inside the main body.
Table 4 – Stuffing and squeaker decisions
| Component | Better Choice | Why It’s Better for Dog Toys |
|---|---|---|
| Main stuffing | Polyester fiberfill (good quality), fabric scraps | Soft, easy to pack tightly, fewer sharp pieces |
| Added bulk | Rolled fabric or rope inside the stuffing | Adds strength and different chew texture |
| Avoid | Loose plastic beads, rice, beans, fragile foam | Small parts or organic fillers can be risky |
| Squeaker type | Purpose-made dog toy squeaker | Designed to flex and compress safely |
| Squeaker placement | Inner pouch or separate stitched compartment | Extra barrier if toy breaks |
Always remember: no dog toy is indestructible. A strong design only reduces the chance and speed of damage. Supervision is still important, especially with heavy chewers.
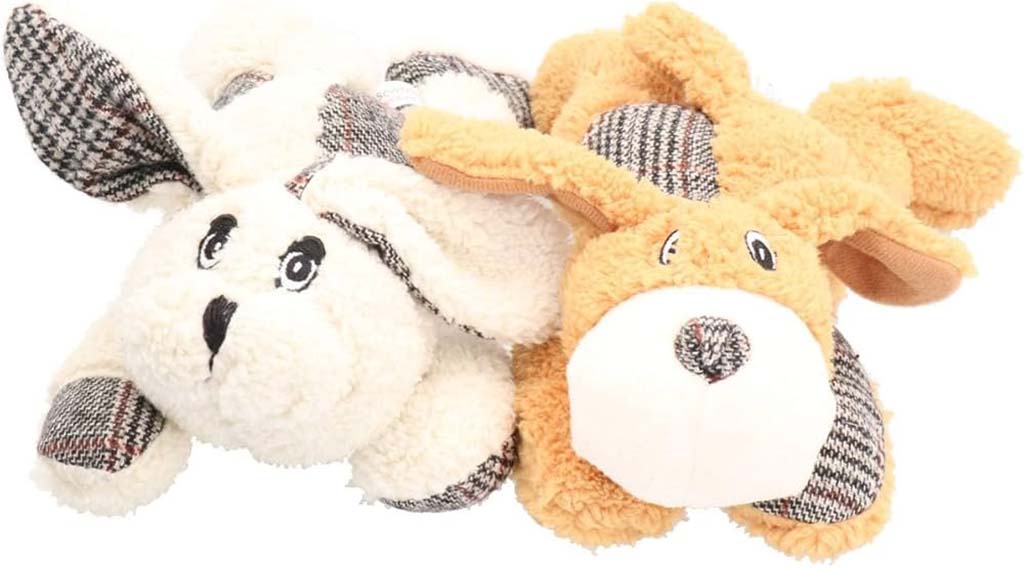
How are features like limbs, ears, and textures securely attached?
Details like ears, limbs, tails, and textured panels make a toy more fun. But for dogs, every detail is also an attack target. If you attach them weakly, they are often the first pieces to be ripped off.
So for dog toys, detail design must be low-risk and low-profile:
- Avoid small hard parts (plastic eyes, buttons, loose ribbons).
- Keep most details flat or integrated into the body.
- Use strong stitching, not glue.
Safer ways to add character and texture
You can still create personality and variety by:
- Using embroidery for eyes, nose, and mouth.
- Adding fabric appliqués (patches) sewn down with tight stitching.
- Using contrast panels (for belly, paws, or “spots”) made from different fabrics but strongly sewn.
If you really want limbs or ears:
- Make them short and thick, not long and skinny.
- Sew them into the main seam when joining front and back panels (sandwich method), instead of attaching them afterward.
Table 5 – Attaching features for safer dog toys
| Feature Type | Recommended Attachment Method | Reason It Holds Up Better |
|---|---|---|
| Eyes & nose | Embroidery or flat felt fully sewn around | No hard pieces to break off |
| Ears | Sew into main body seam; make them wide and short | Less chance of tearing at join point |
| Limbs / tails | Integrated panels or stubby shapes sewn into seam | Harder to use as long “handles” for chewing |
| Textured patches | Zigzag or tight satin stitch all around edges | Edges won’t lift easily |
| Labels & tags | Keep minimal; sew firmly into side seam | Reduces the “must chew this” temptation |
When you finish a toy, pull firmly (with your hands) on ears, limbs, and any added texture. If something feels loose to your hands, imagine a dog’s teeth and energy—it needs more stitching.
Conclusion
Making a dog toy plushie is really about combining creativity with strong, safety-minded construction. When you choose tougher fabrics, design compact patterns, reinforce every key seam, pick safe stuffing and squeakers, and attach features in a low-risk way, your toys can bring more joy and last much longer under real dog play. As a plush manufacturer at Kinwin, I use these principles to guide clients who want soft toys that are not only cute but also more durable and responsible for pets and their owners. If you are planning to design your own line of dog toy plushies or want to upgrade existing designs, you are welcome to contact me at [email protected] or visit kinwintoys.com to explore how our OEM & ODM team can support your next project.